A Violin Pegbox Cheek Replacement
About 90% of what we do here is the reversal of previous repairs which are either failing or unsightly.
Here is a shining example of such work.
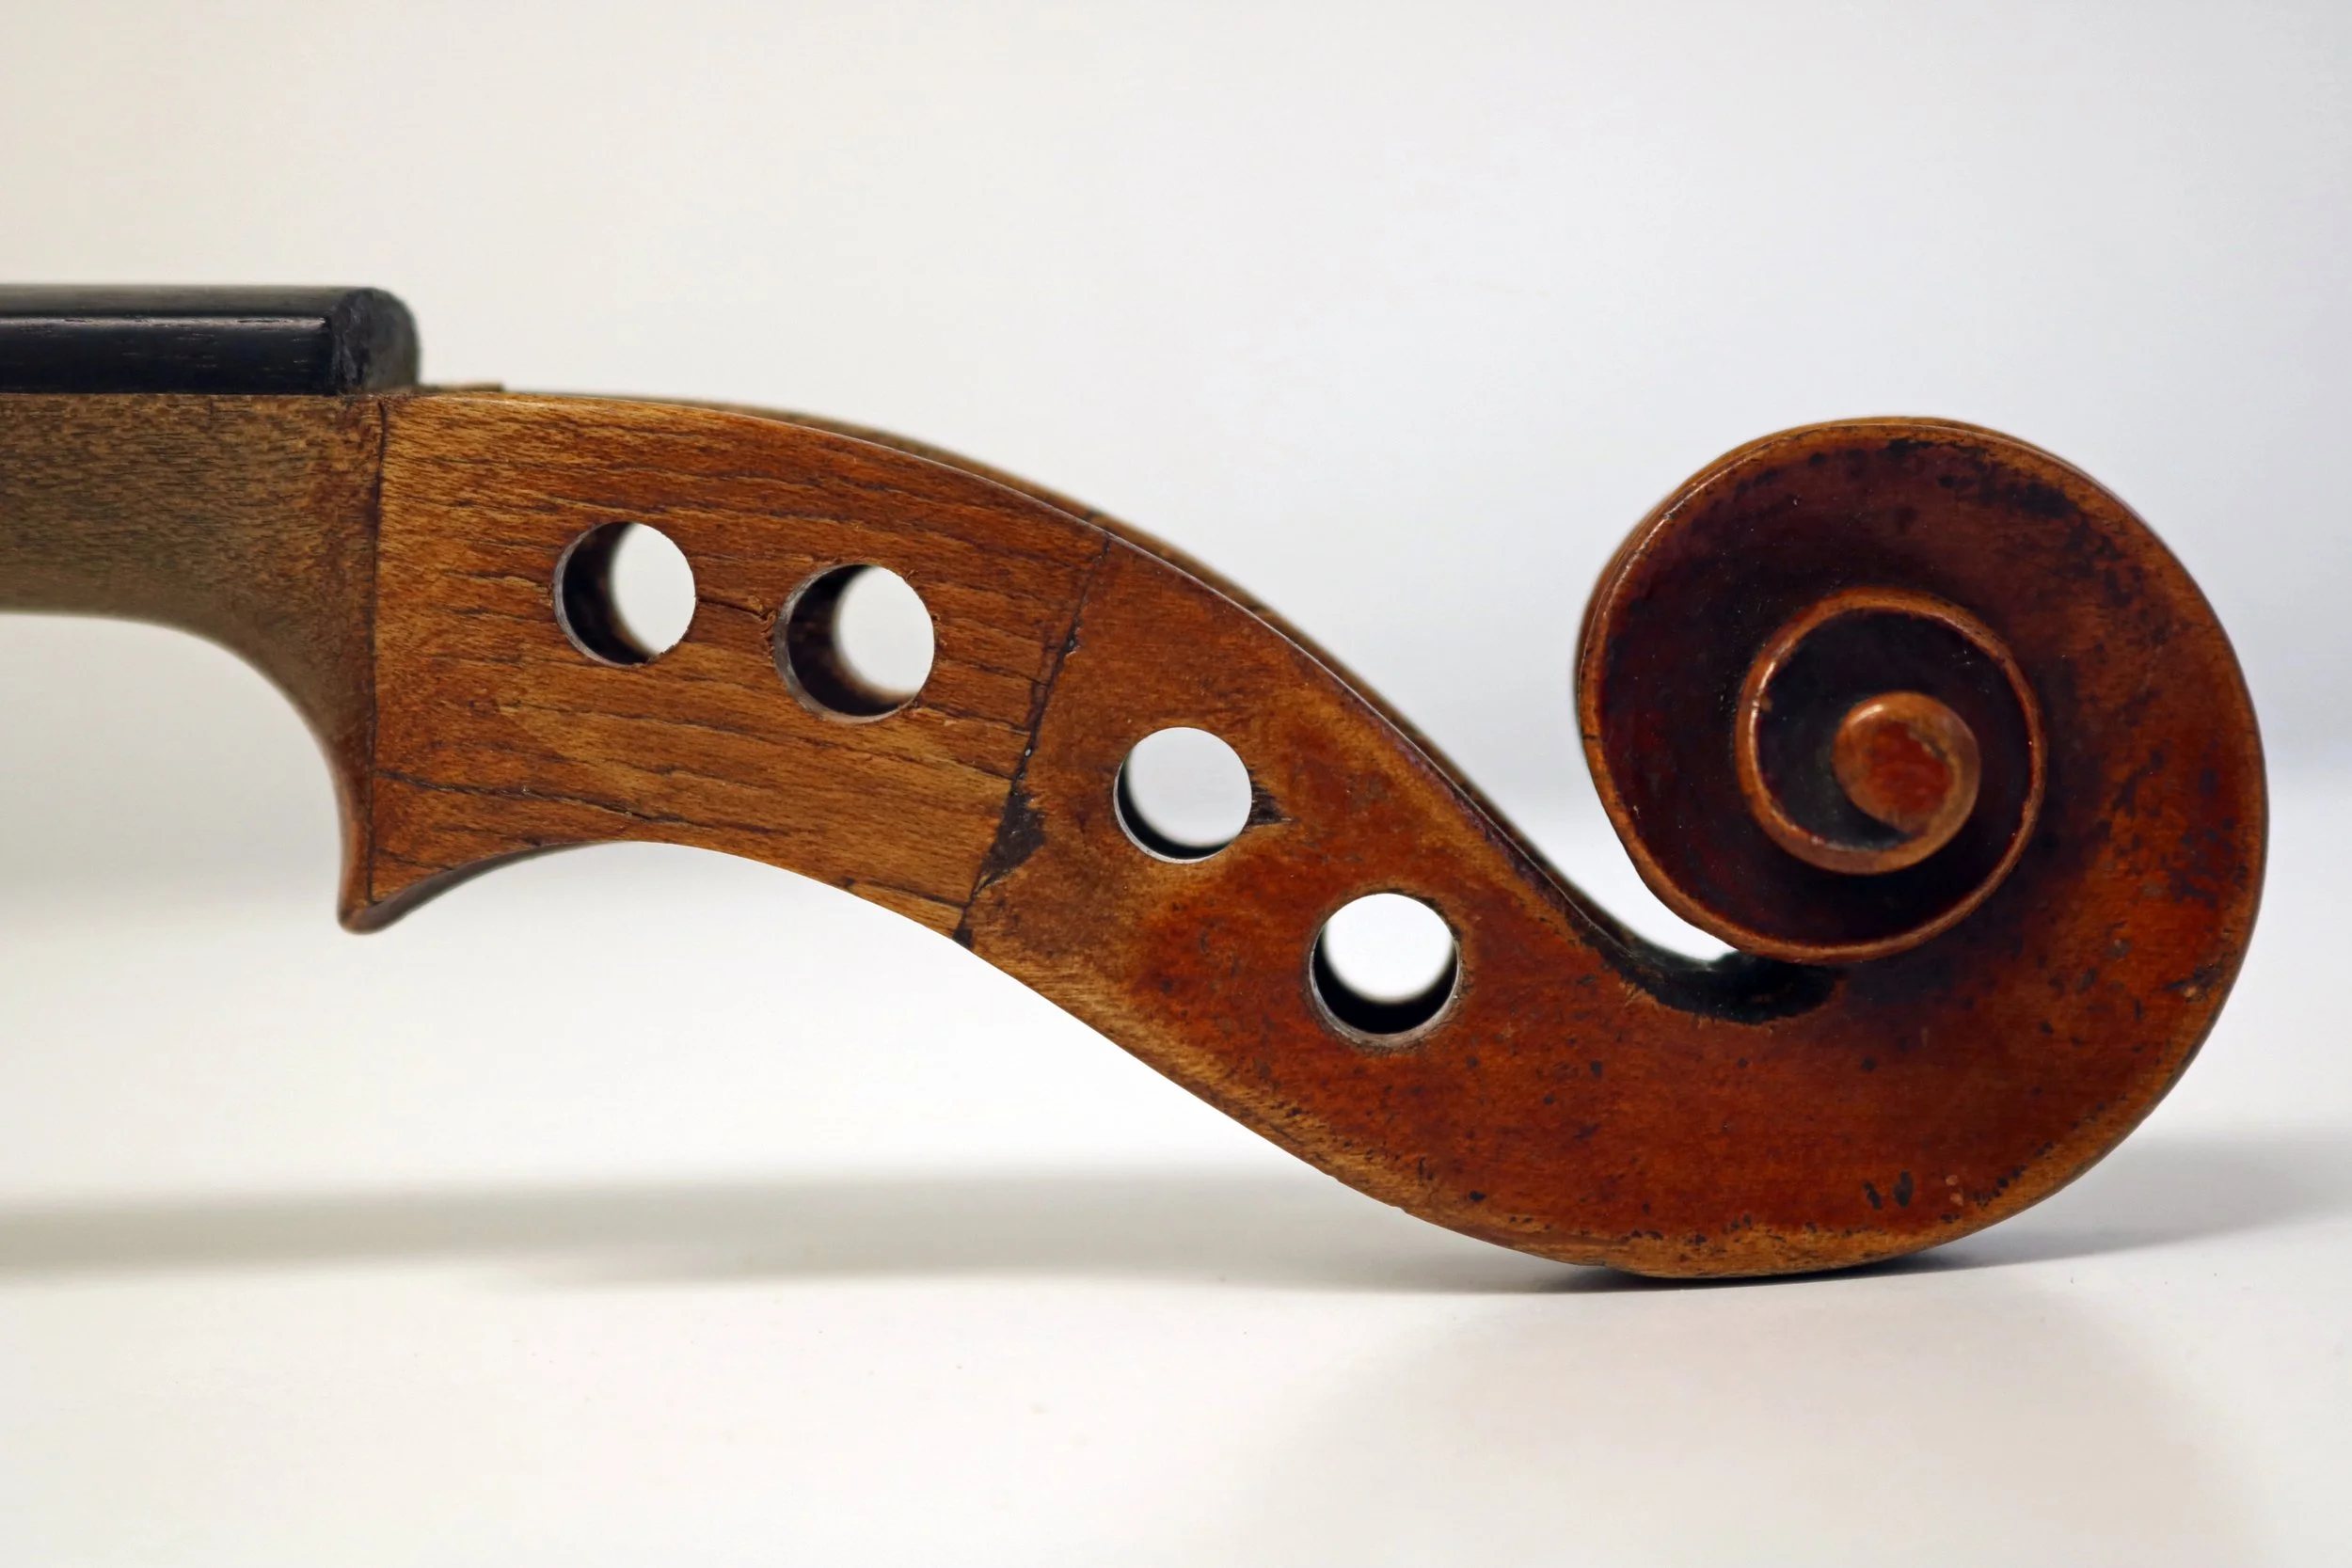
A quite unlikely wood choice was made during the previous repair…
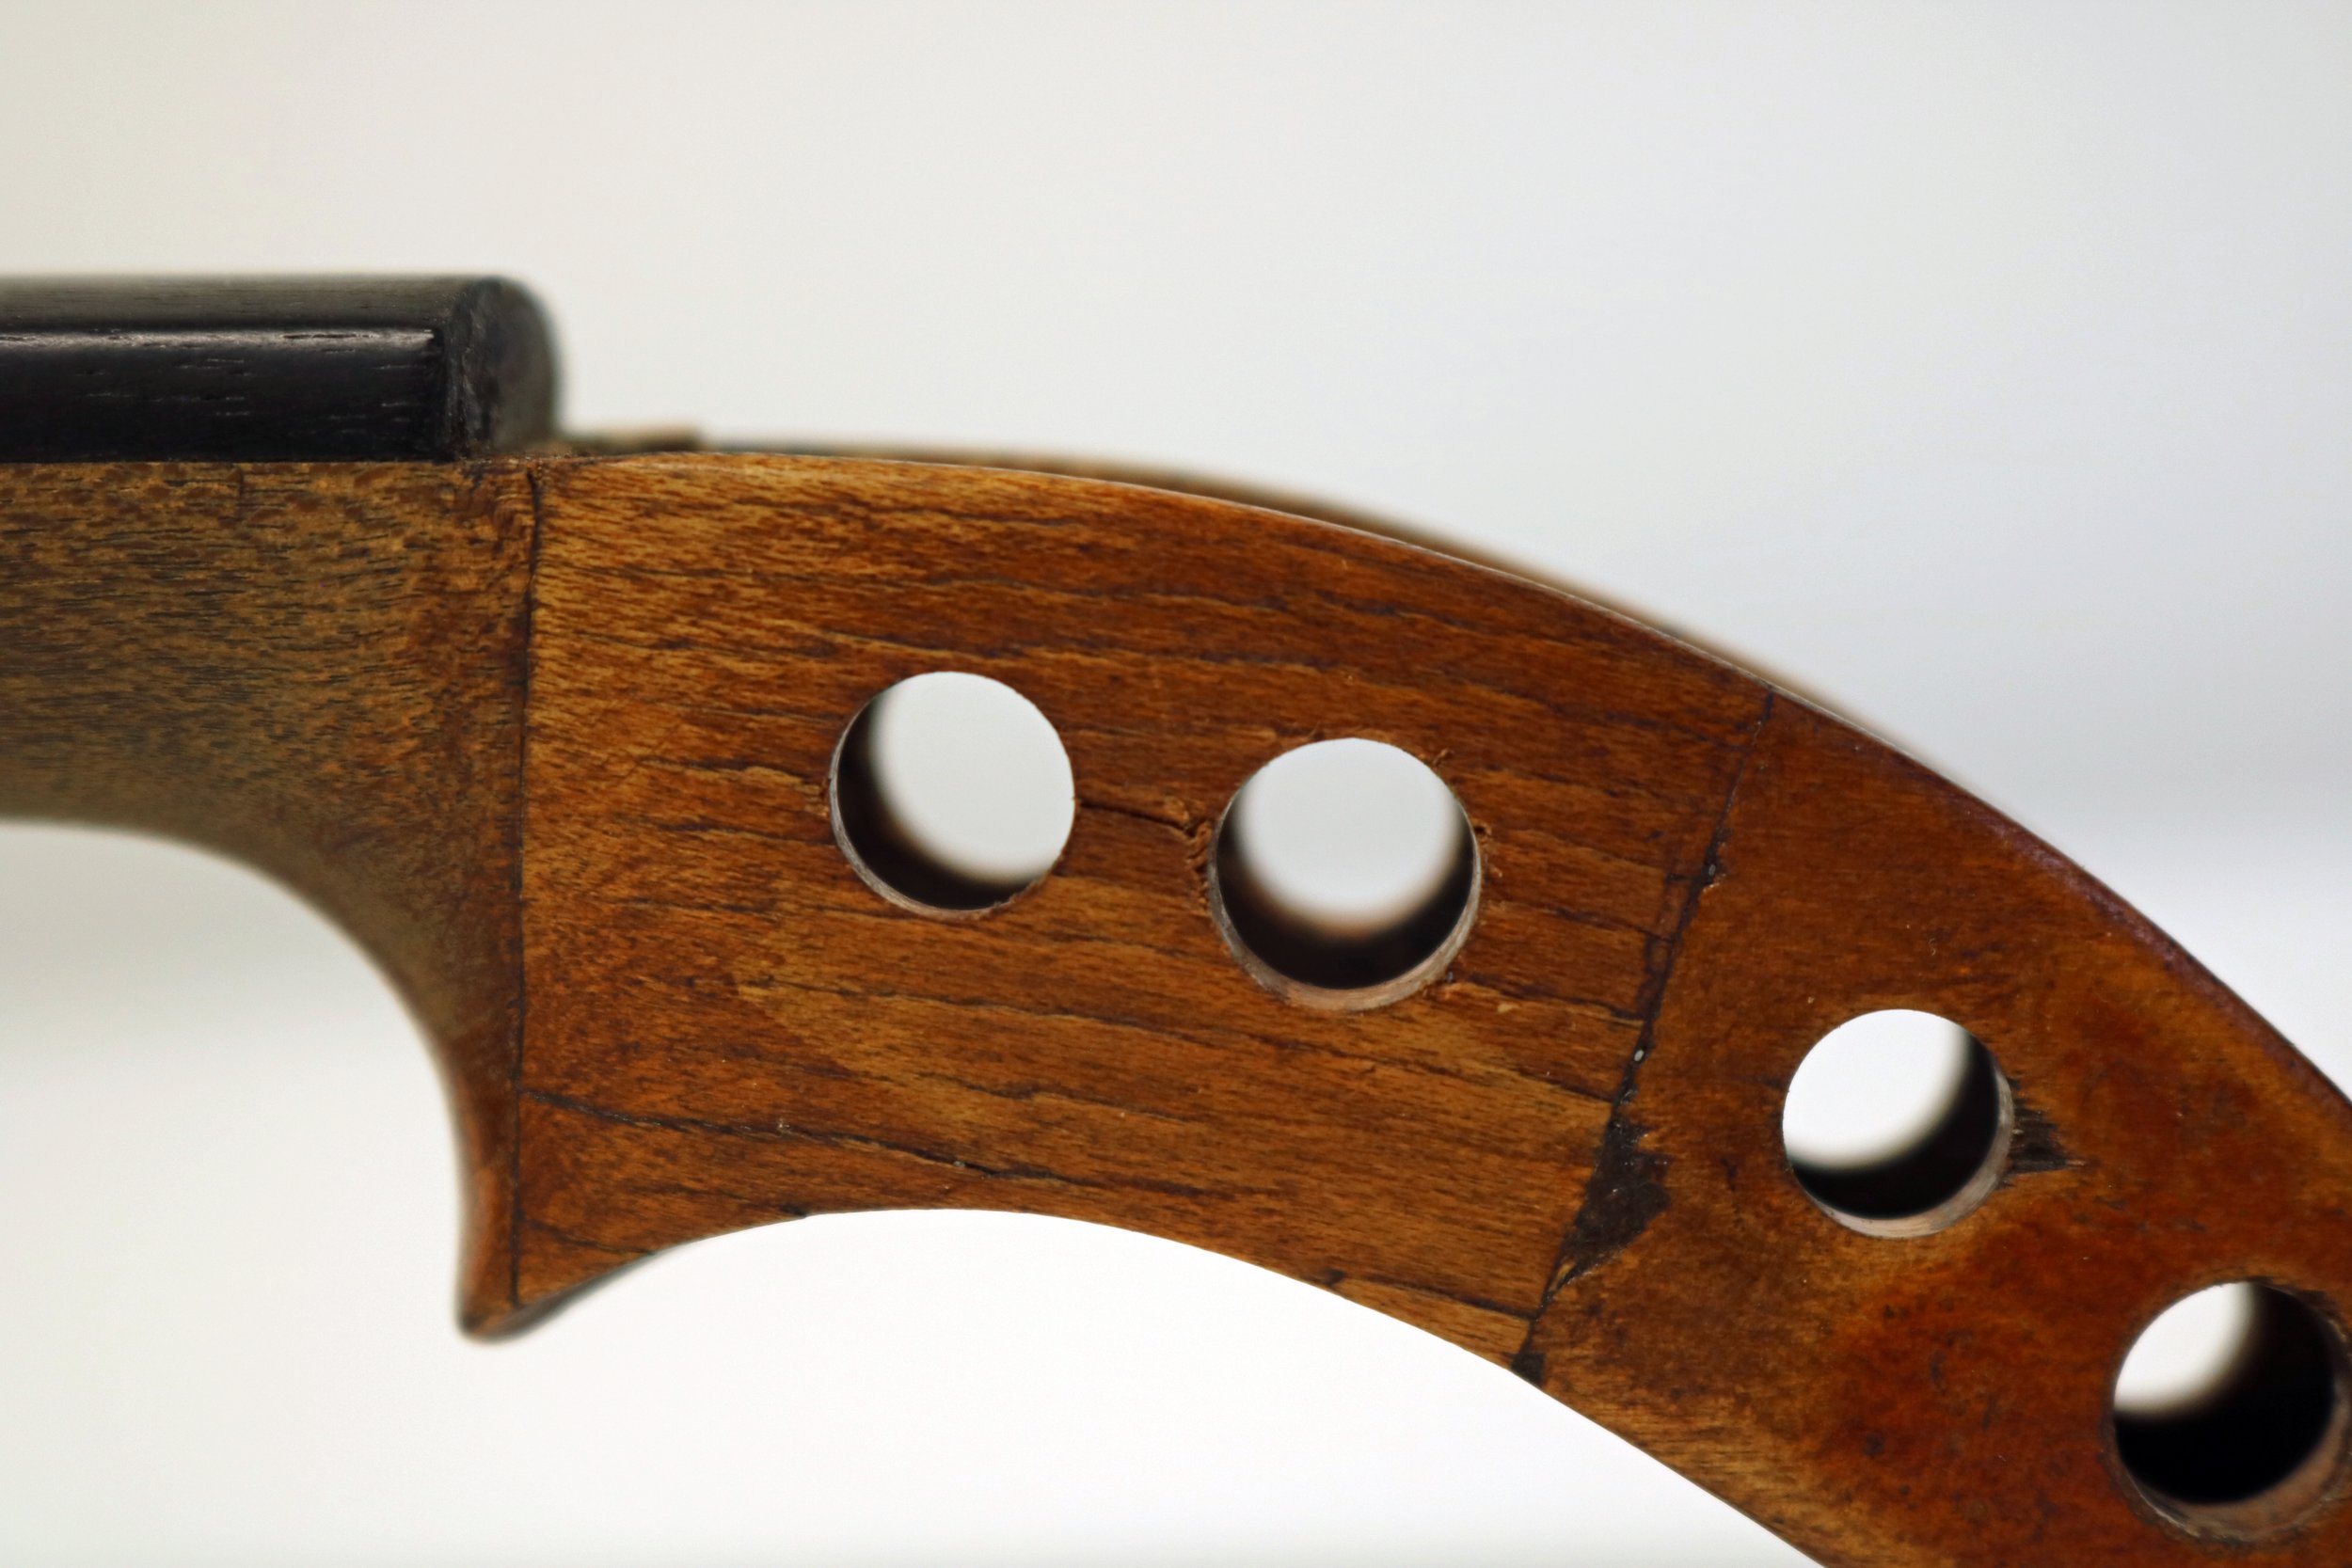
Our first step would be to install pegbox bushings, but the open cracks on the bass side would need to be addressed first.
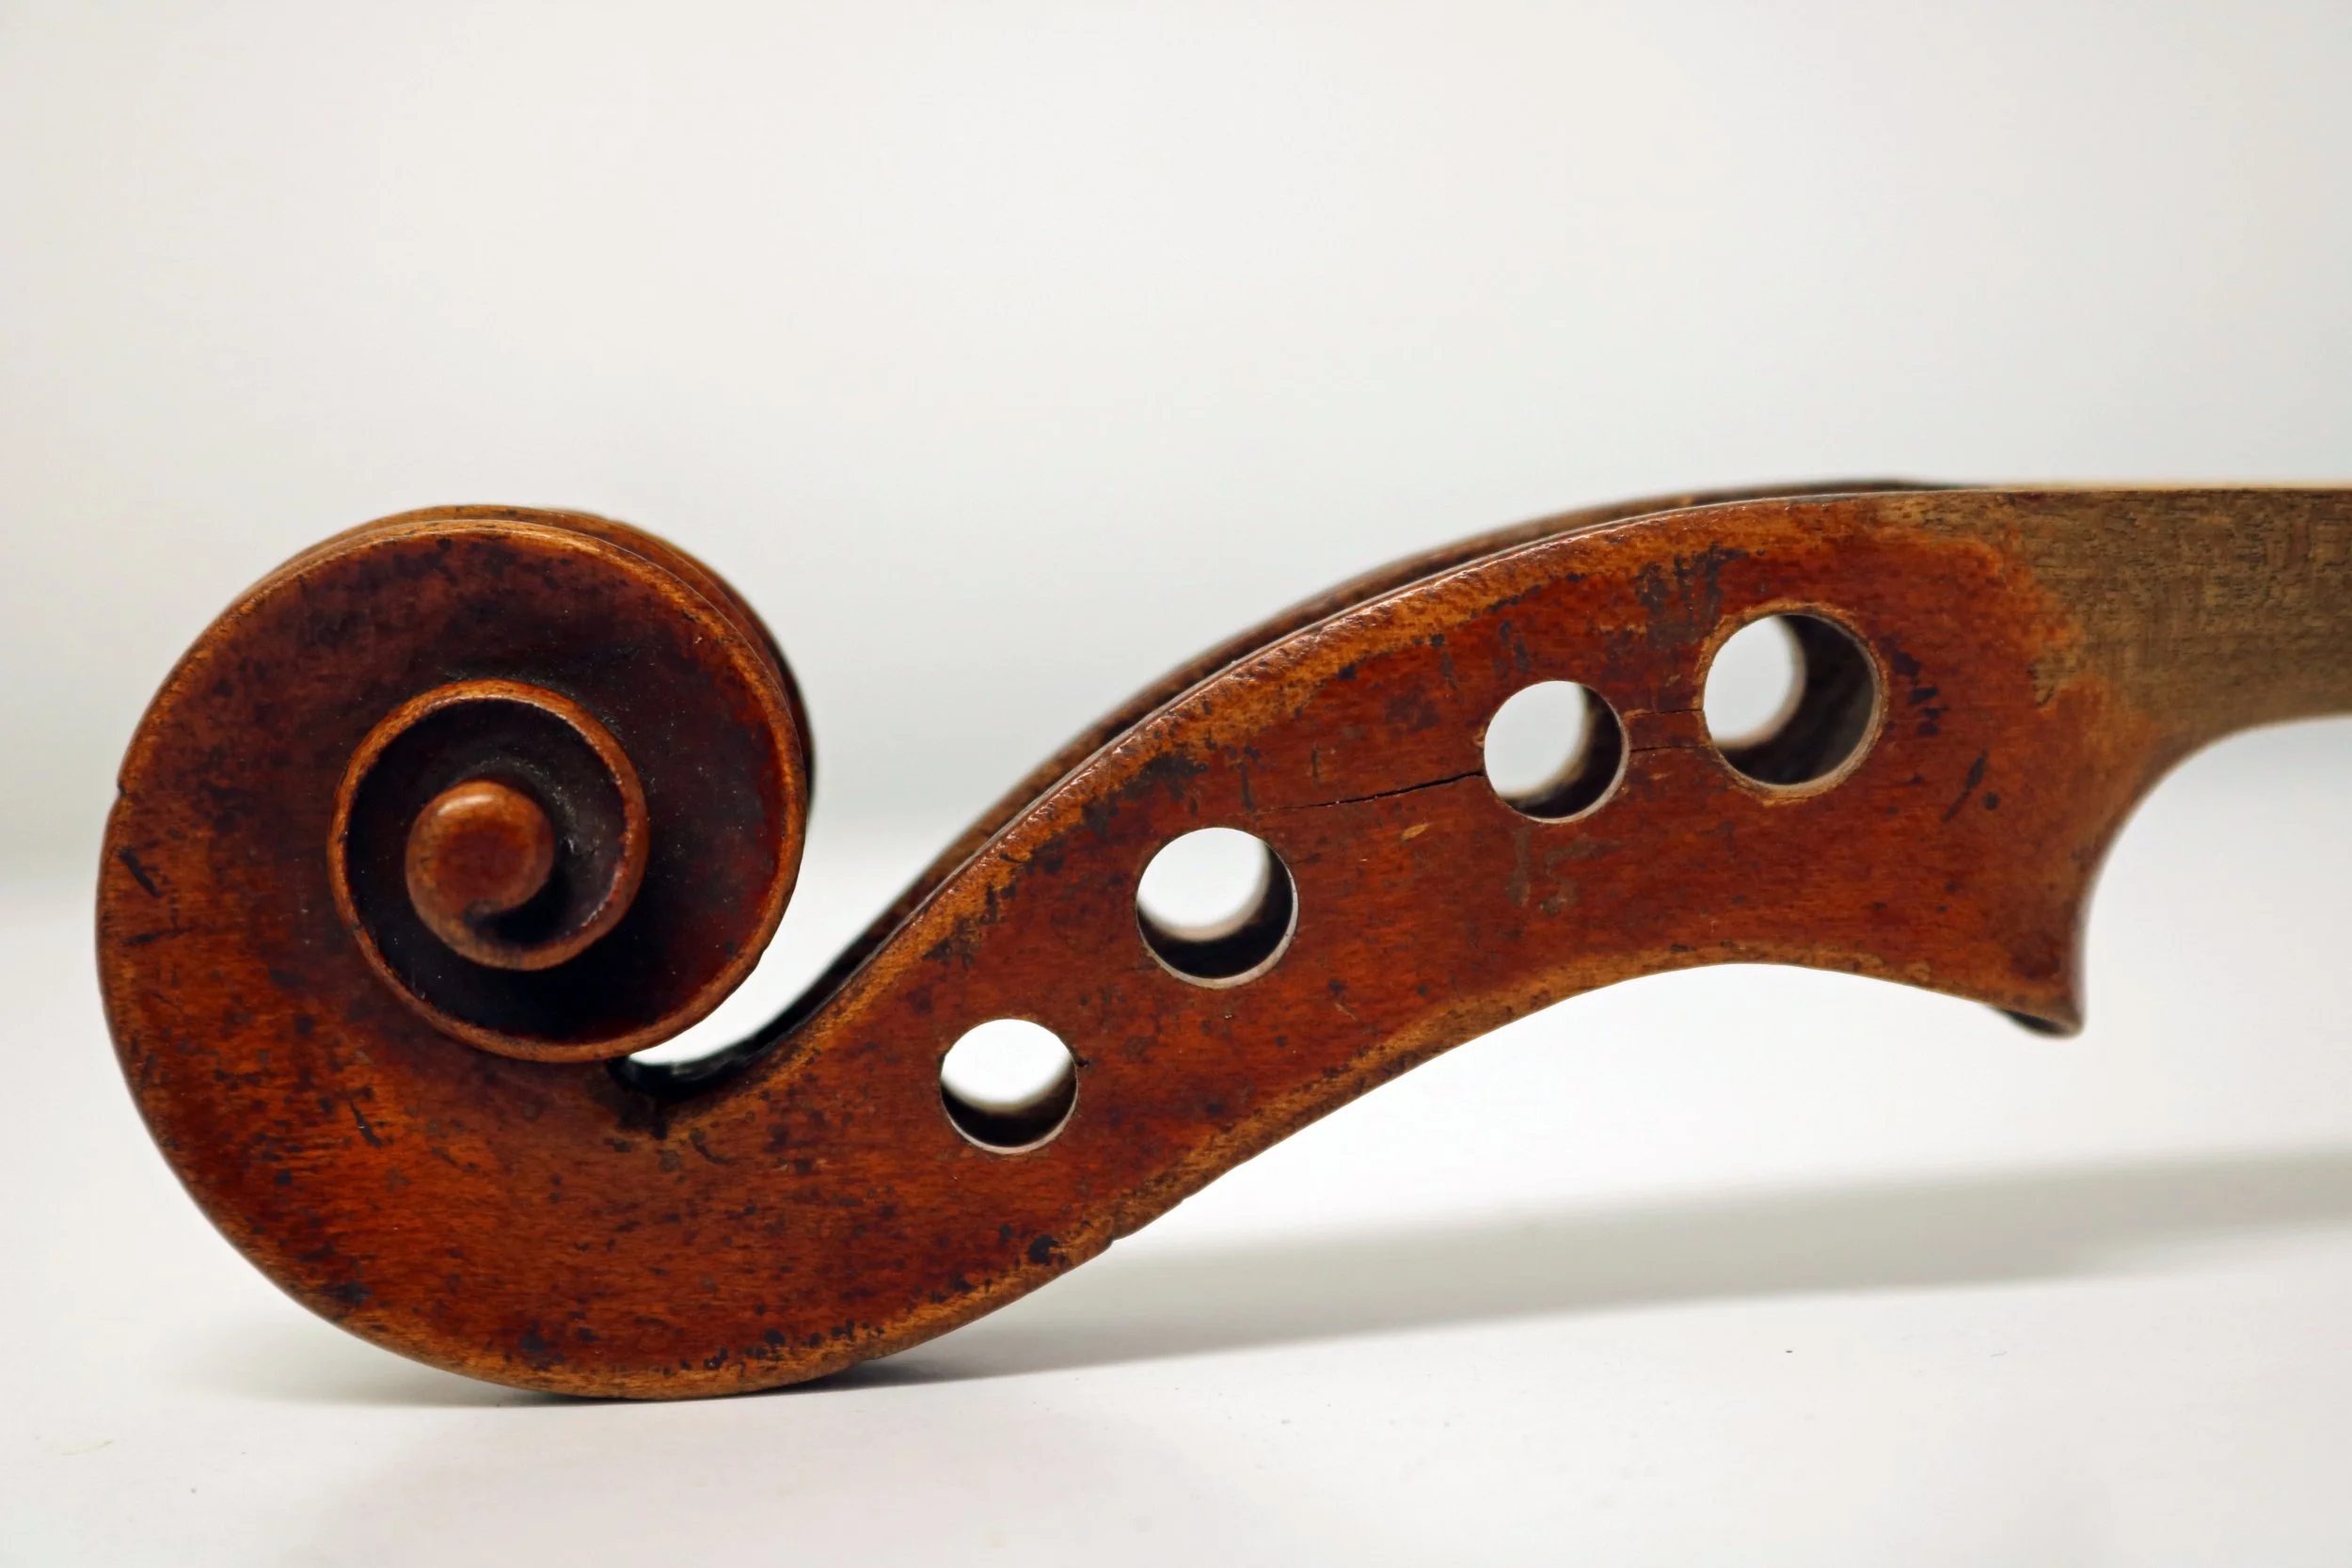
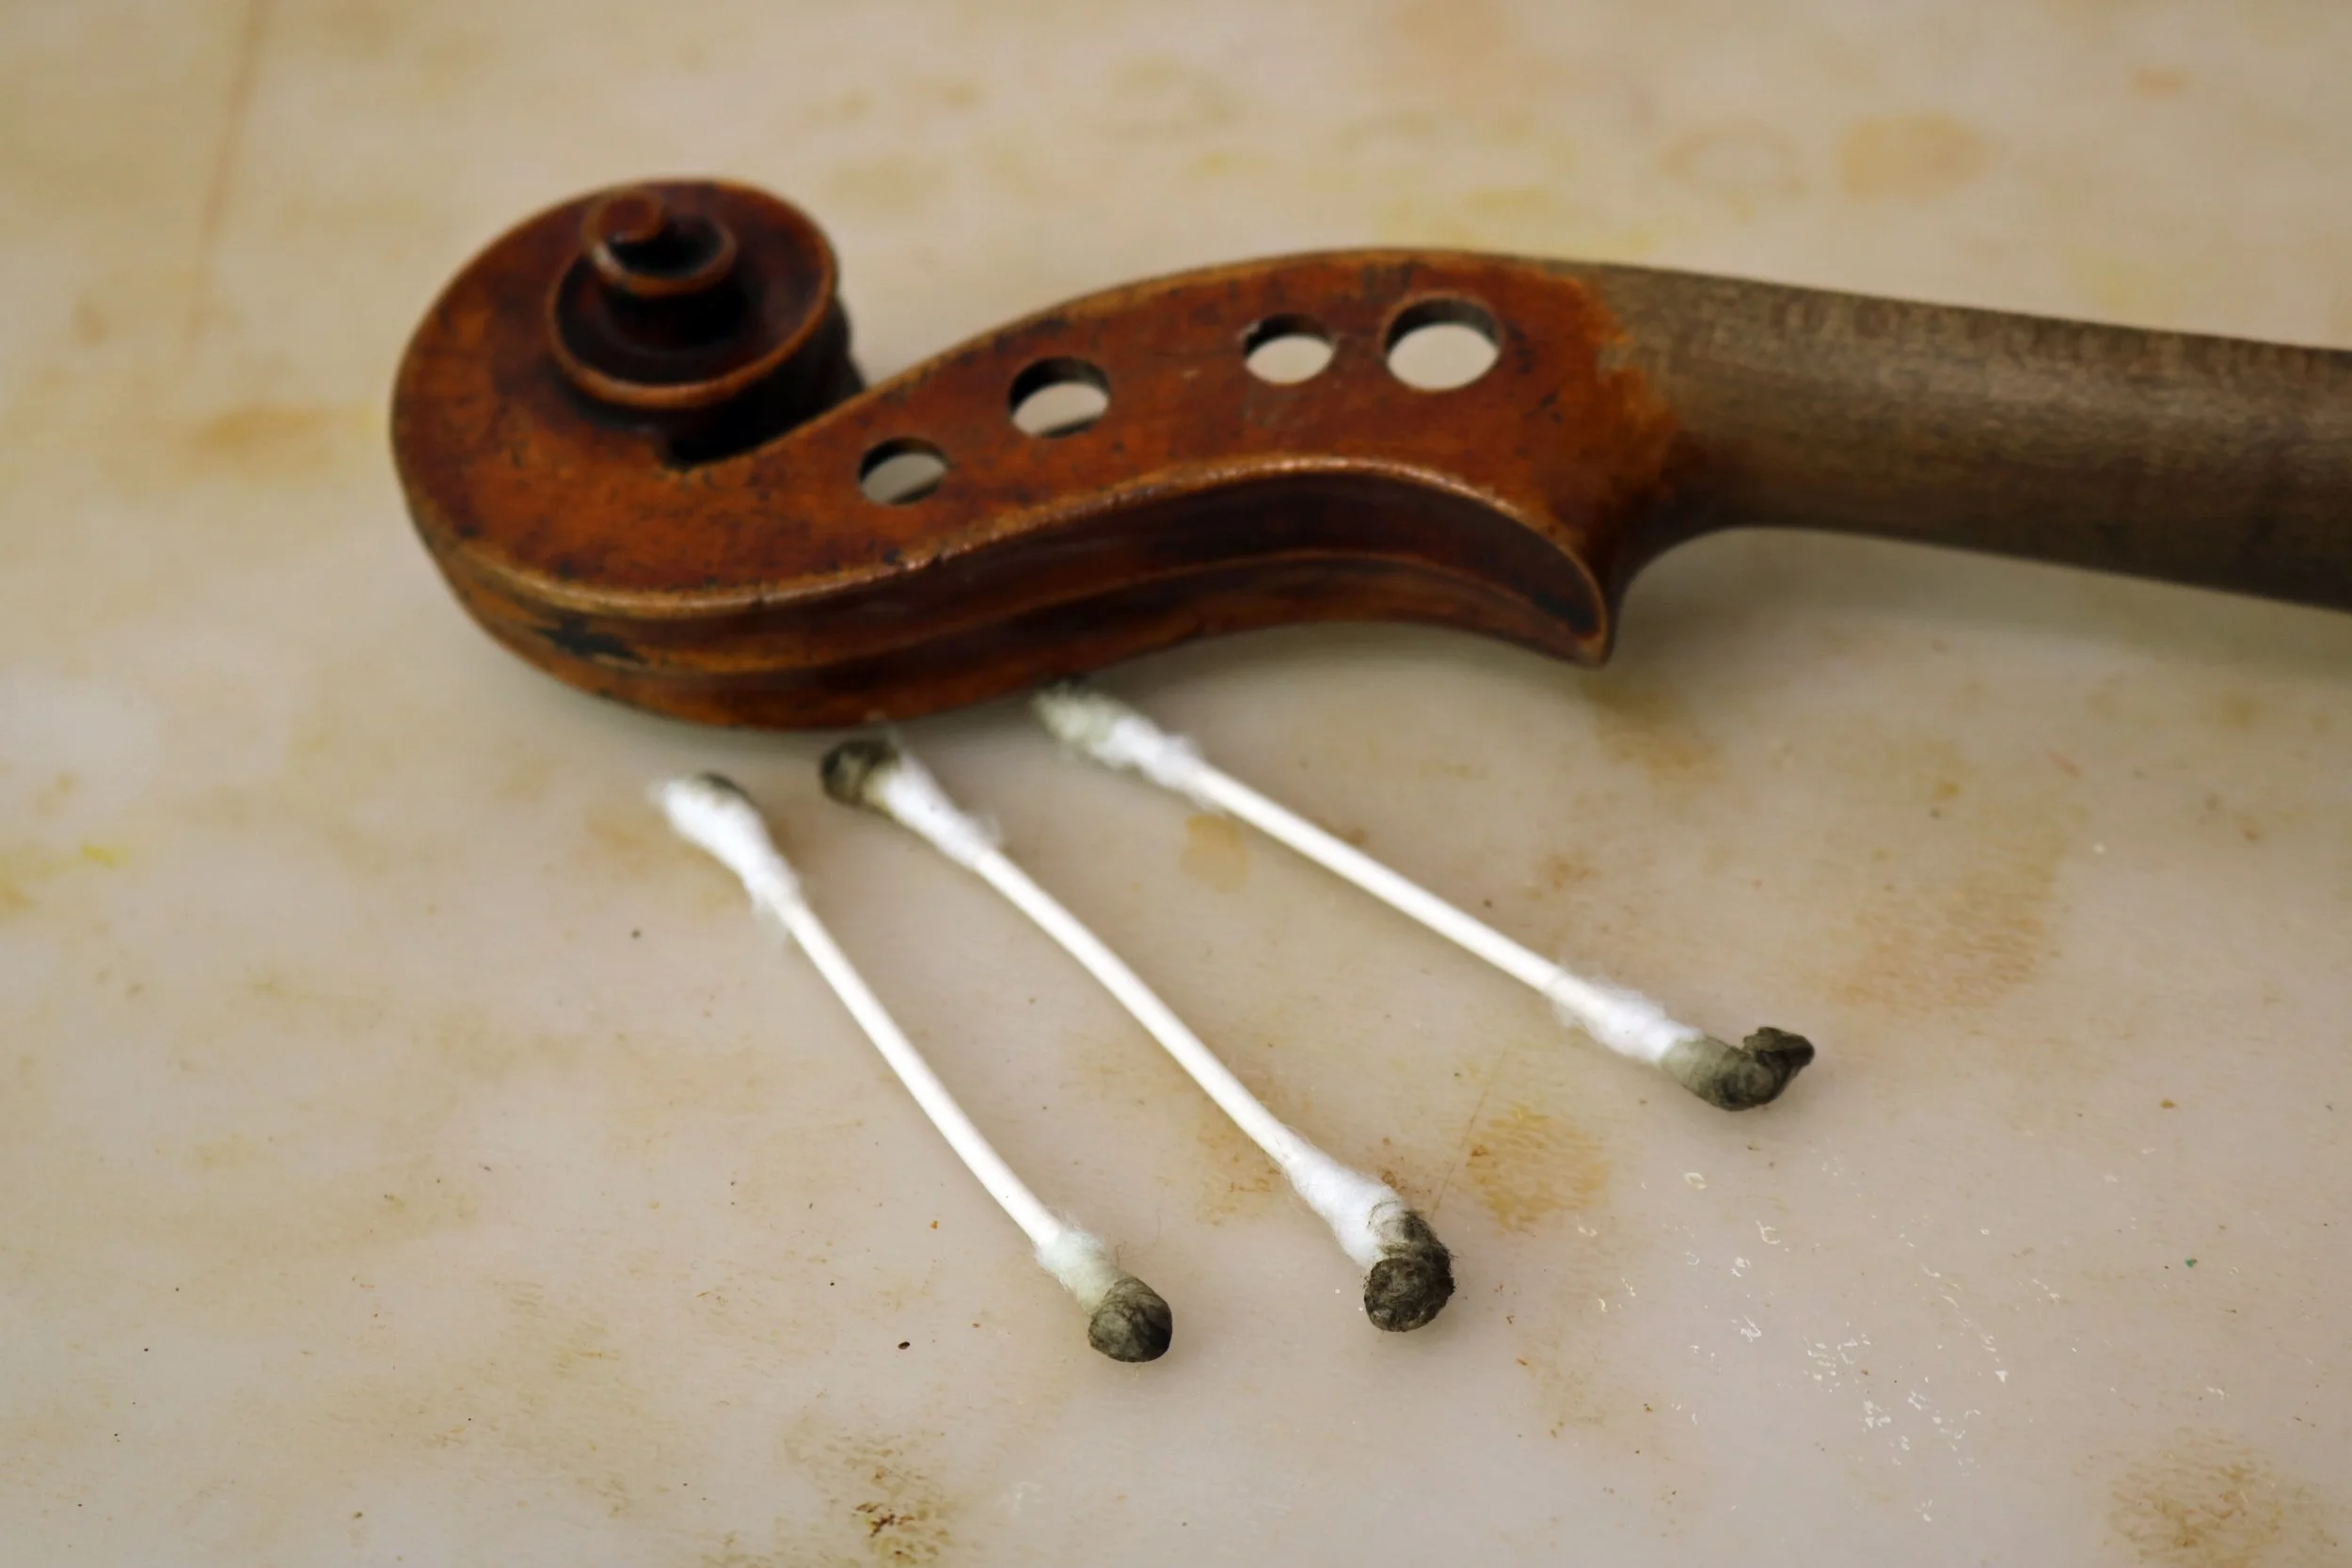
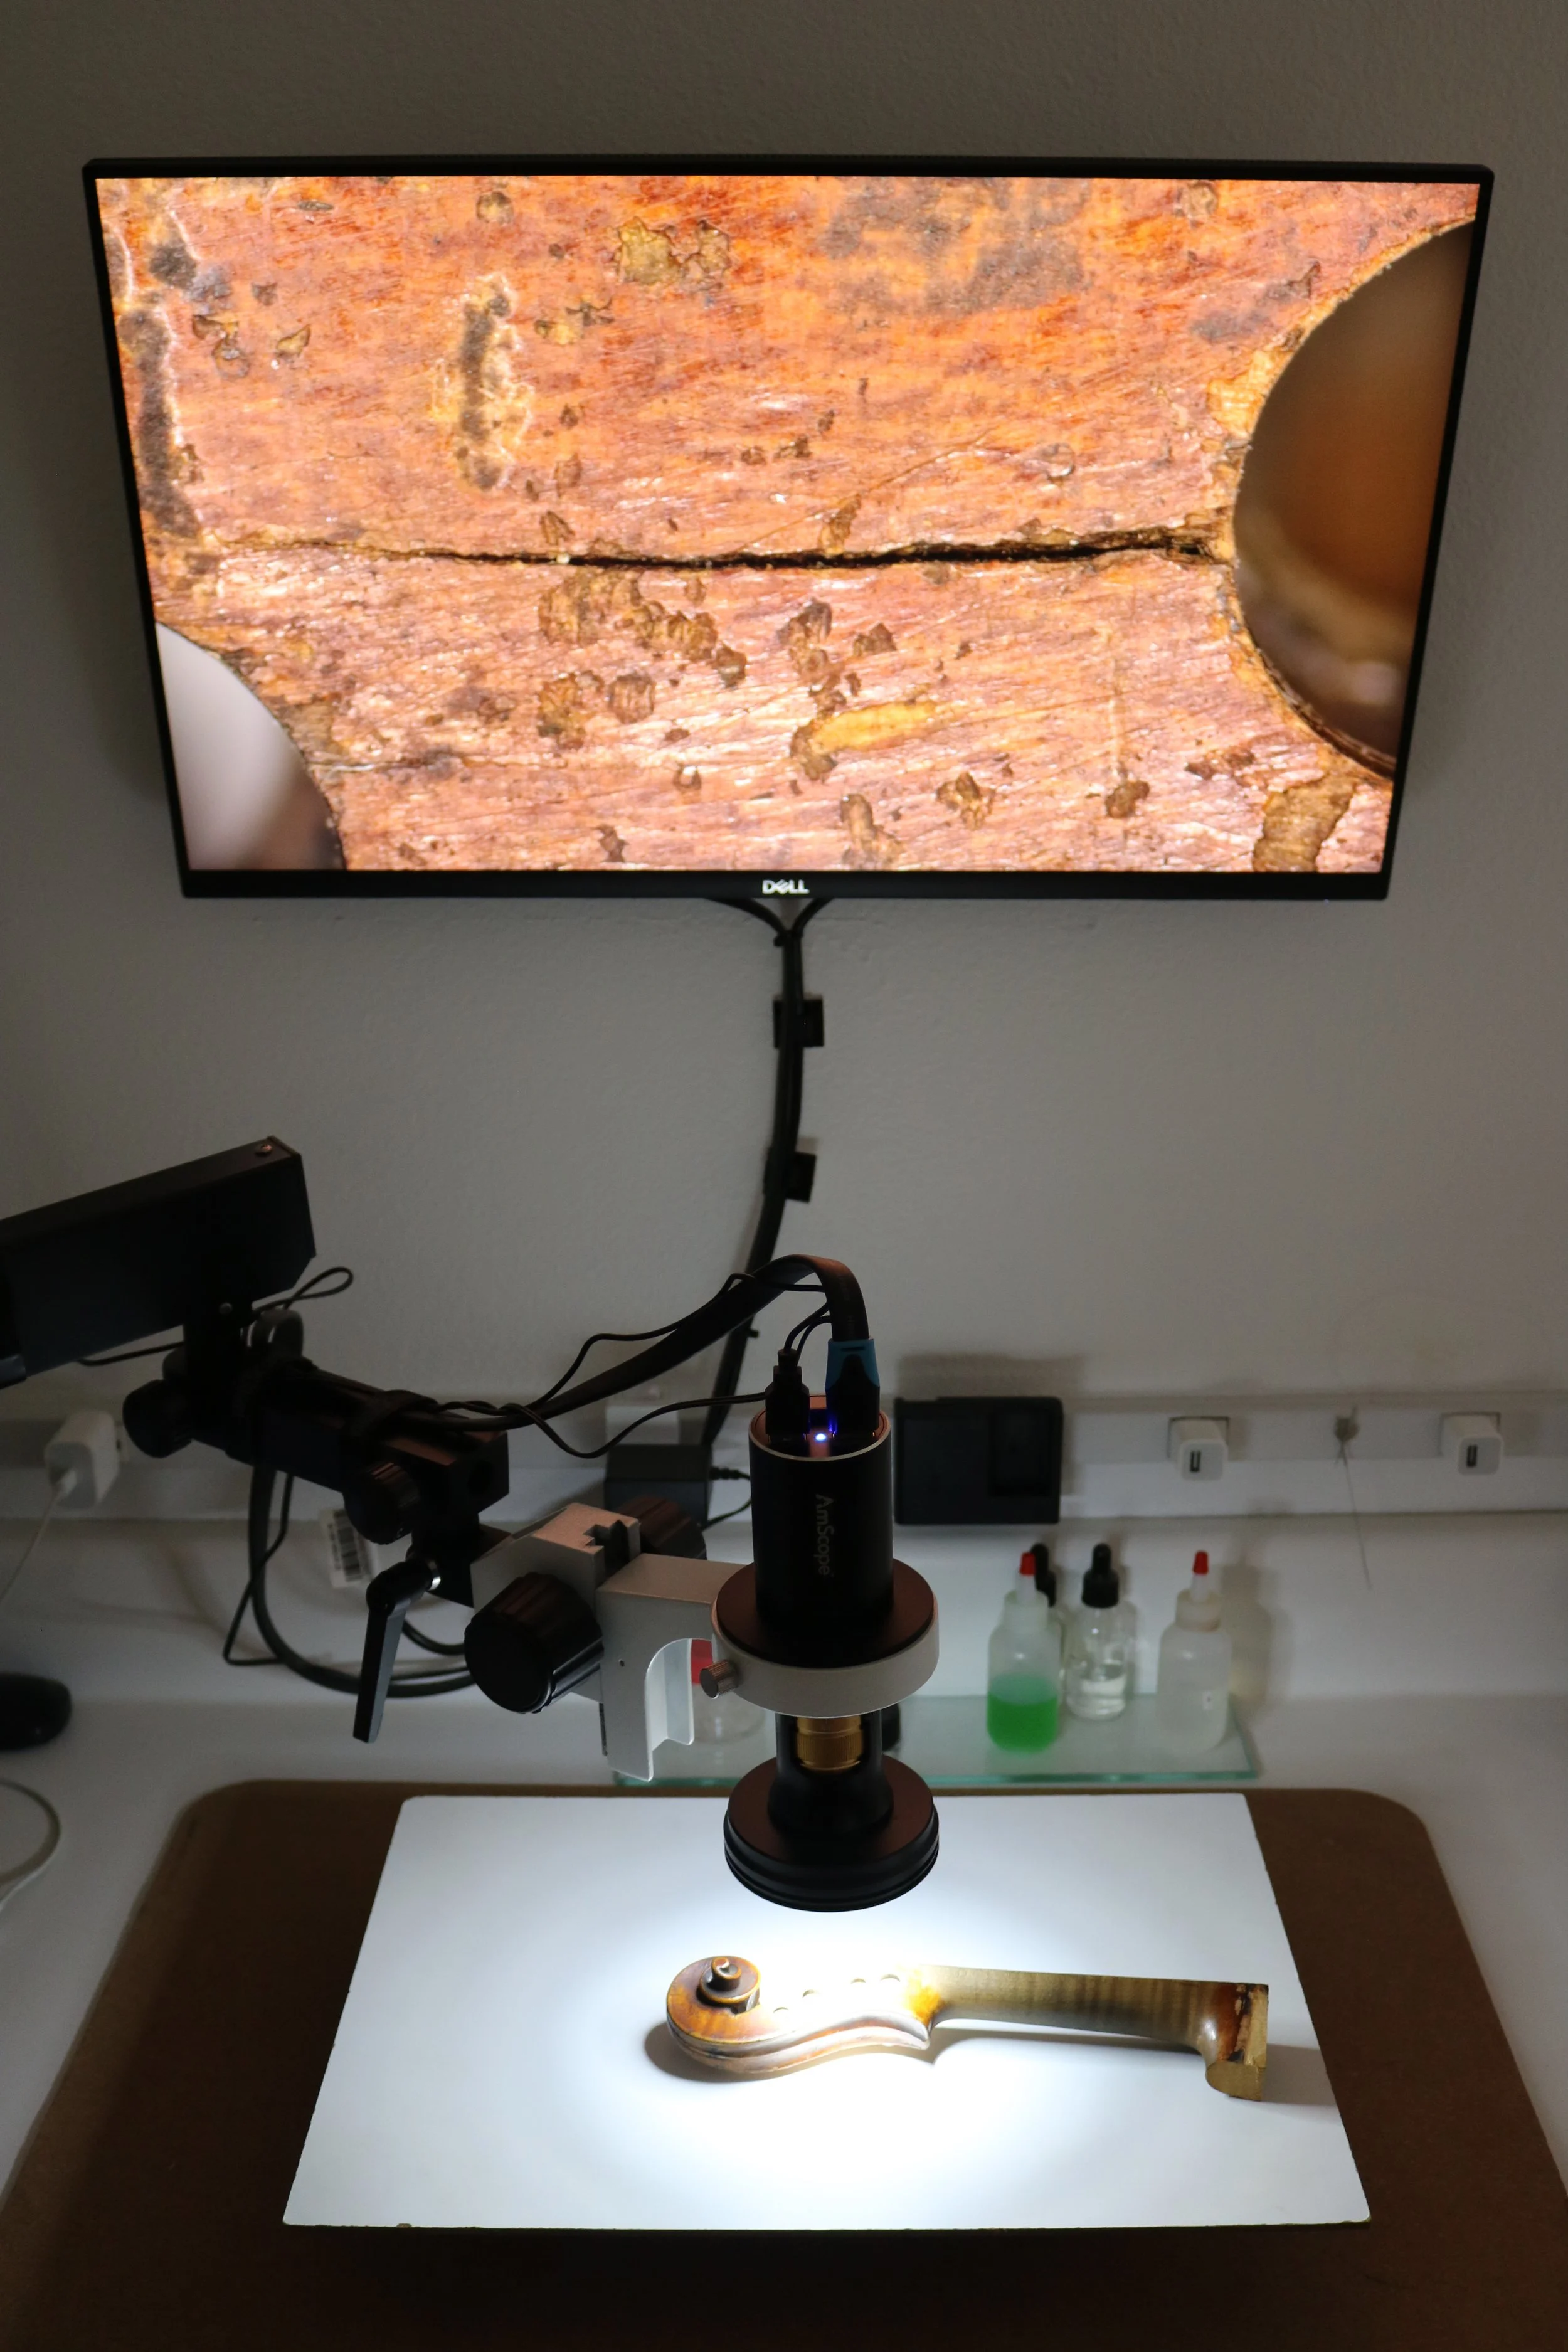
The surface was cleaned with deionized water and Vulpex, with the cracks being inspected under a microscope.
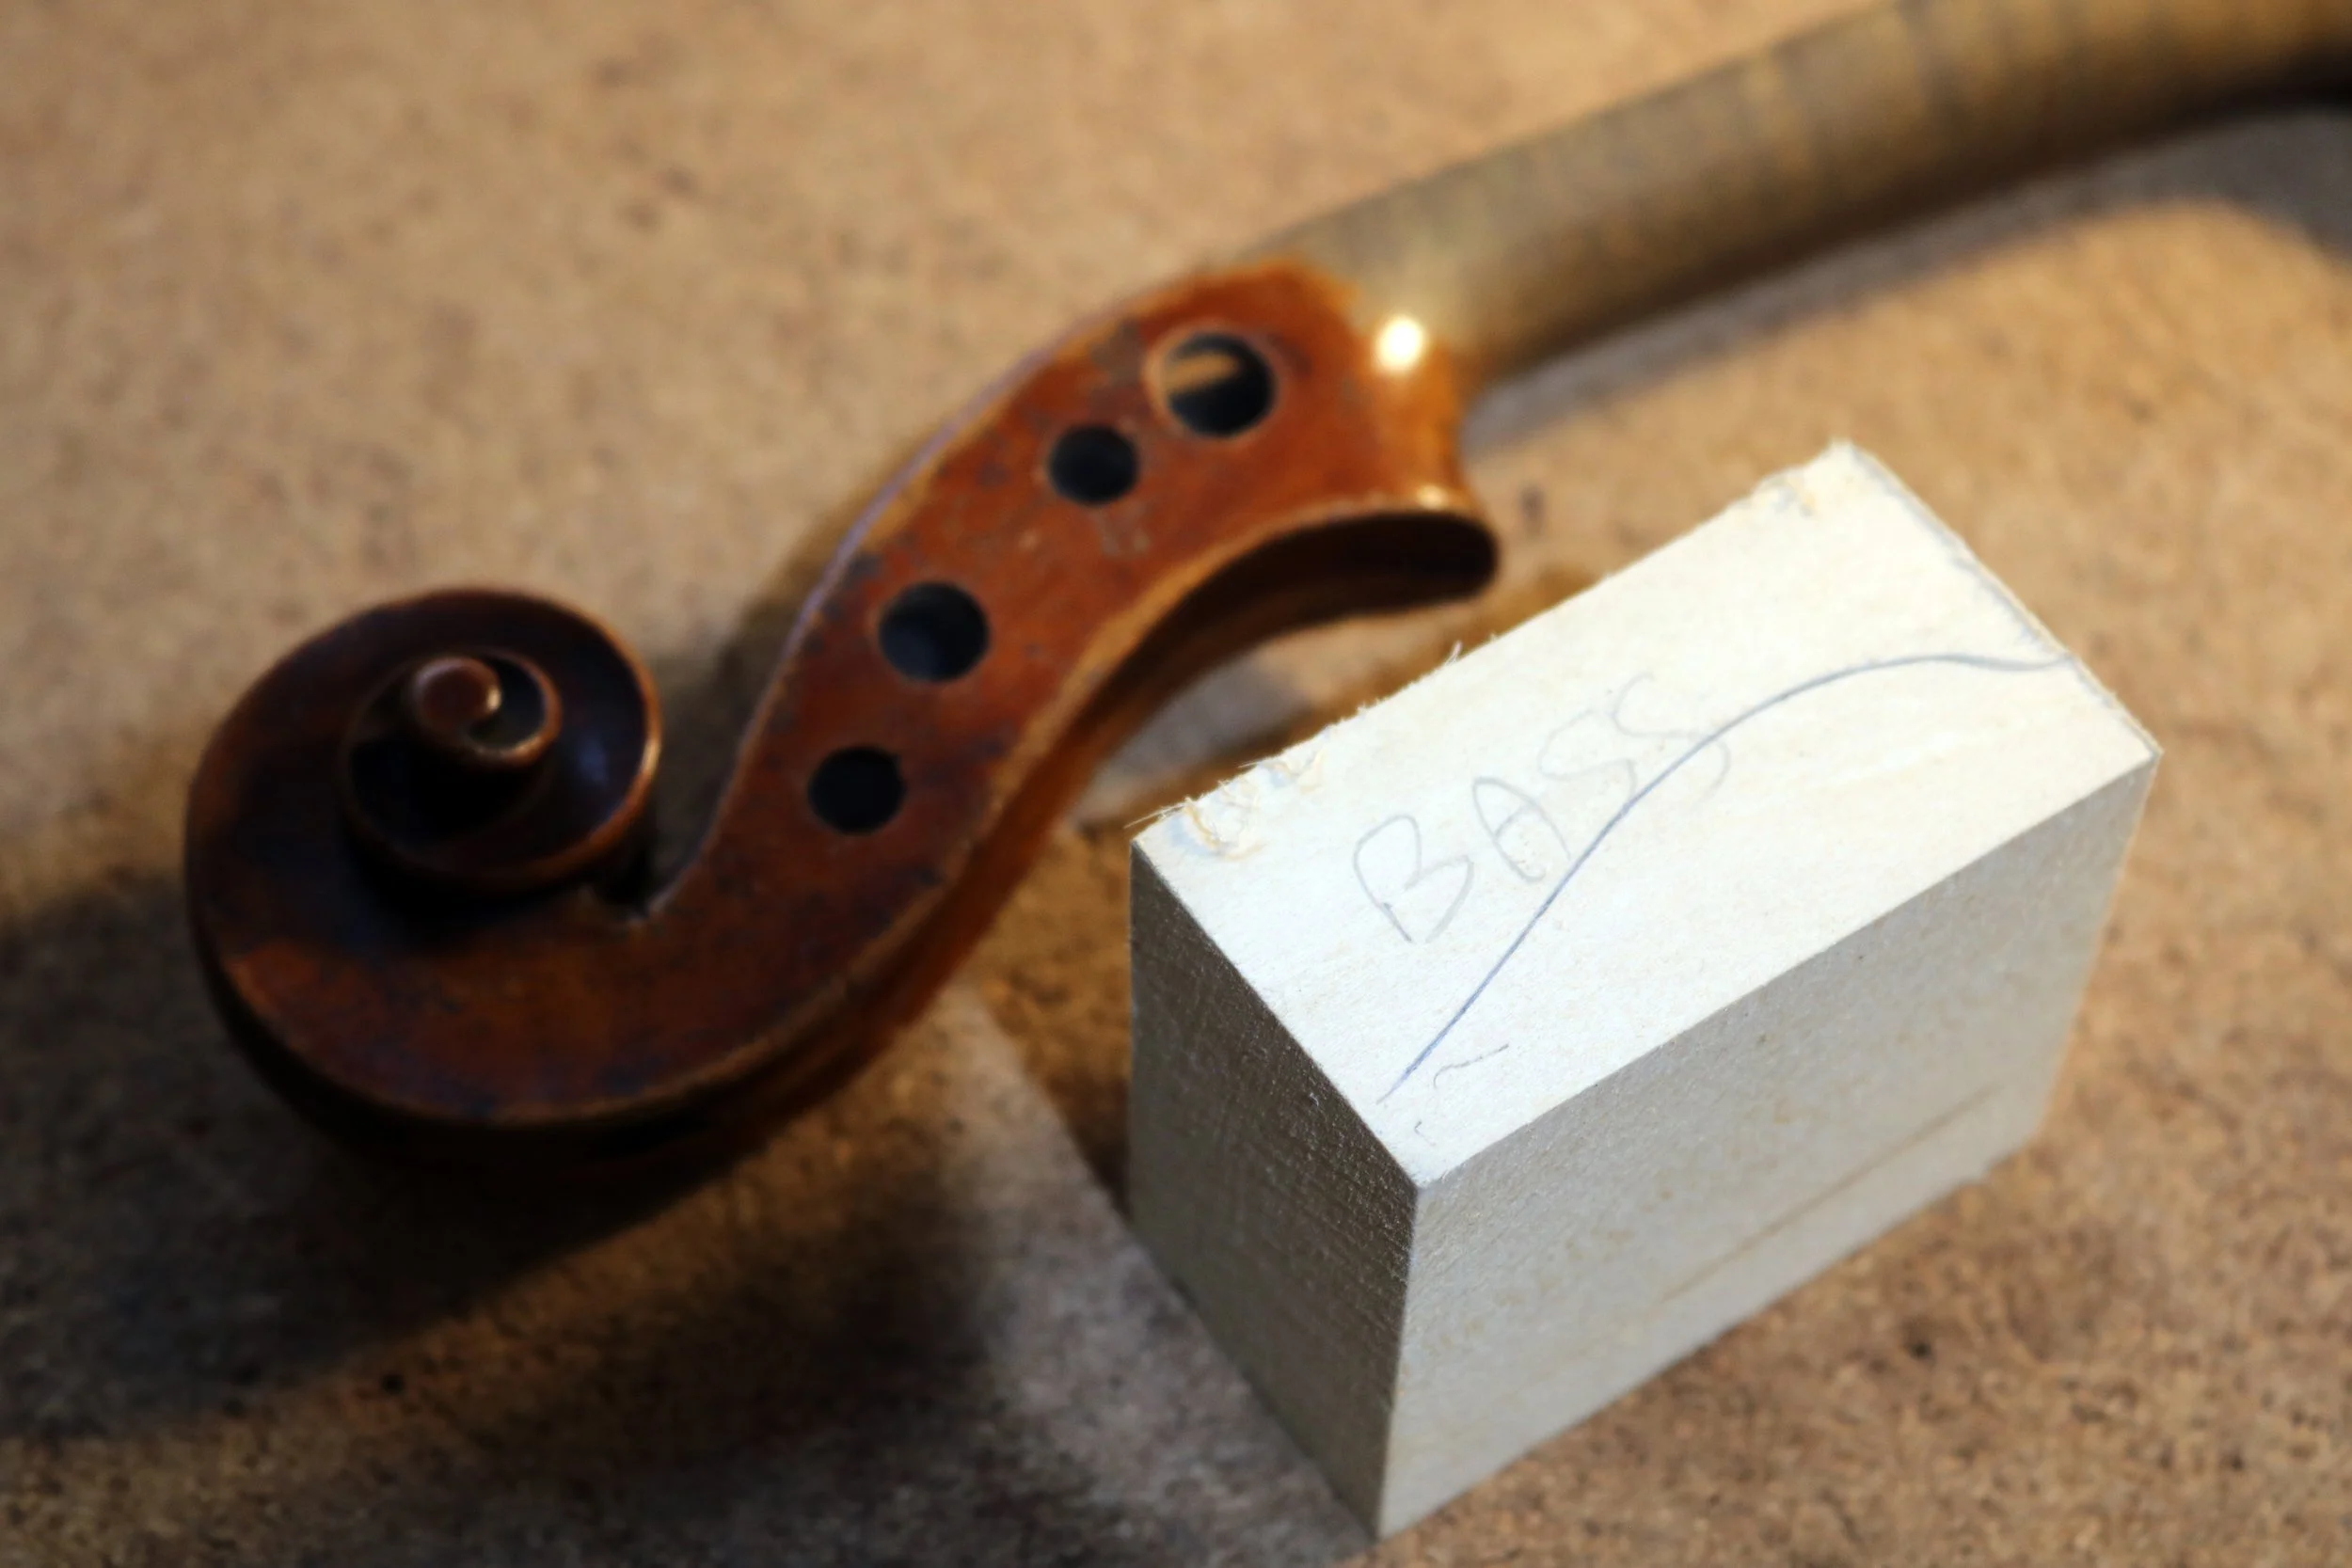
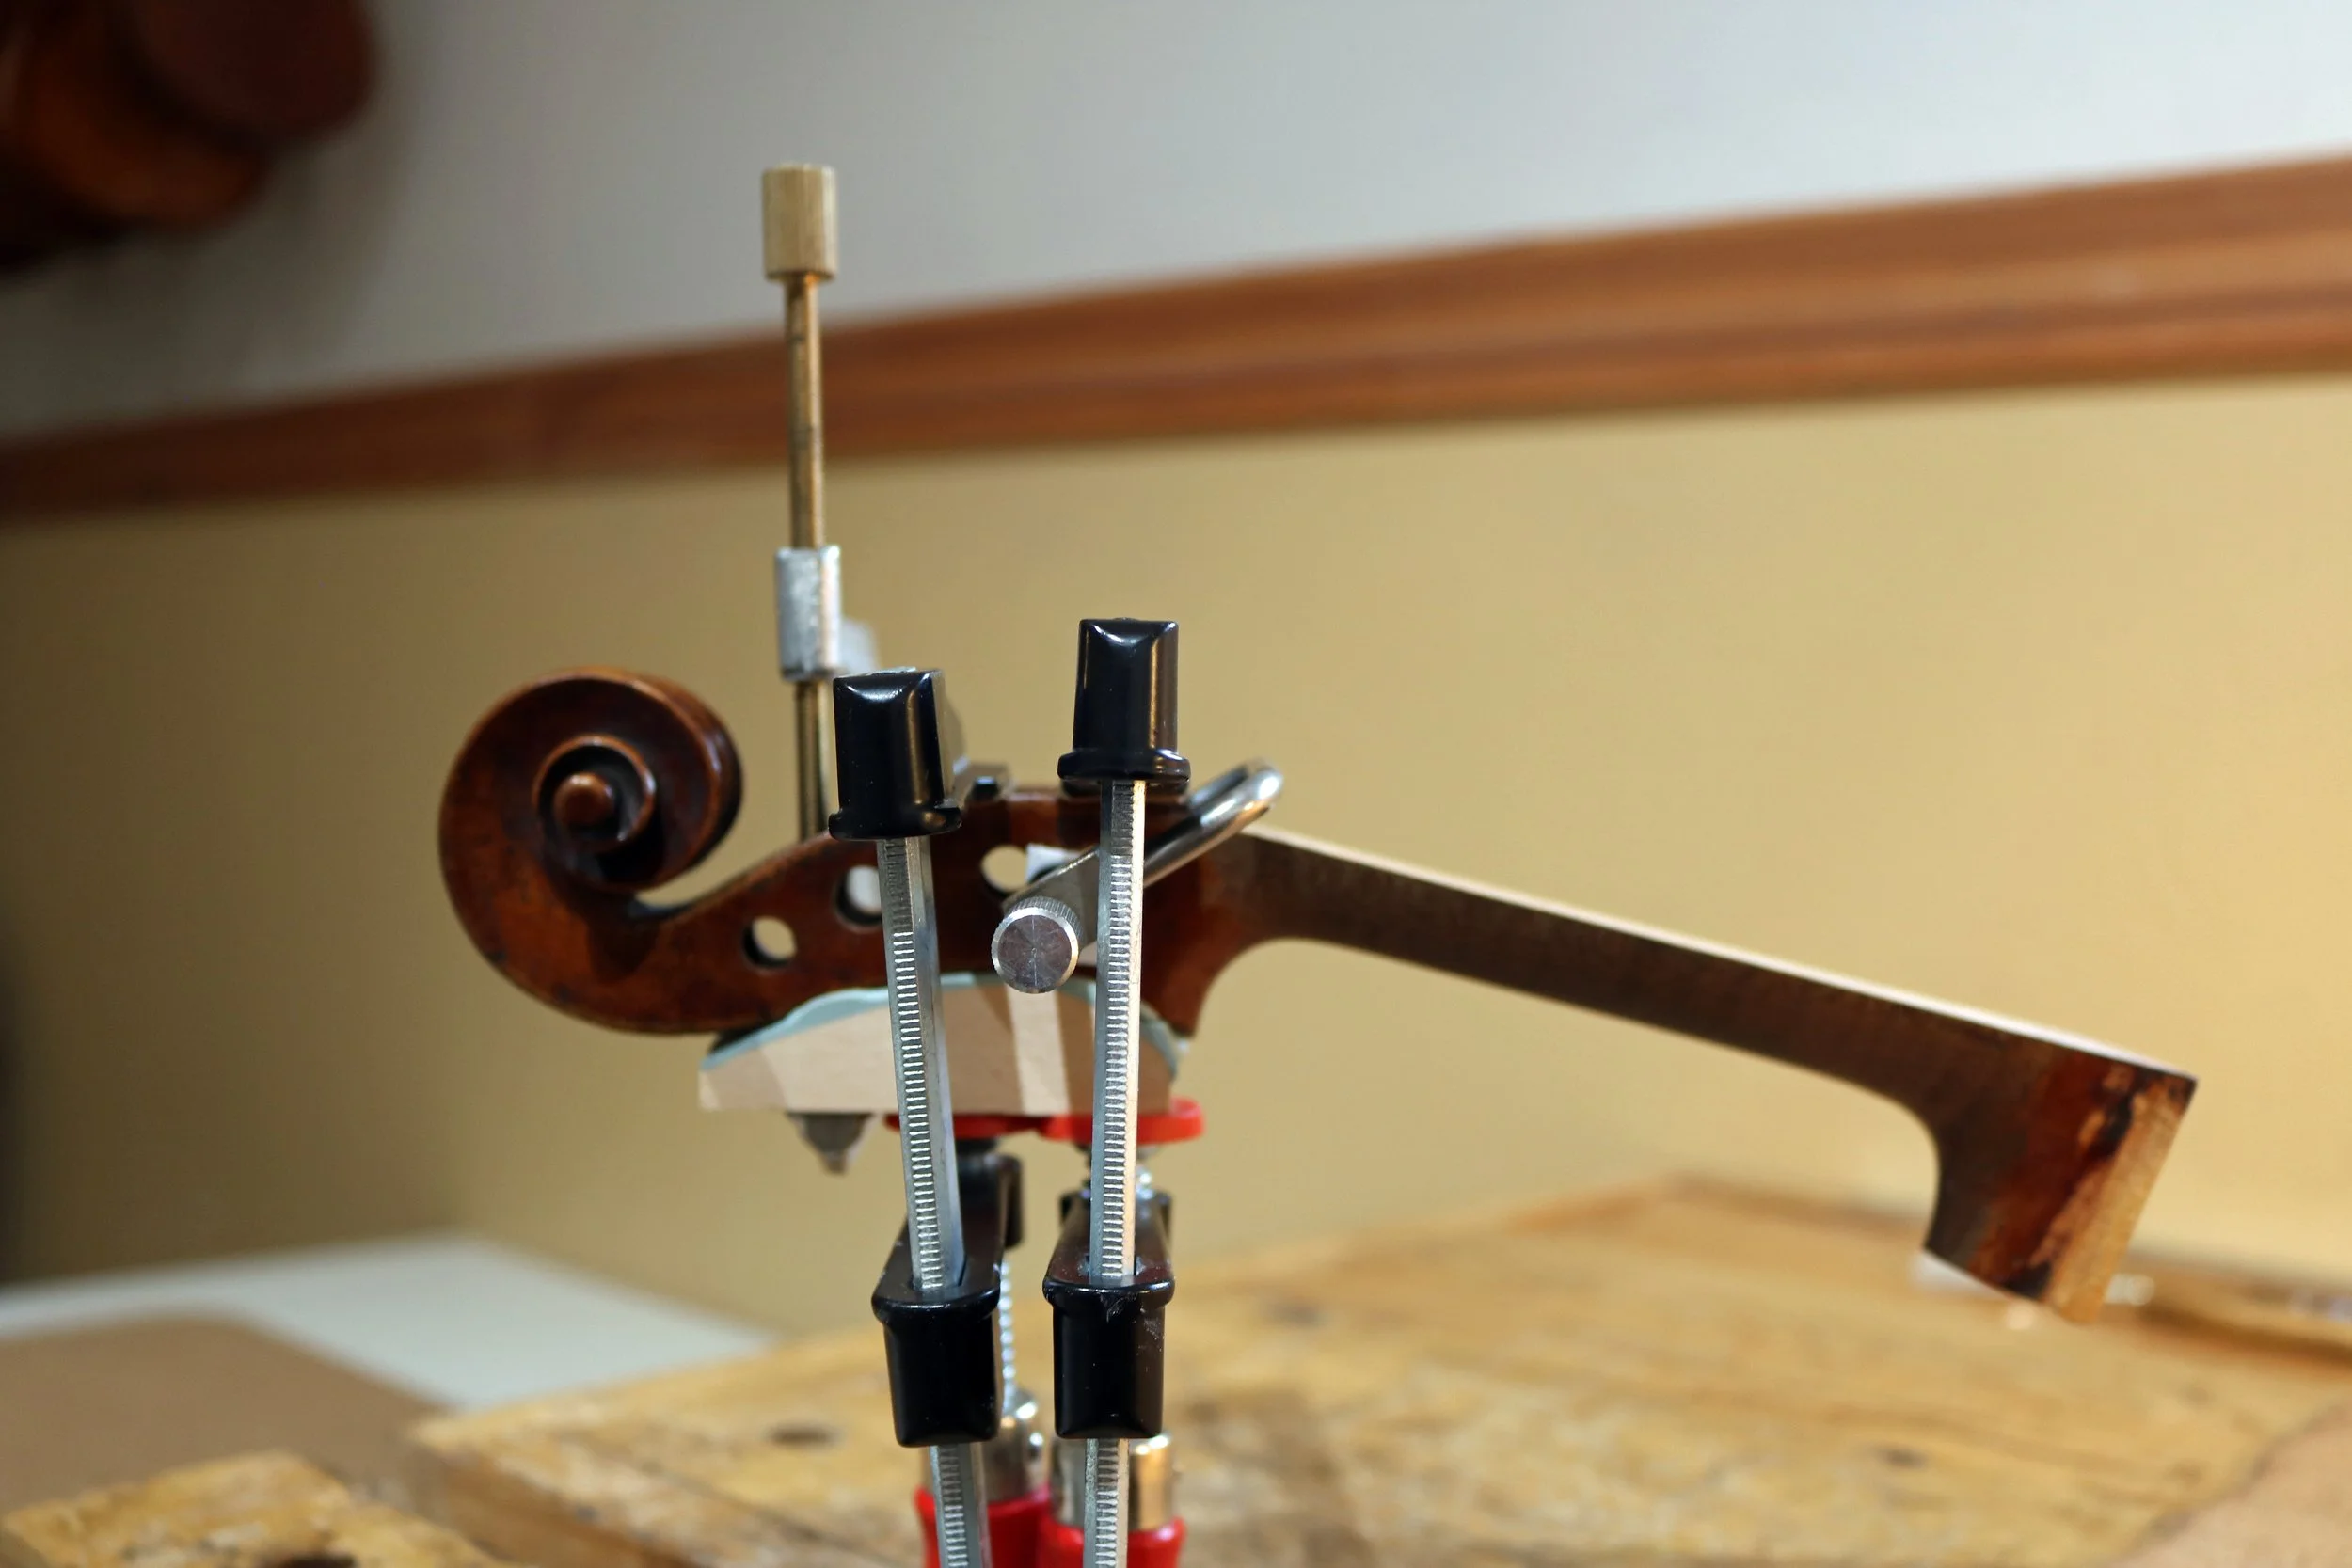
A basswood & Bondo counterform was made to protect the fluting, chamfer, and center ridge during clamping.
Phenolic tubing is an extremely durable material to be used is some bushing situations, and was installed here for the G & E pegholes.
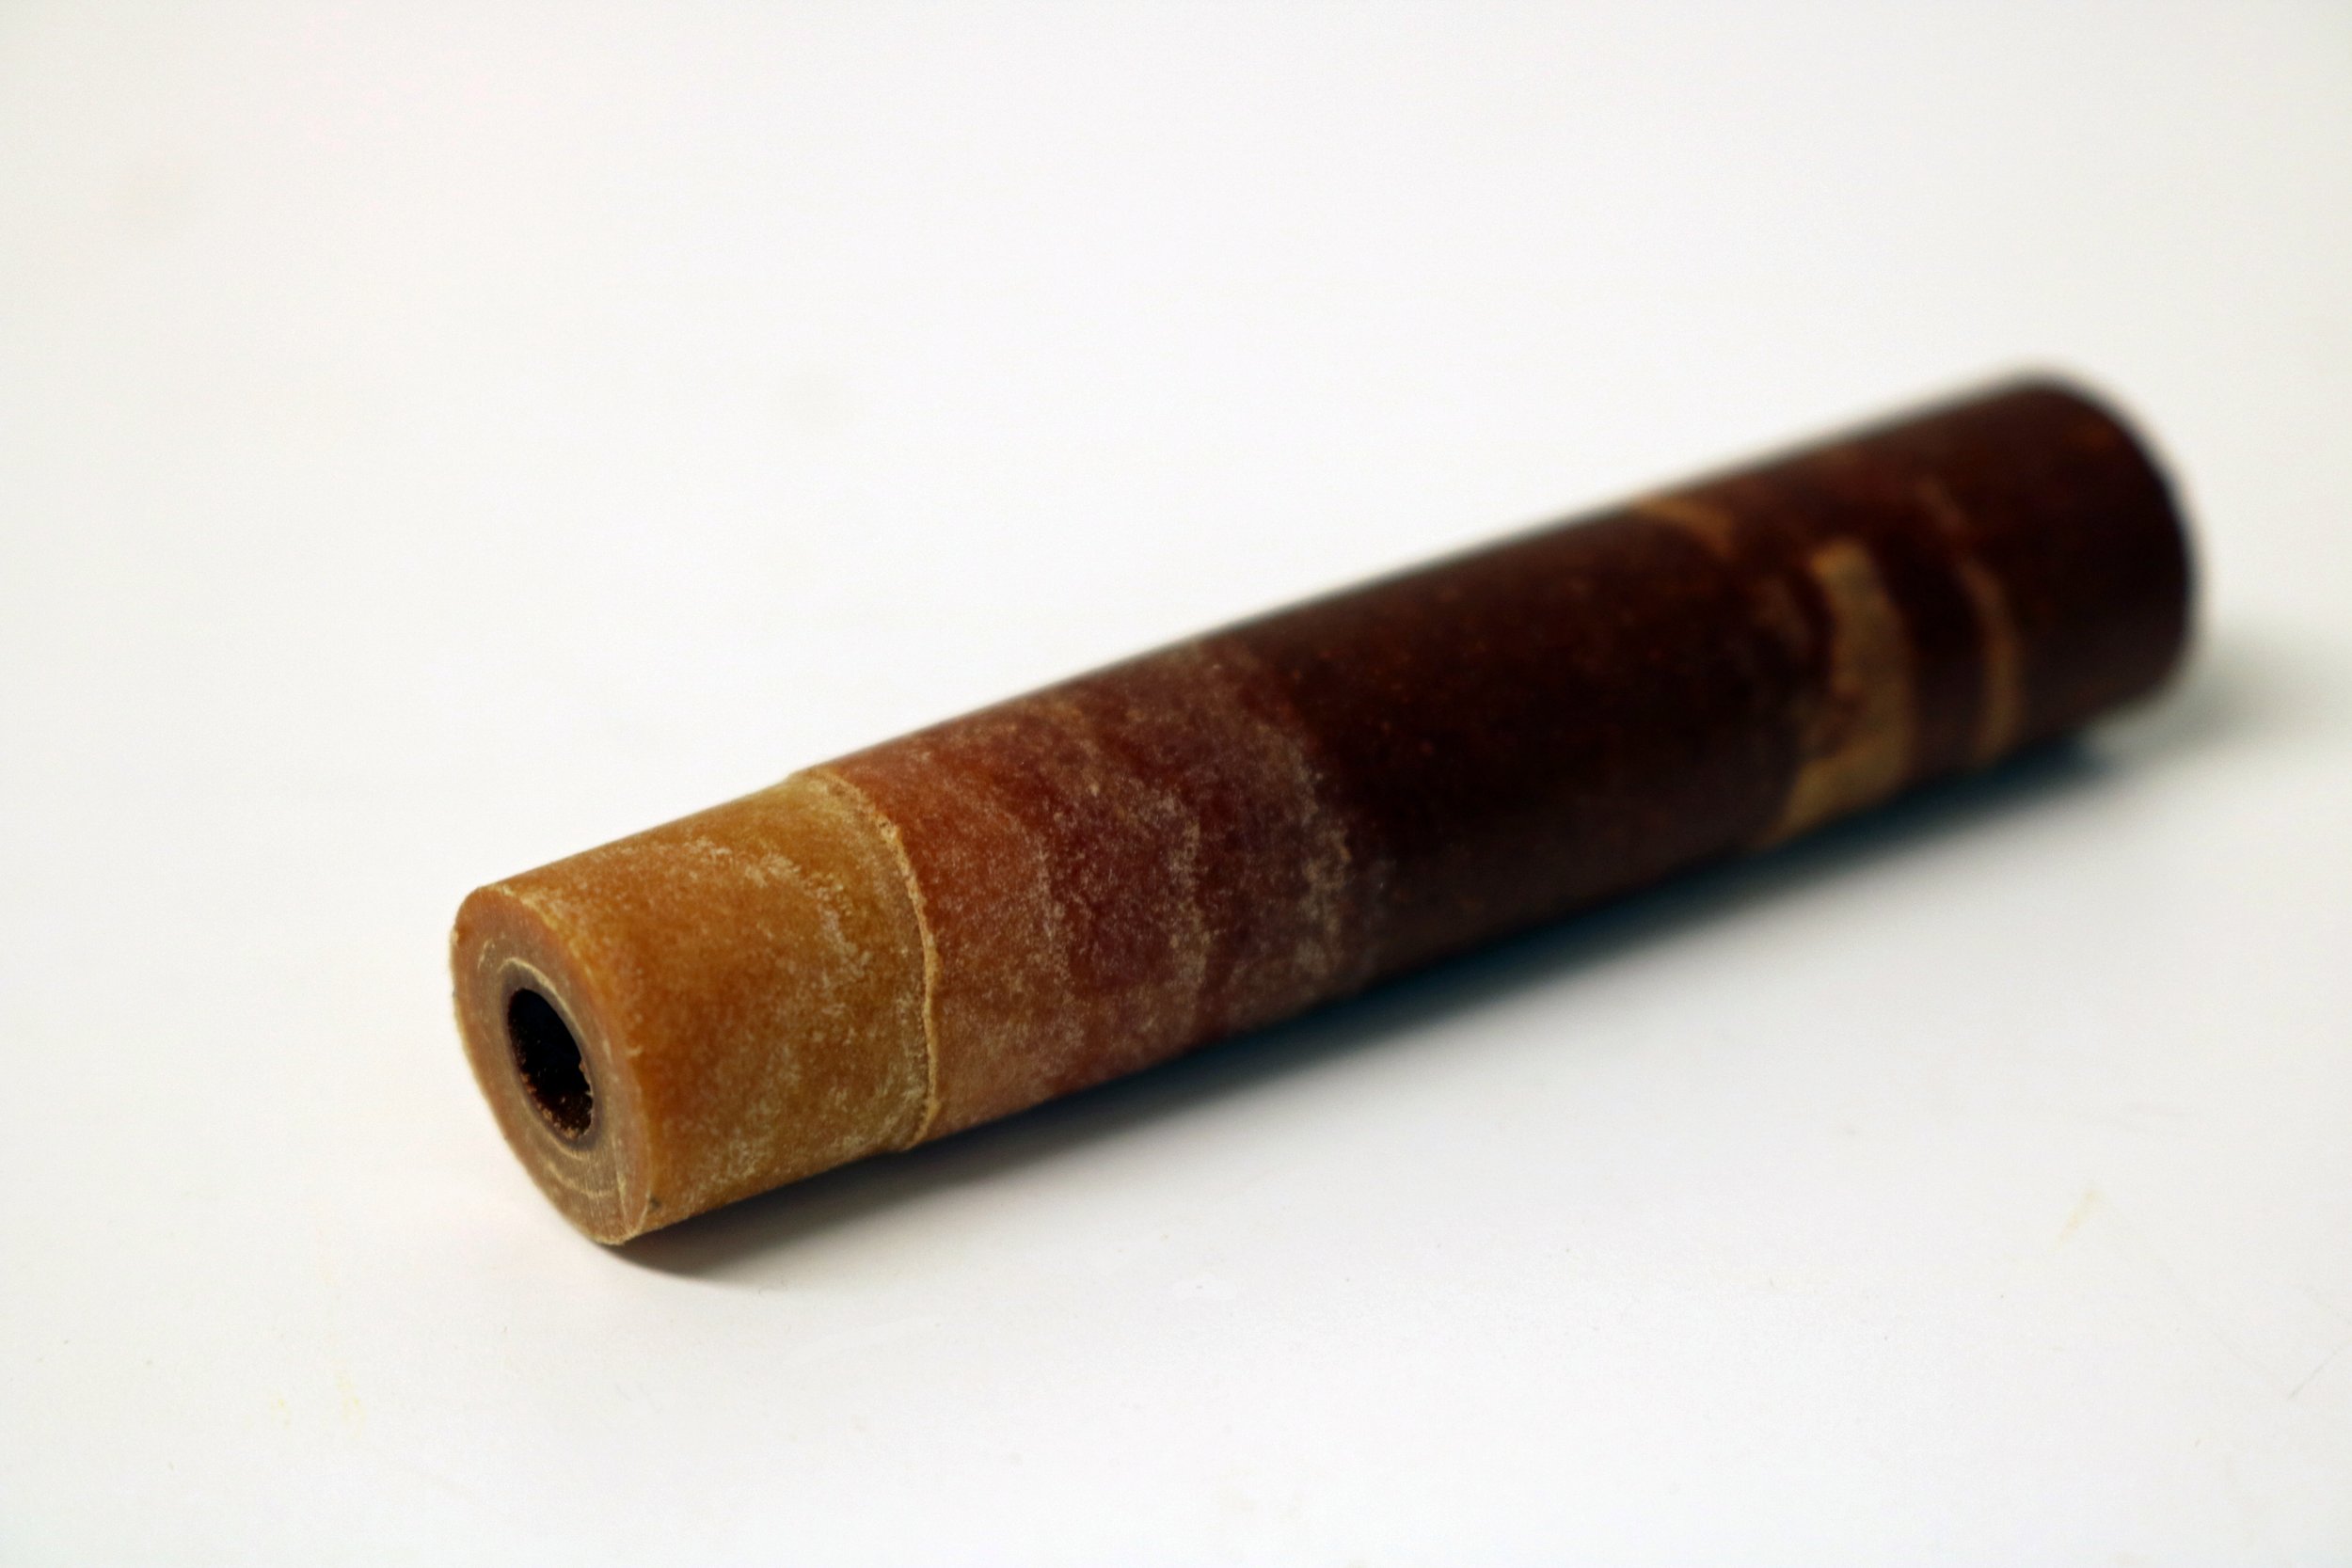
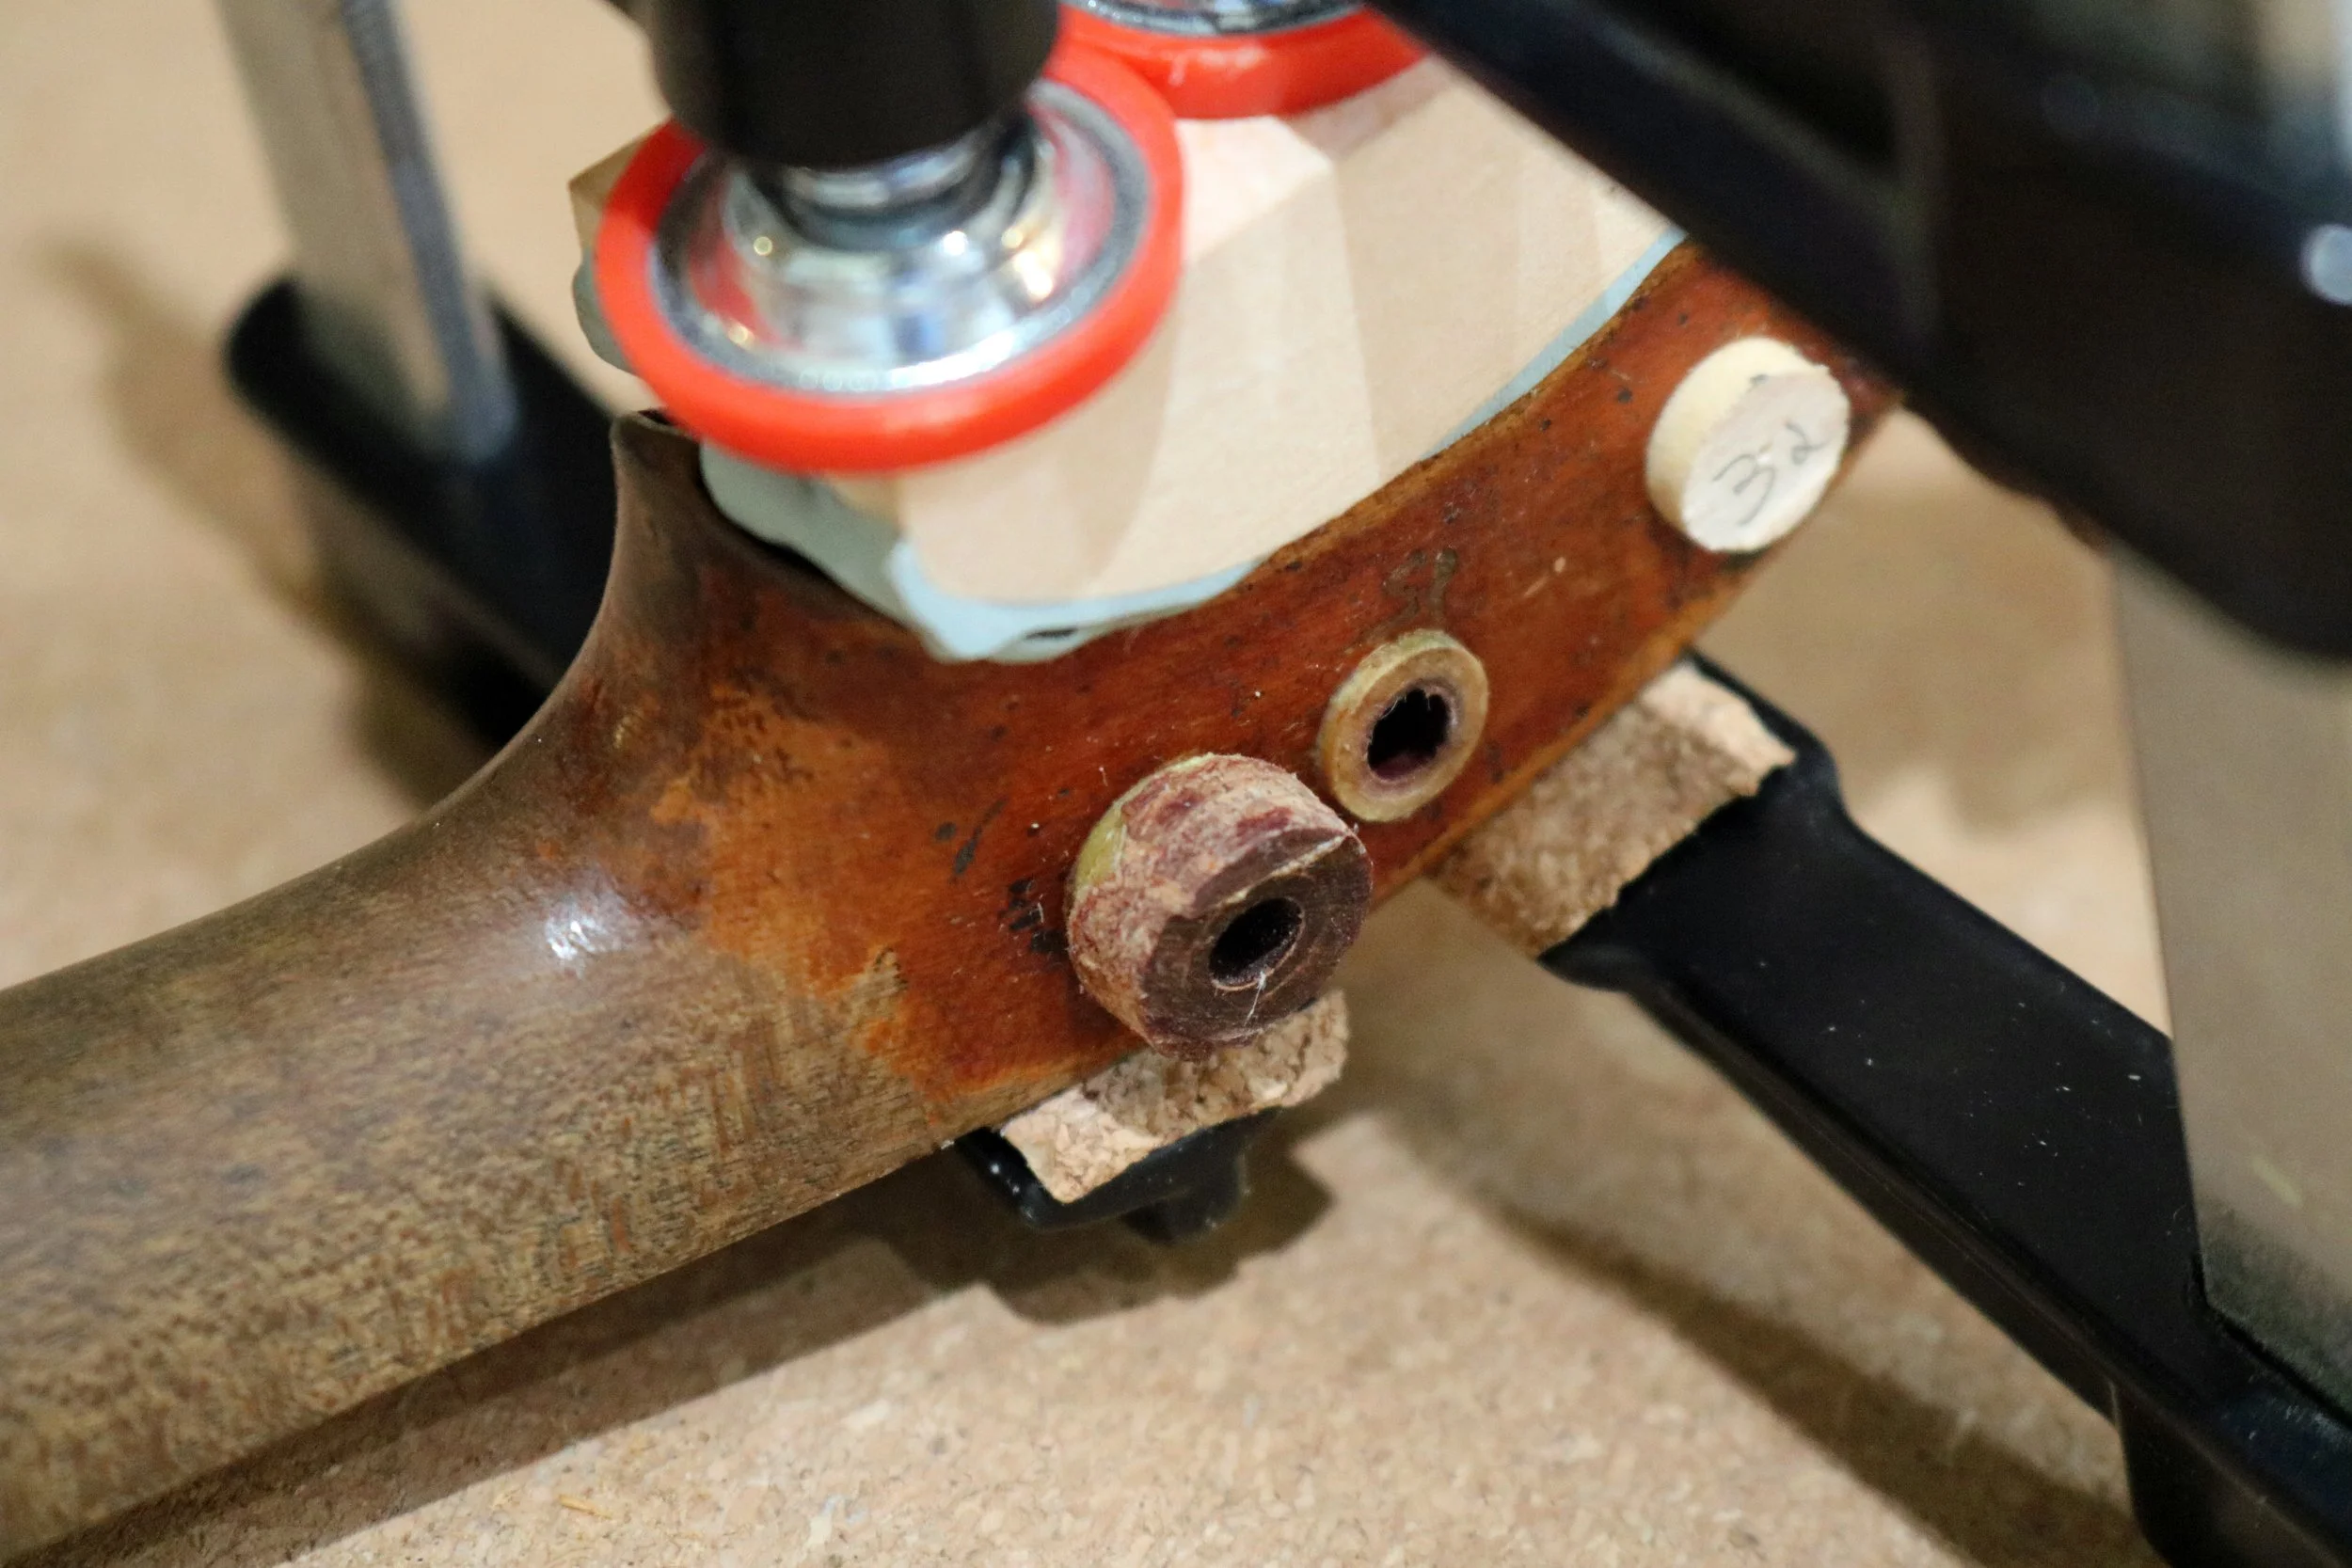
The cracks should remain clamped when bushings are glued.
The pegbox bass side is secured and looking much better already.
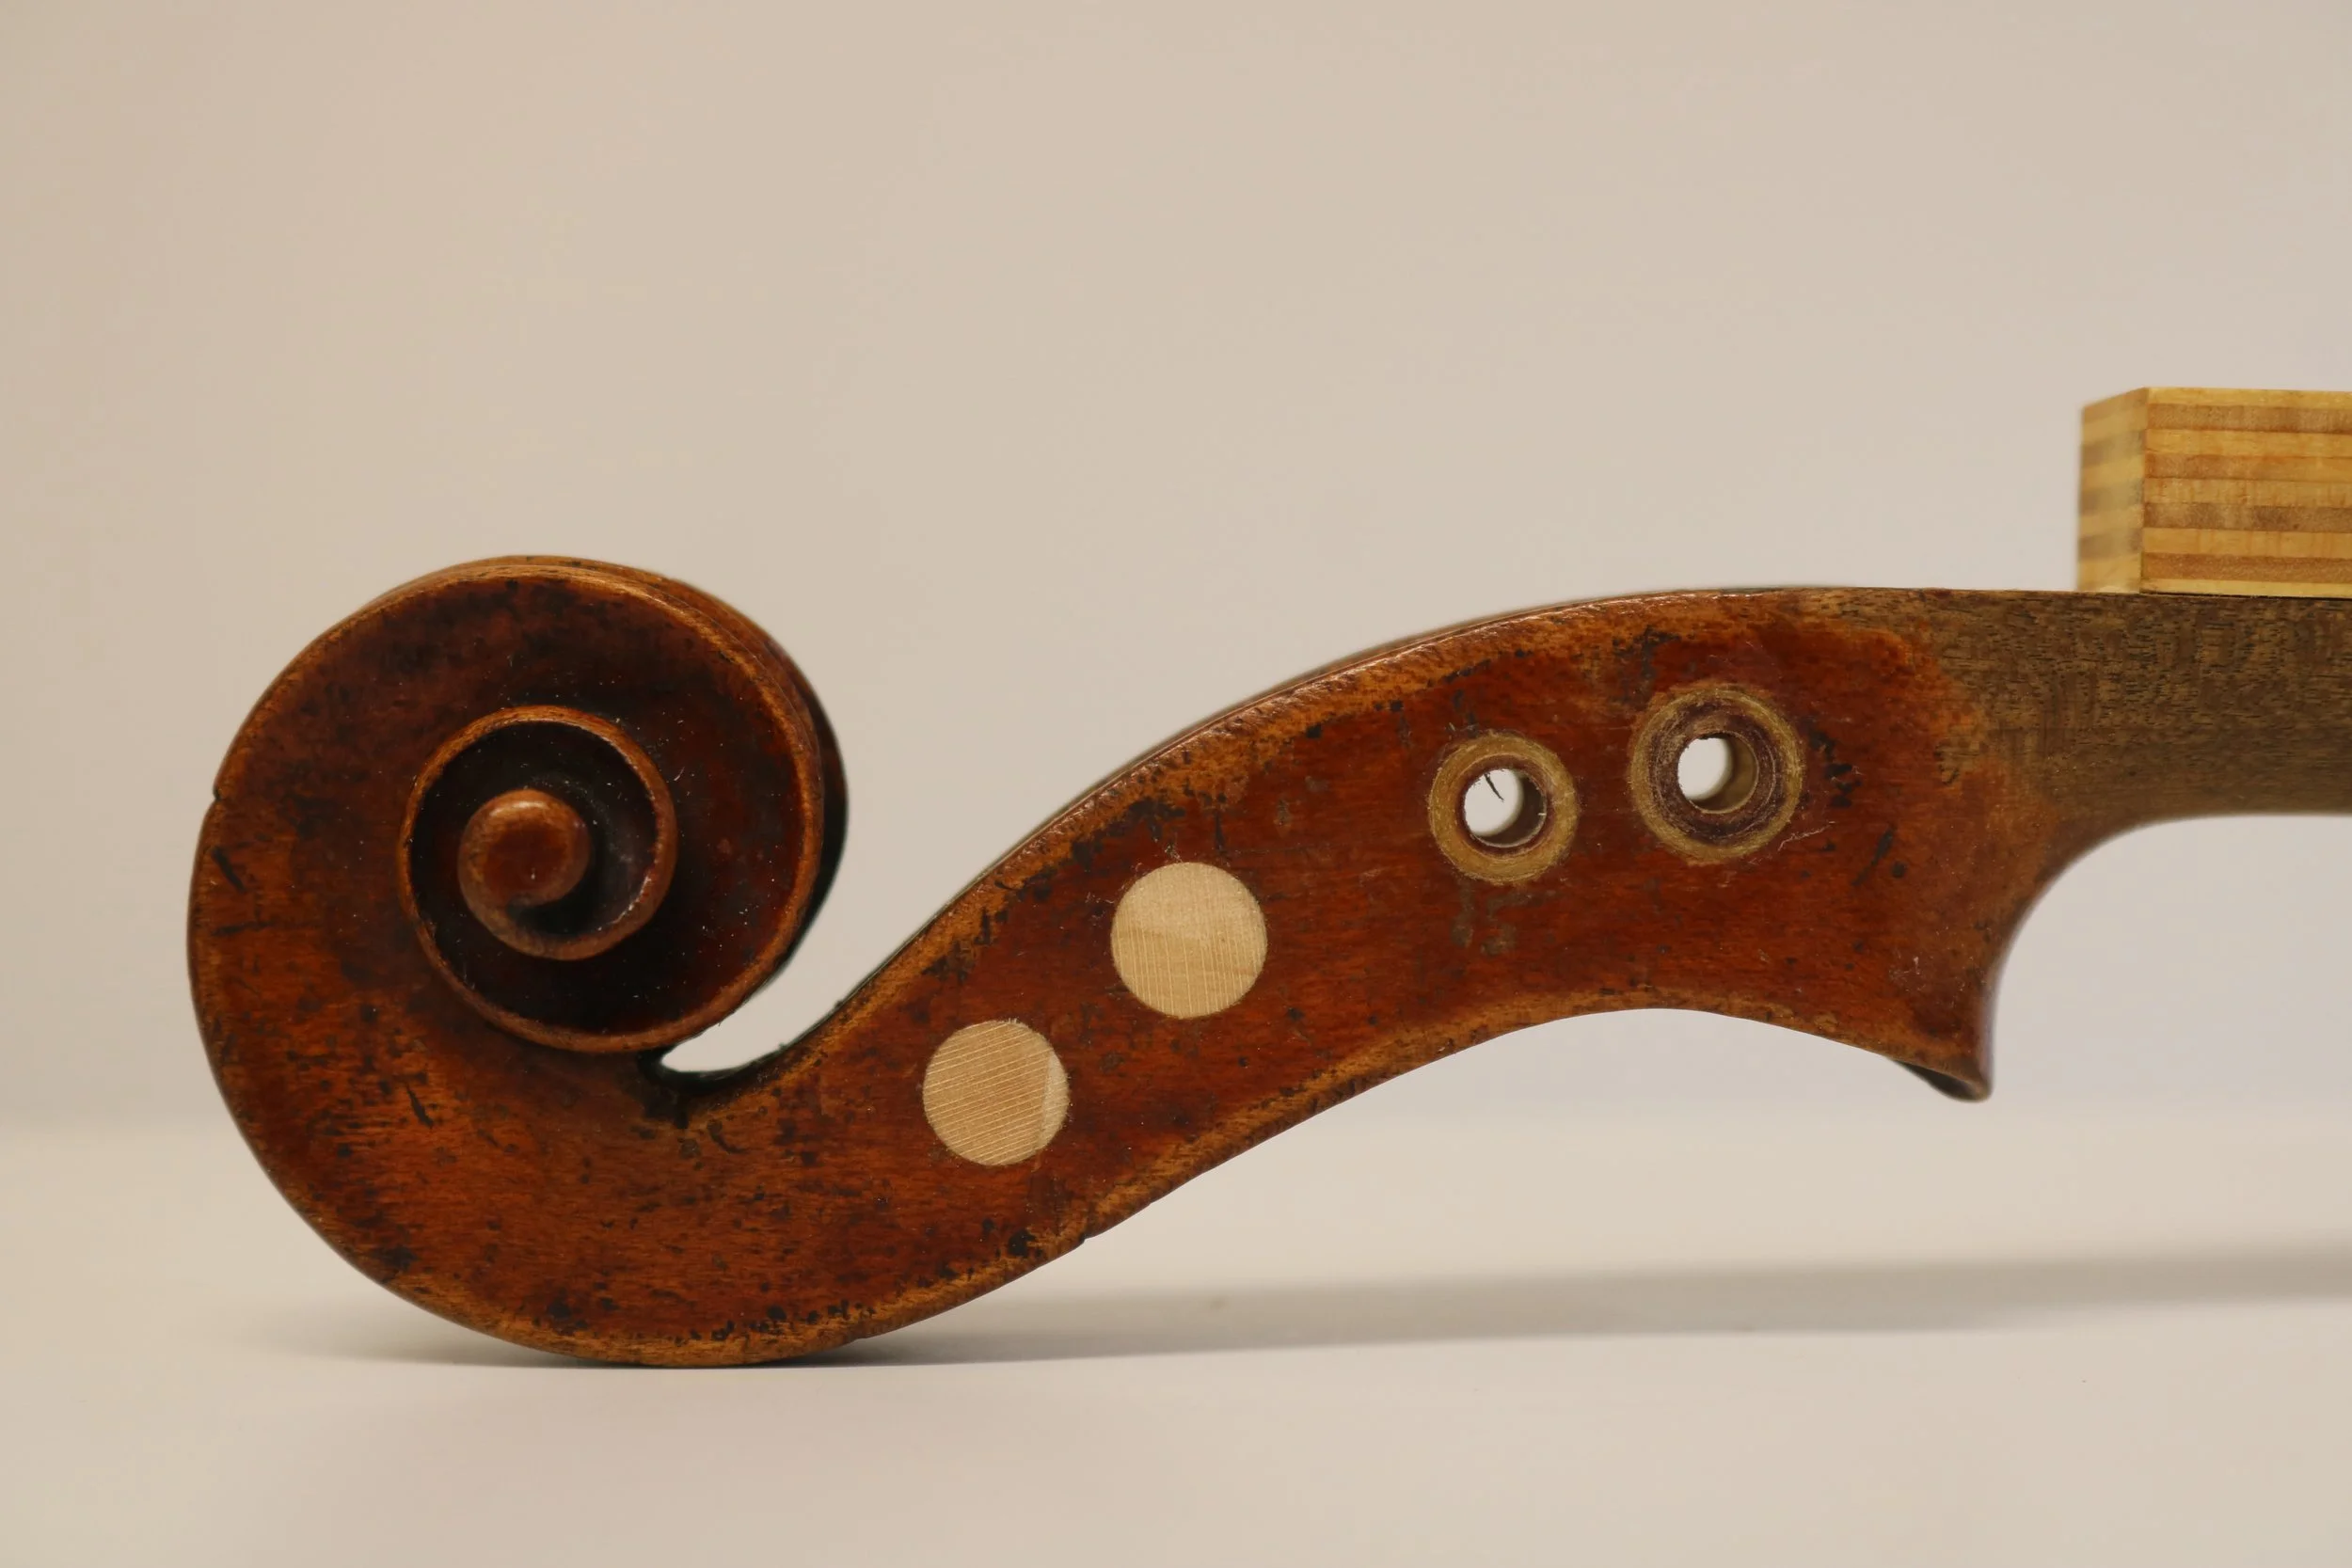
The phenolic tubing we use is hollow, so the two lower bushings were bushed again with endgrain maple.

To support the pegbox walls during the fitting and shaping of a new patch, we used bondo to create an interior counterform.
The wood surfaces were first protected with tape.
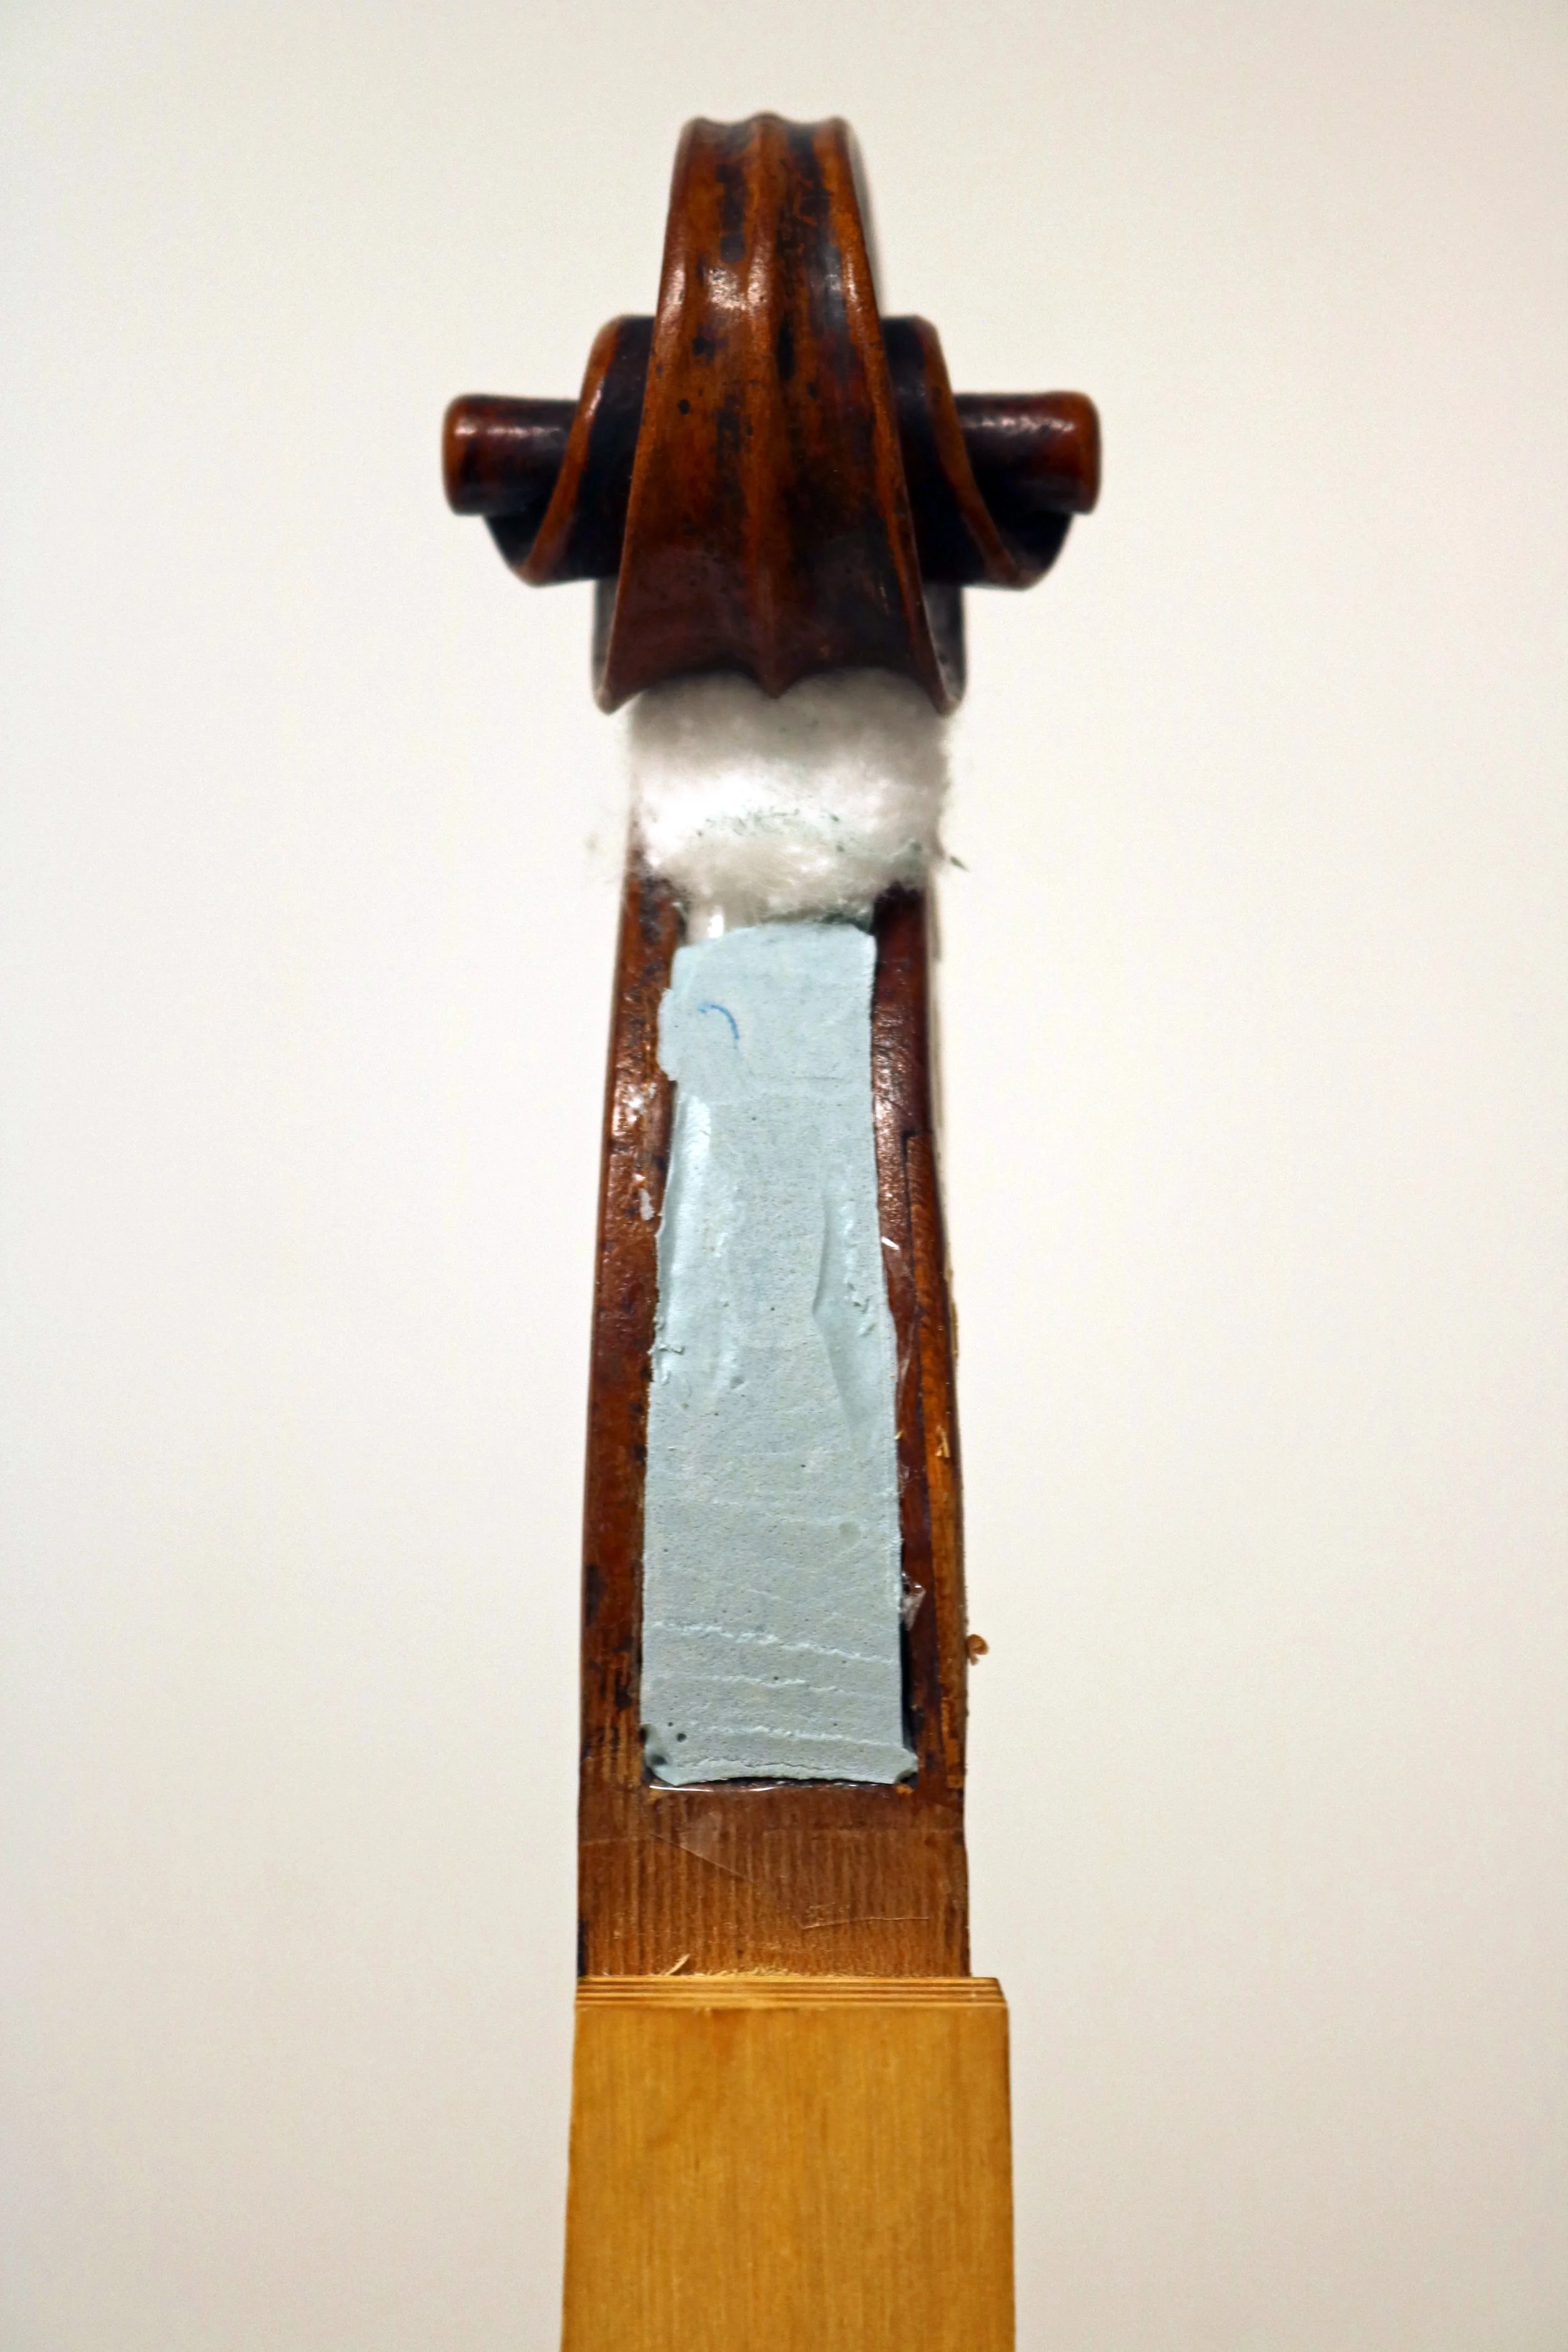
After the excavation of the old cheek-
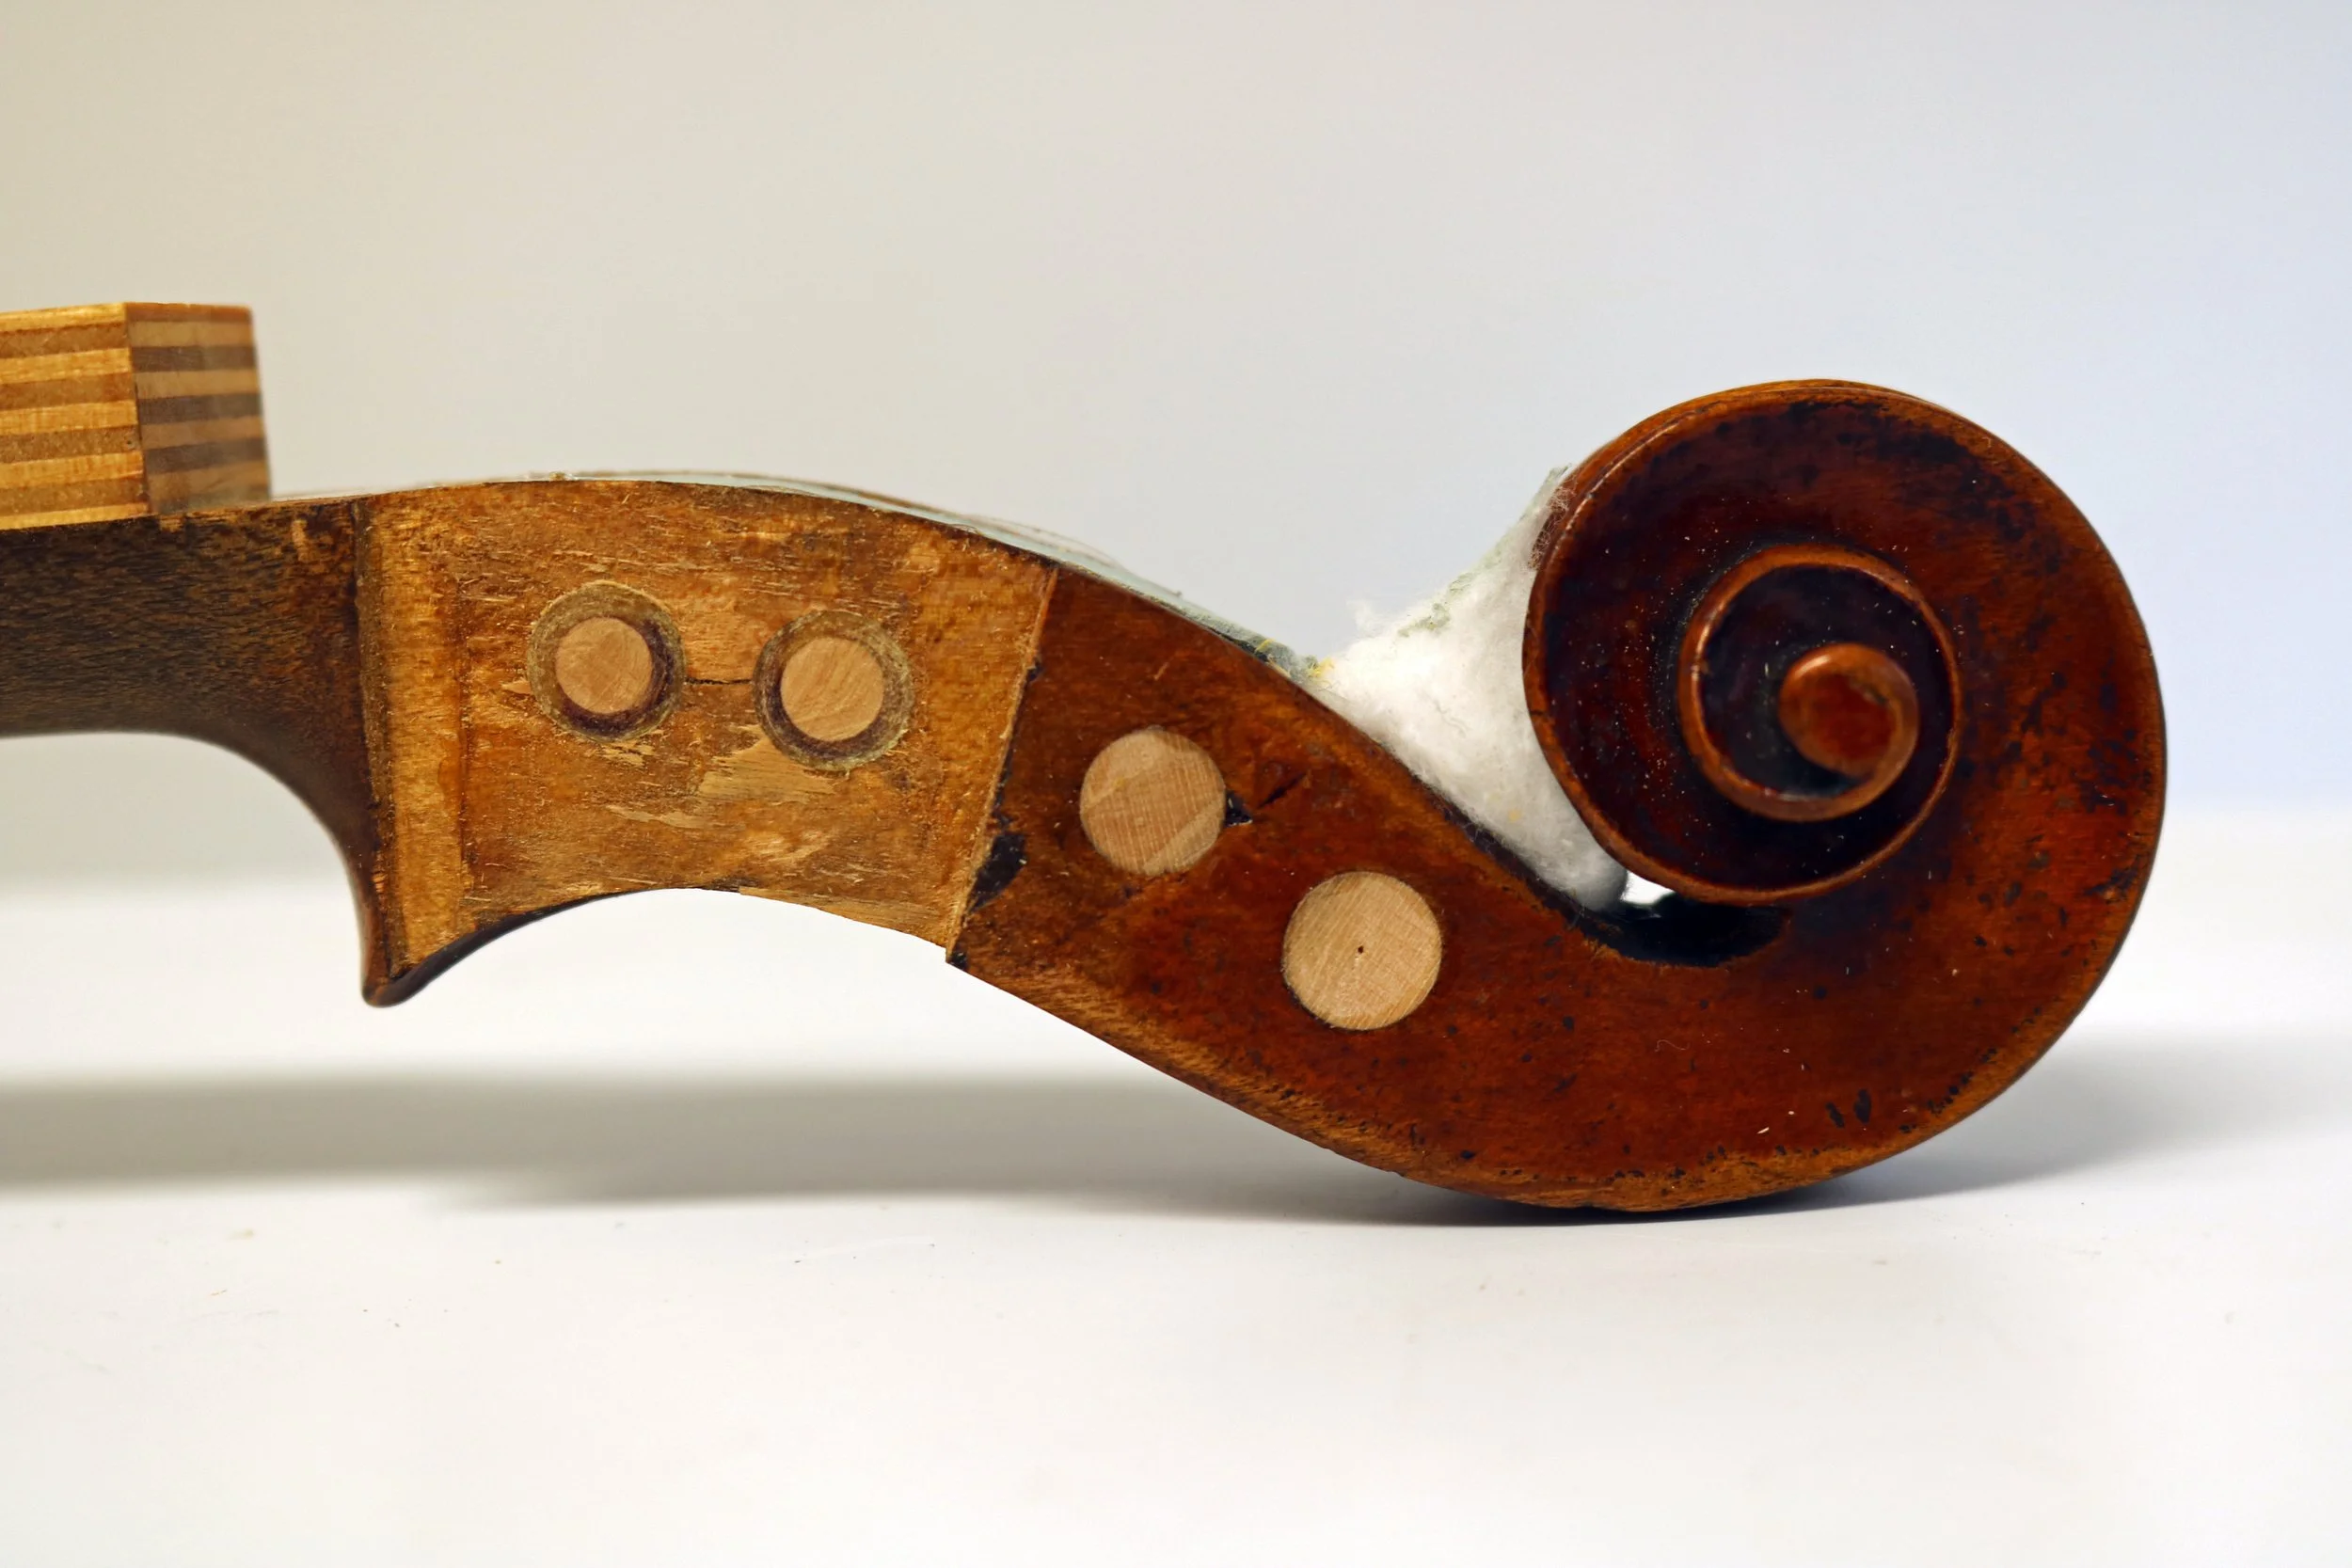
With few exceptions, we always avoid end-grain glue joints, and believe that there is more long term stability in a smooth taper.
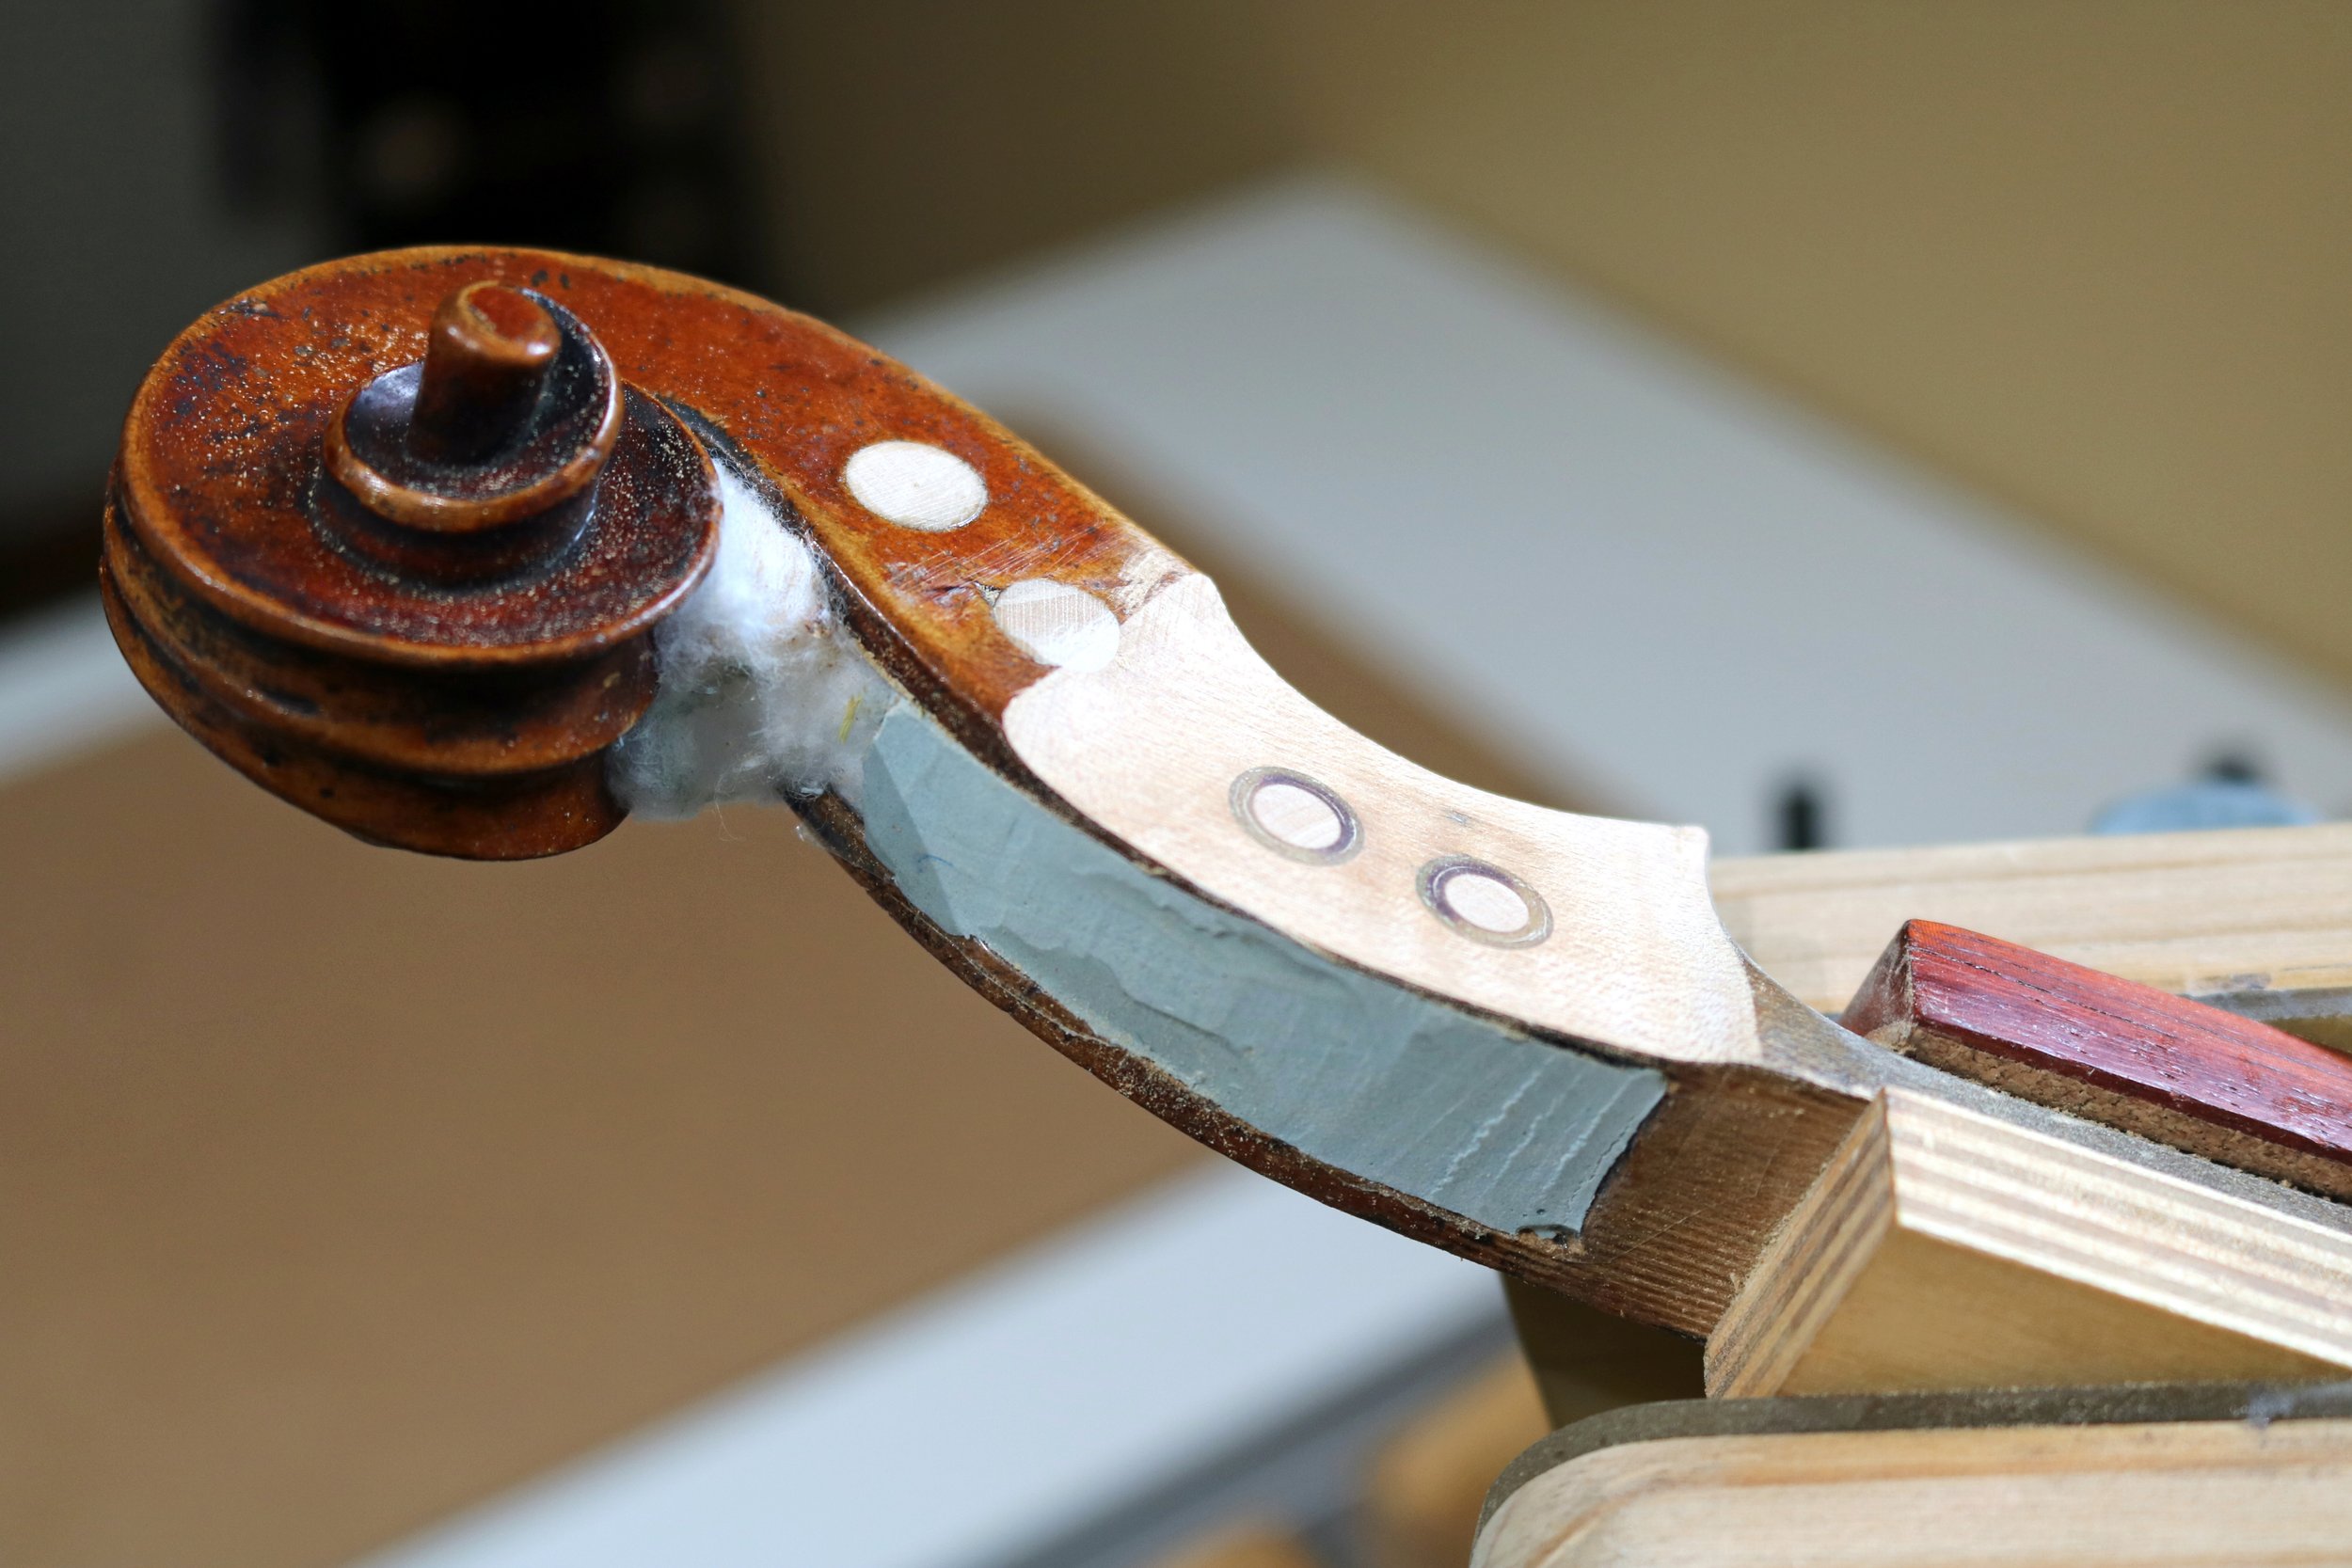
Happy with our preparation of the affected area, it was time for 3d scanning.
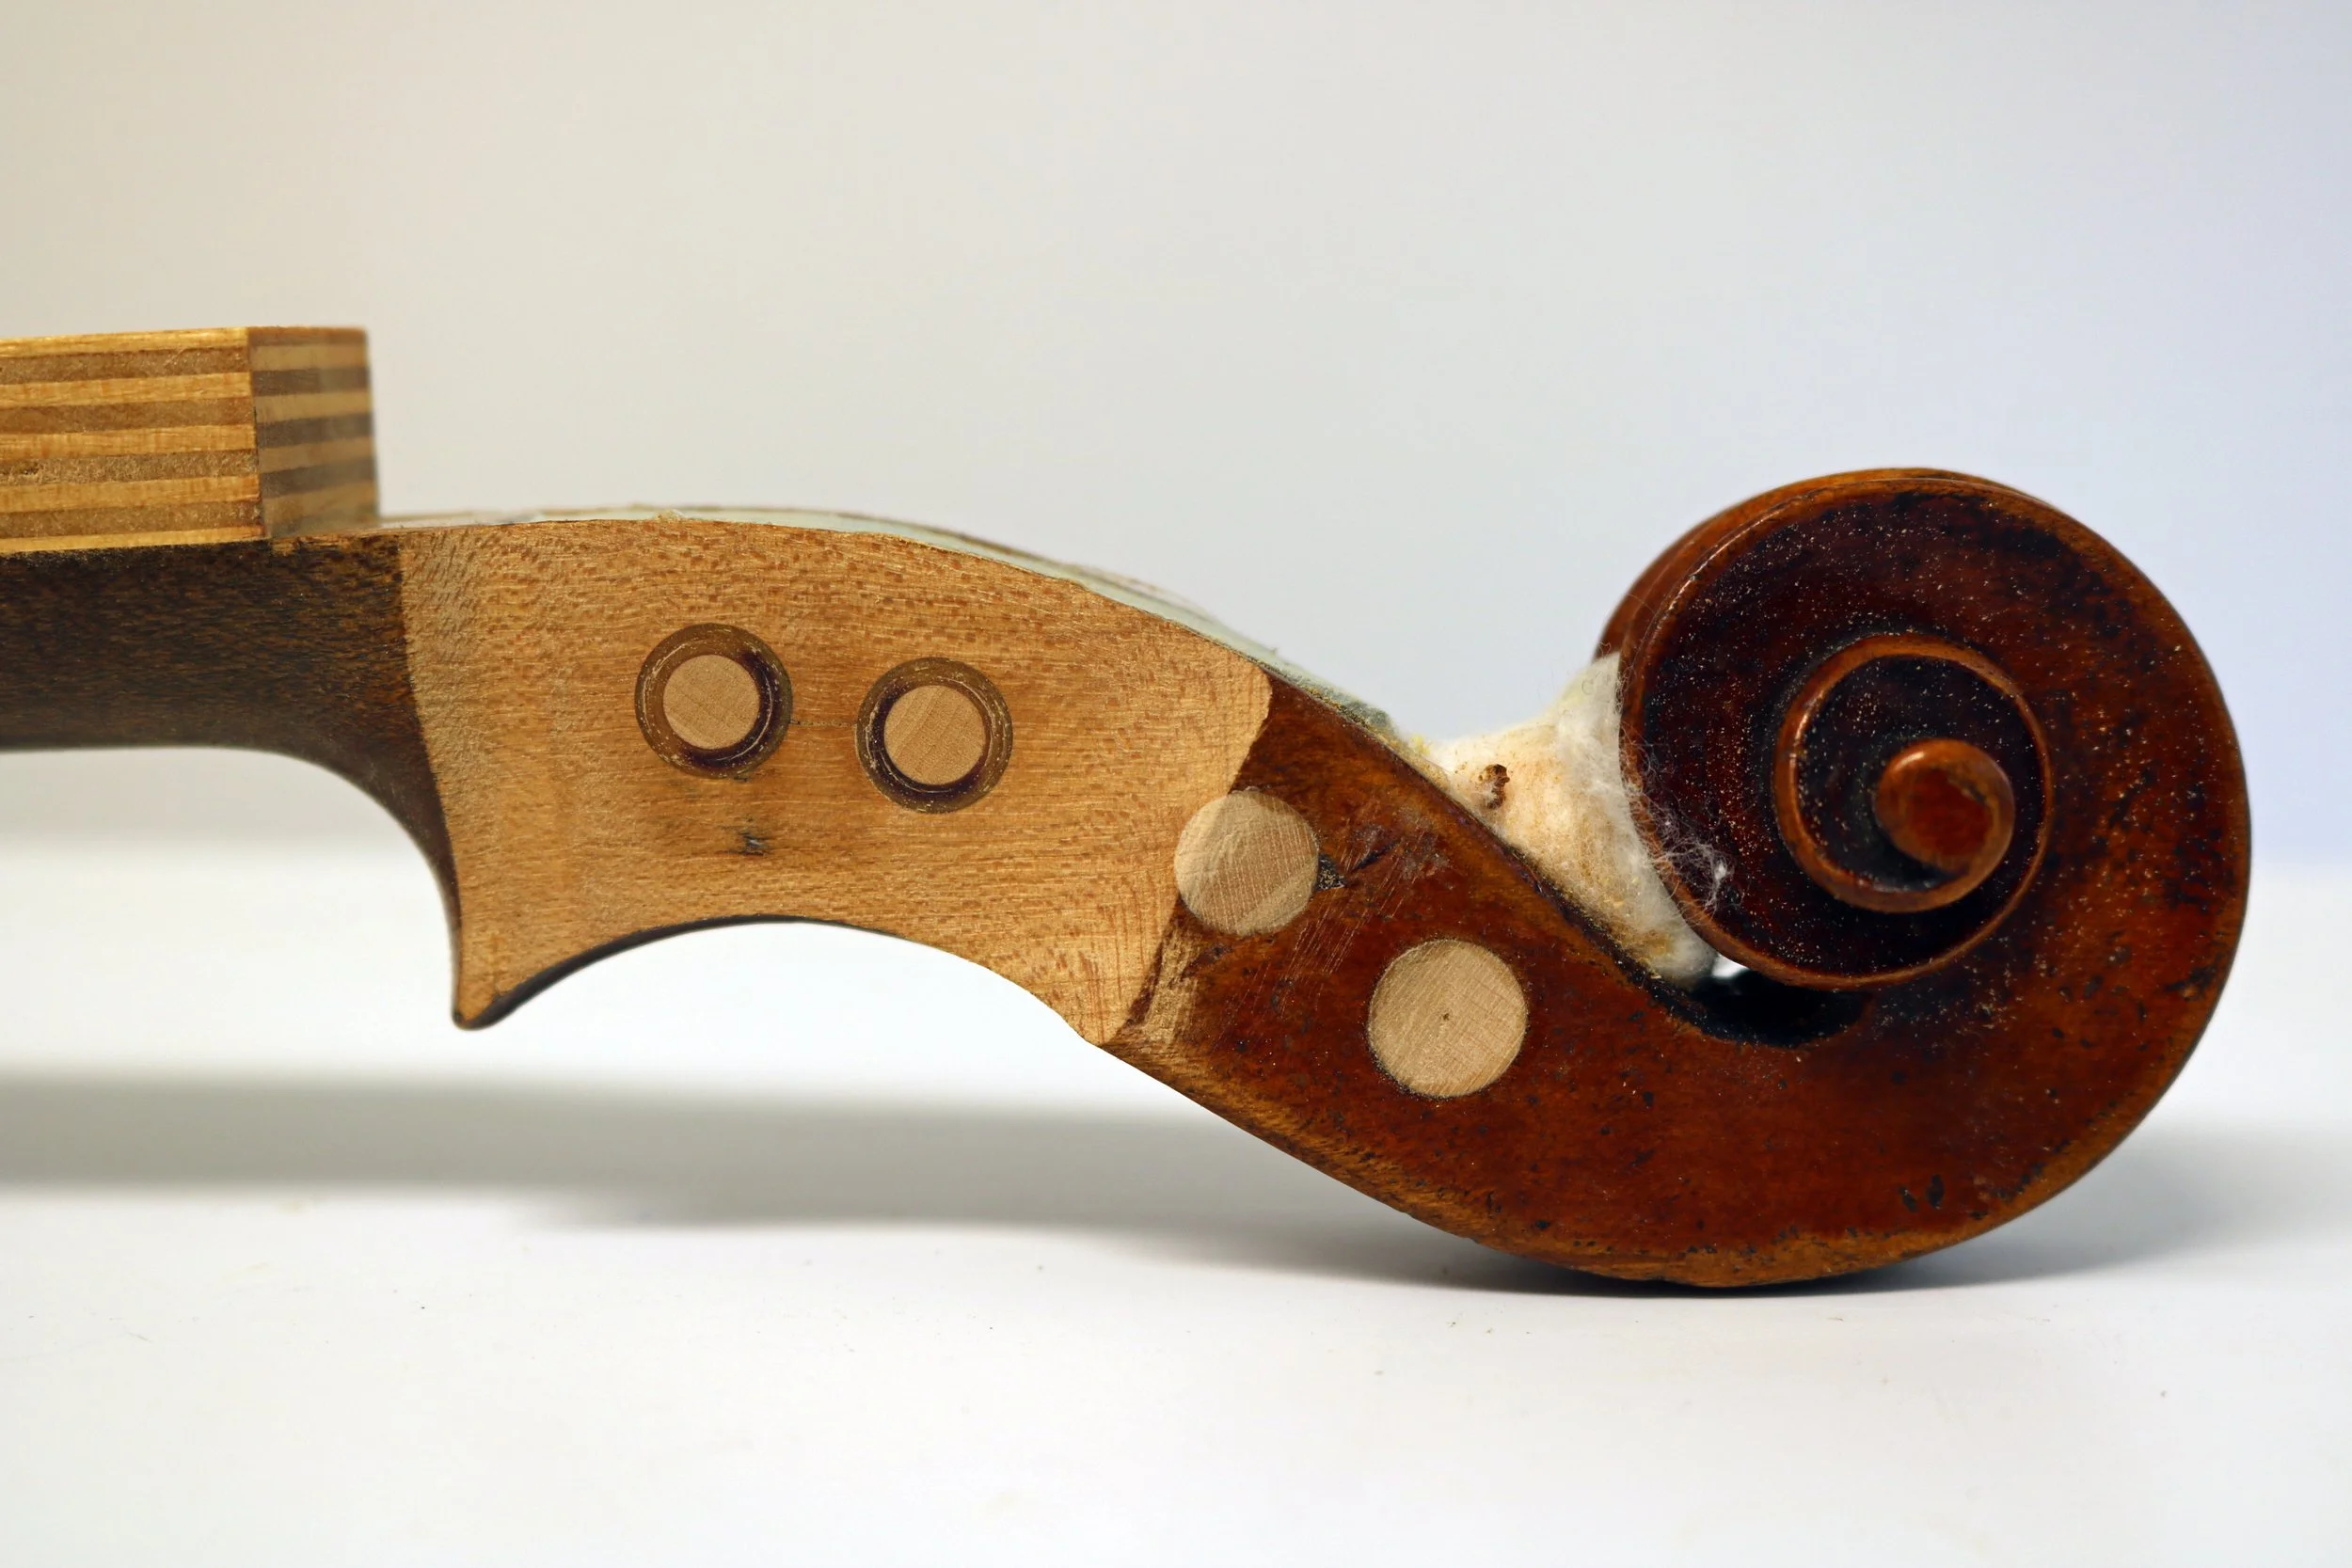
Note the use of two locater nipples here-
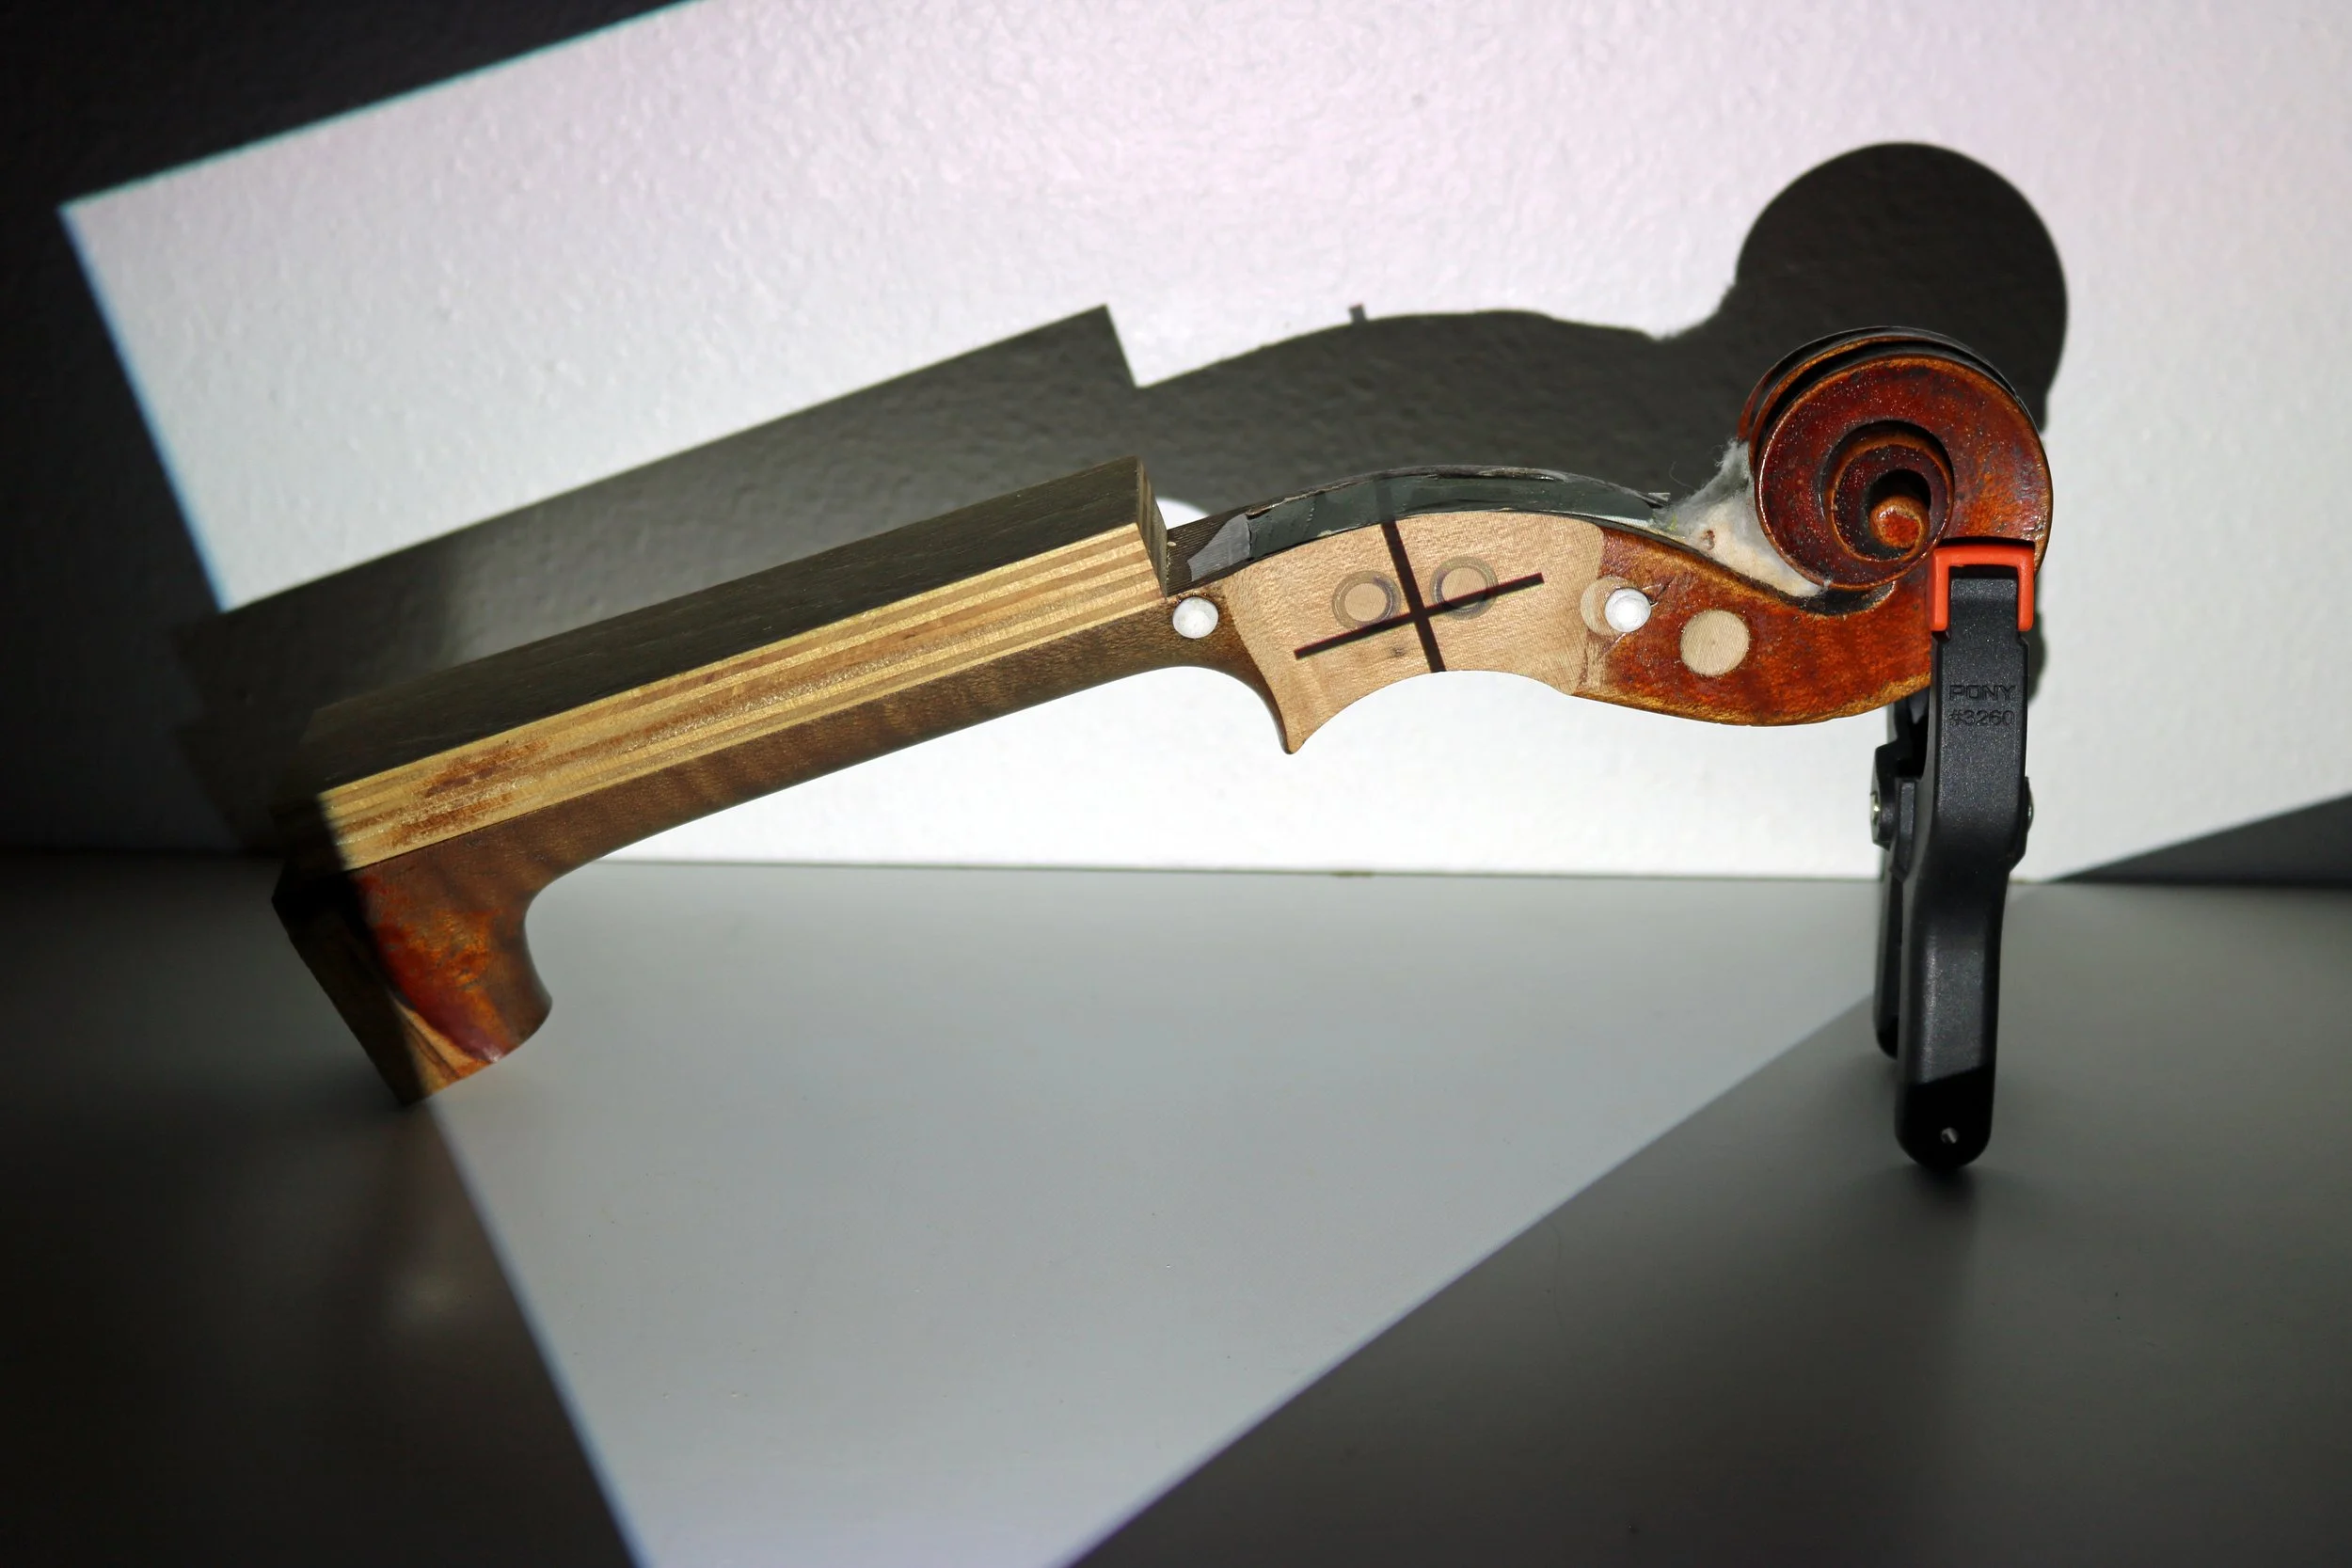
The resulting scan-
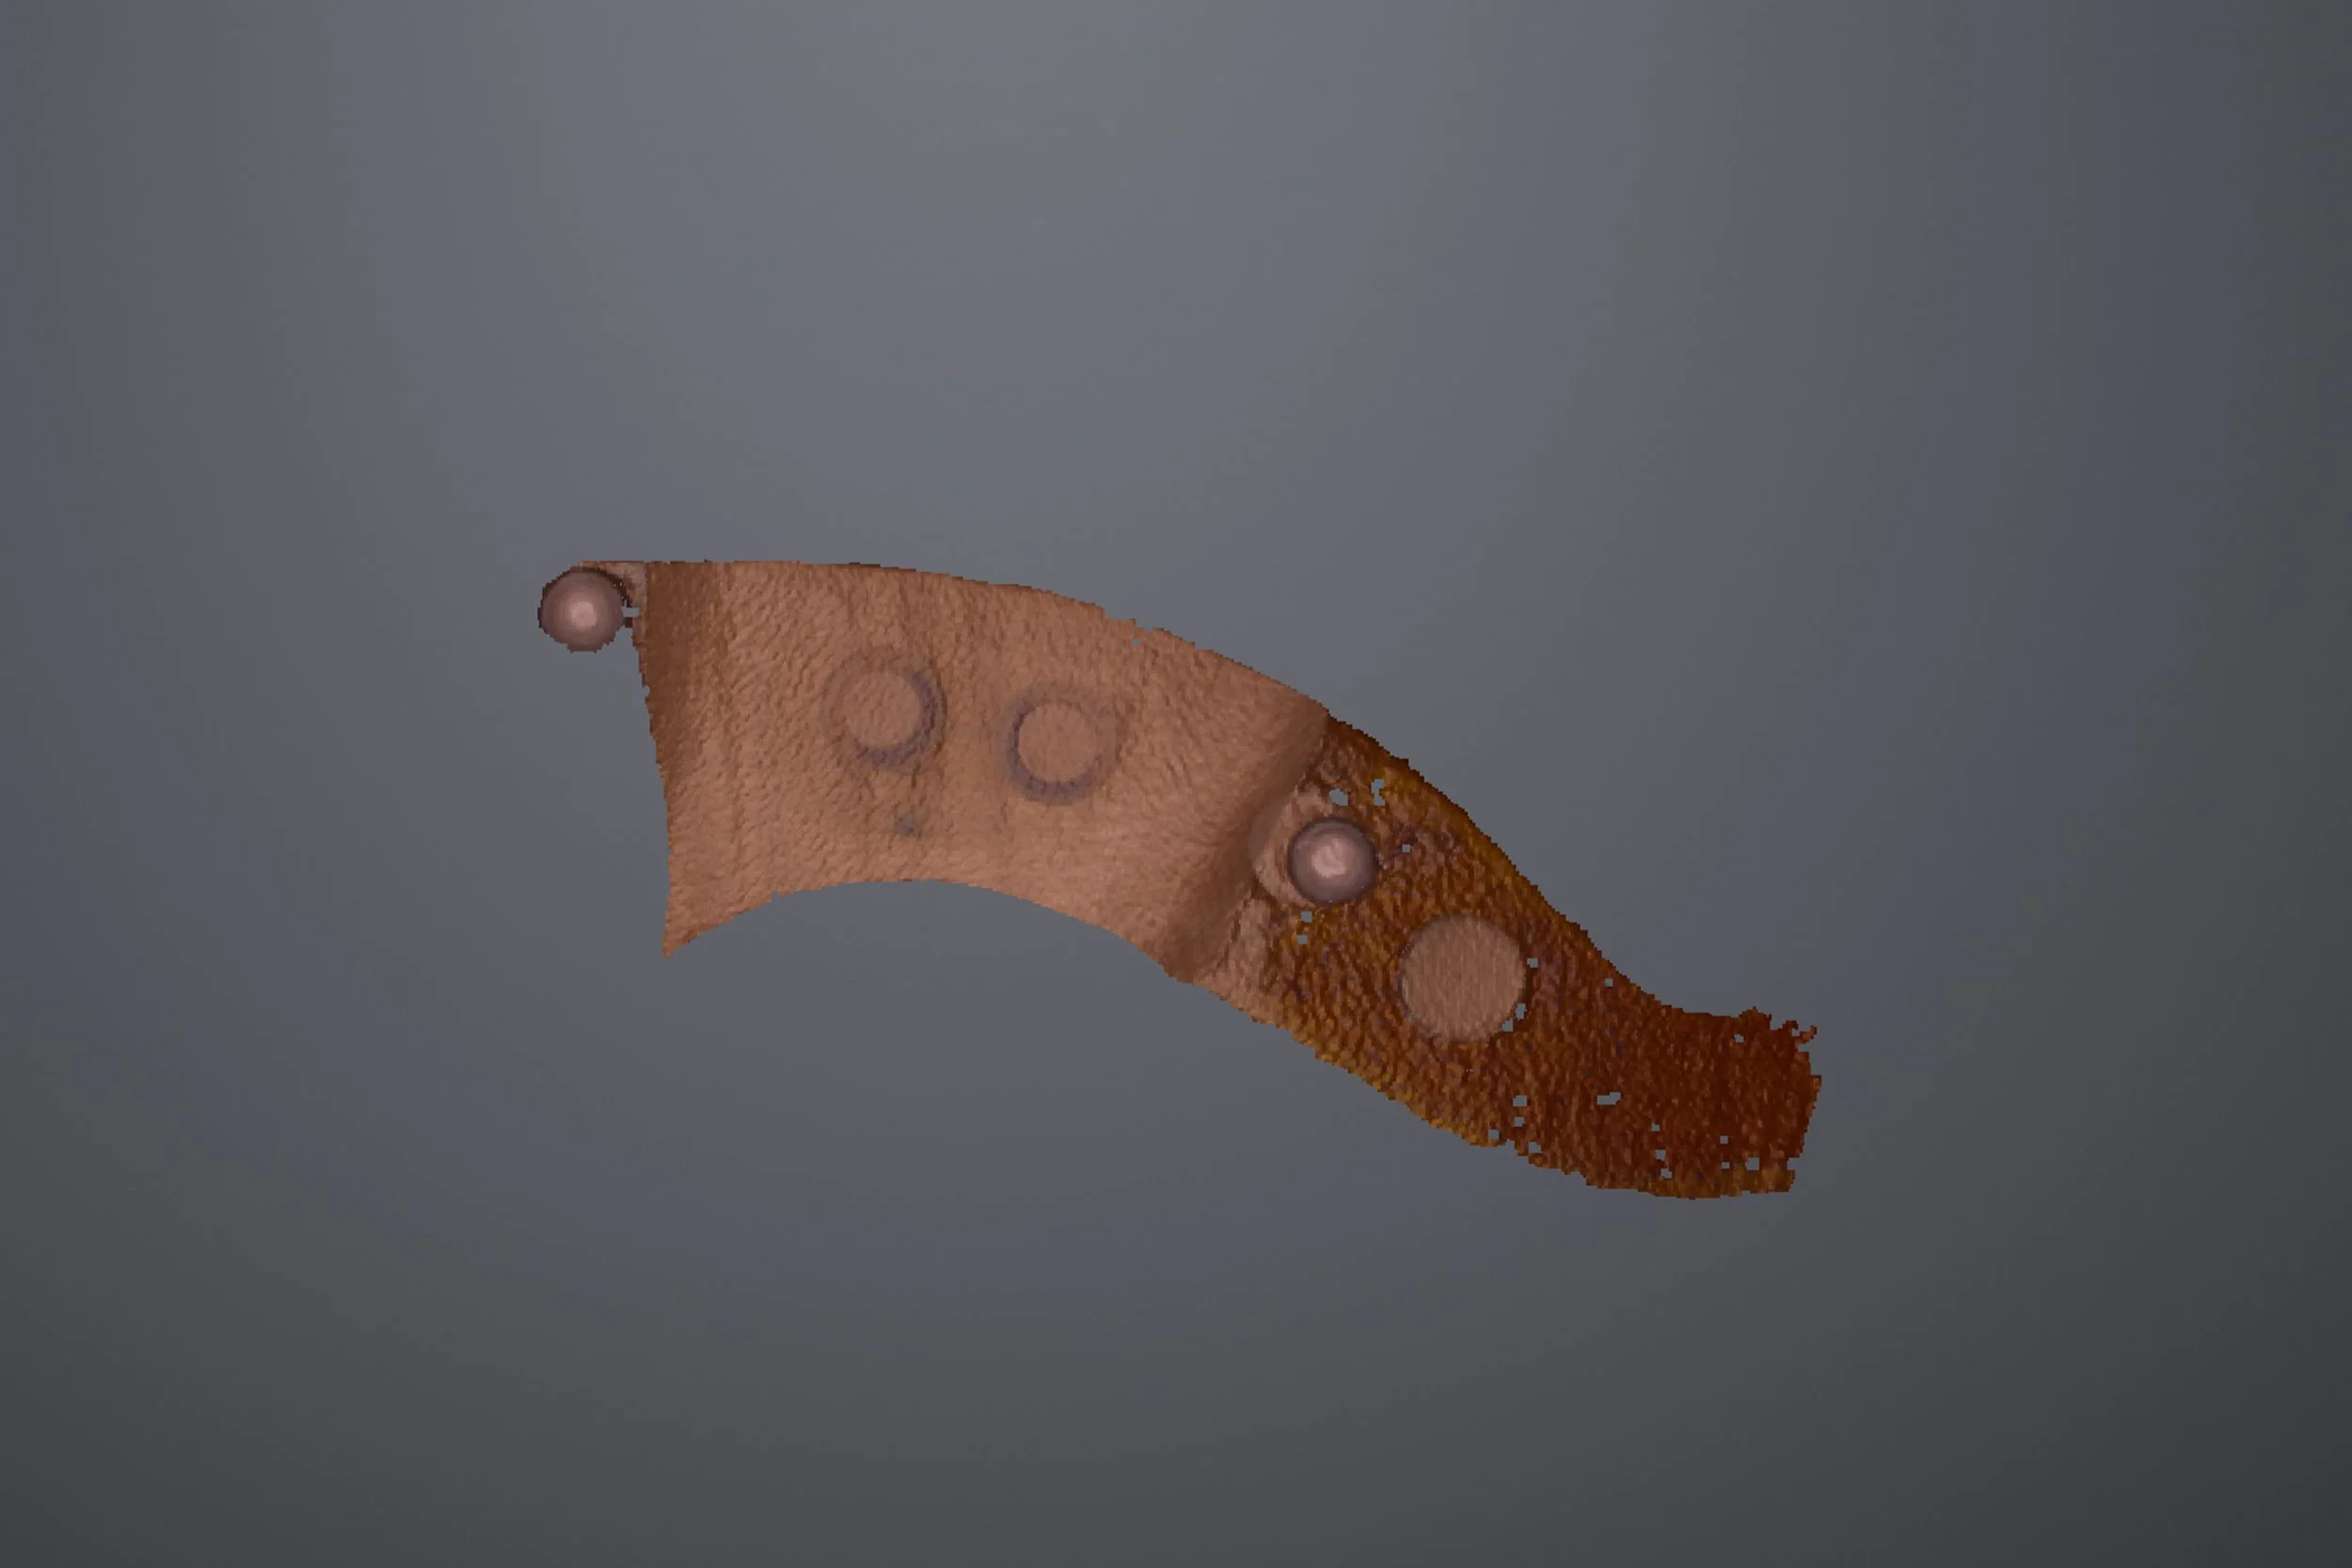
Do to the nature of the wood removal, it was necessary to sculpt some “digital wood” onto our model for the re-creation of the rear chamfer and ducktail.
We achieved this using Blender.
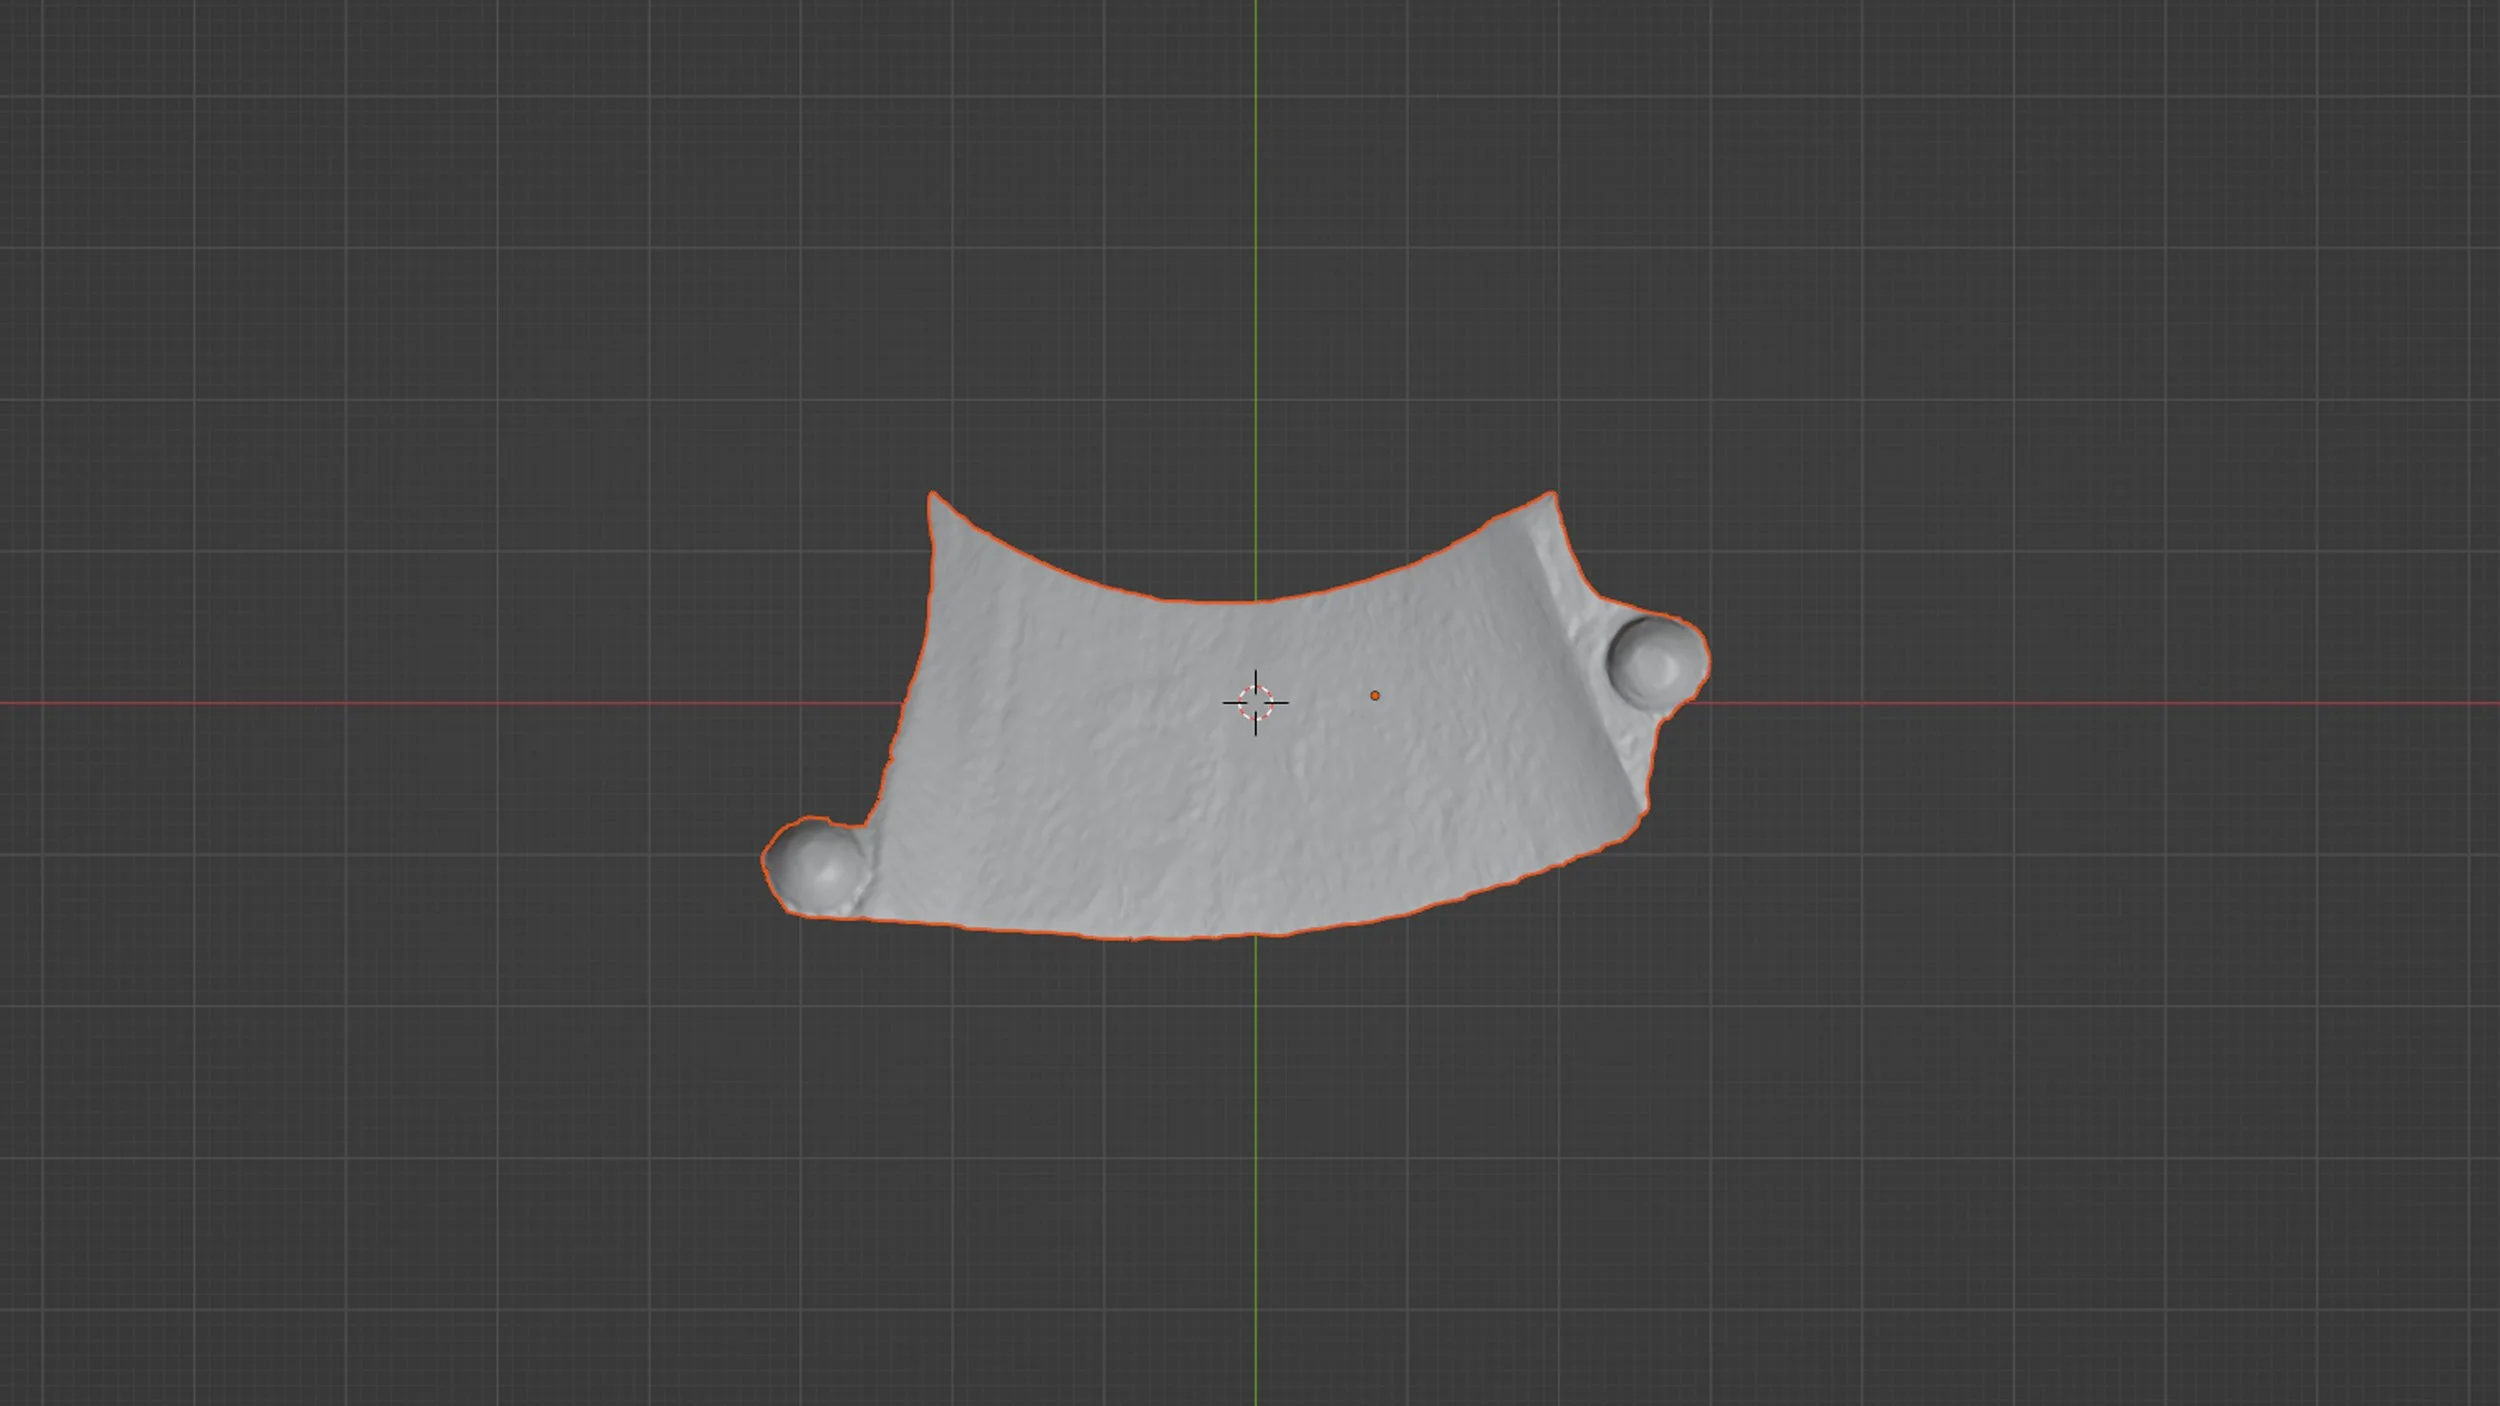
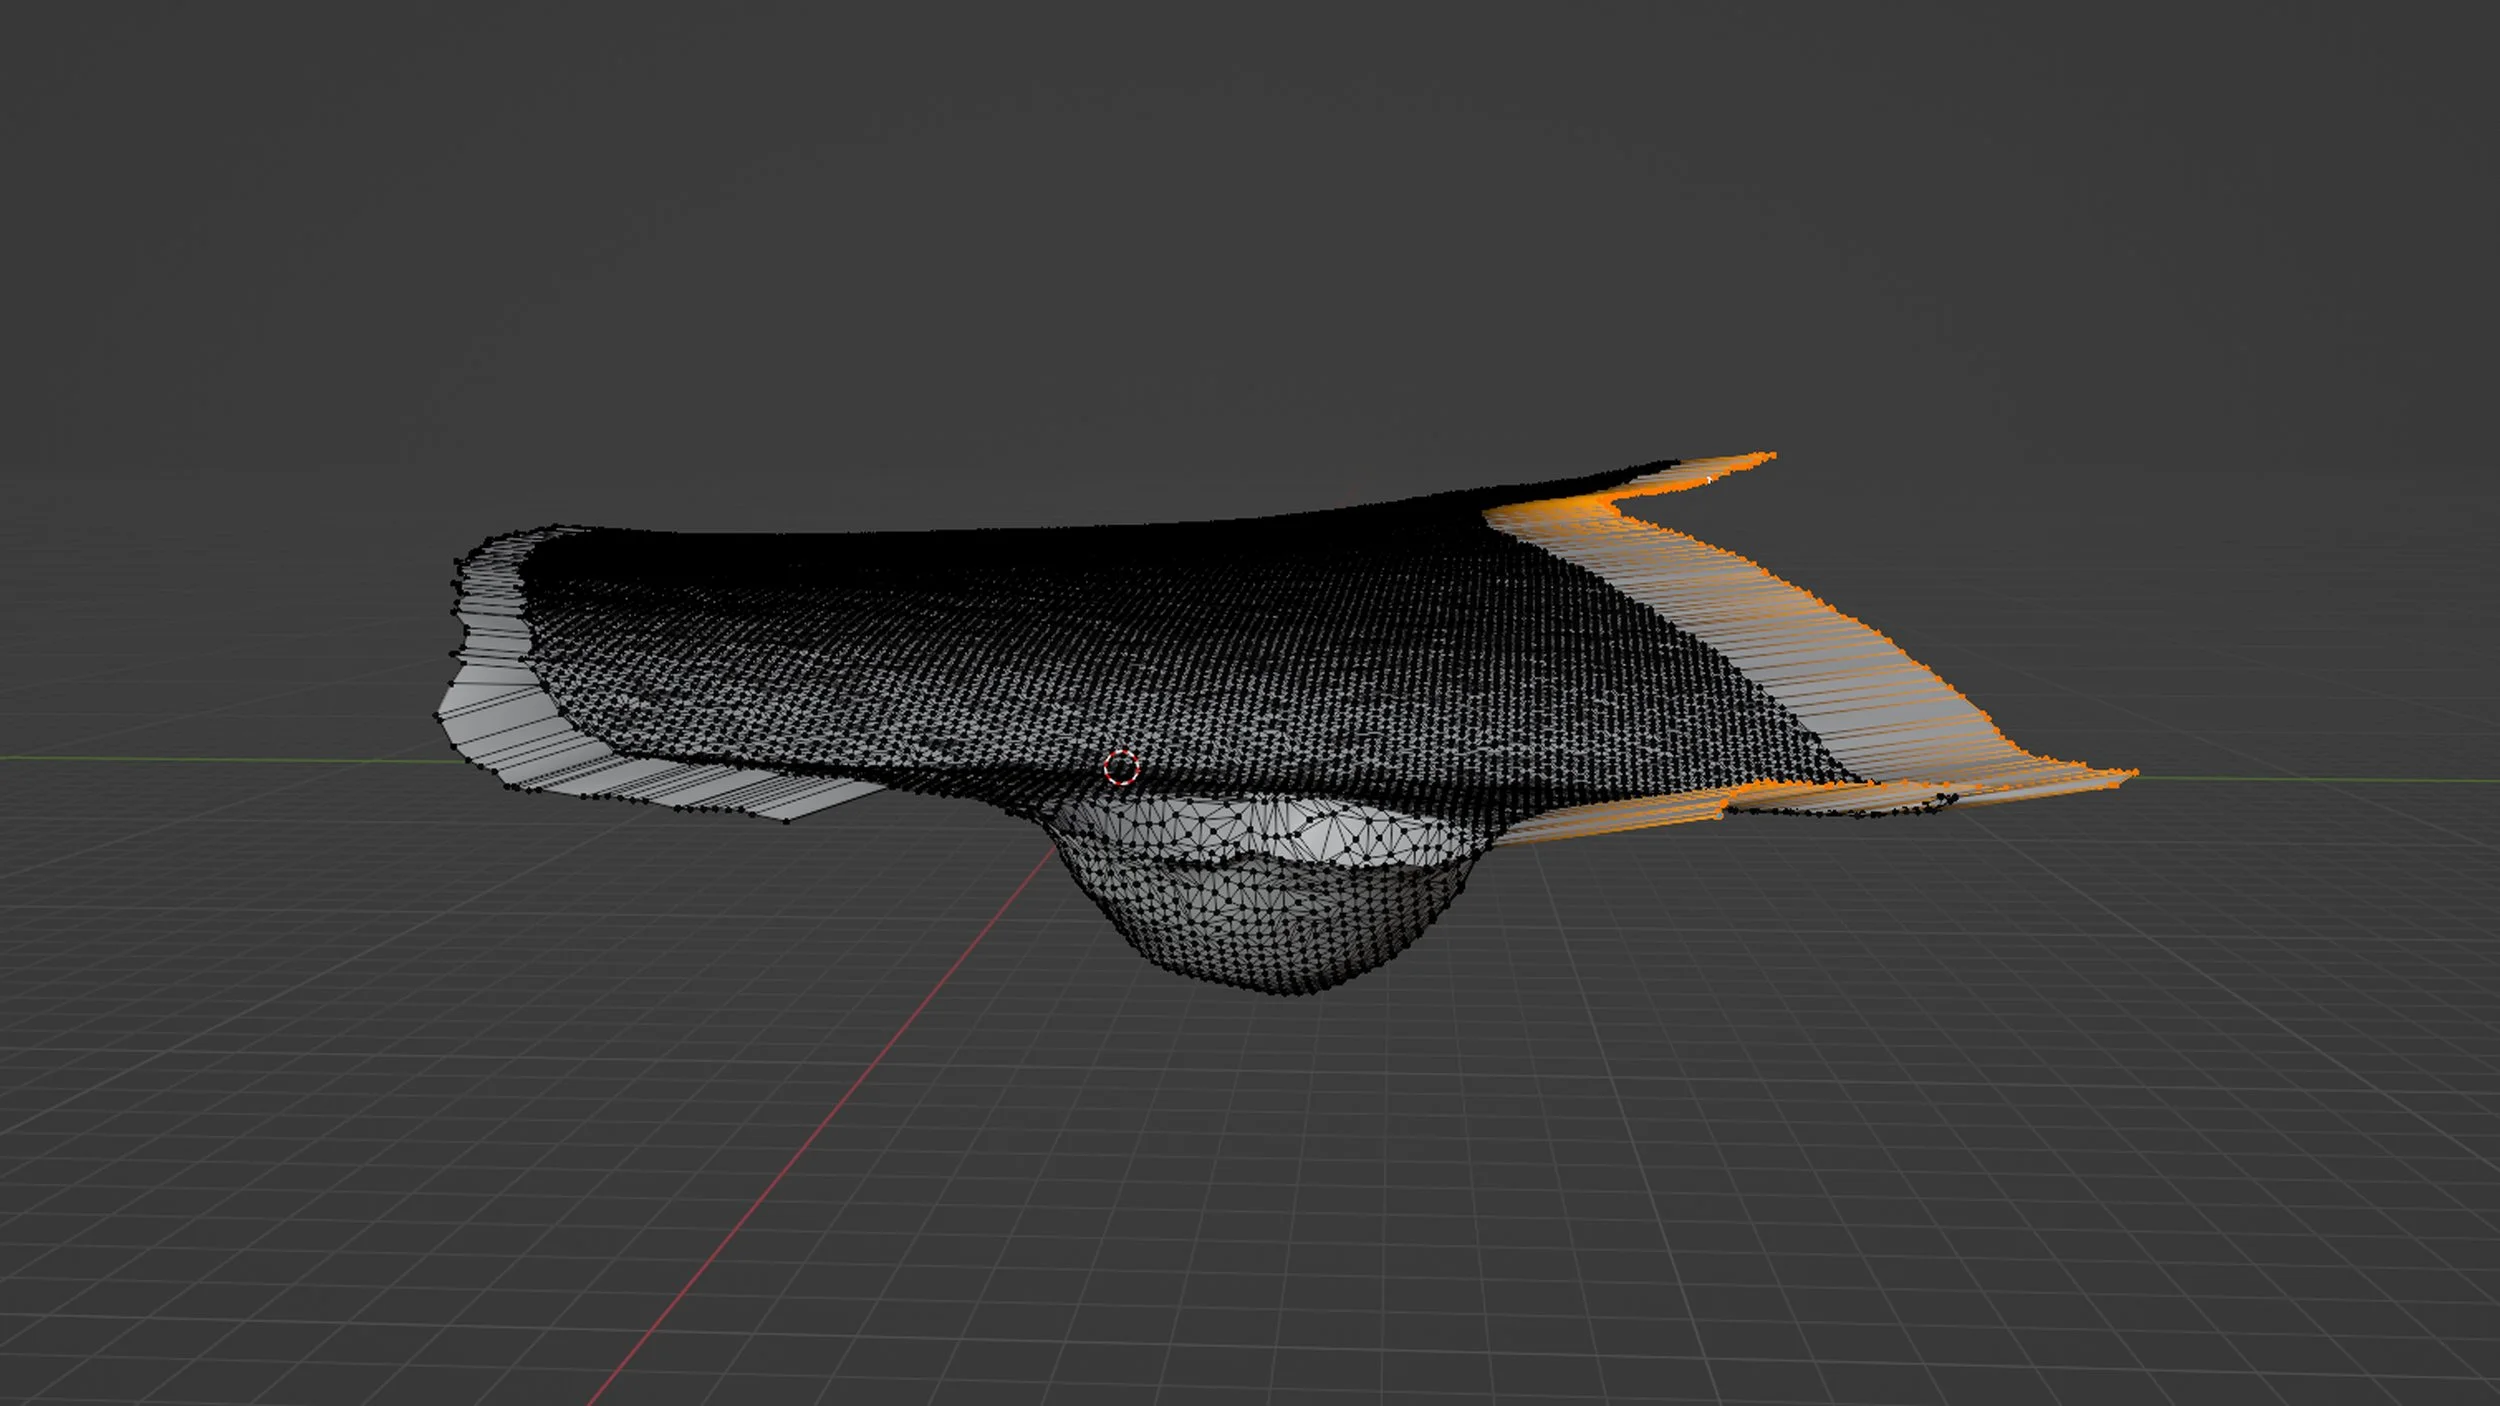
The replacement piece was then CNC milled.
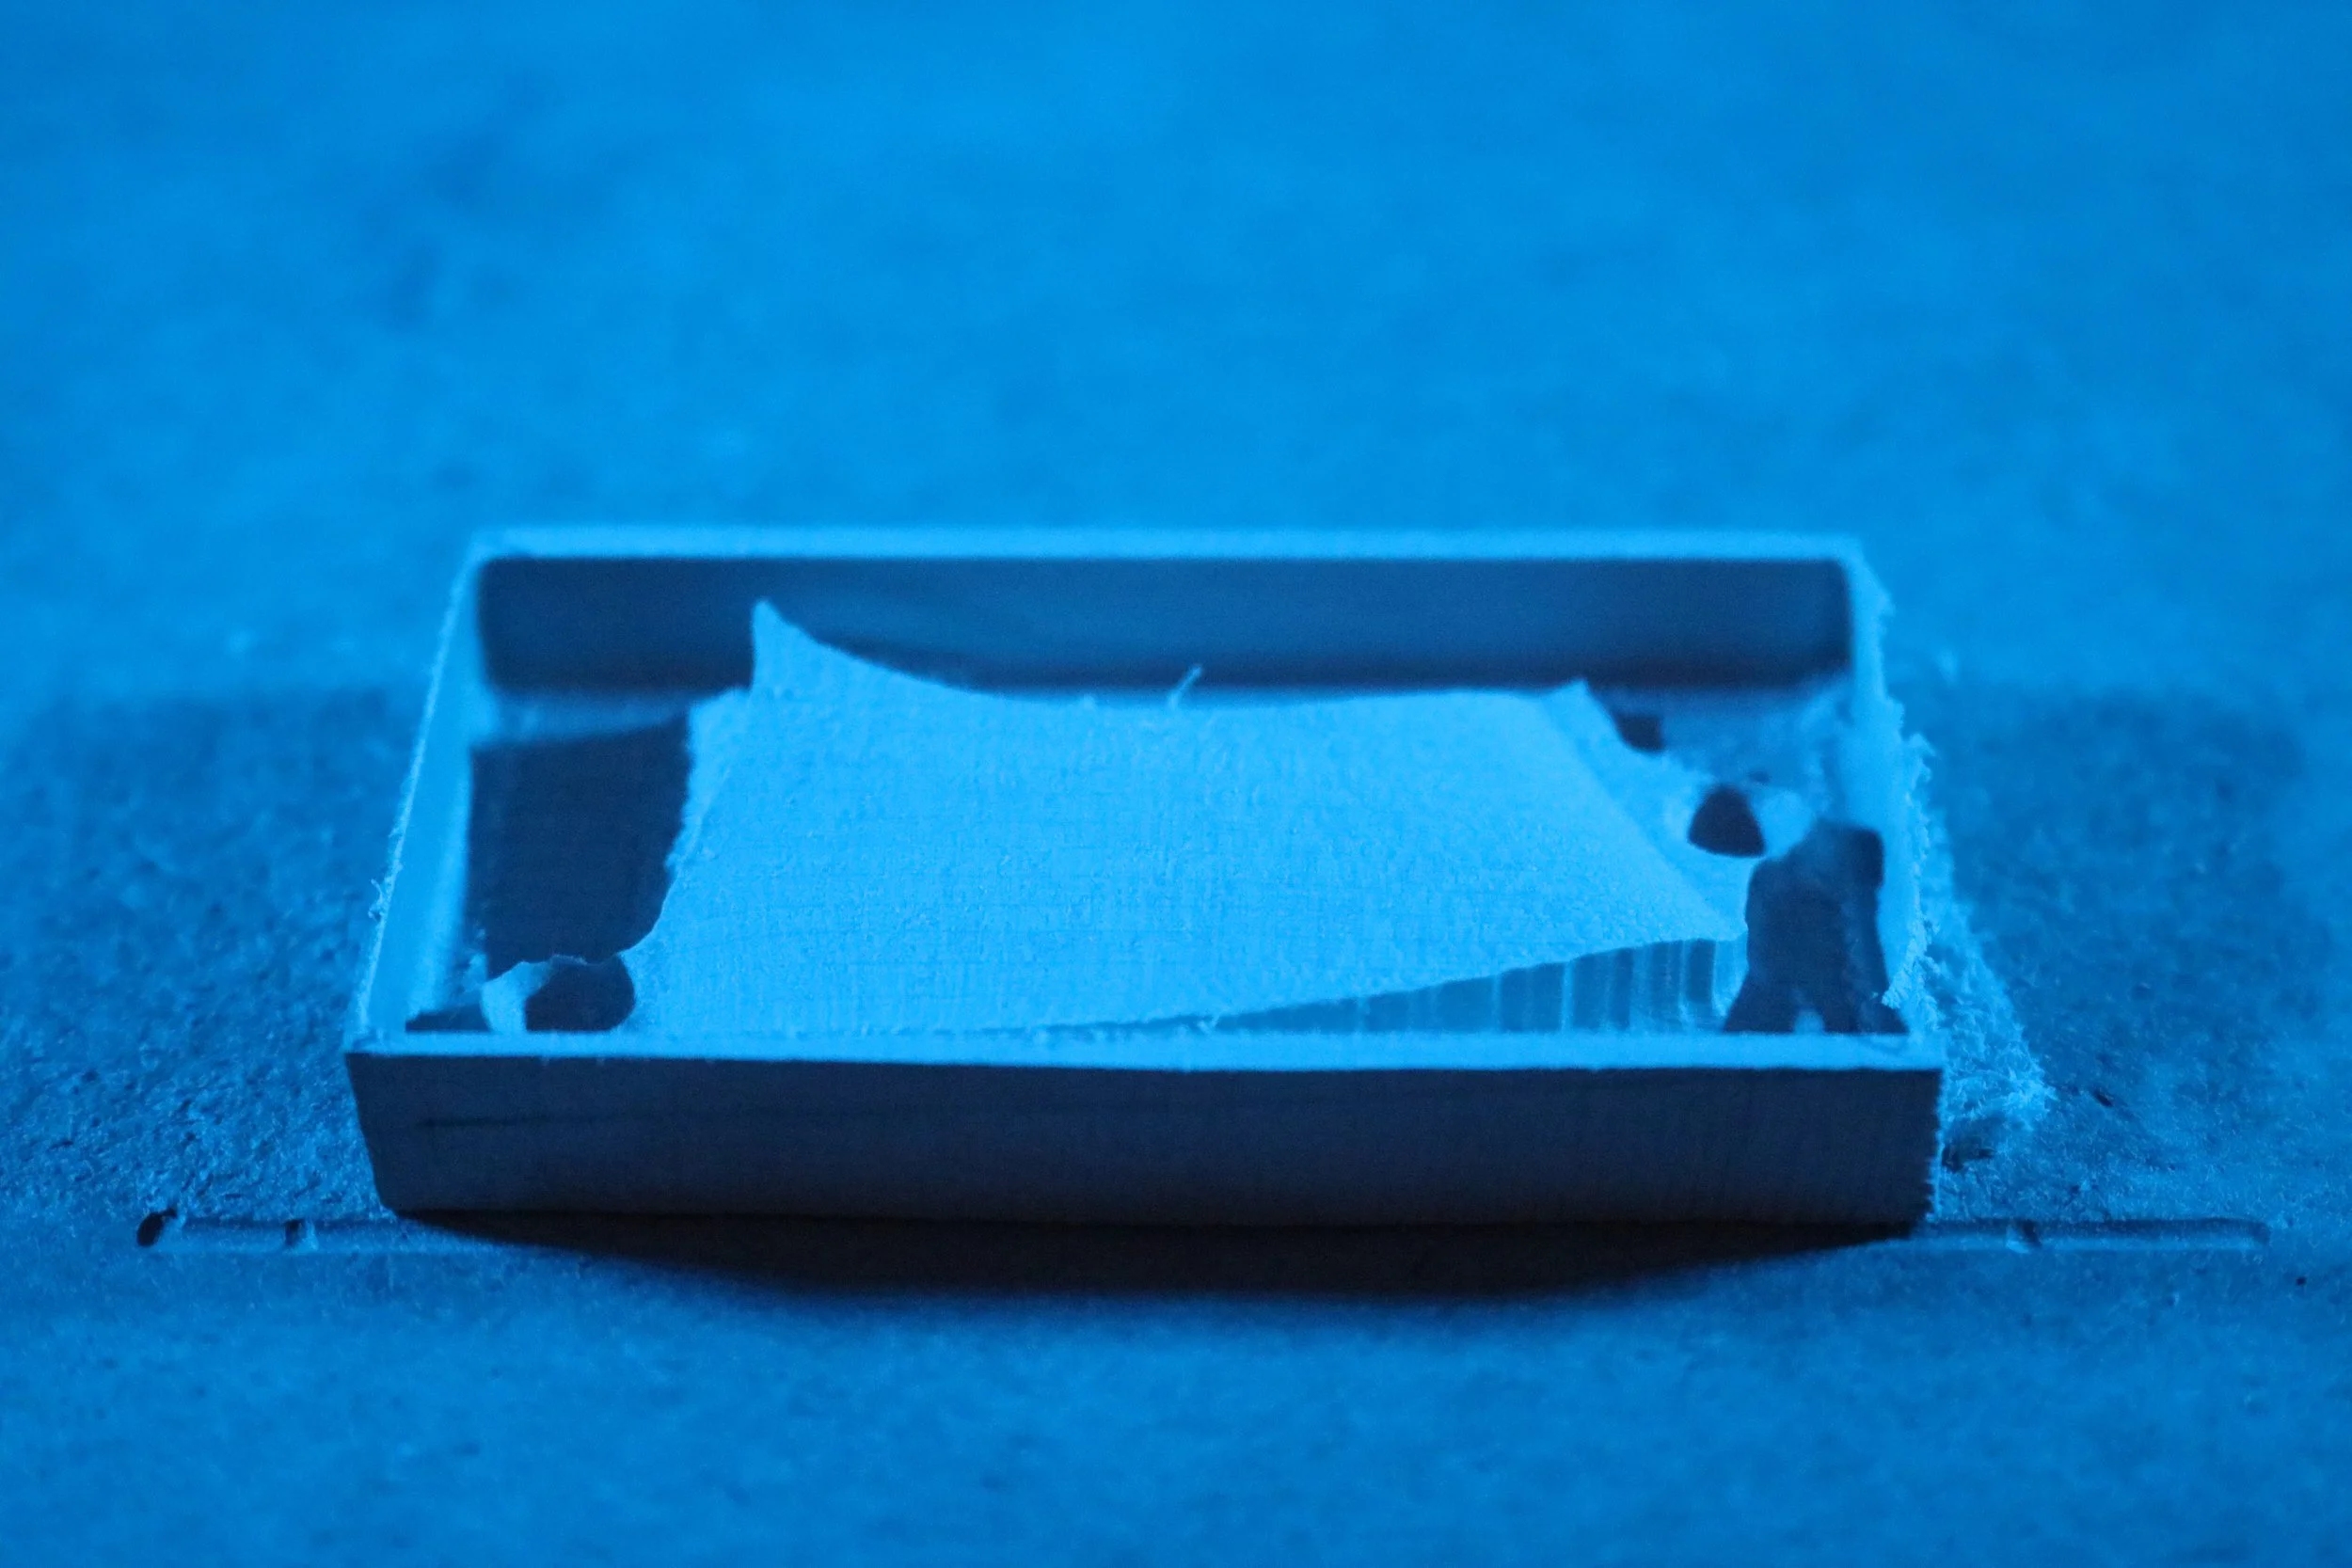
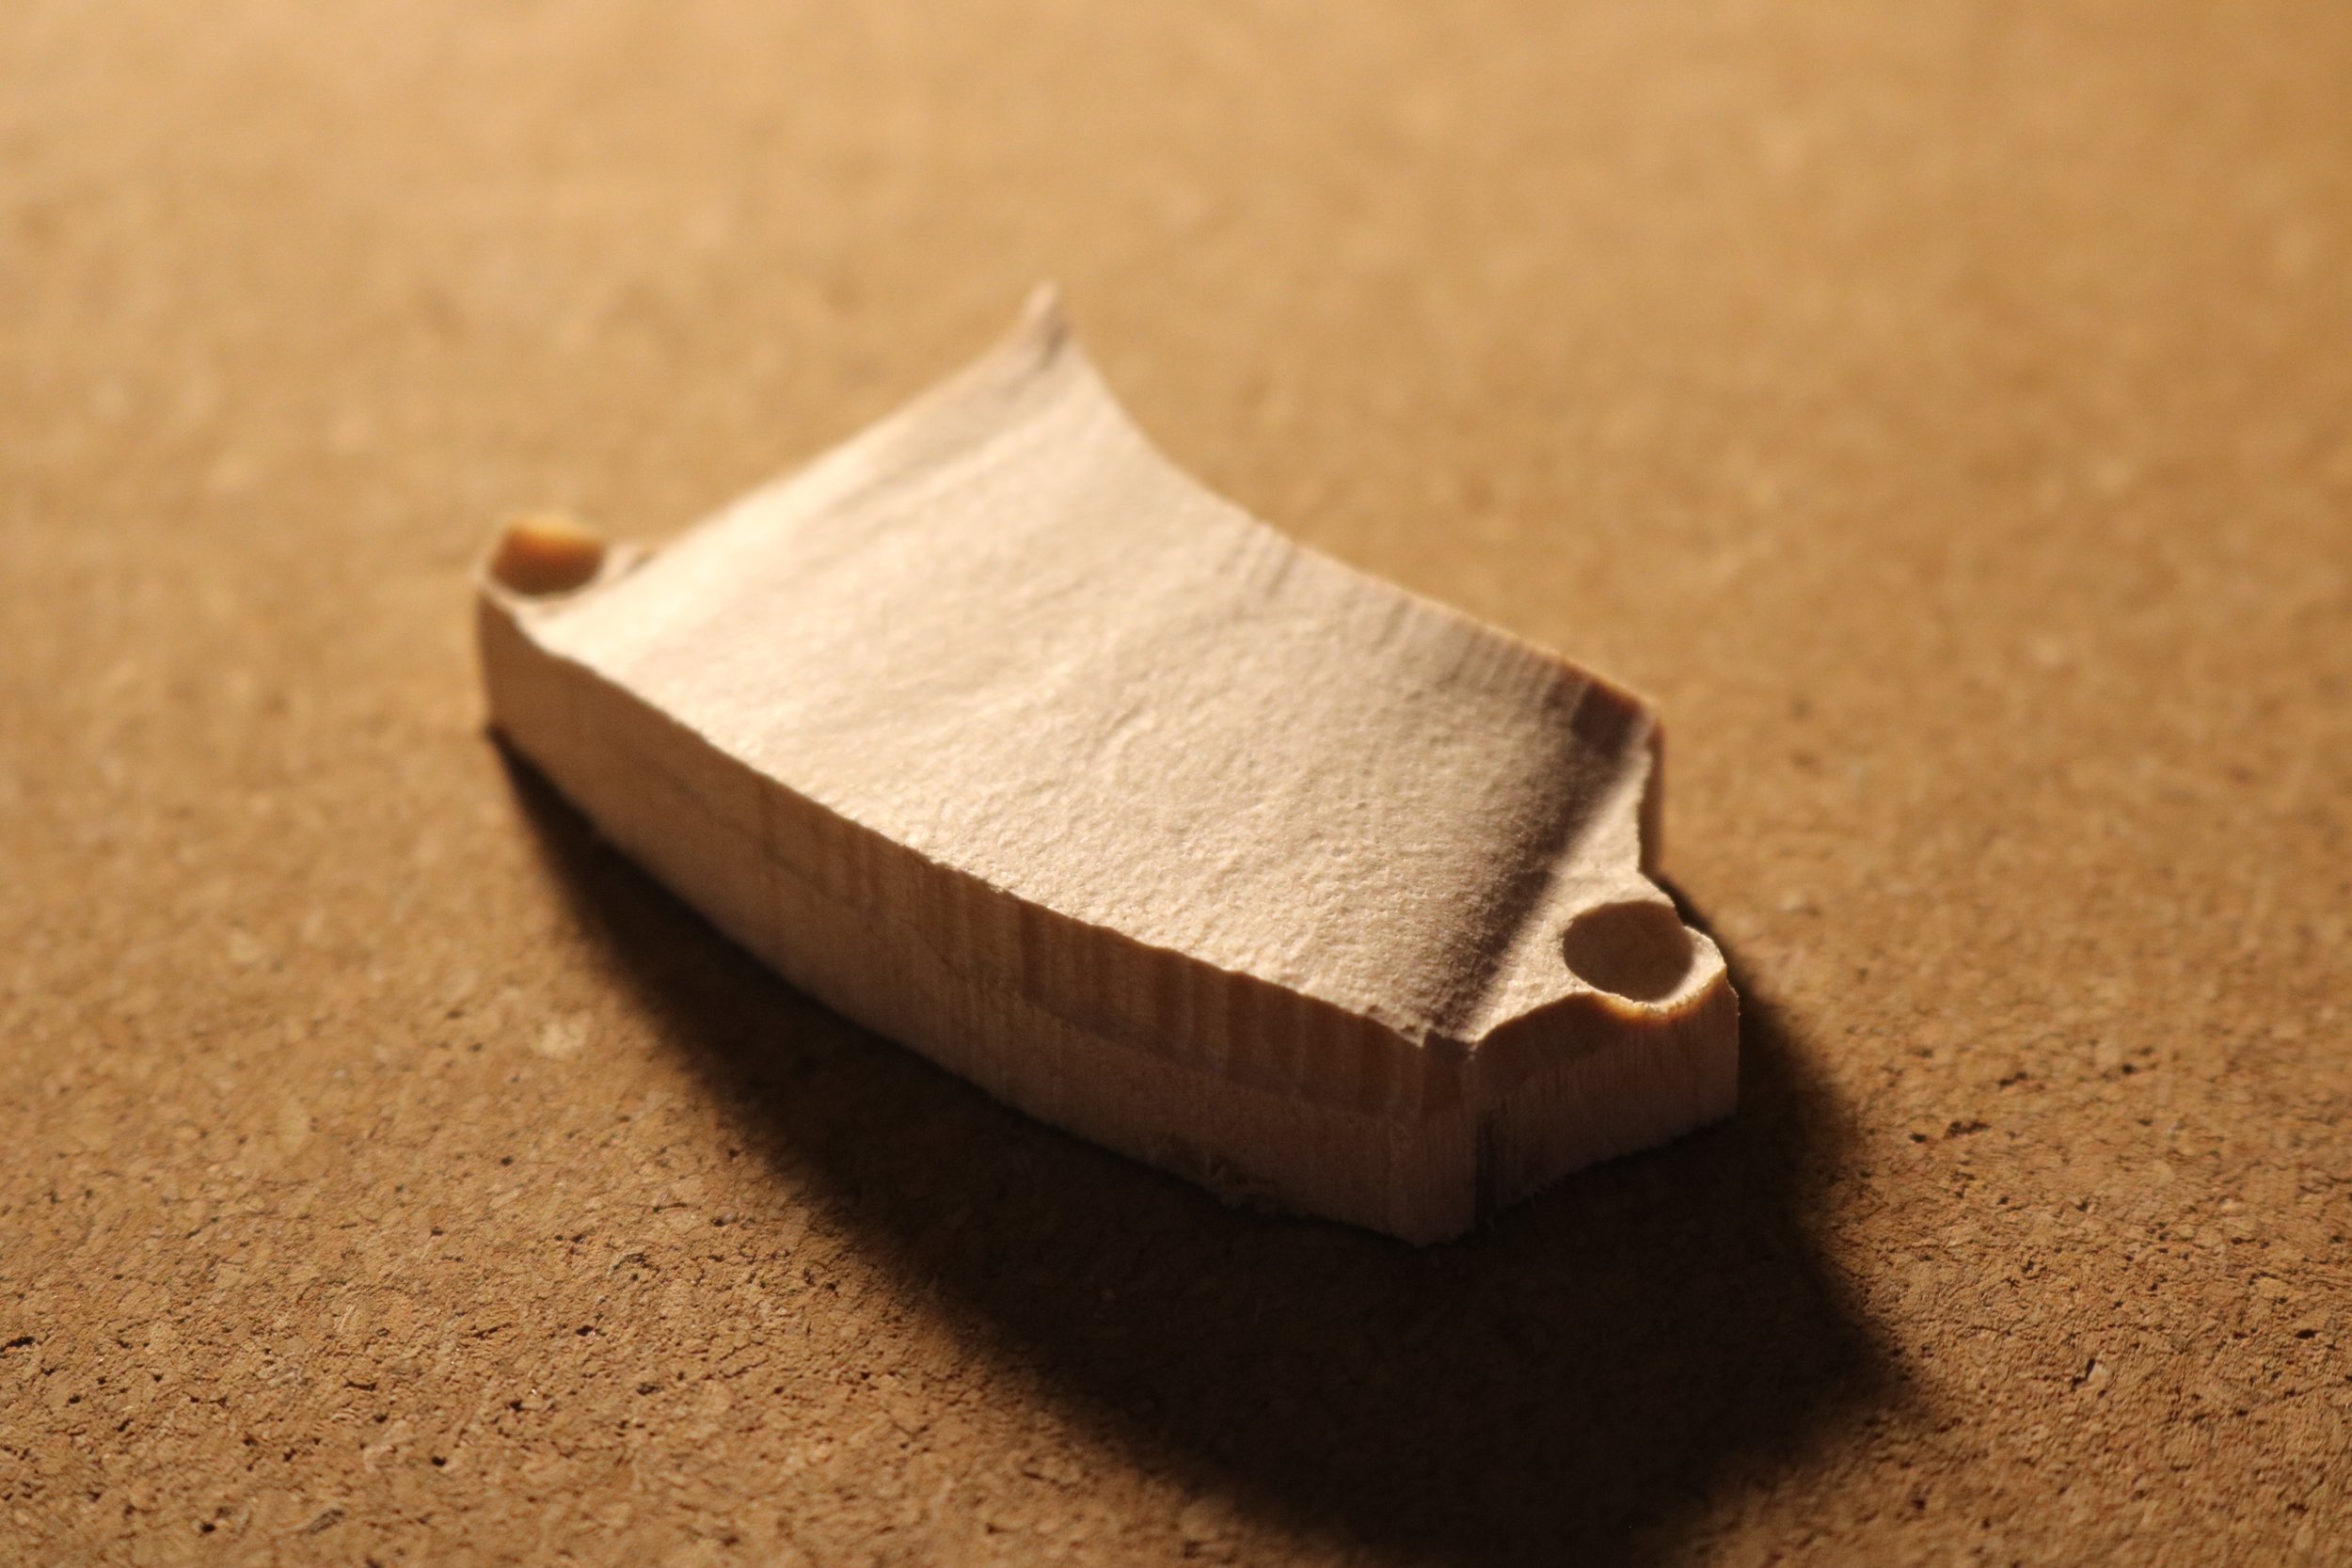
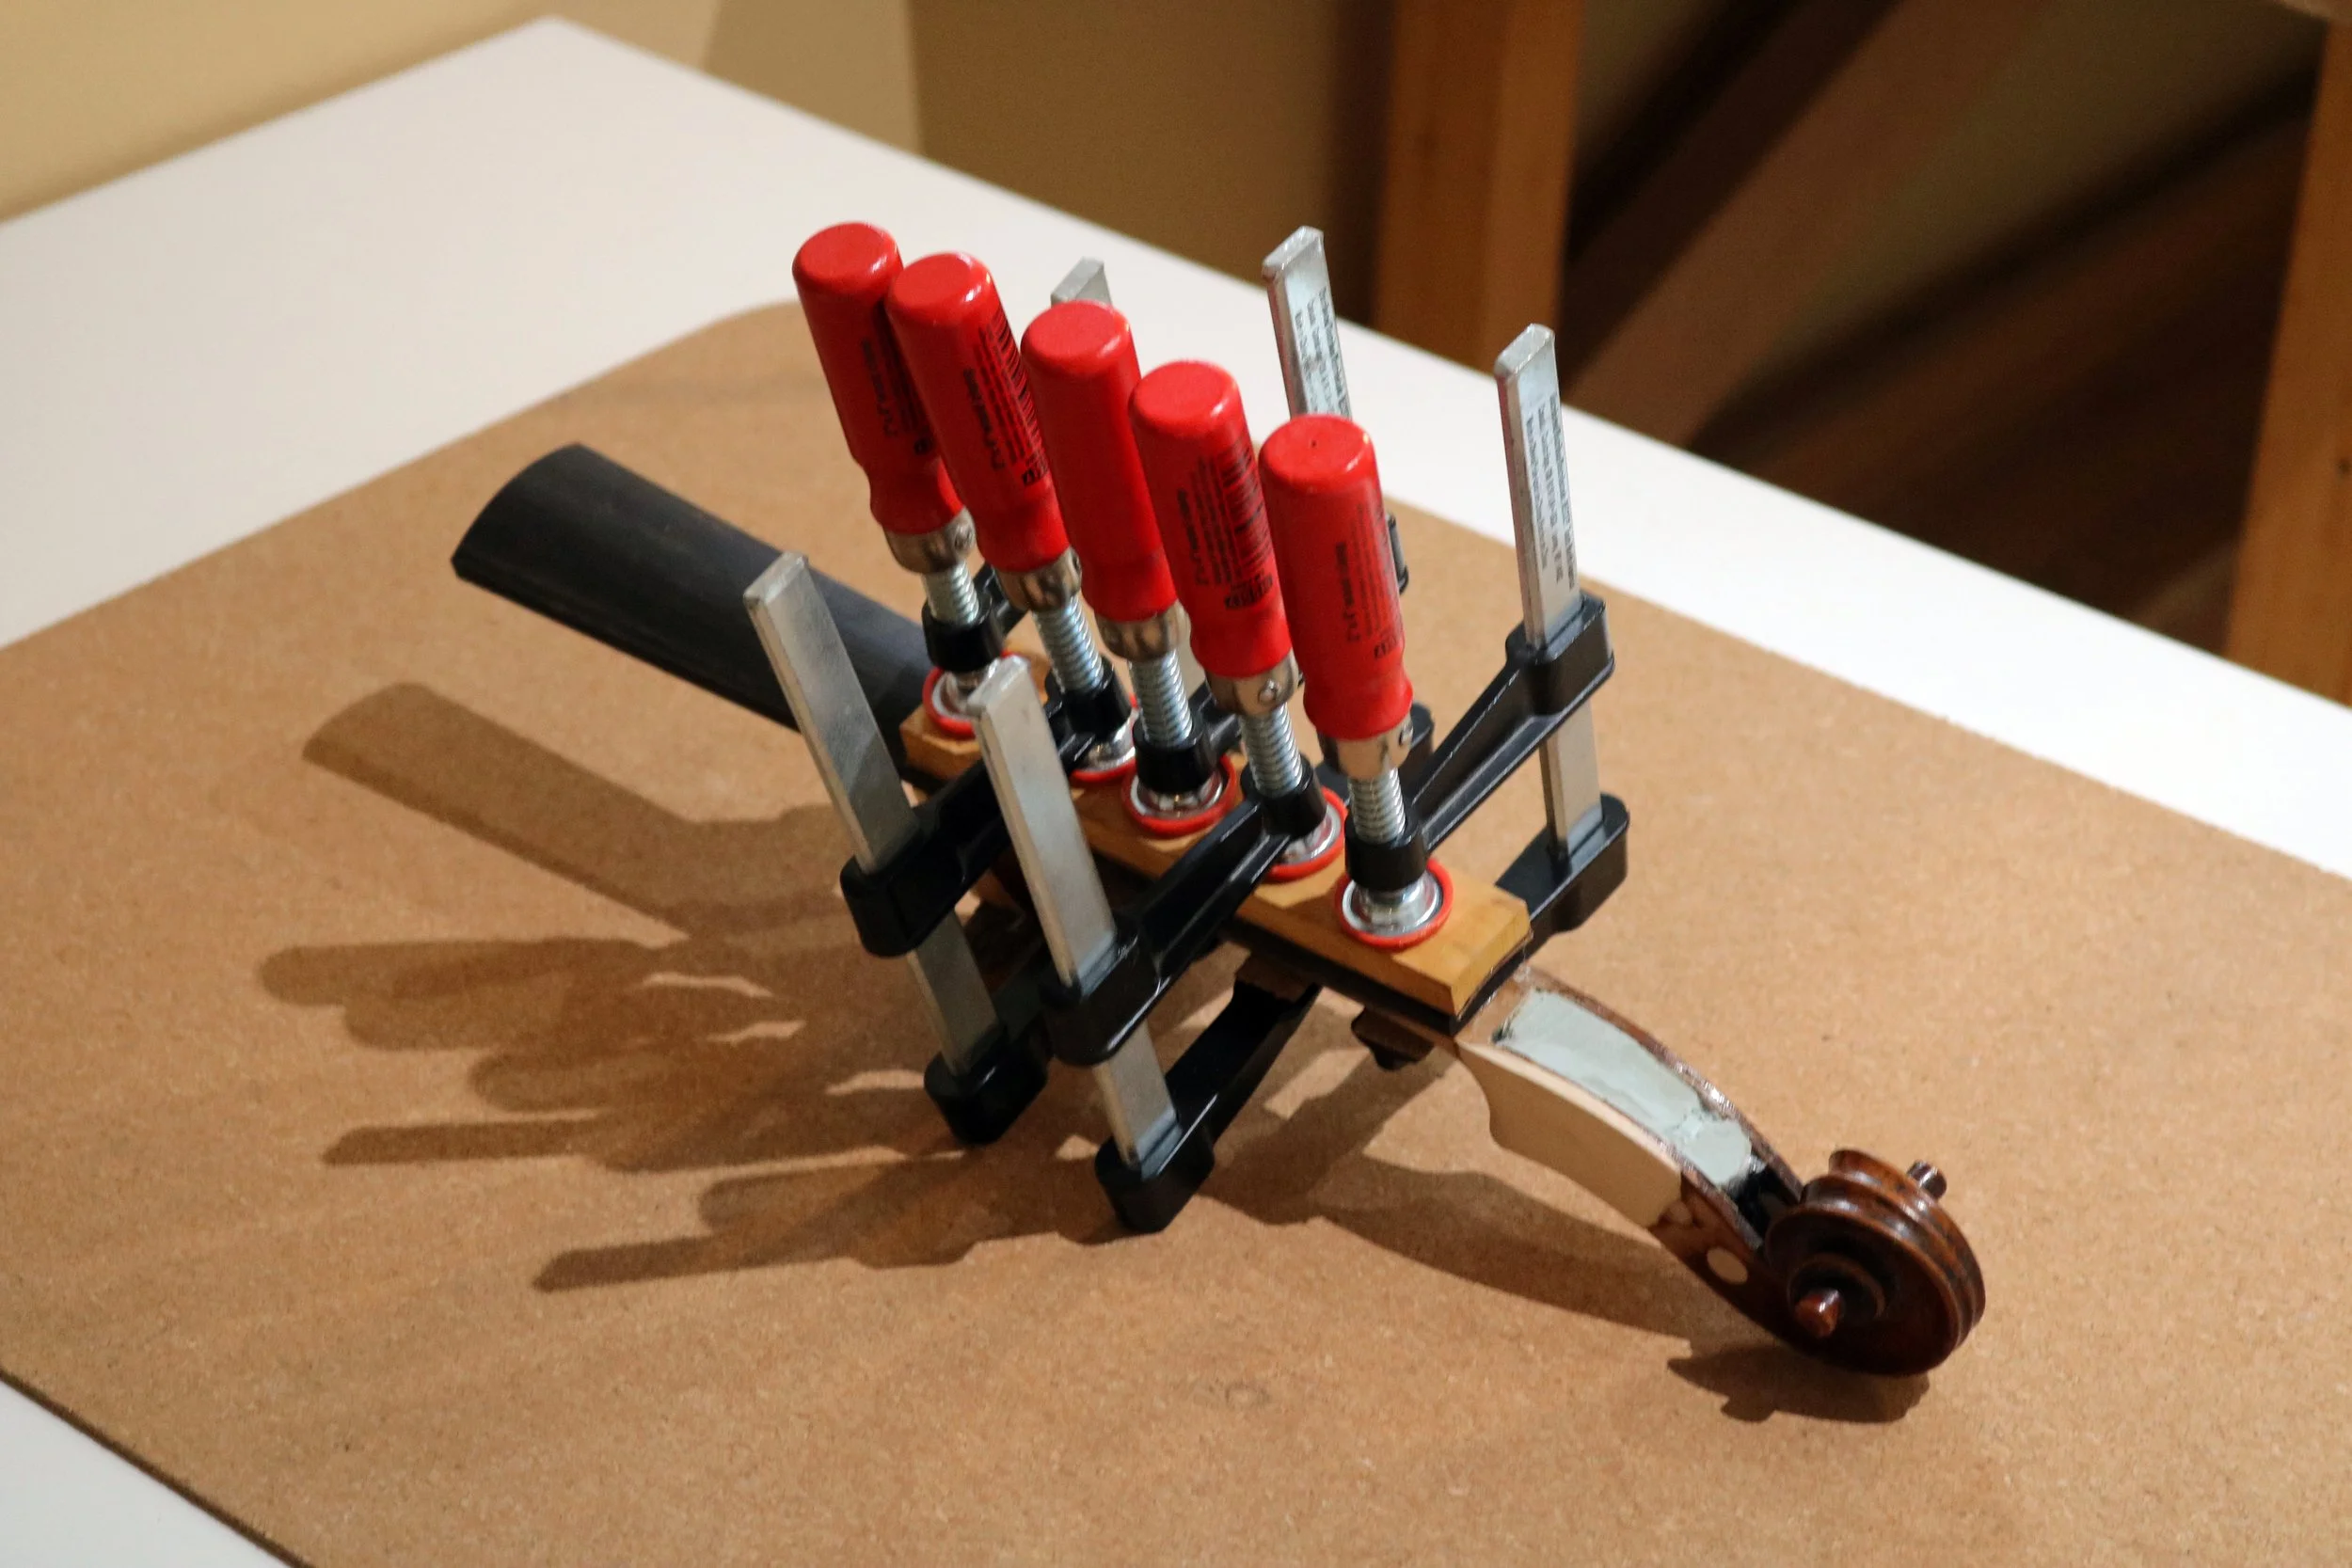
It is always satisfying to finally clamp a piece.
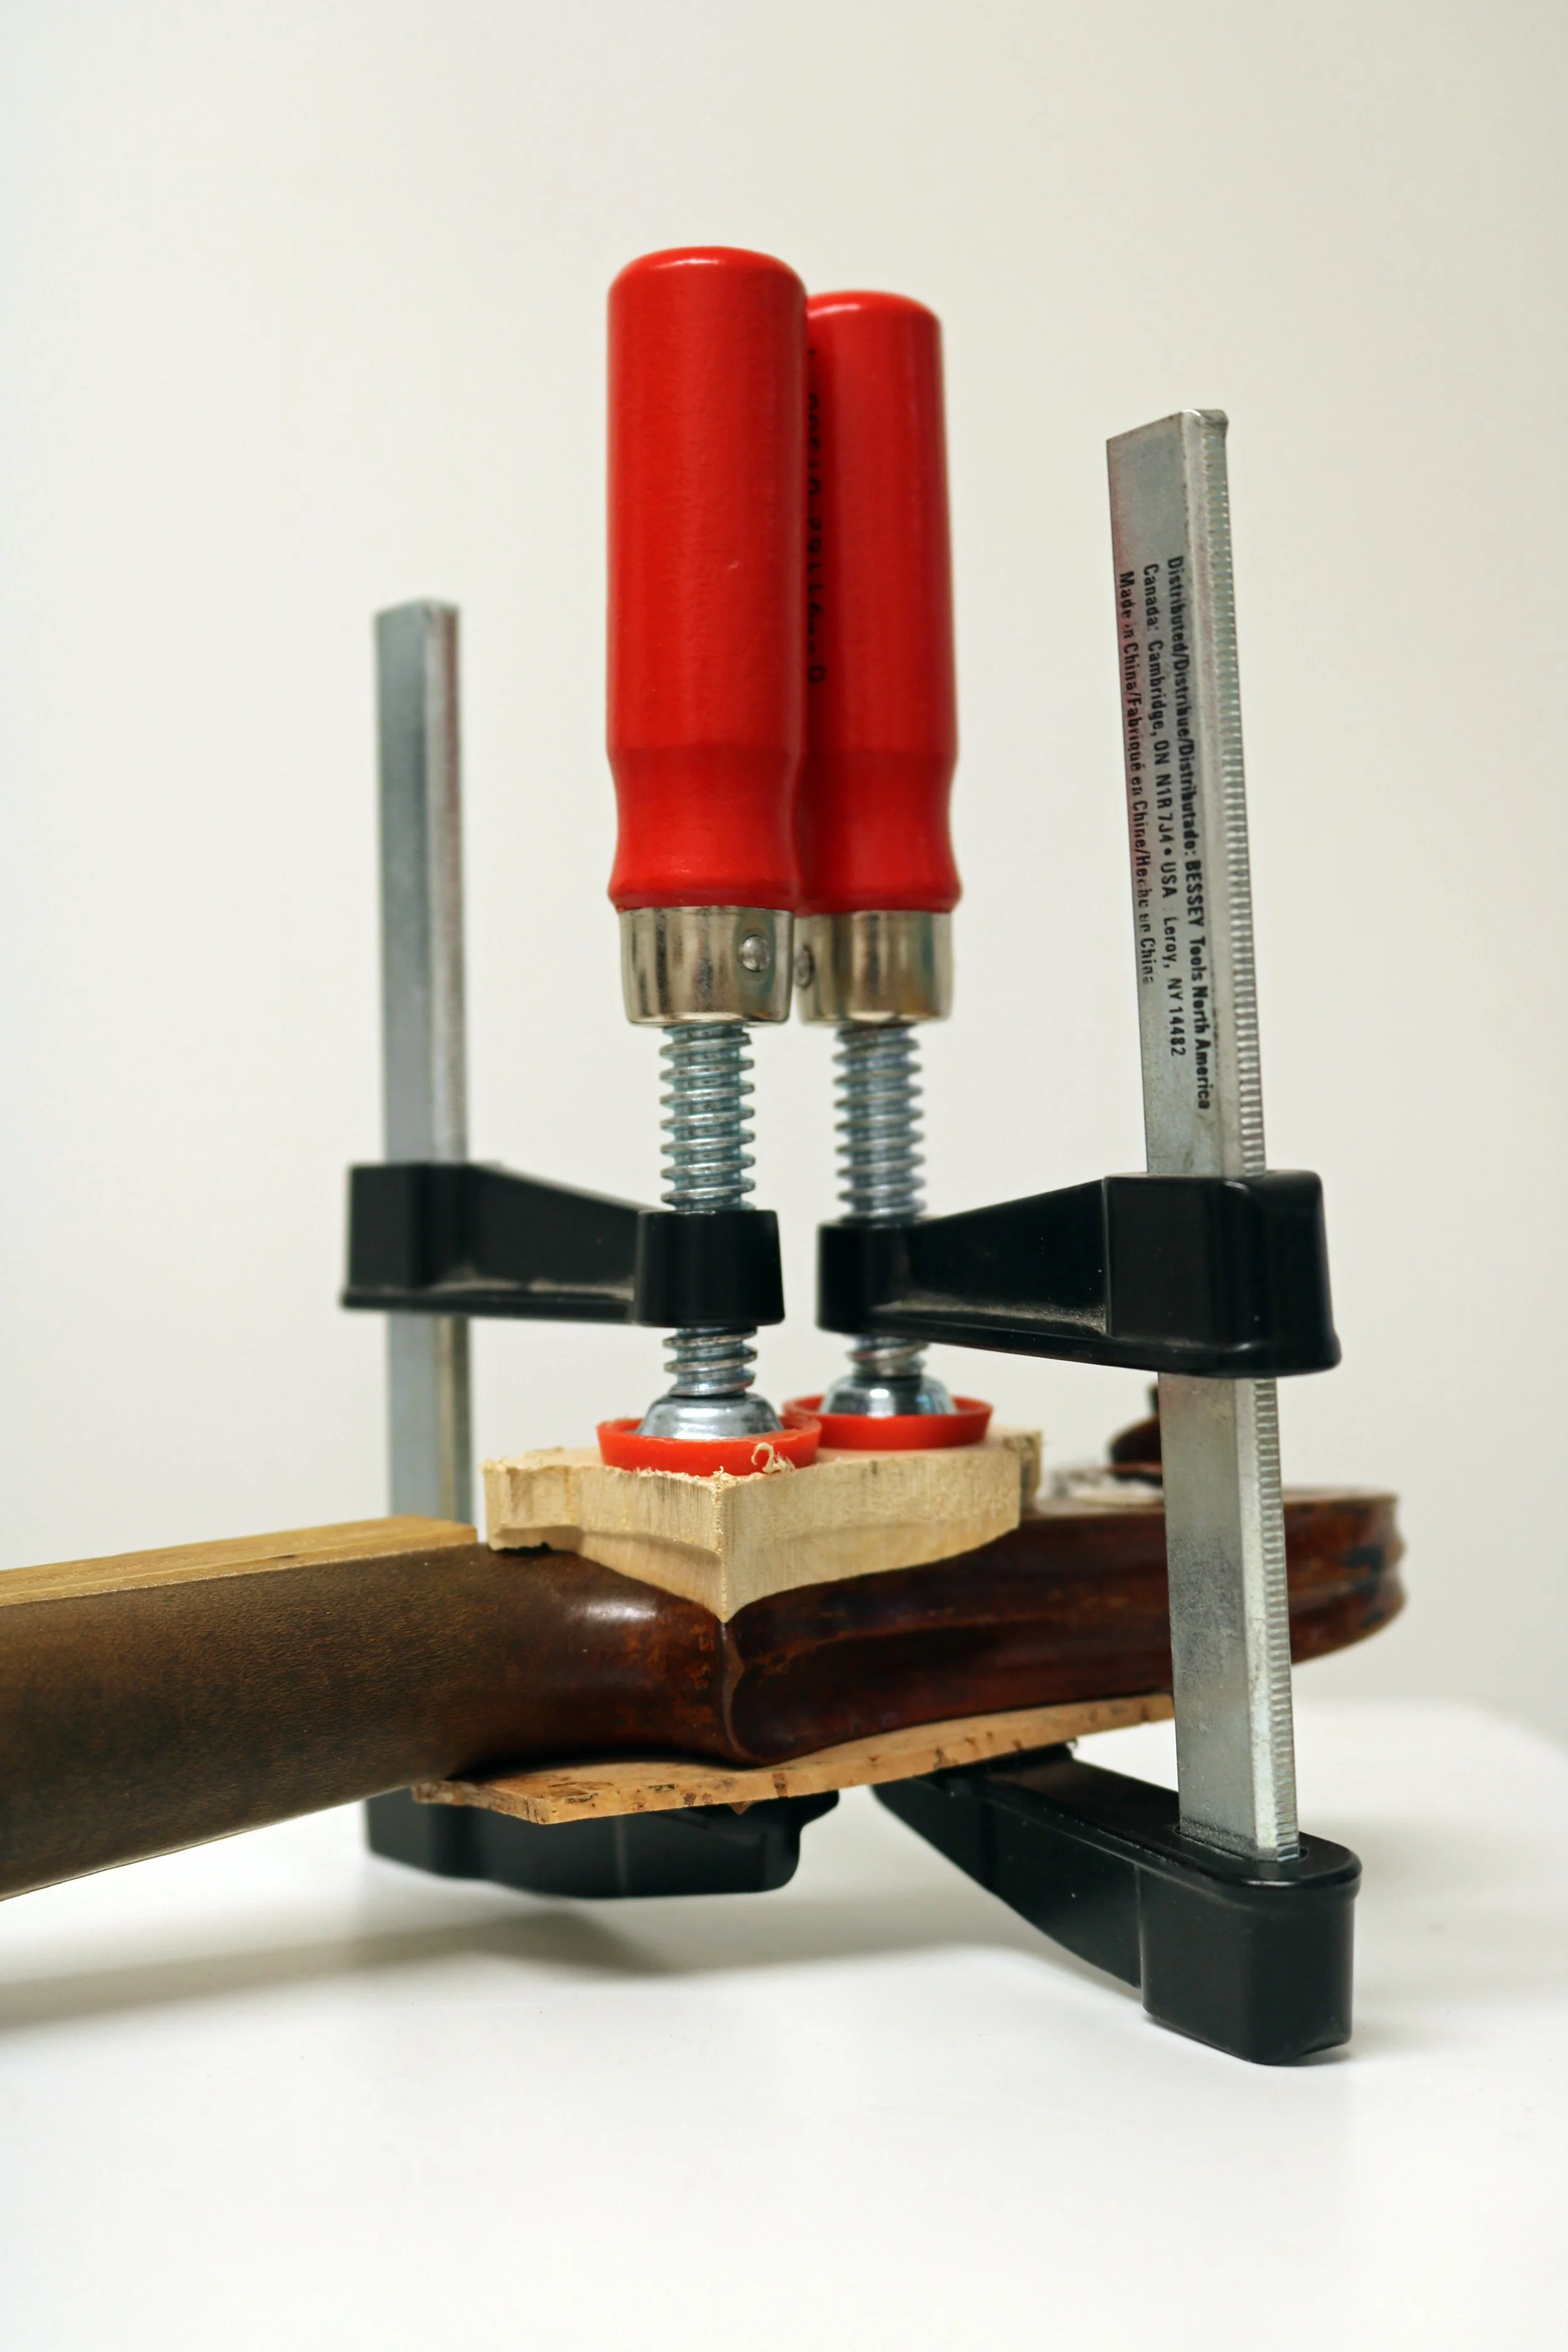
The new cheek is almost ready for shaping.

But first a new fingerboard and nut were installed.
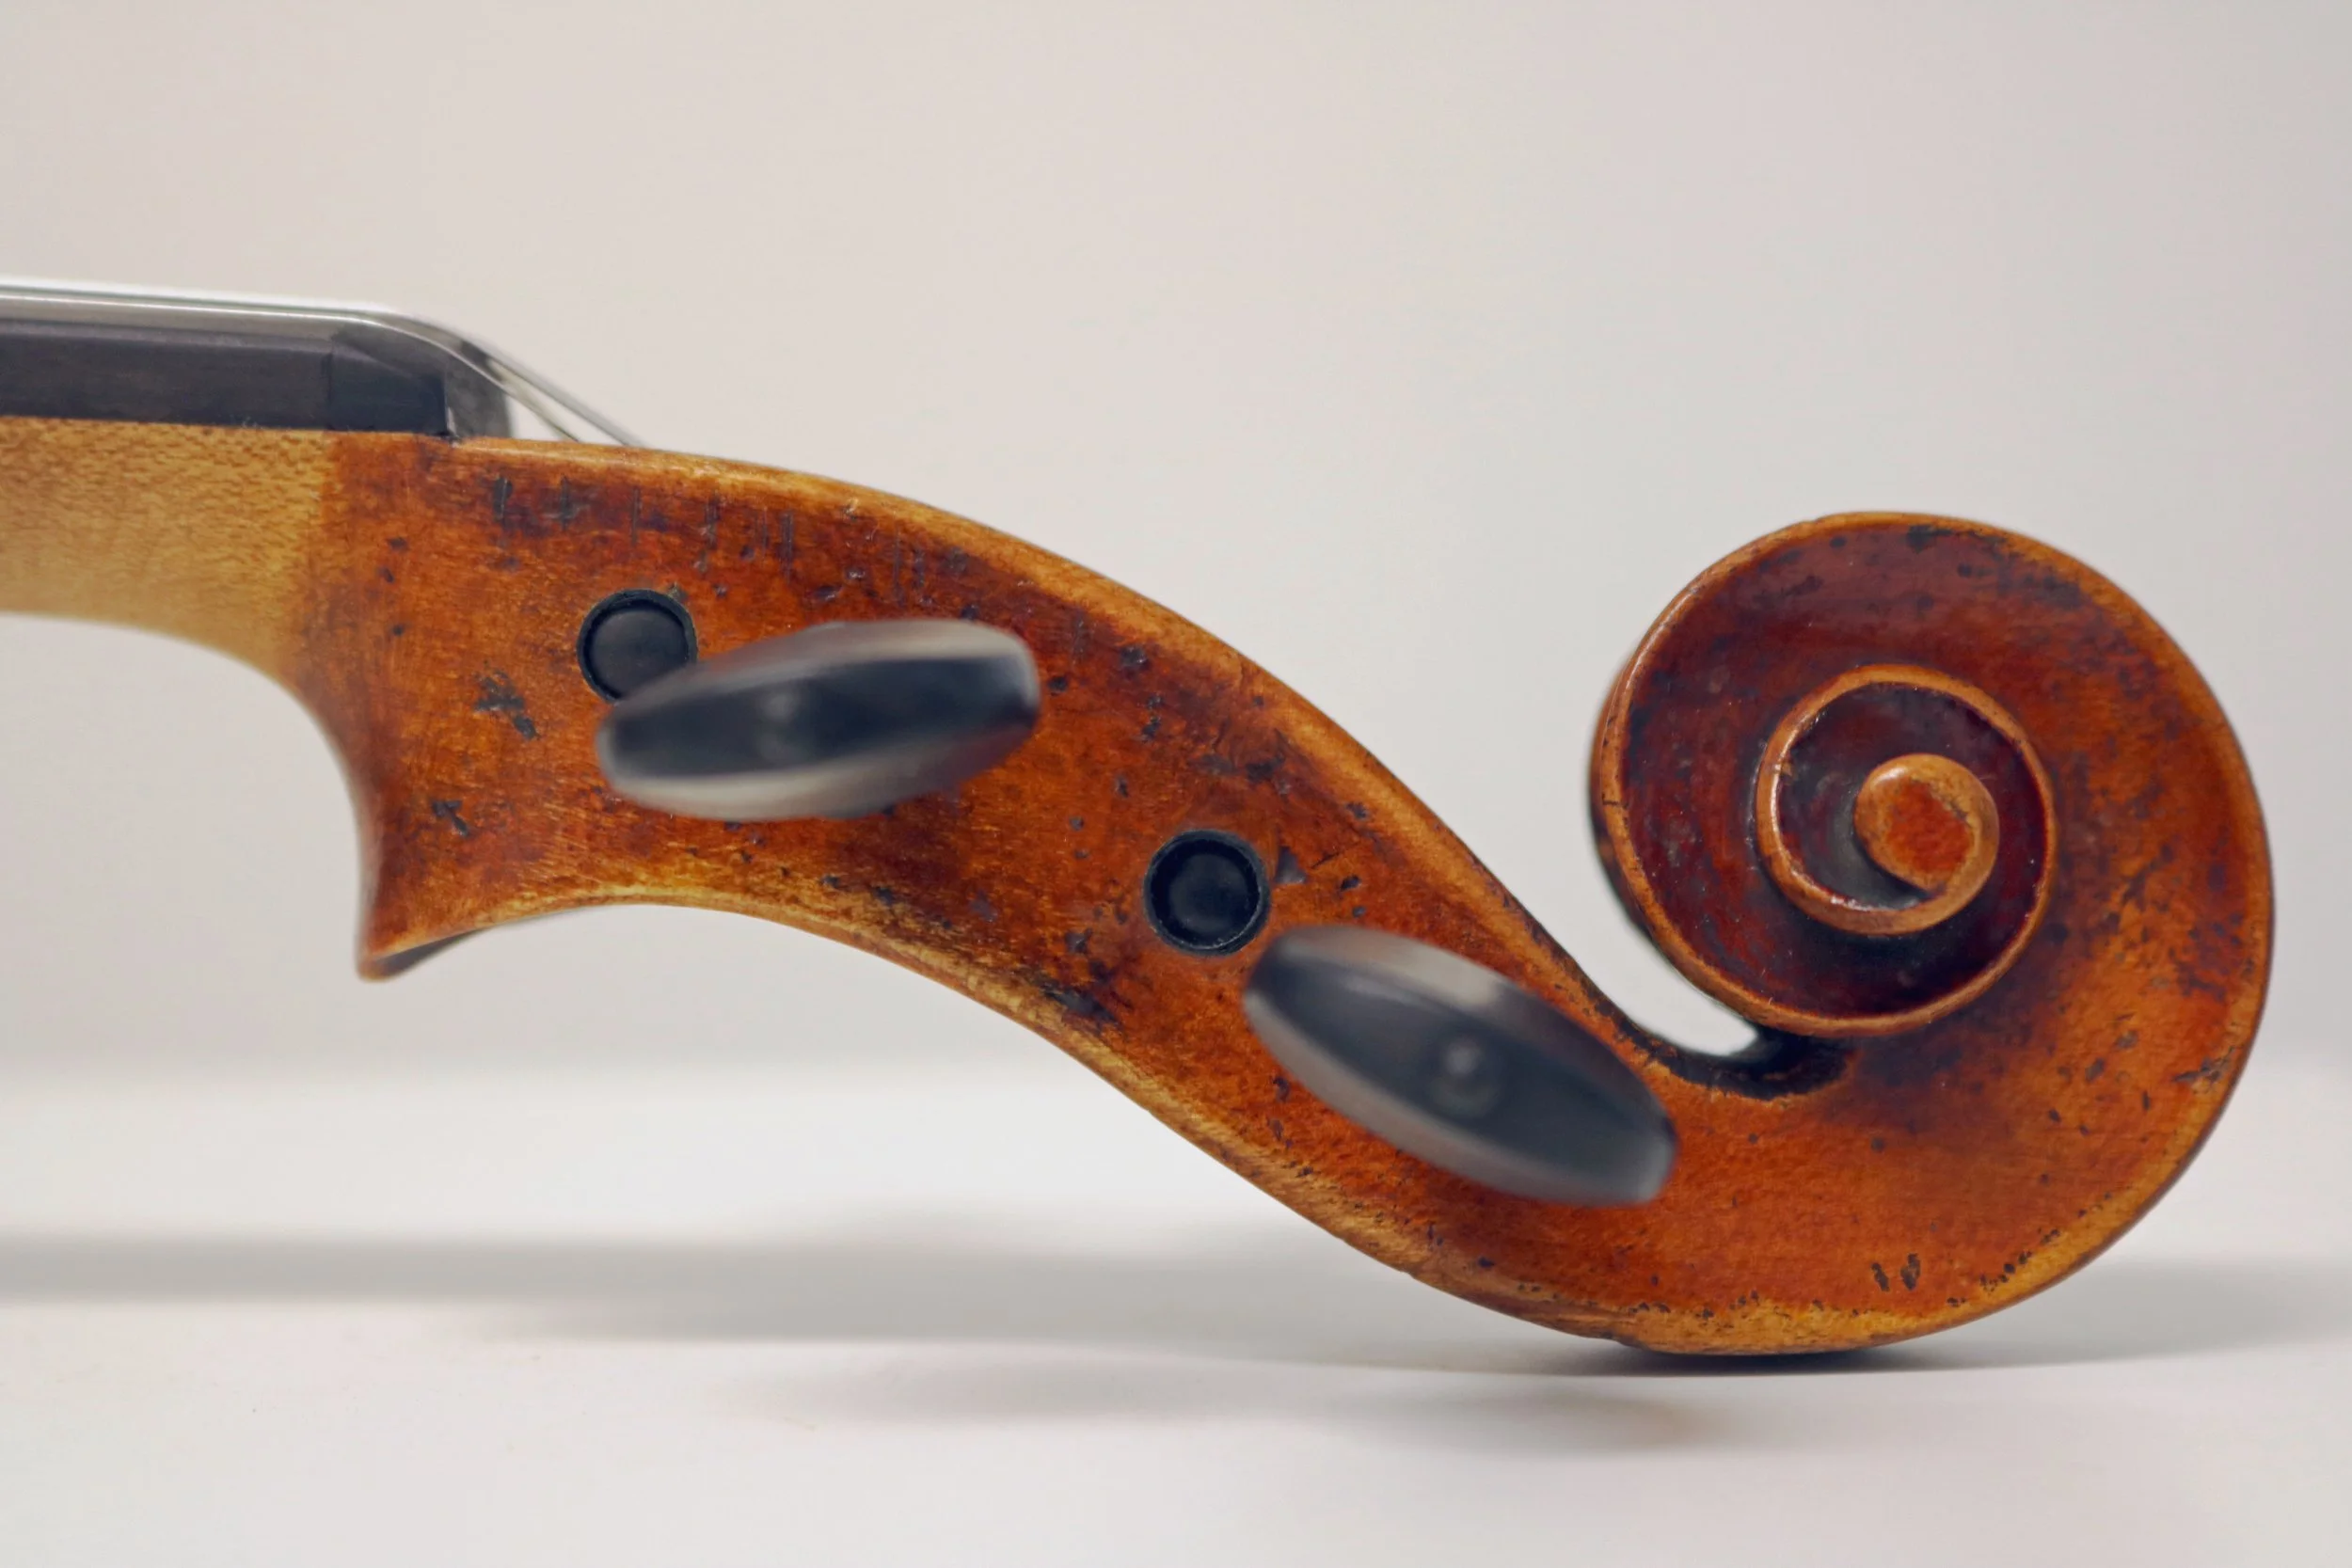
The newly shaped cheek ready for varnish re-touching-
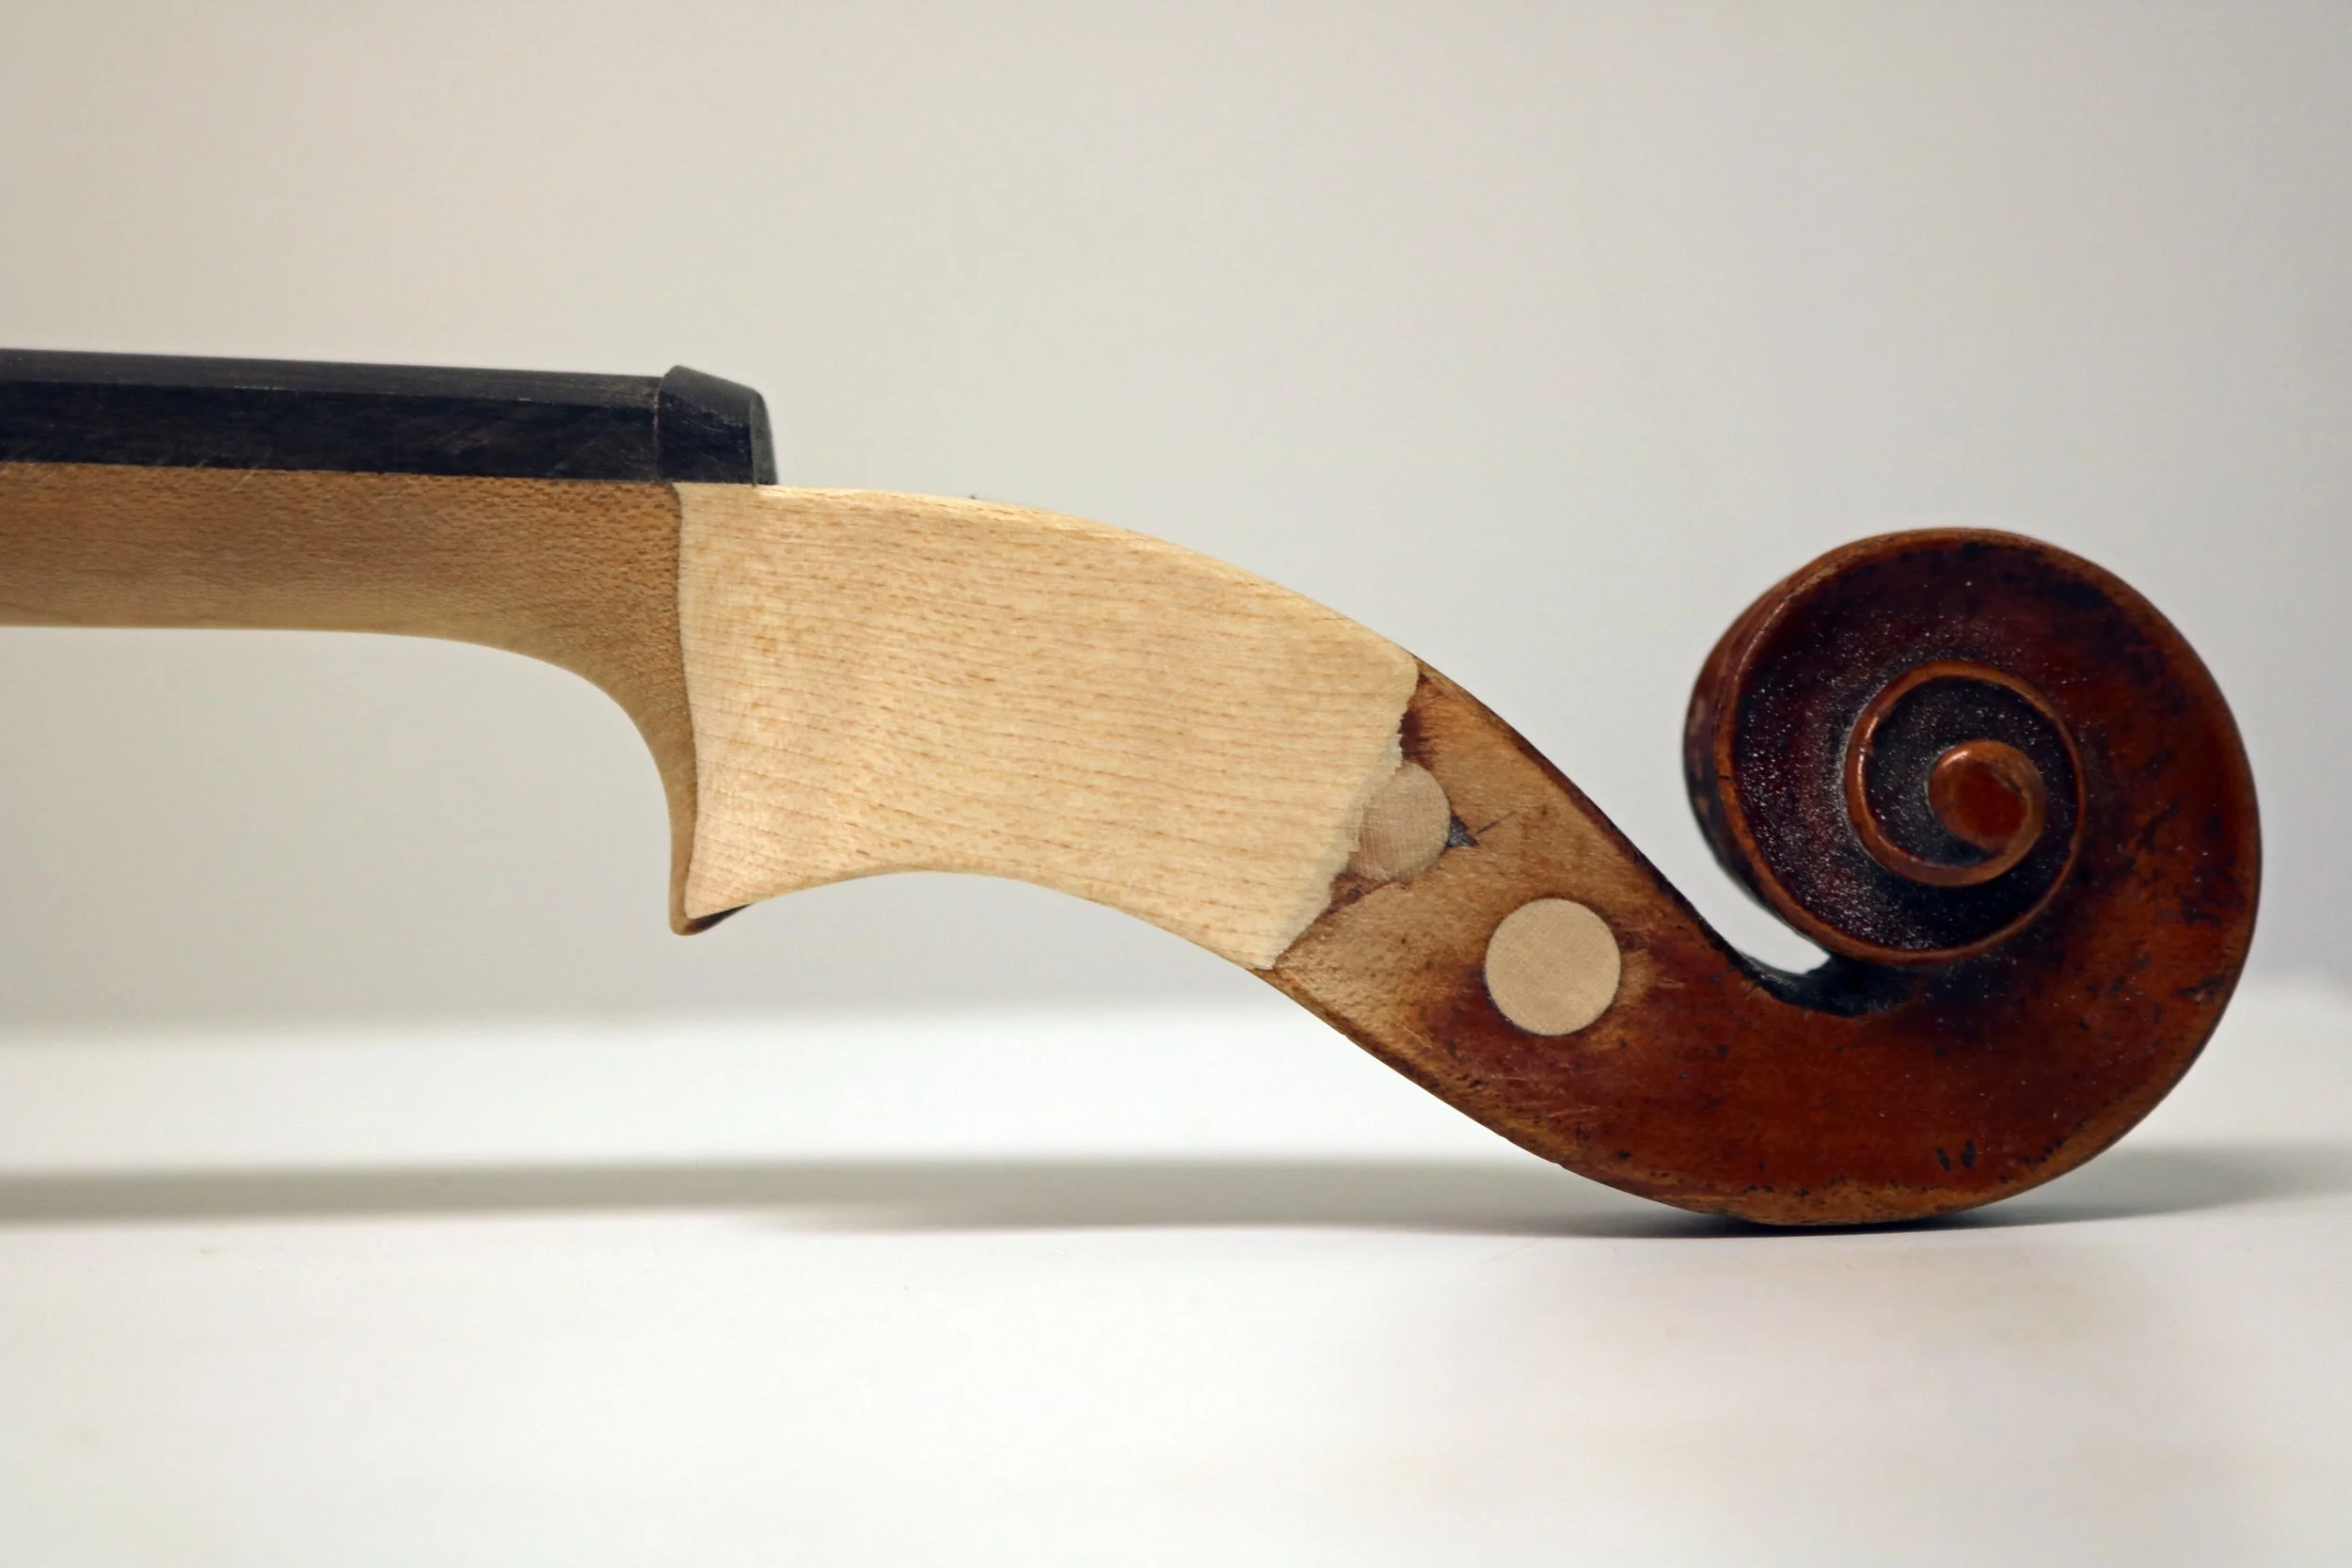
Some instruments cooperate better than others in the varnish room, and this violin wanted to get back out in the world…
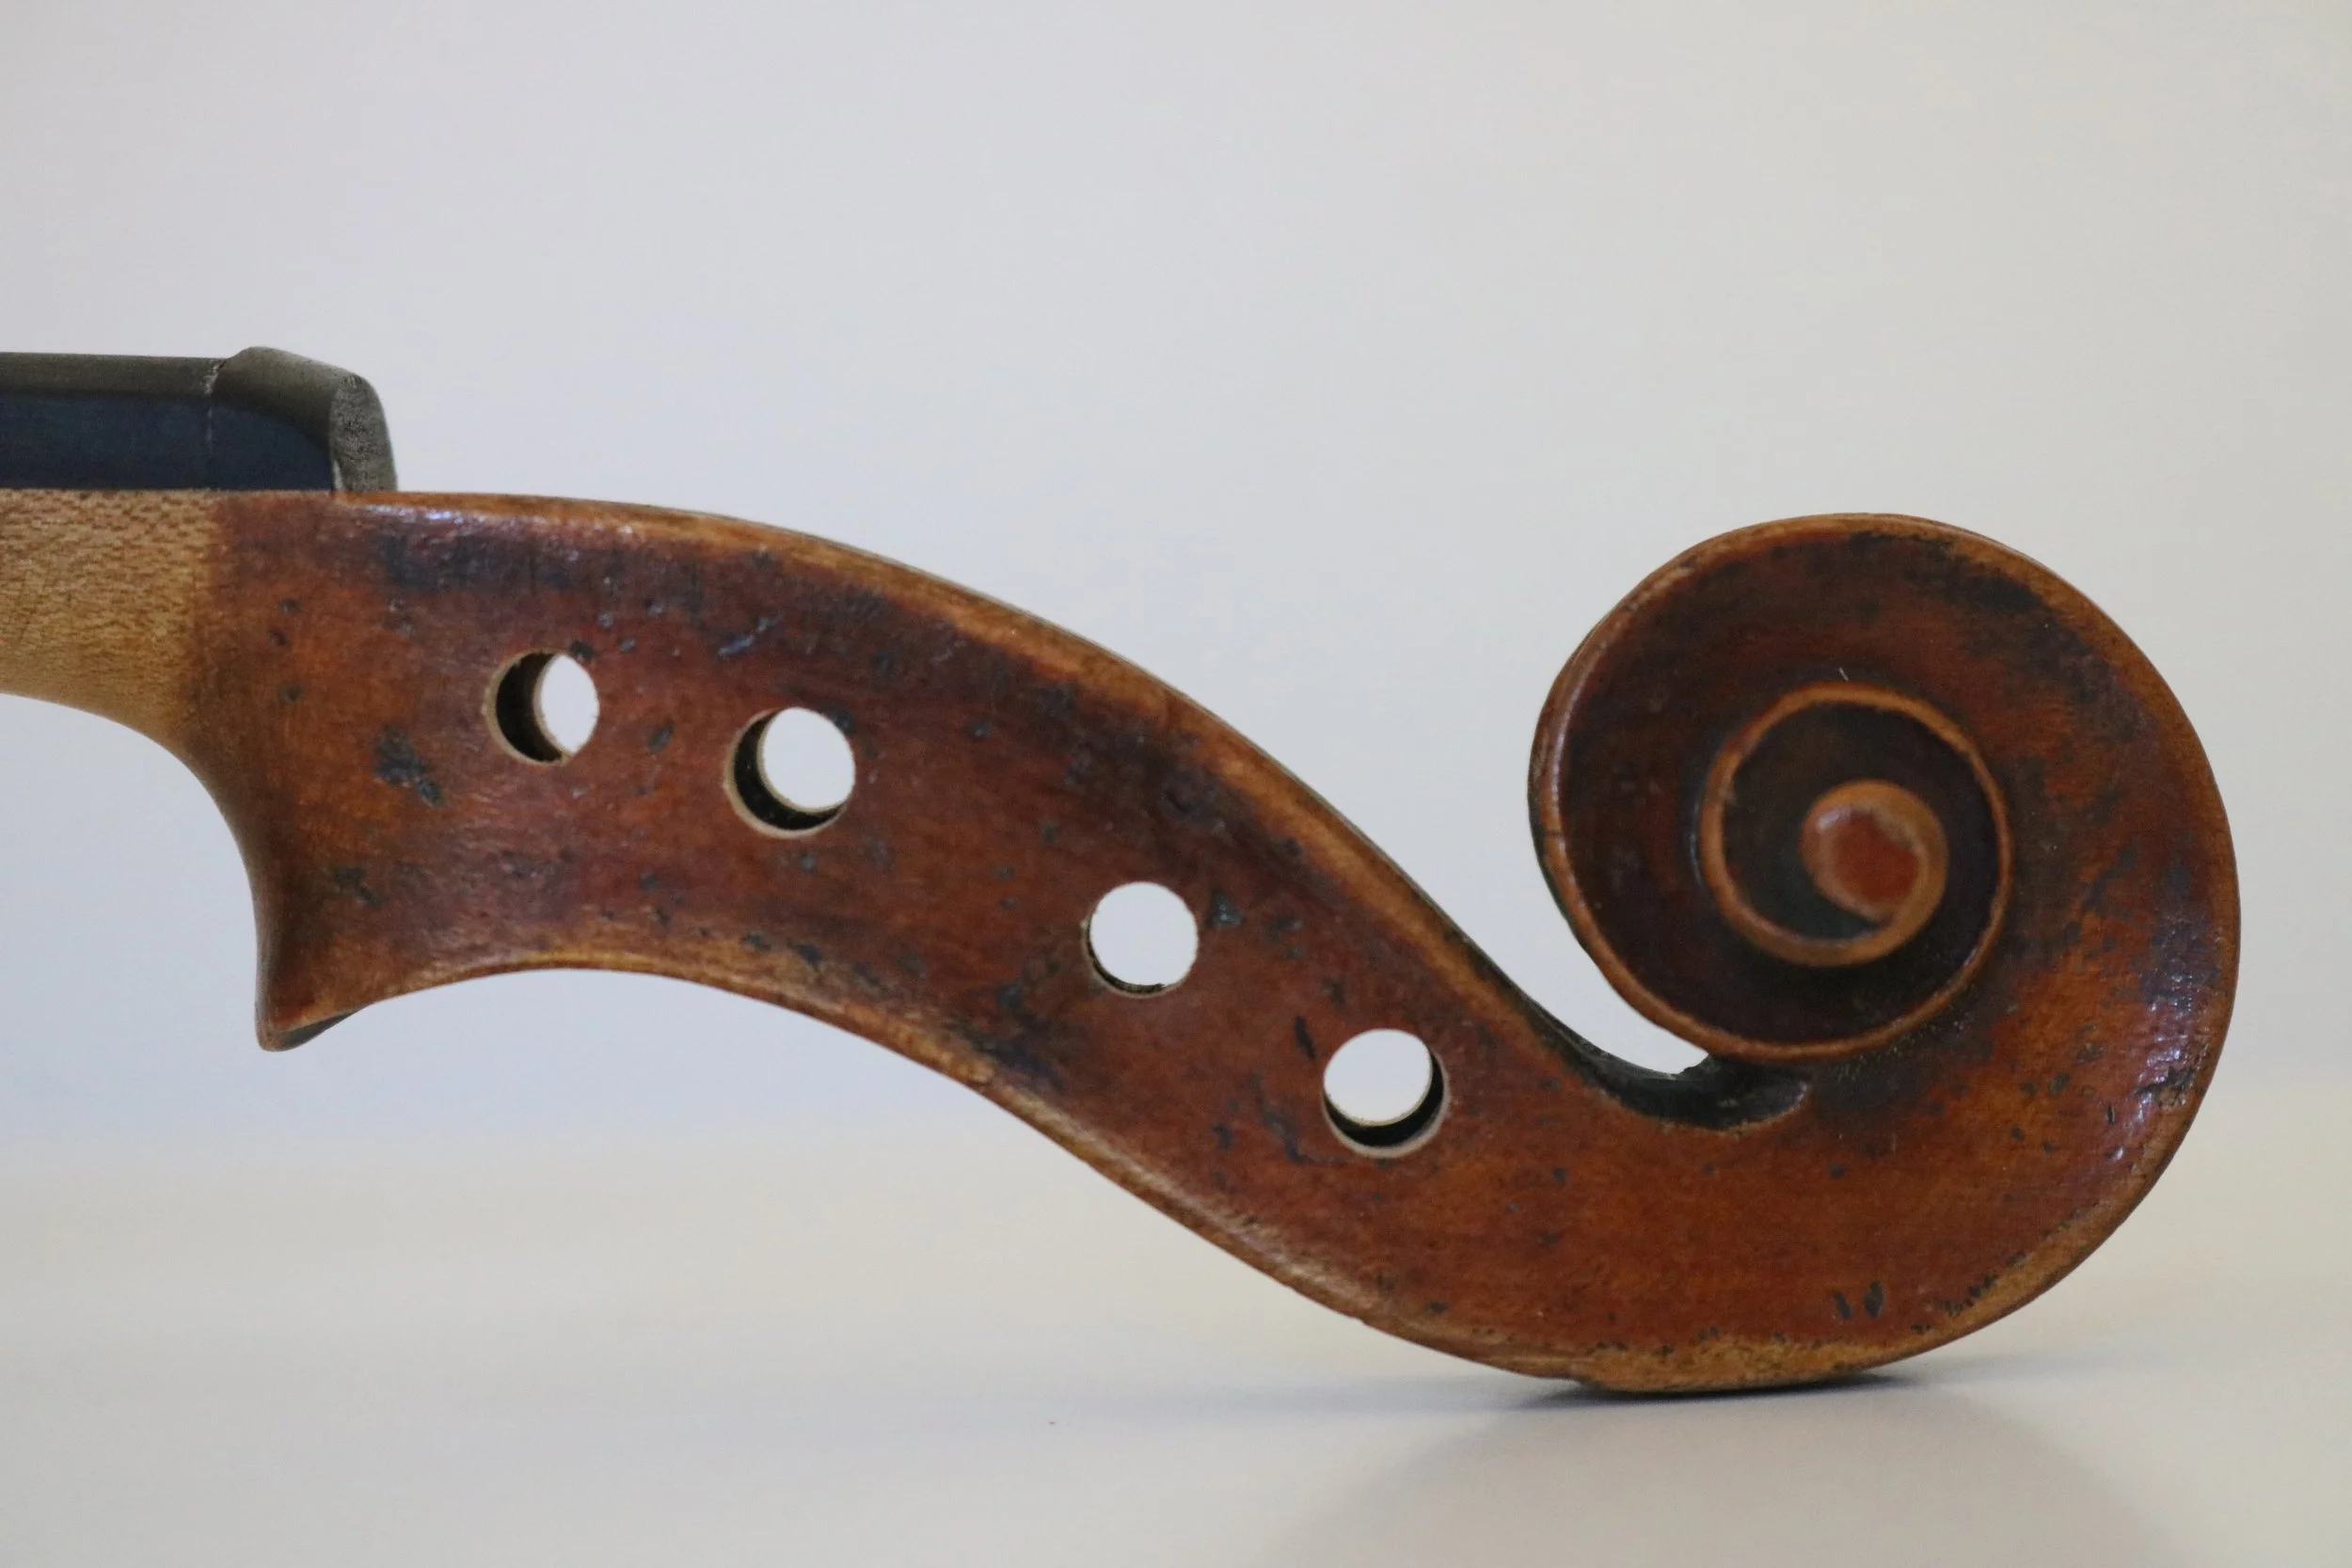
When performing grafts & endgrain bushings, we believe that it is imperative to protect the resulting glue joints and fragile corners with the addition of spiral bushings.
A little extra effort here will prevent future luthiers from getting themselves into trickier situations.
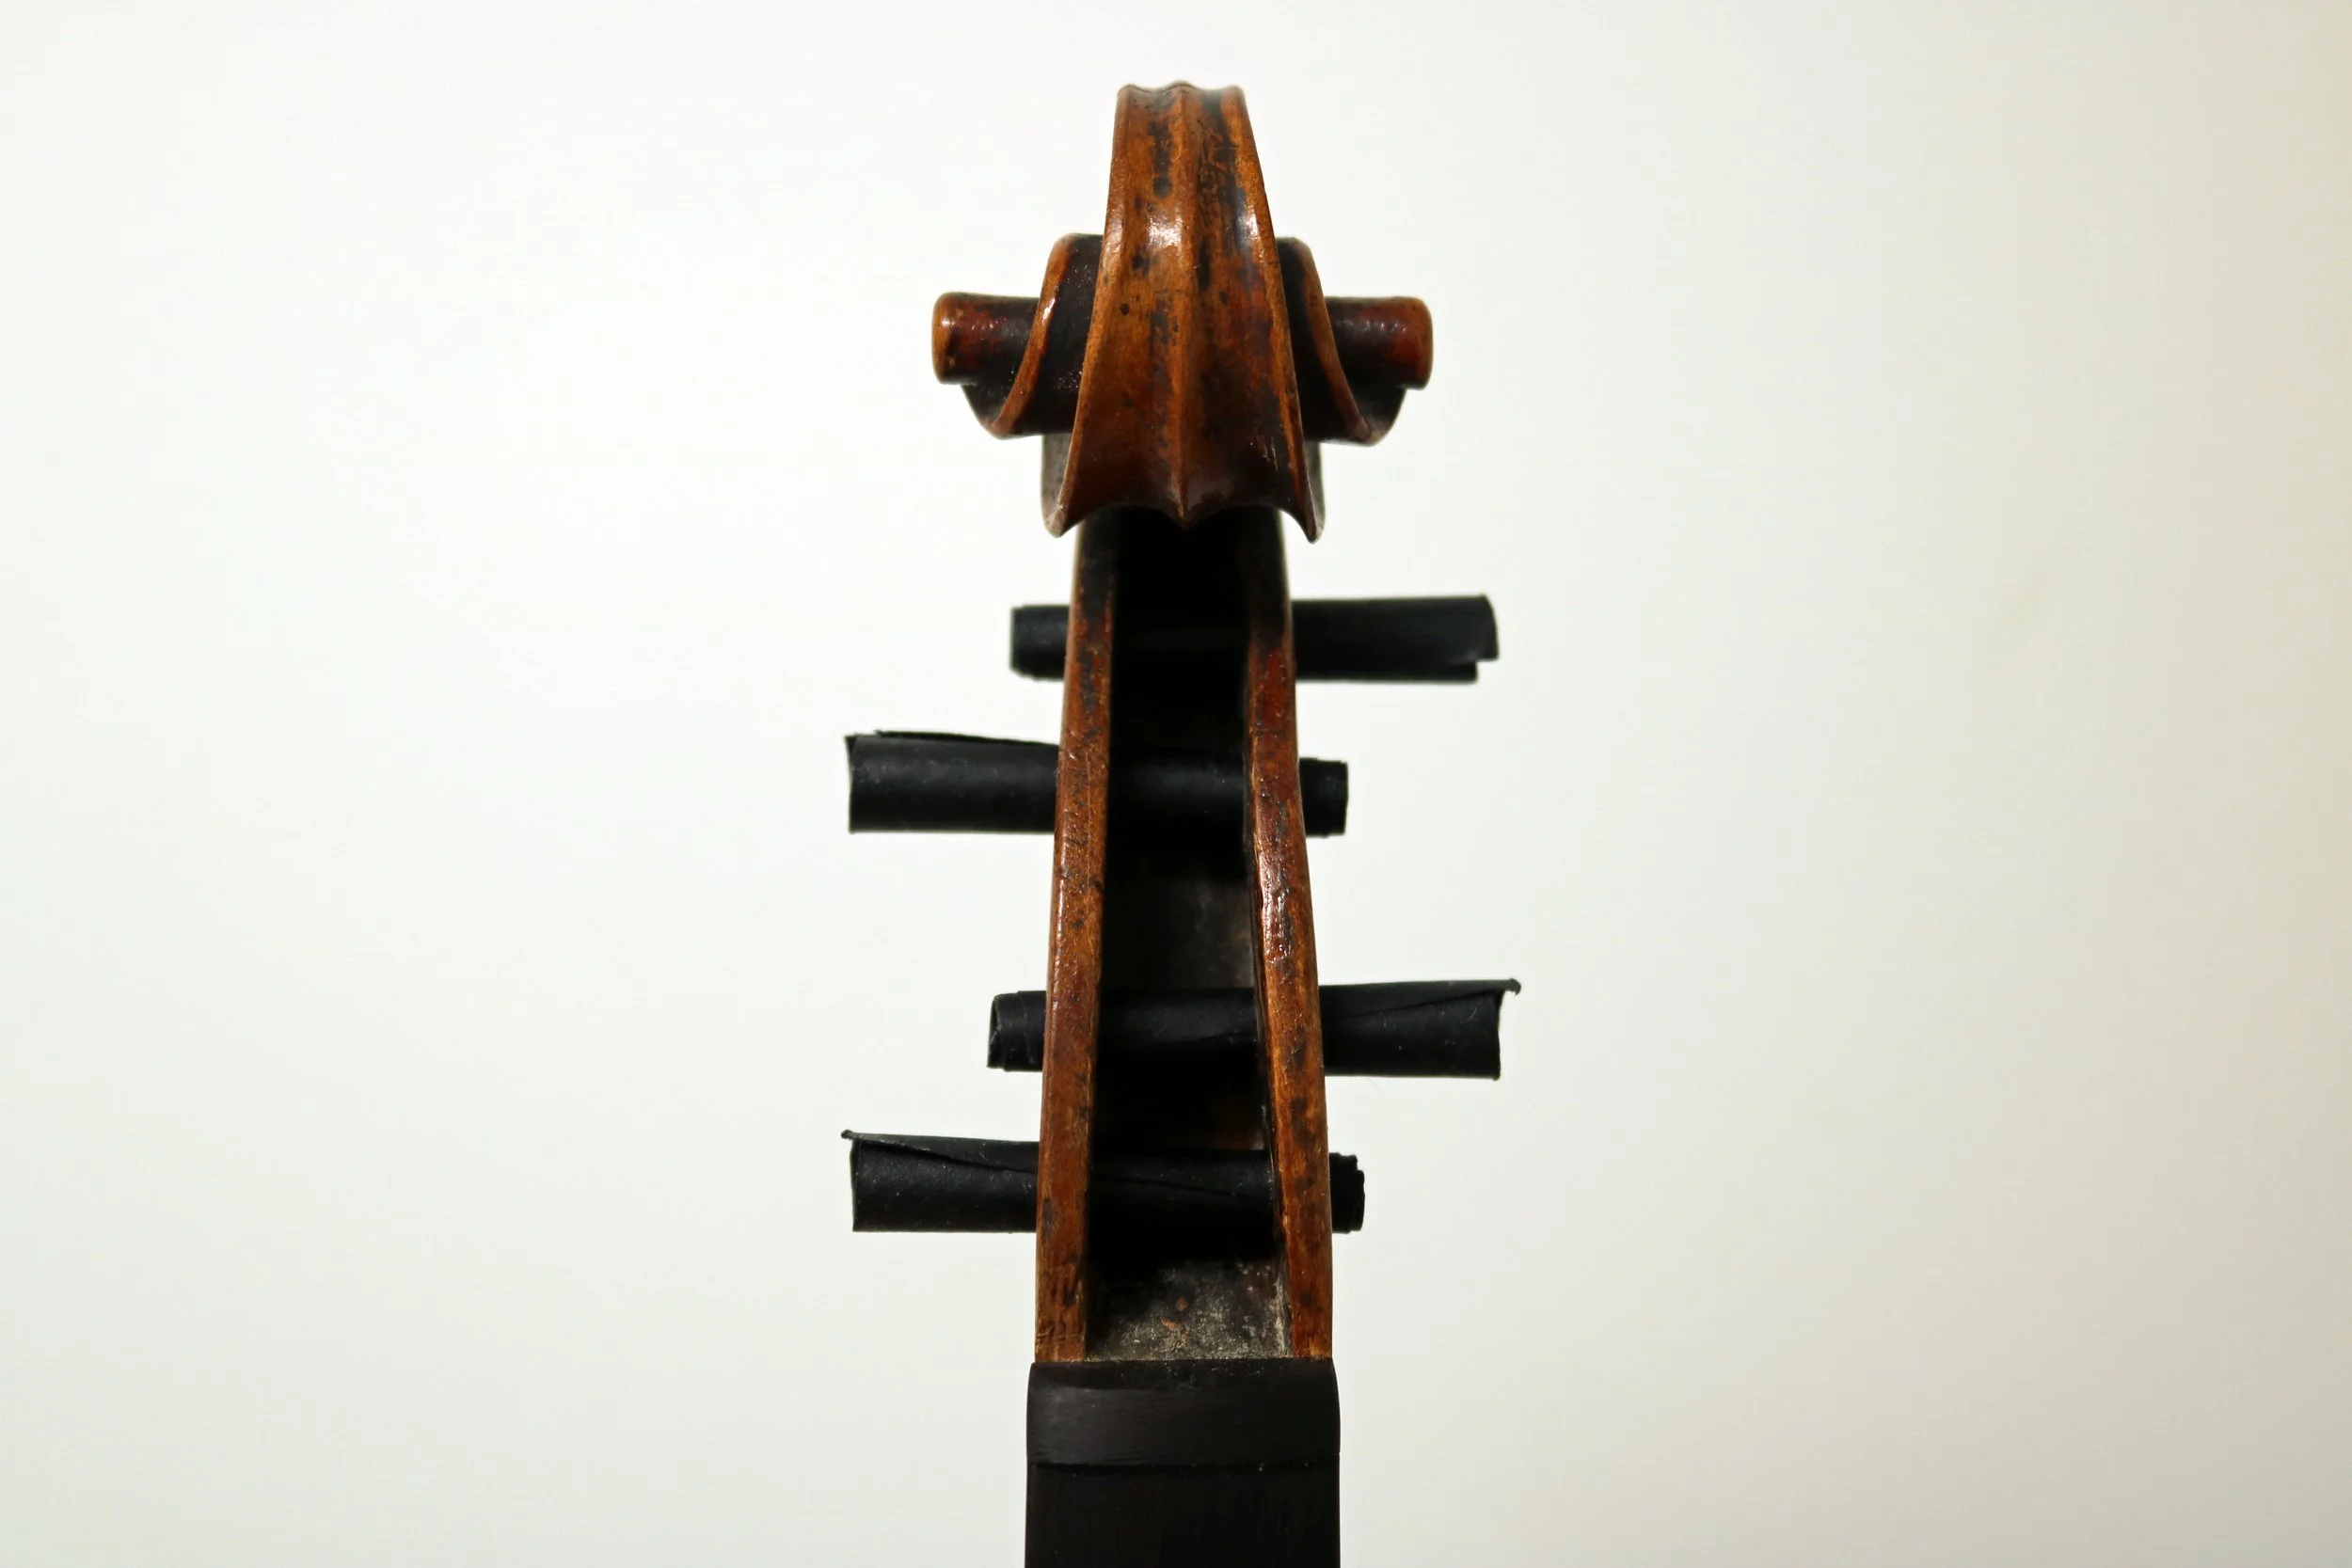
With some antiquing, it looks great?
Thanks for viewing!