A Violin Soundpost Patch (Back)
We received this violin back from an accomplished local restorer who was curious about our process for installing soundpost patches.
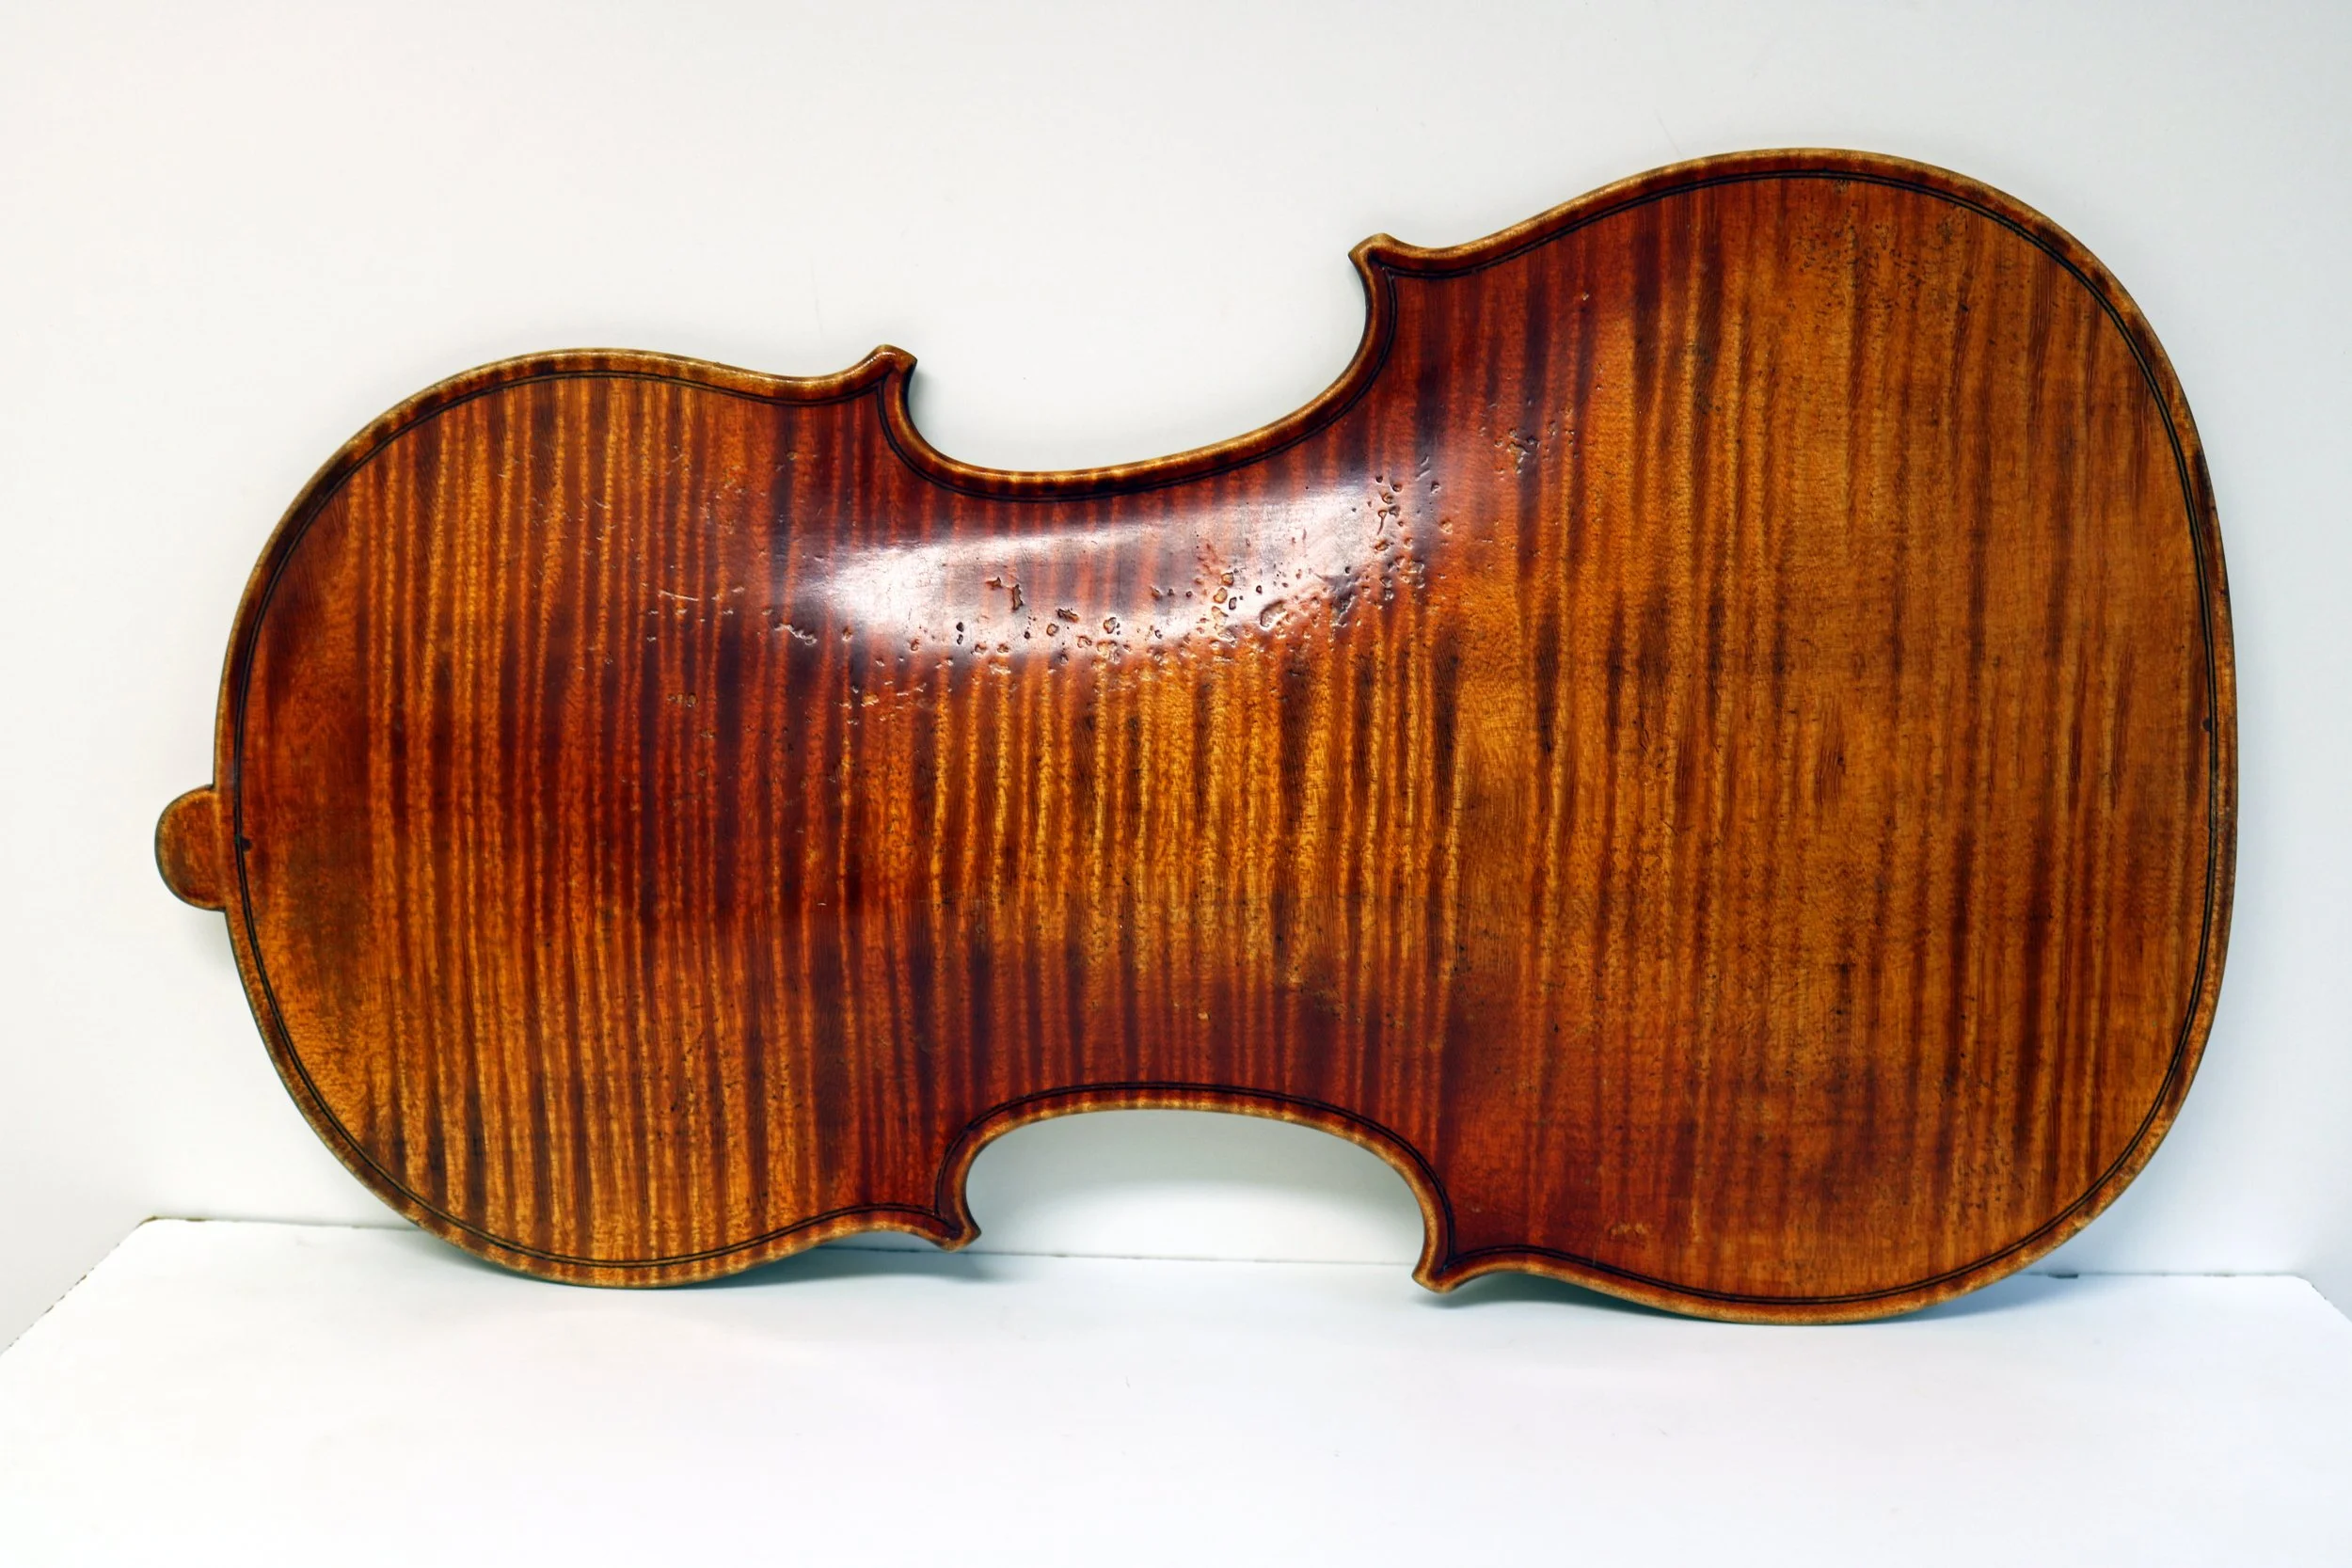
As with many soundpost cracks we encounter this one had been glued before.
Dirty and unlevel, this crack would need to be re-opened, thoroughly cleaned, and glued again.
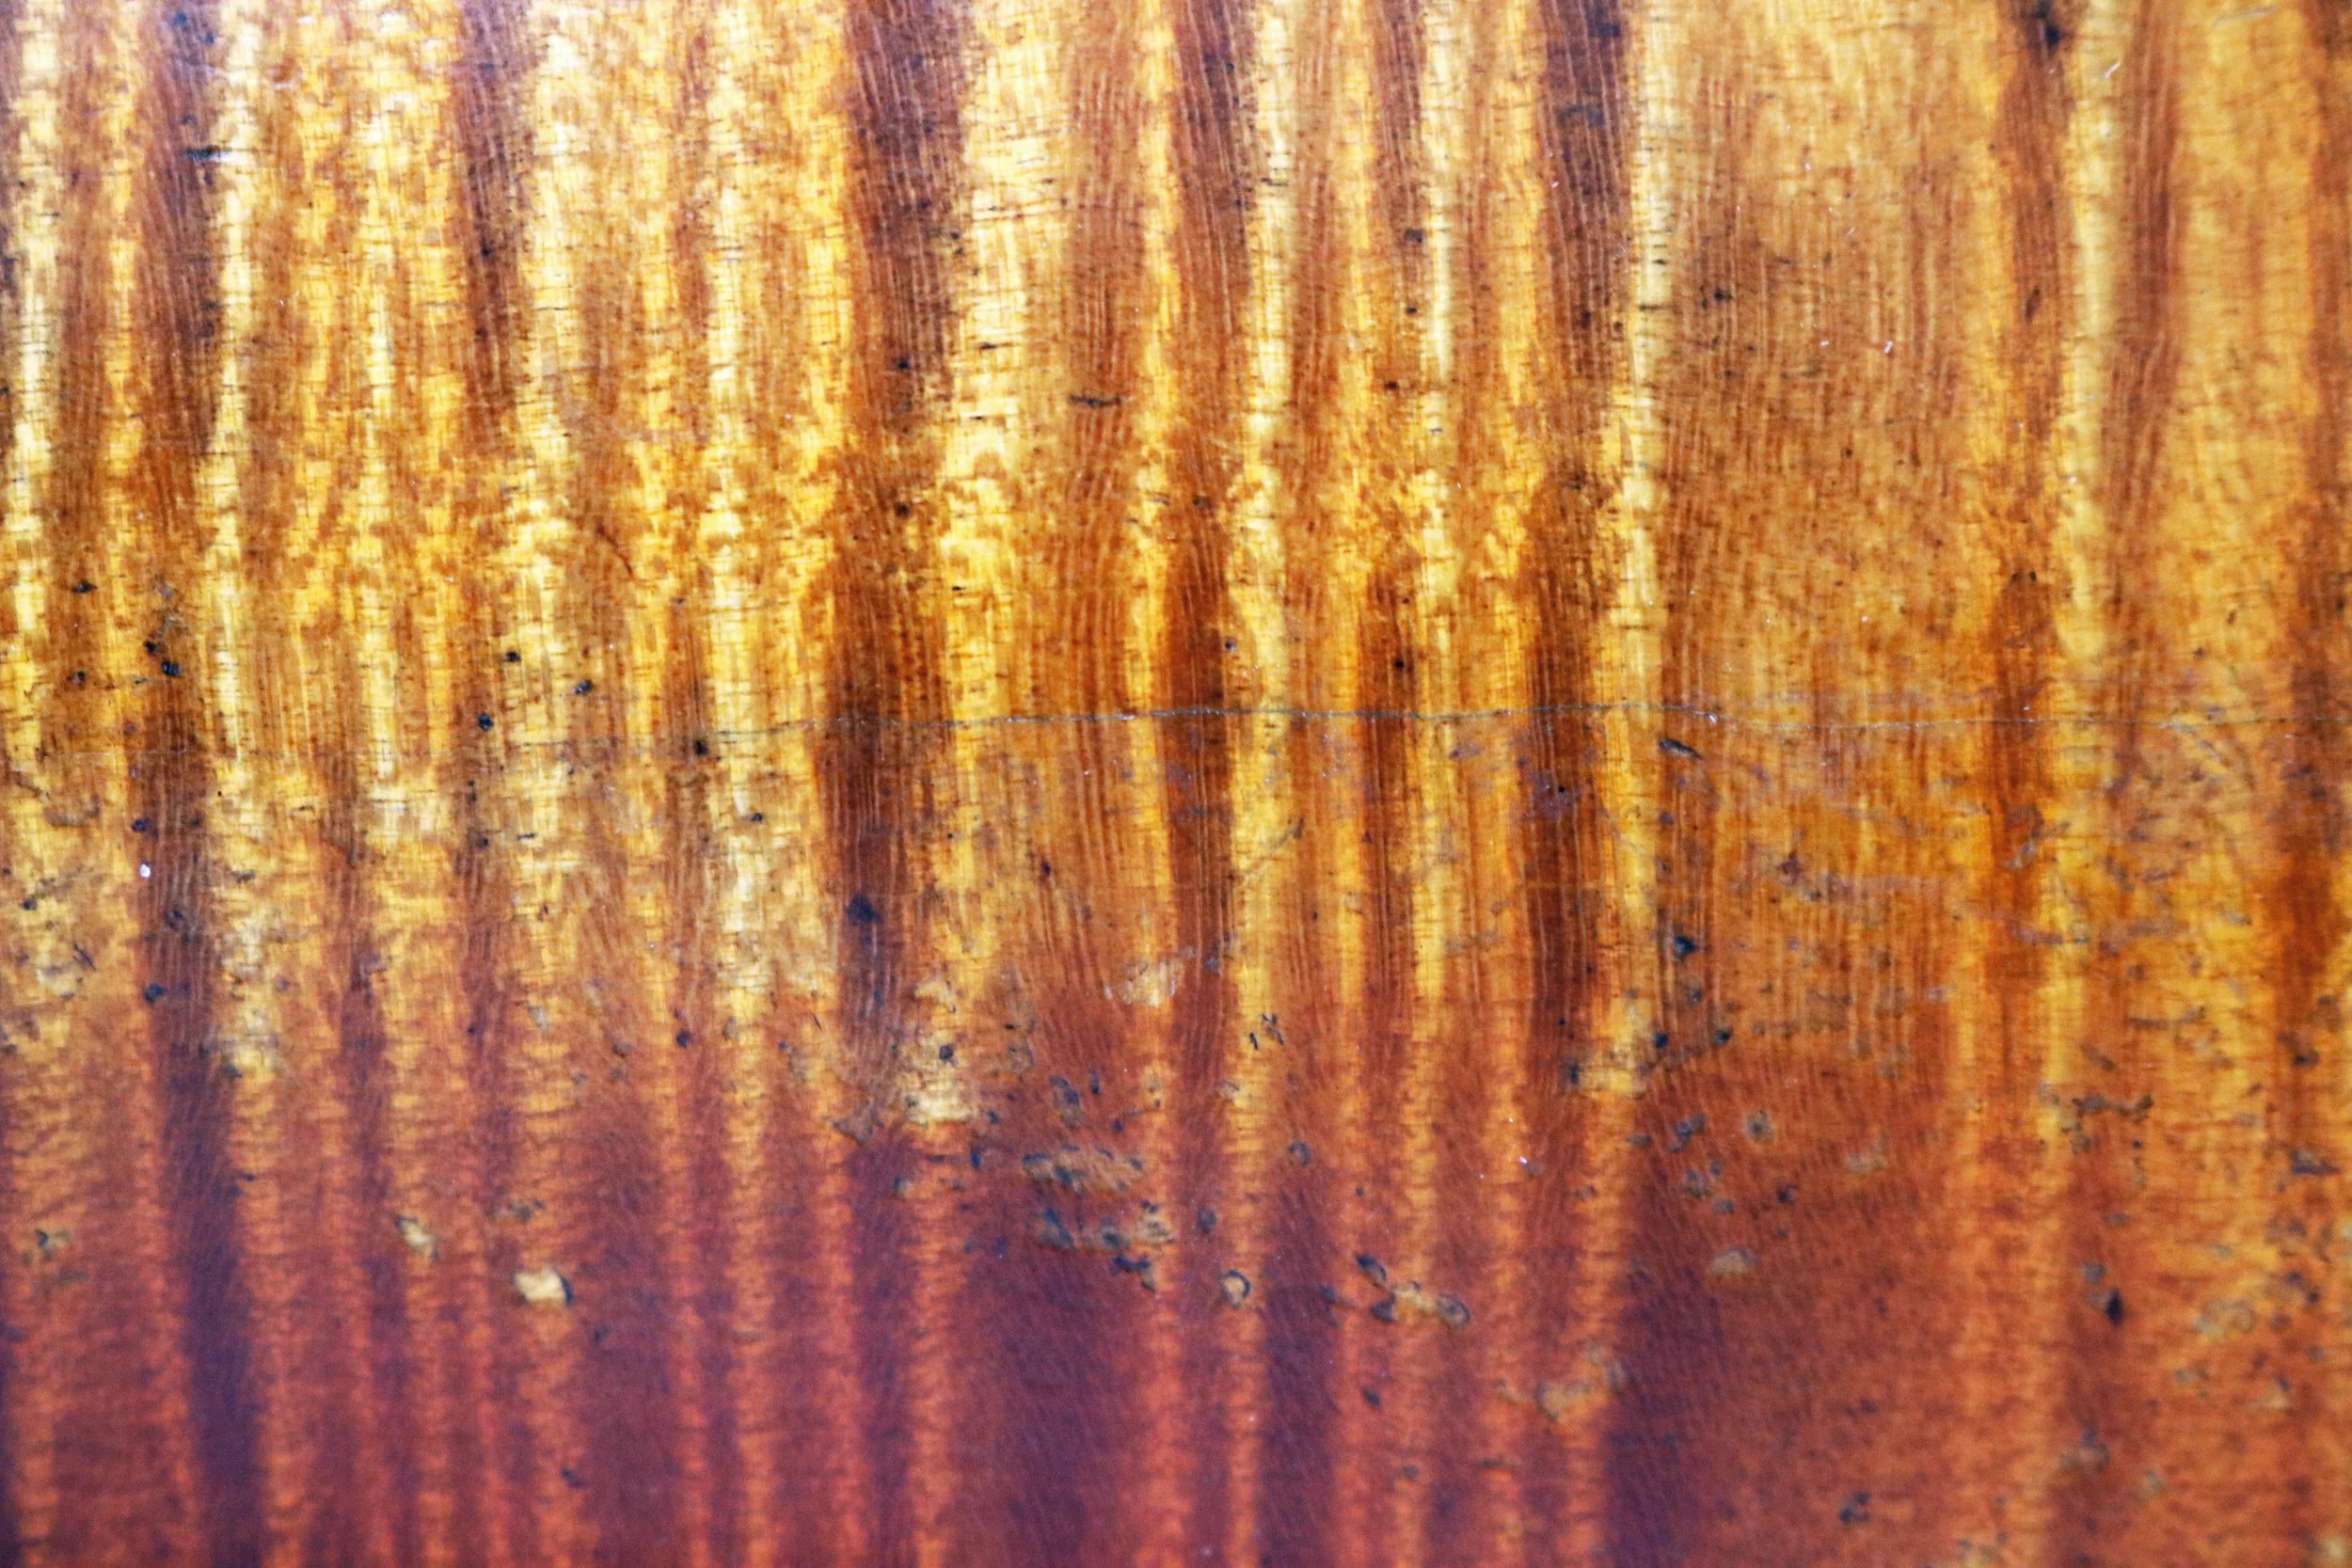
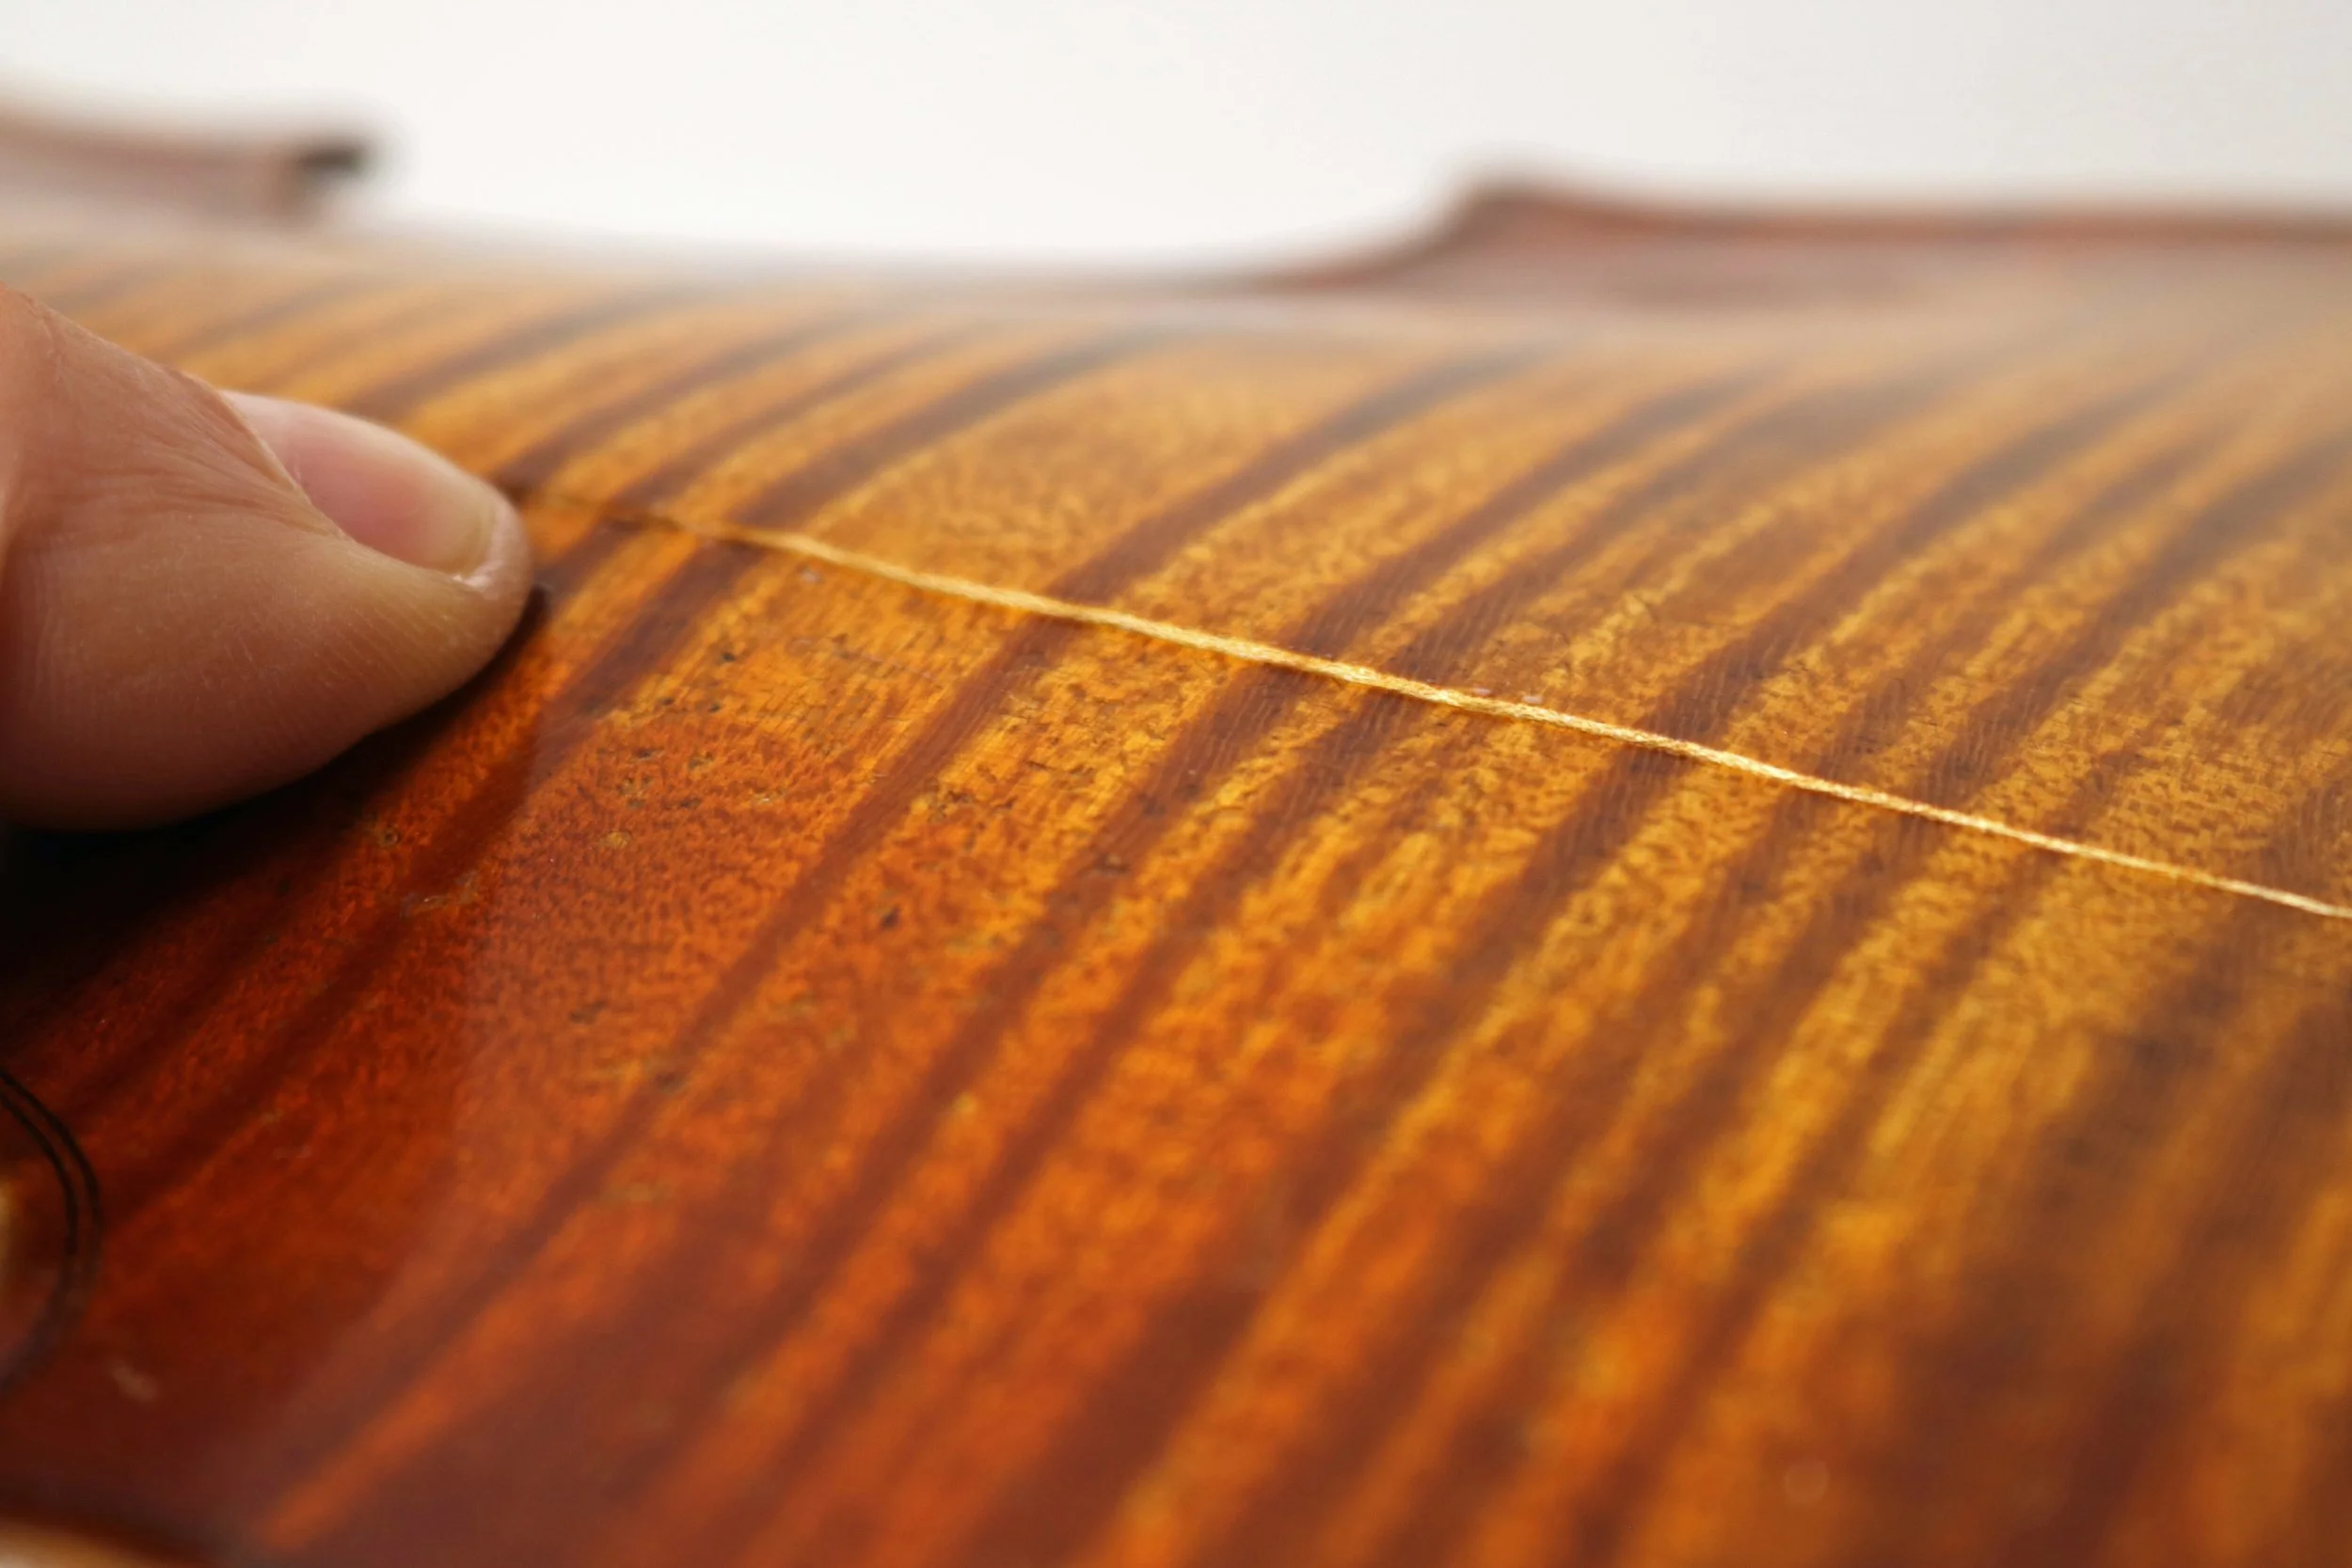
A small section of the back crack.
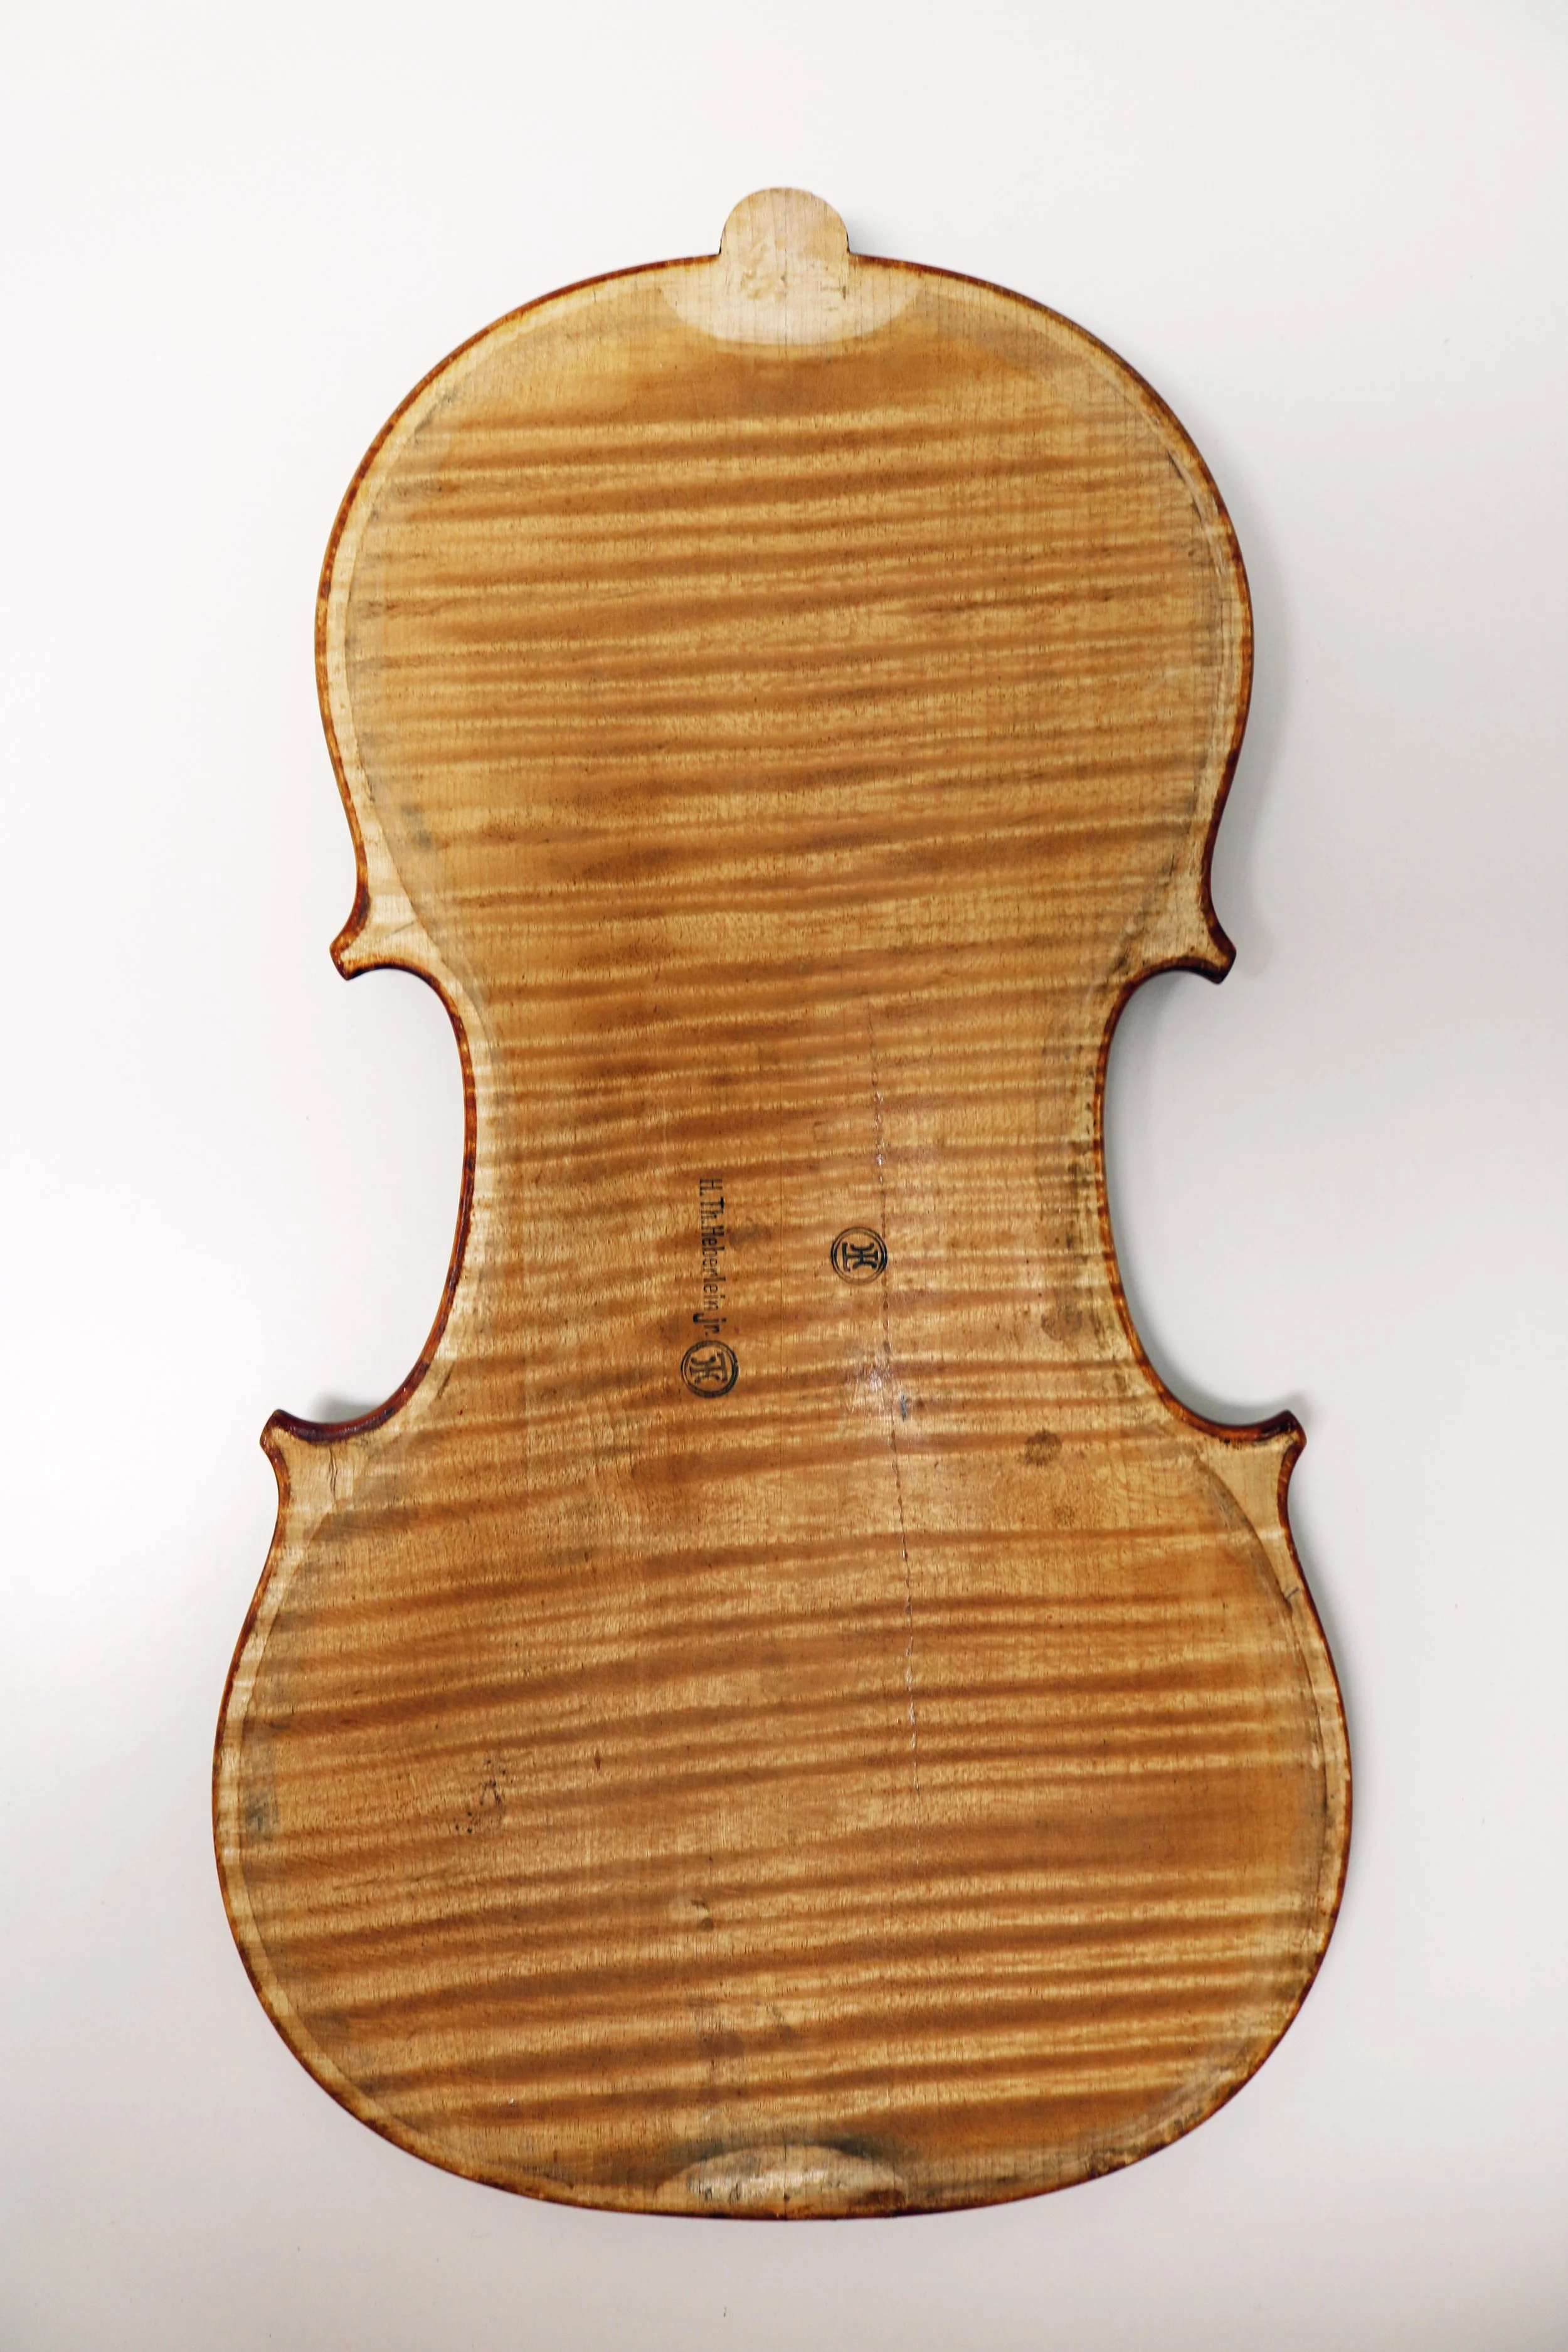
Here is the instrument’s interior as presented to us-
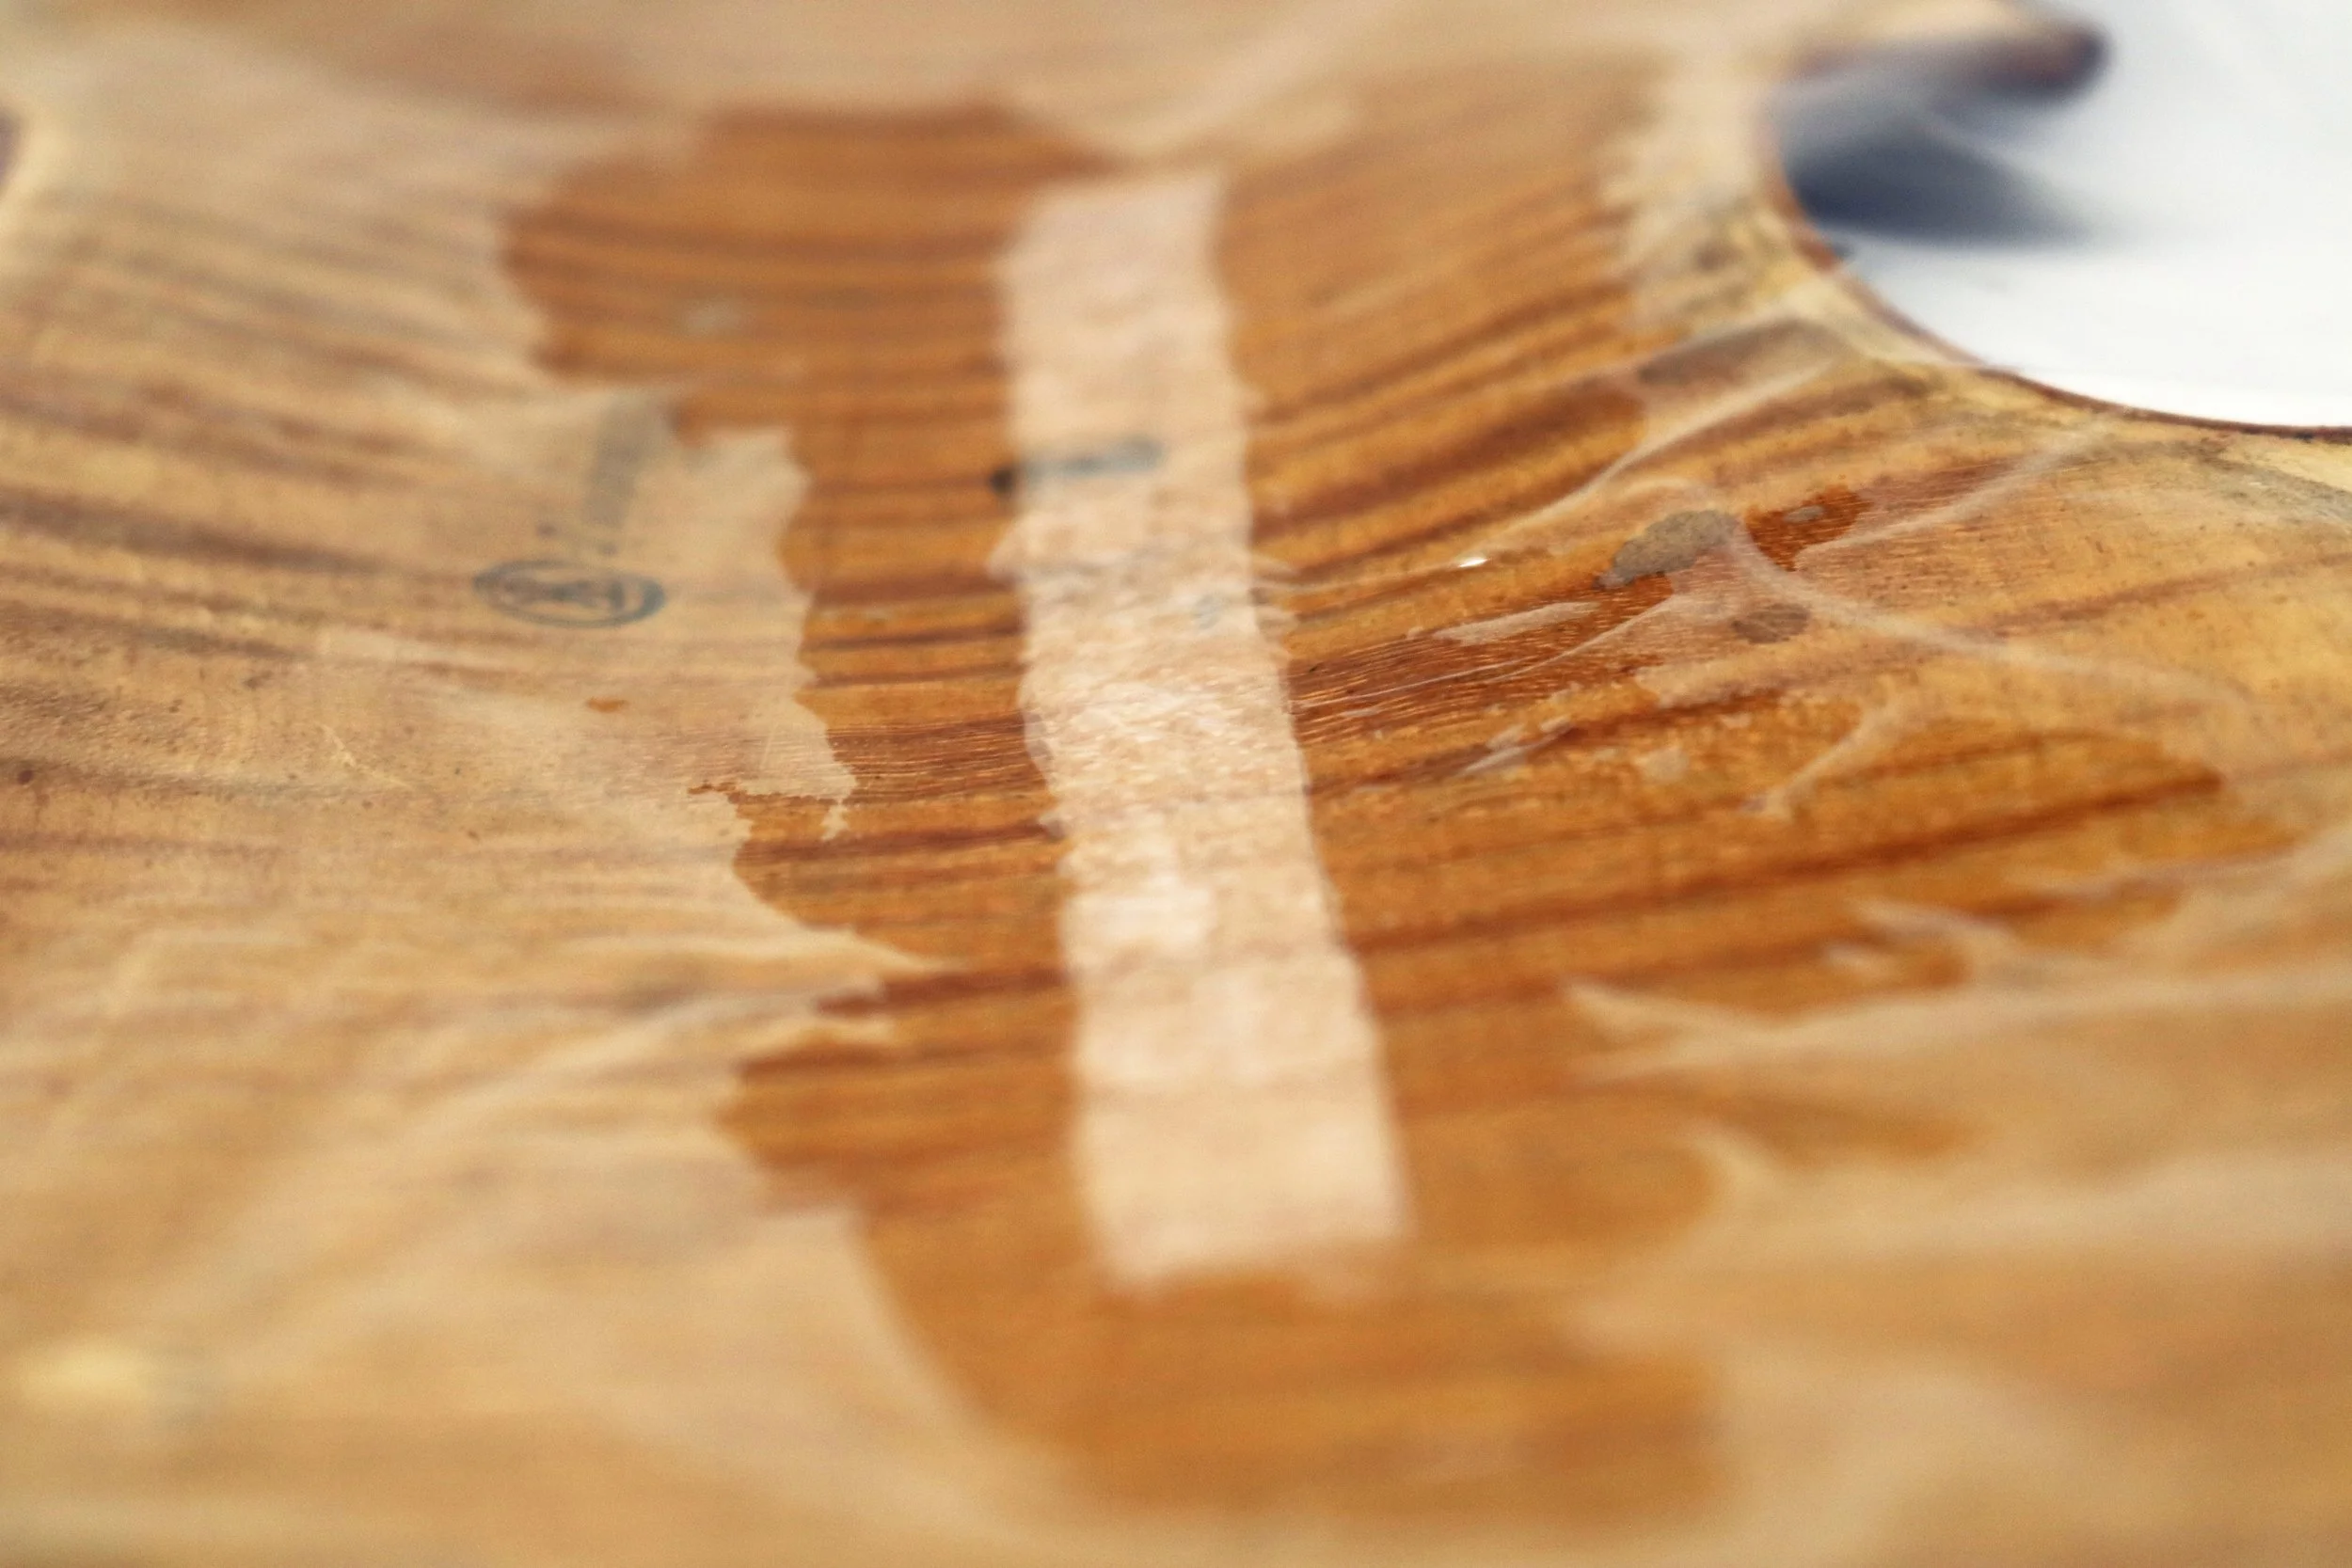
Fortunately, the crack easily re-opened using paper towel strips and moisture.
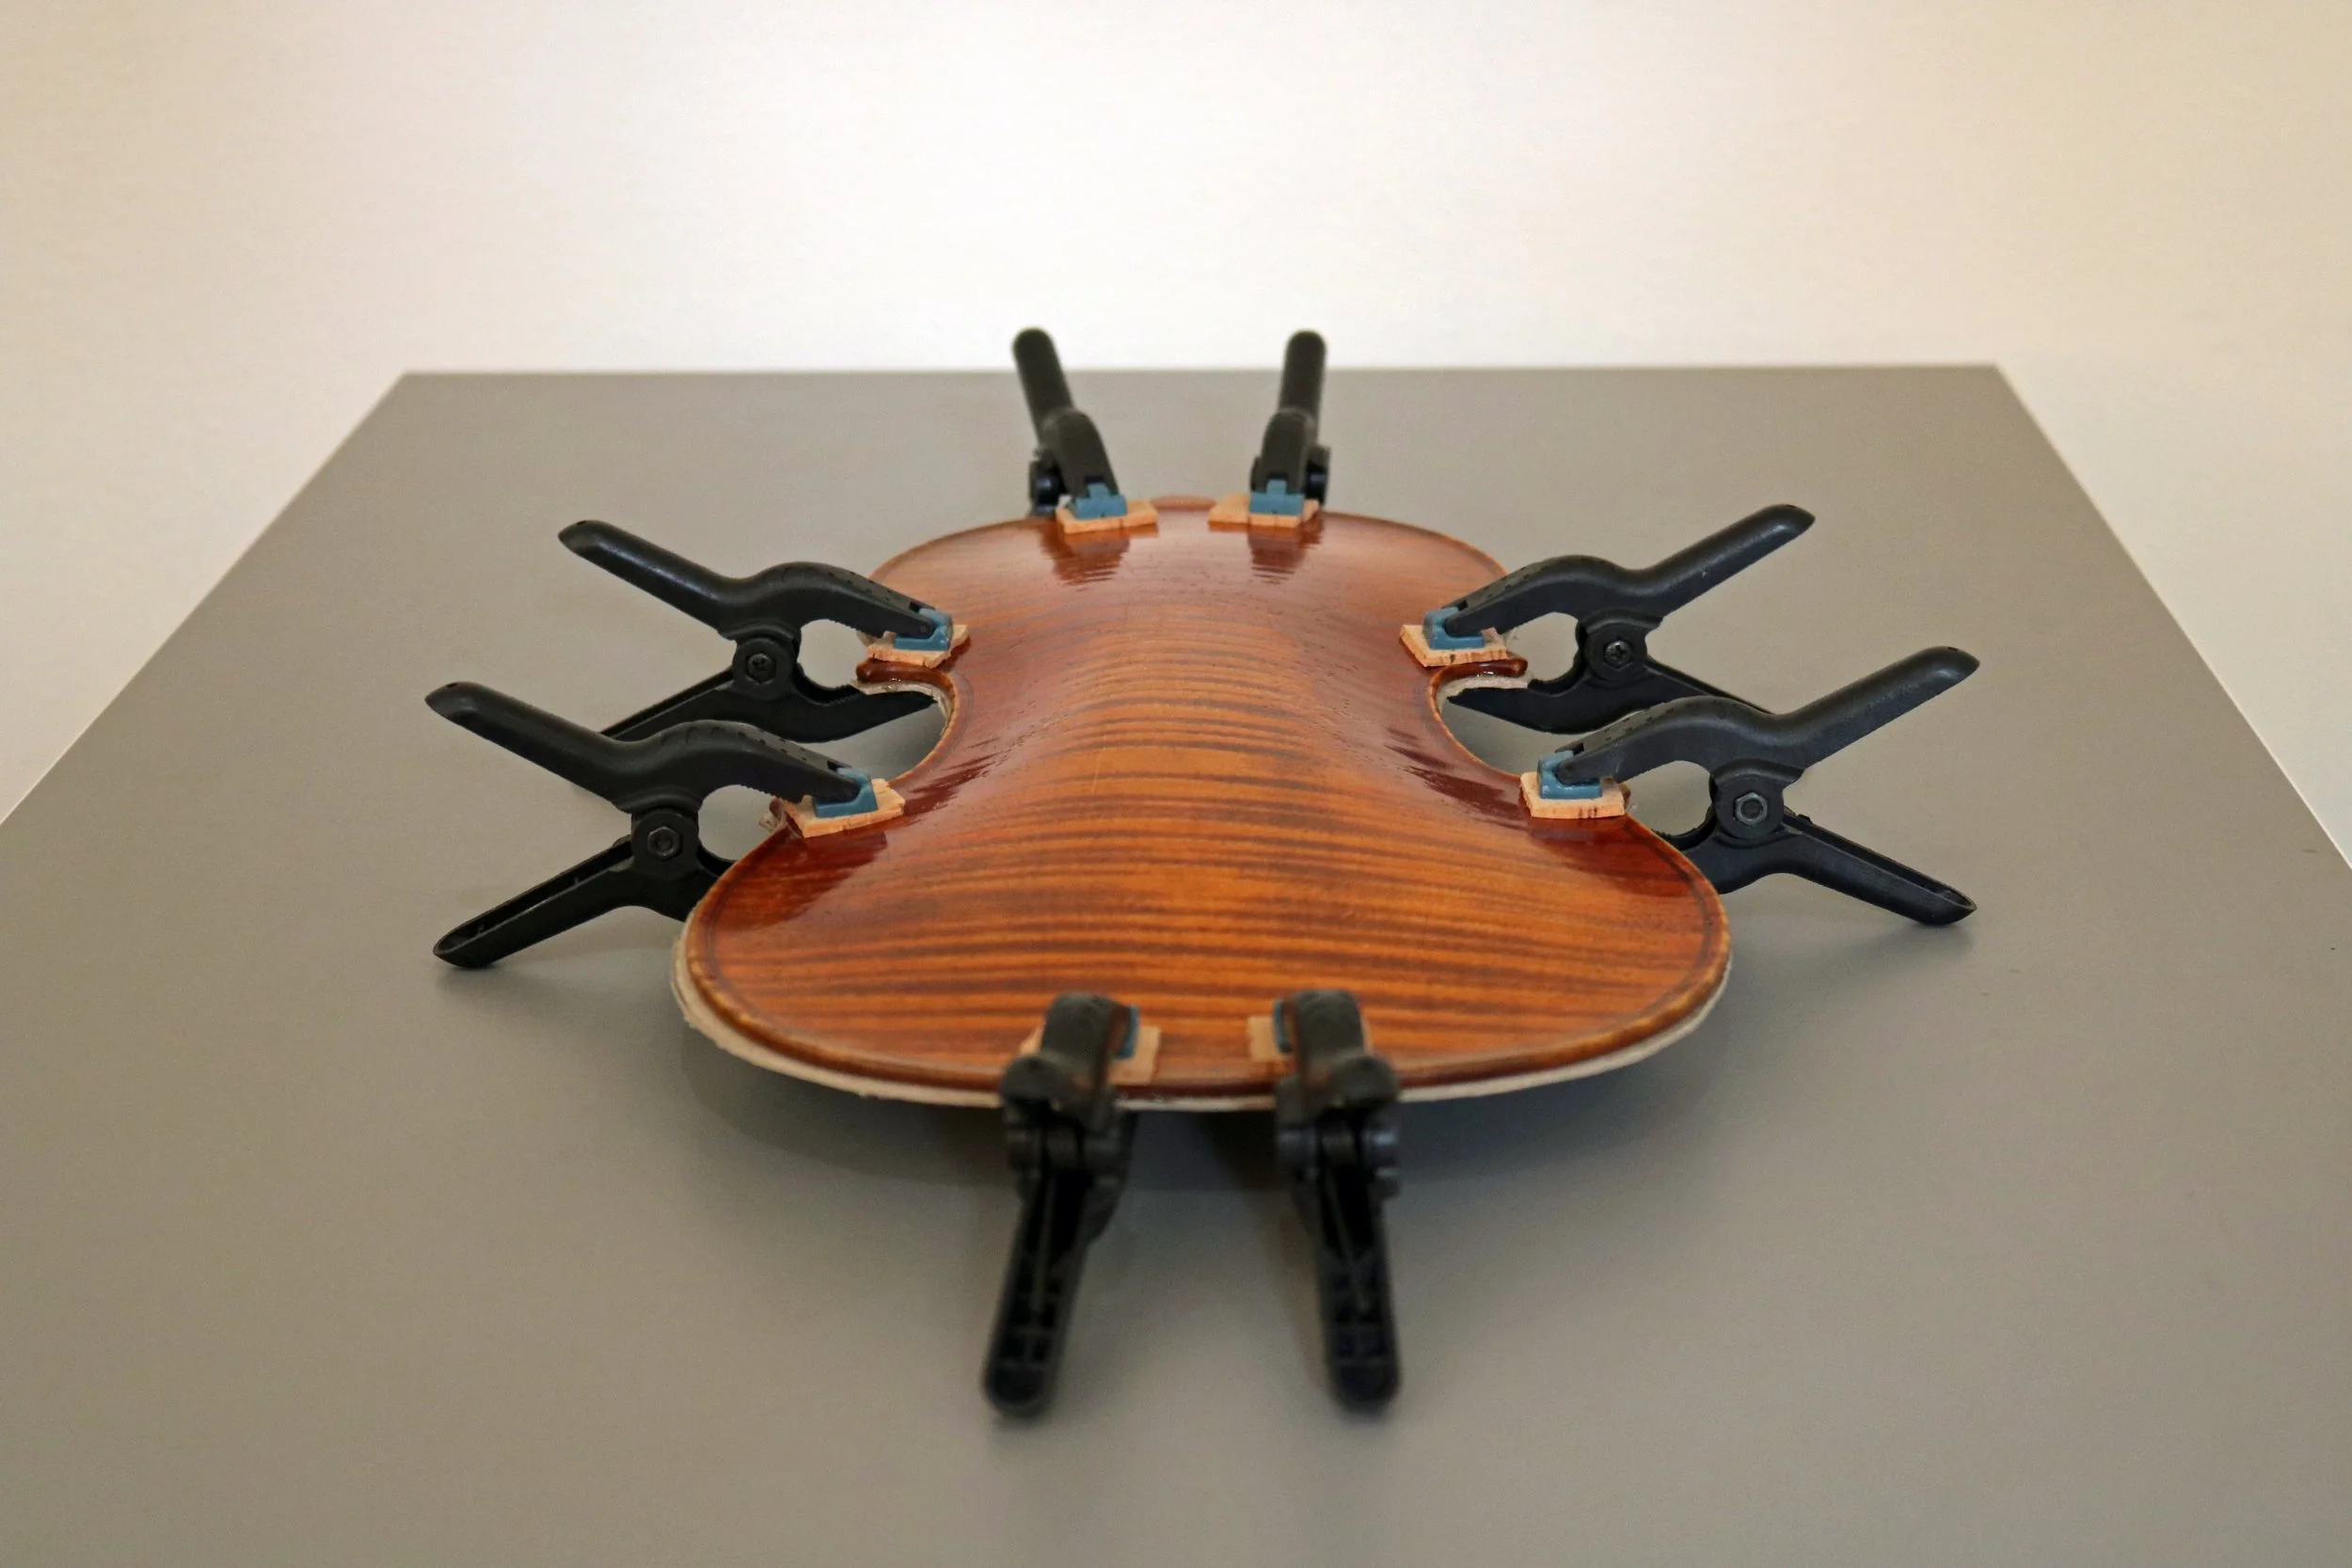
Over the years, we have obtained the best results when glueing lengthy cracks by using tower clamps.
What a luxury it is to have our CNC machine quickly produce the wooden towers for us!
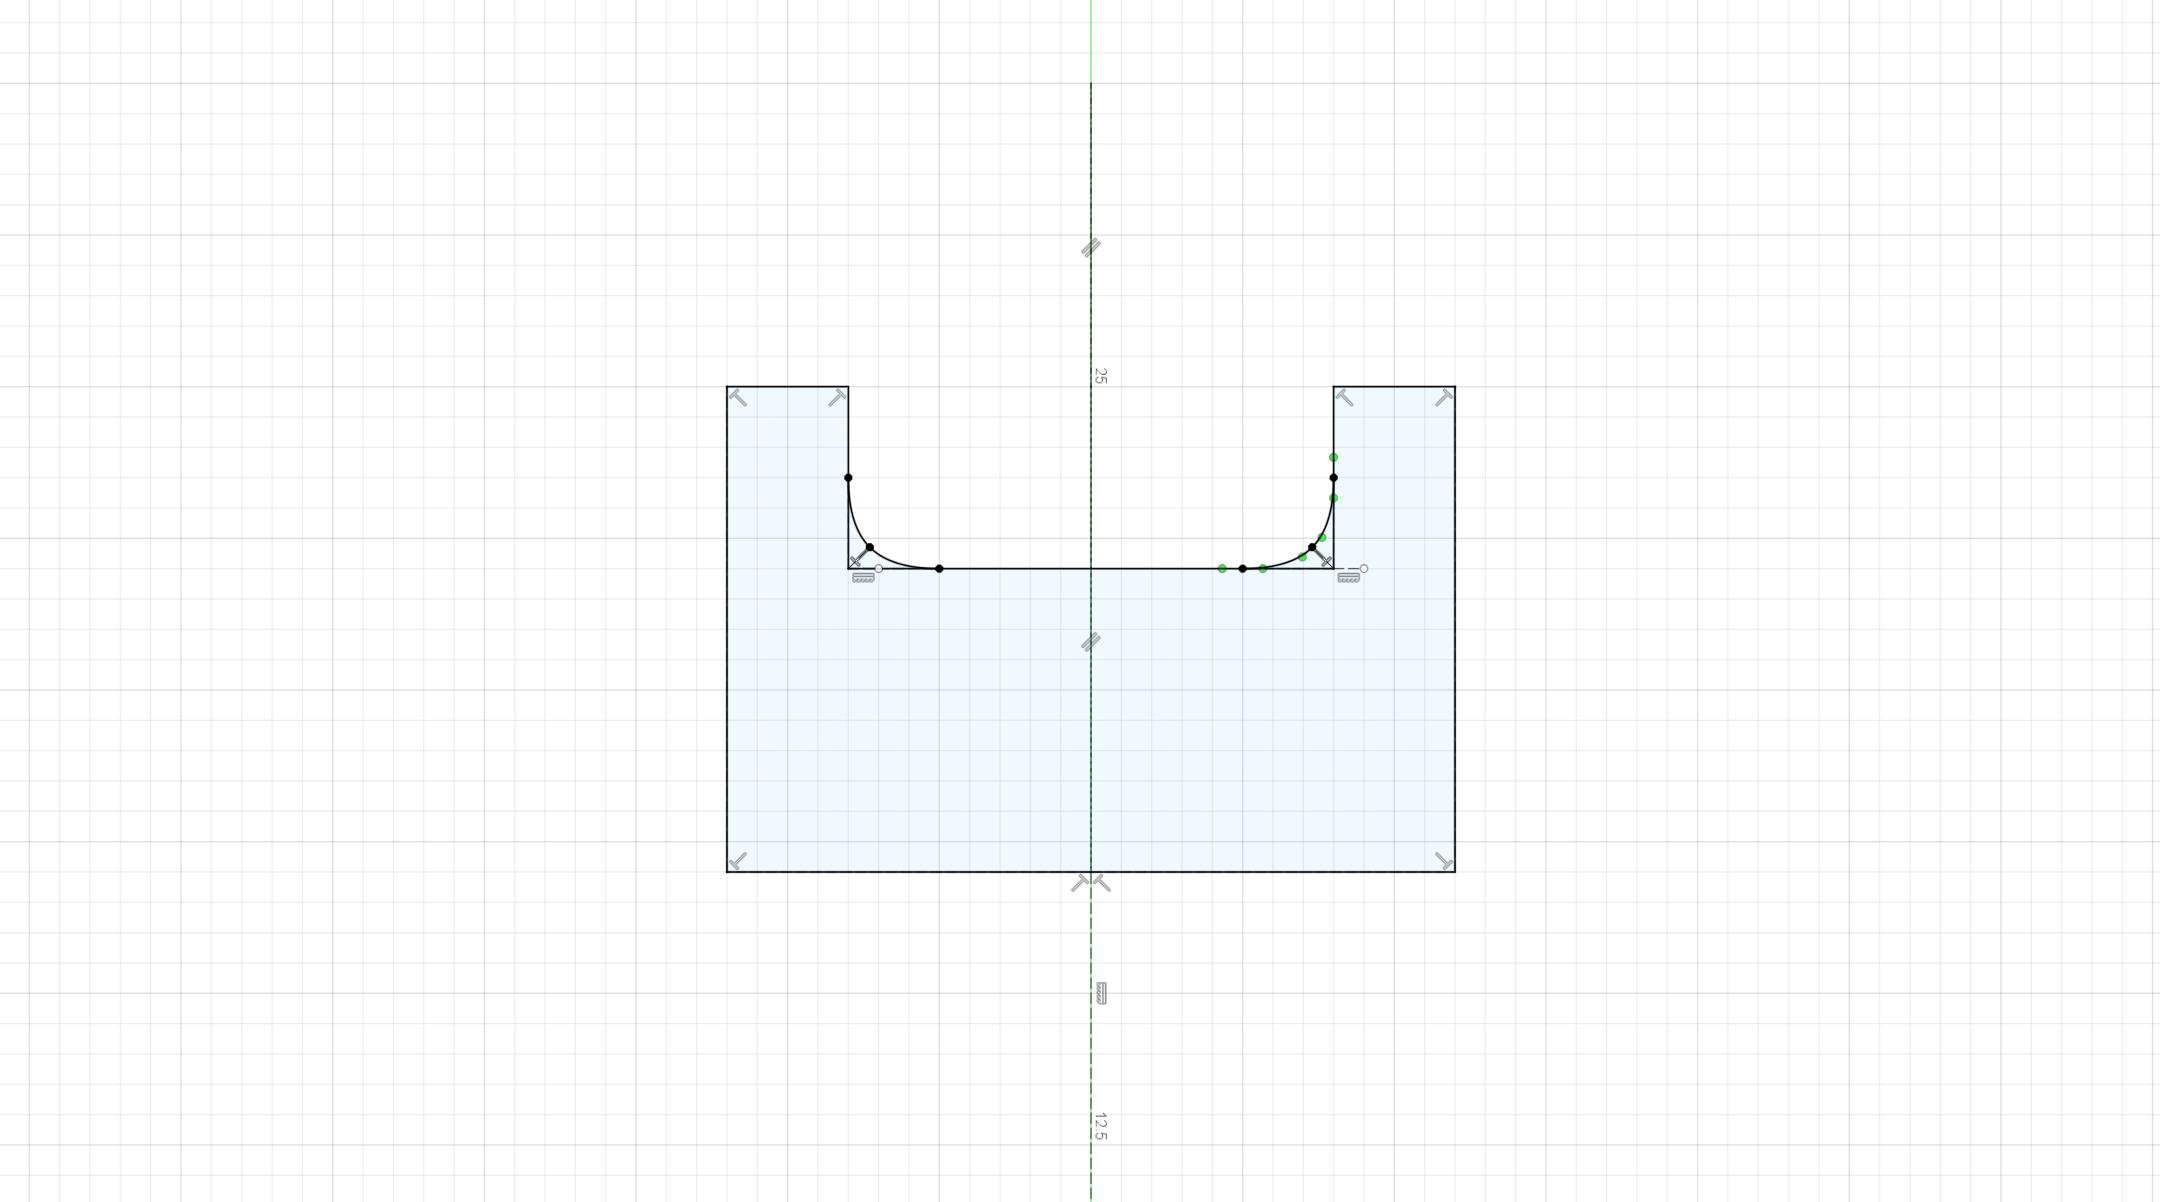
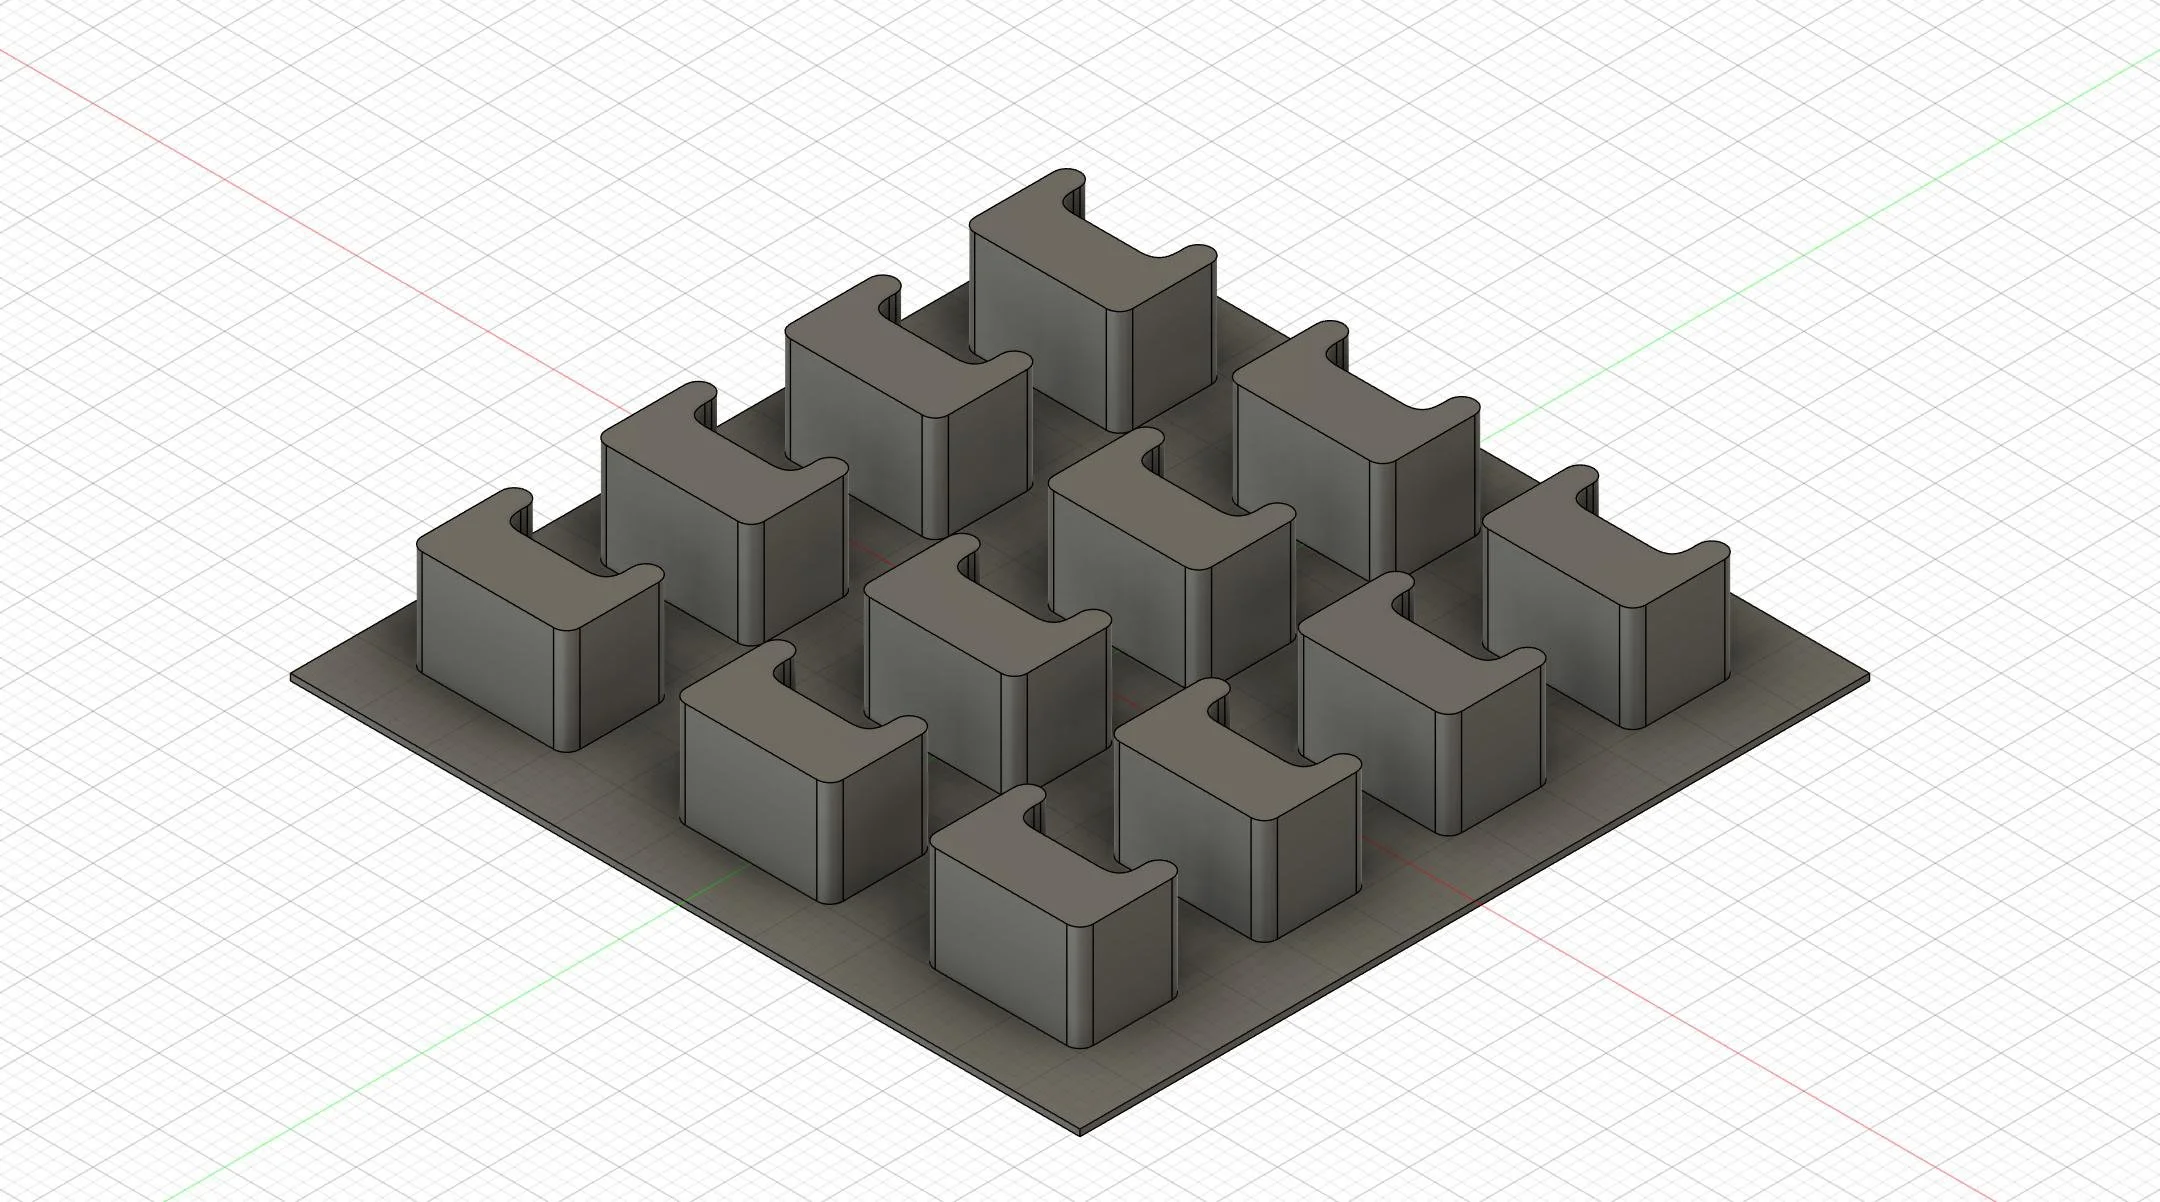
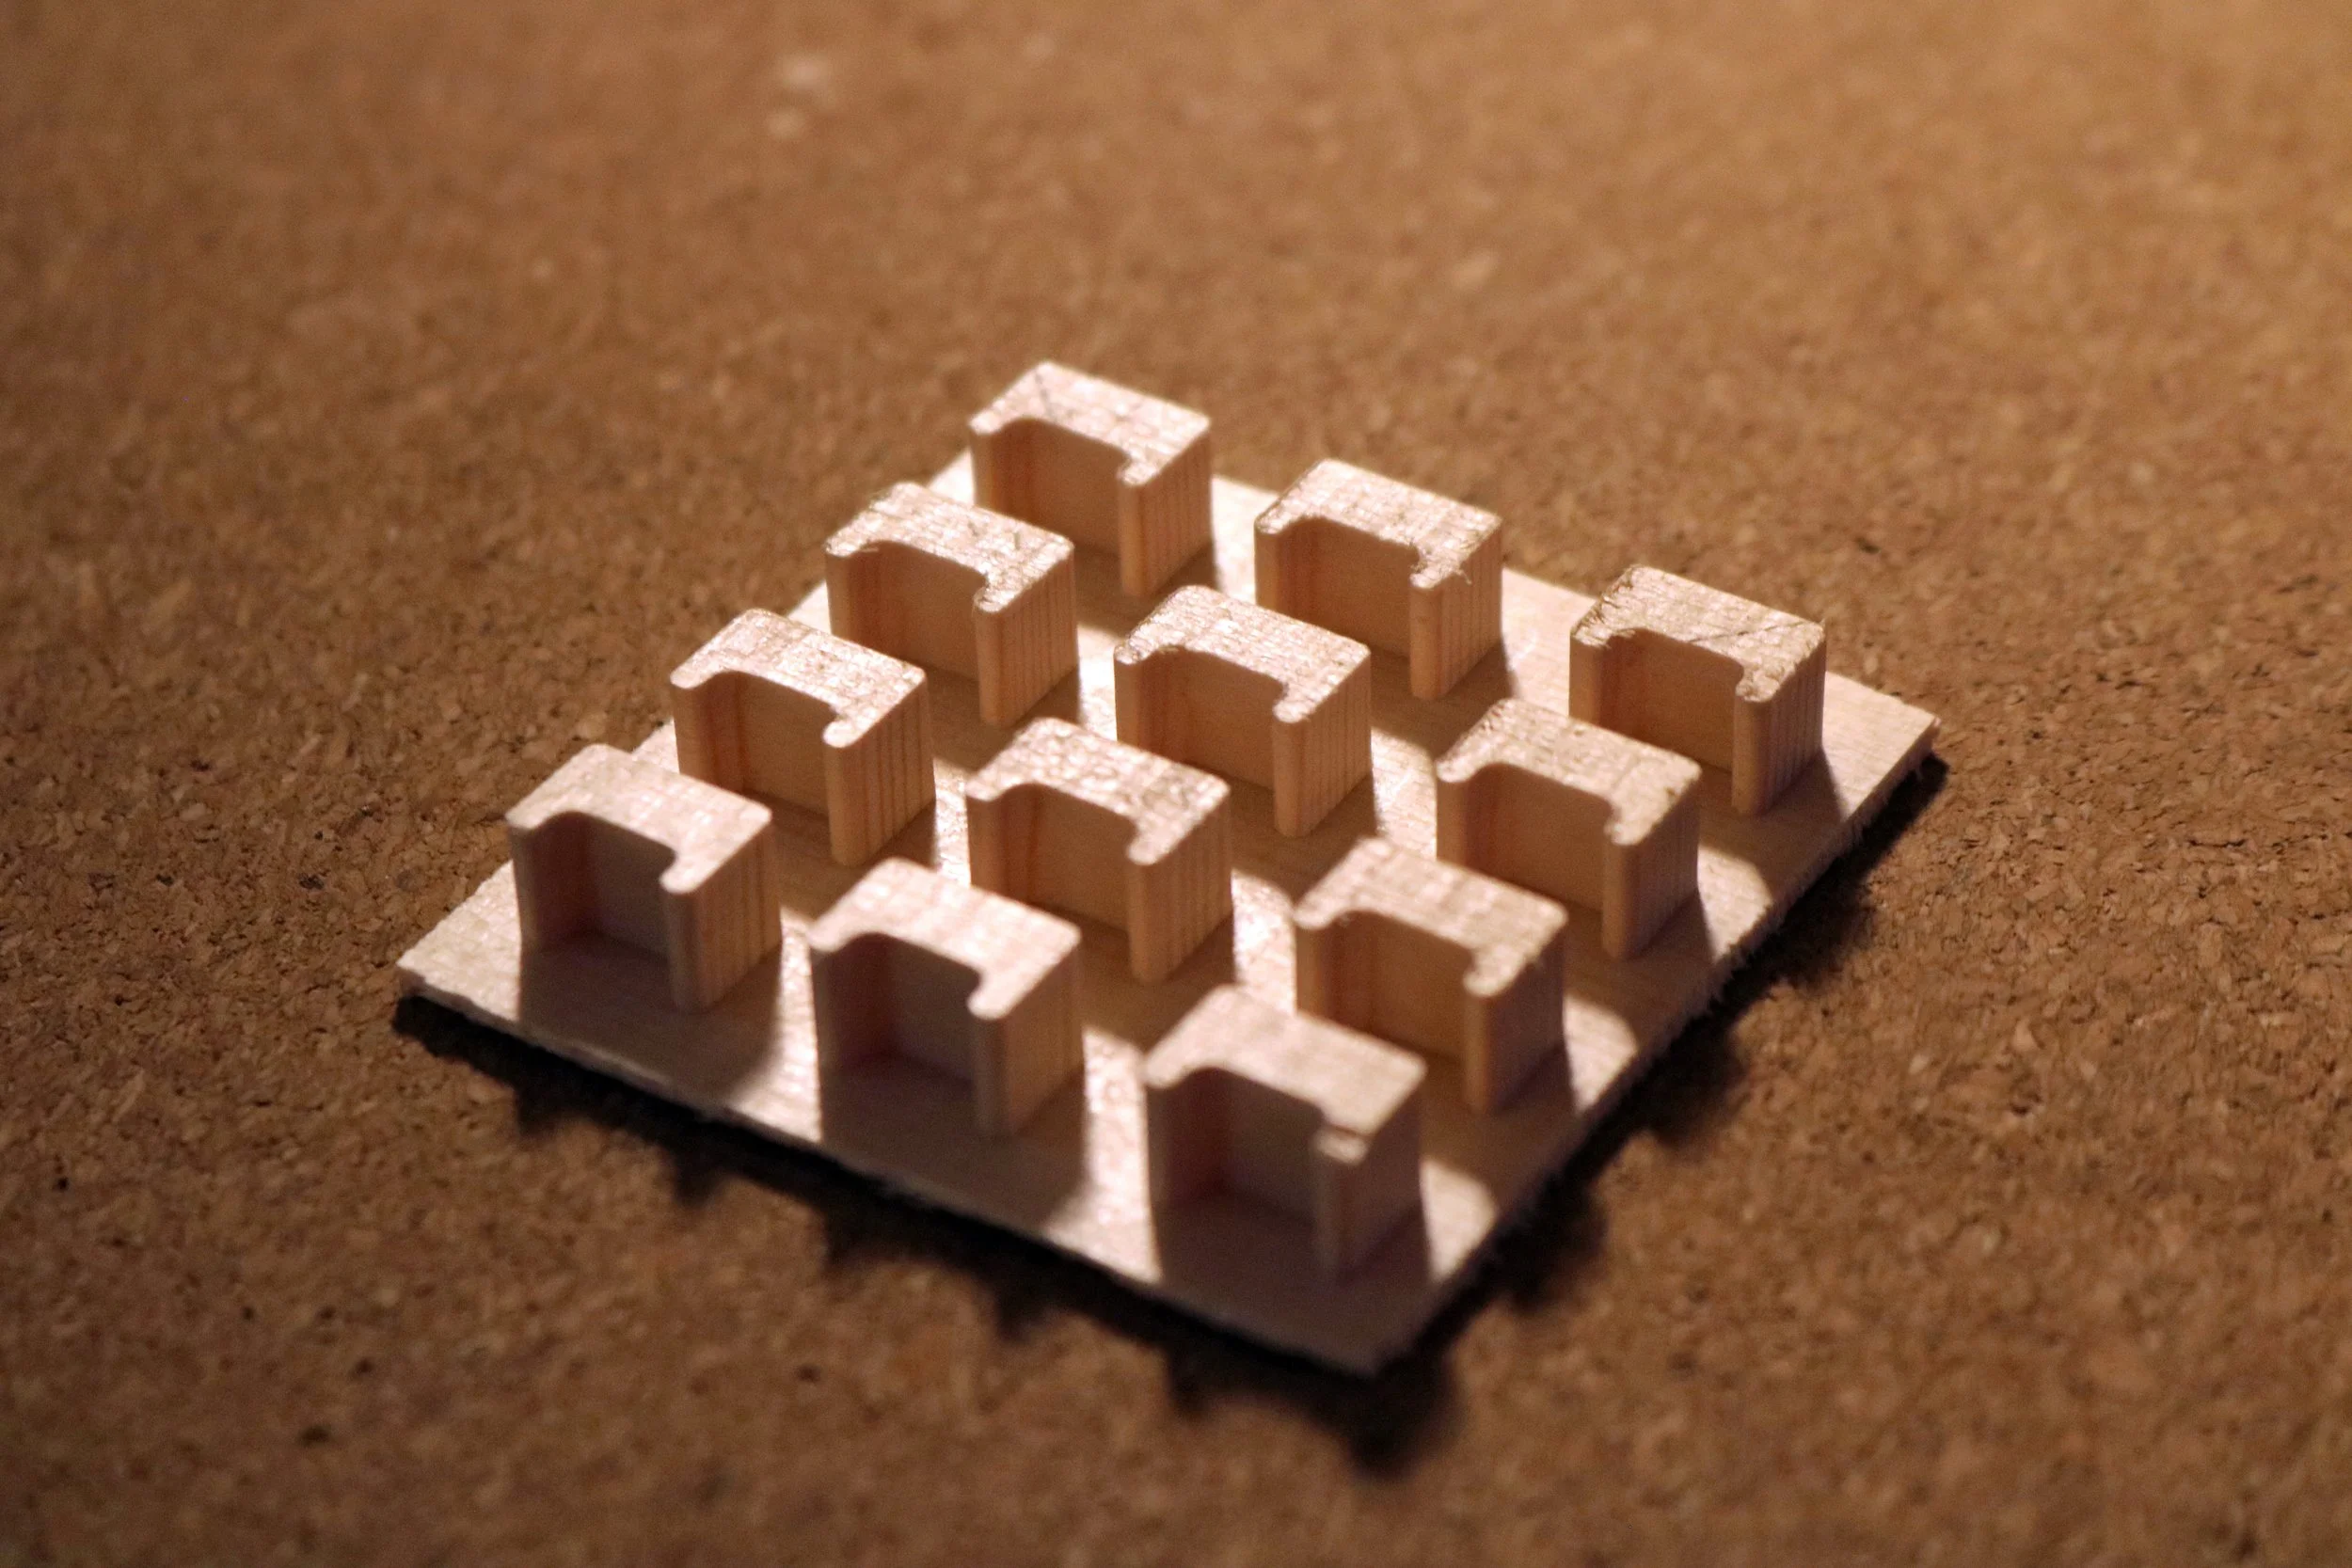
We will now spot-glue opposing pairs of tower cleats along the length of the crack, spaced 40mm apart.
For this we use the smallest amount of Titebond 1 wood glue.
This is for both strength when clamping and easy removal.
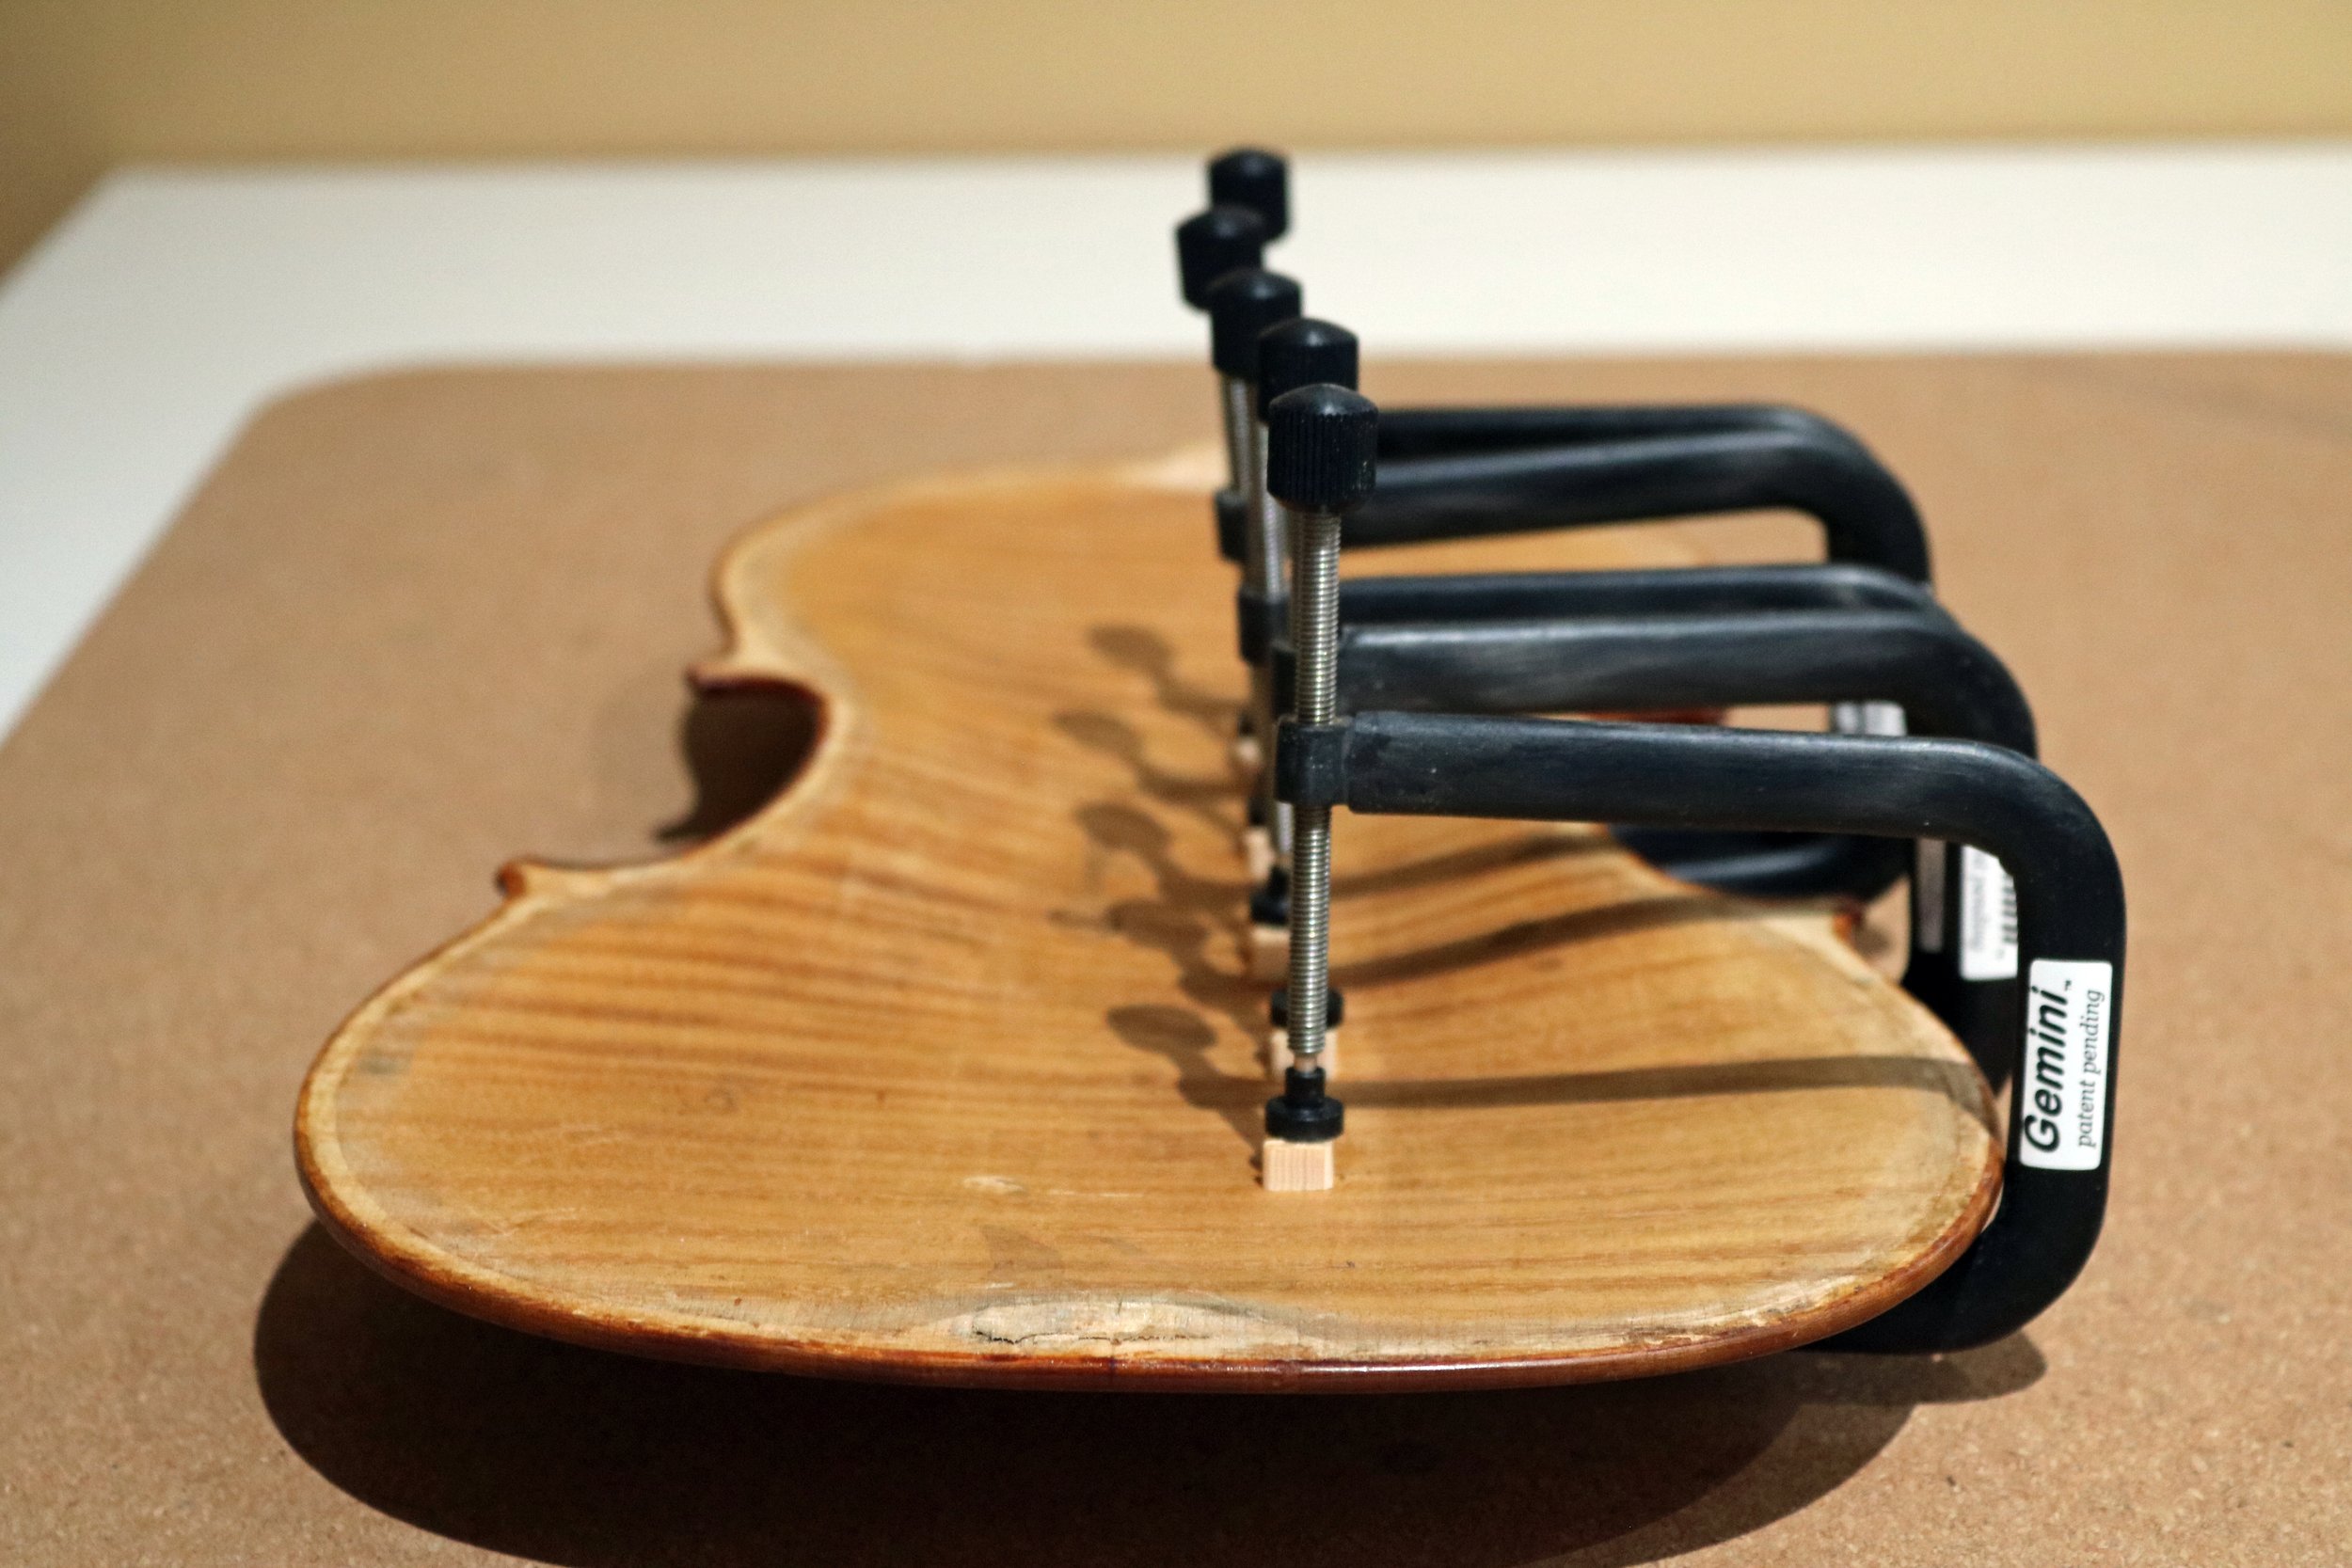
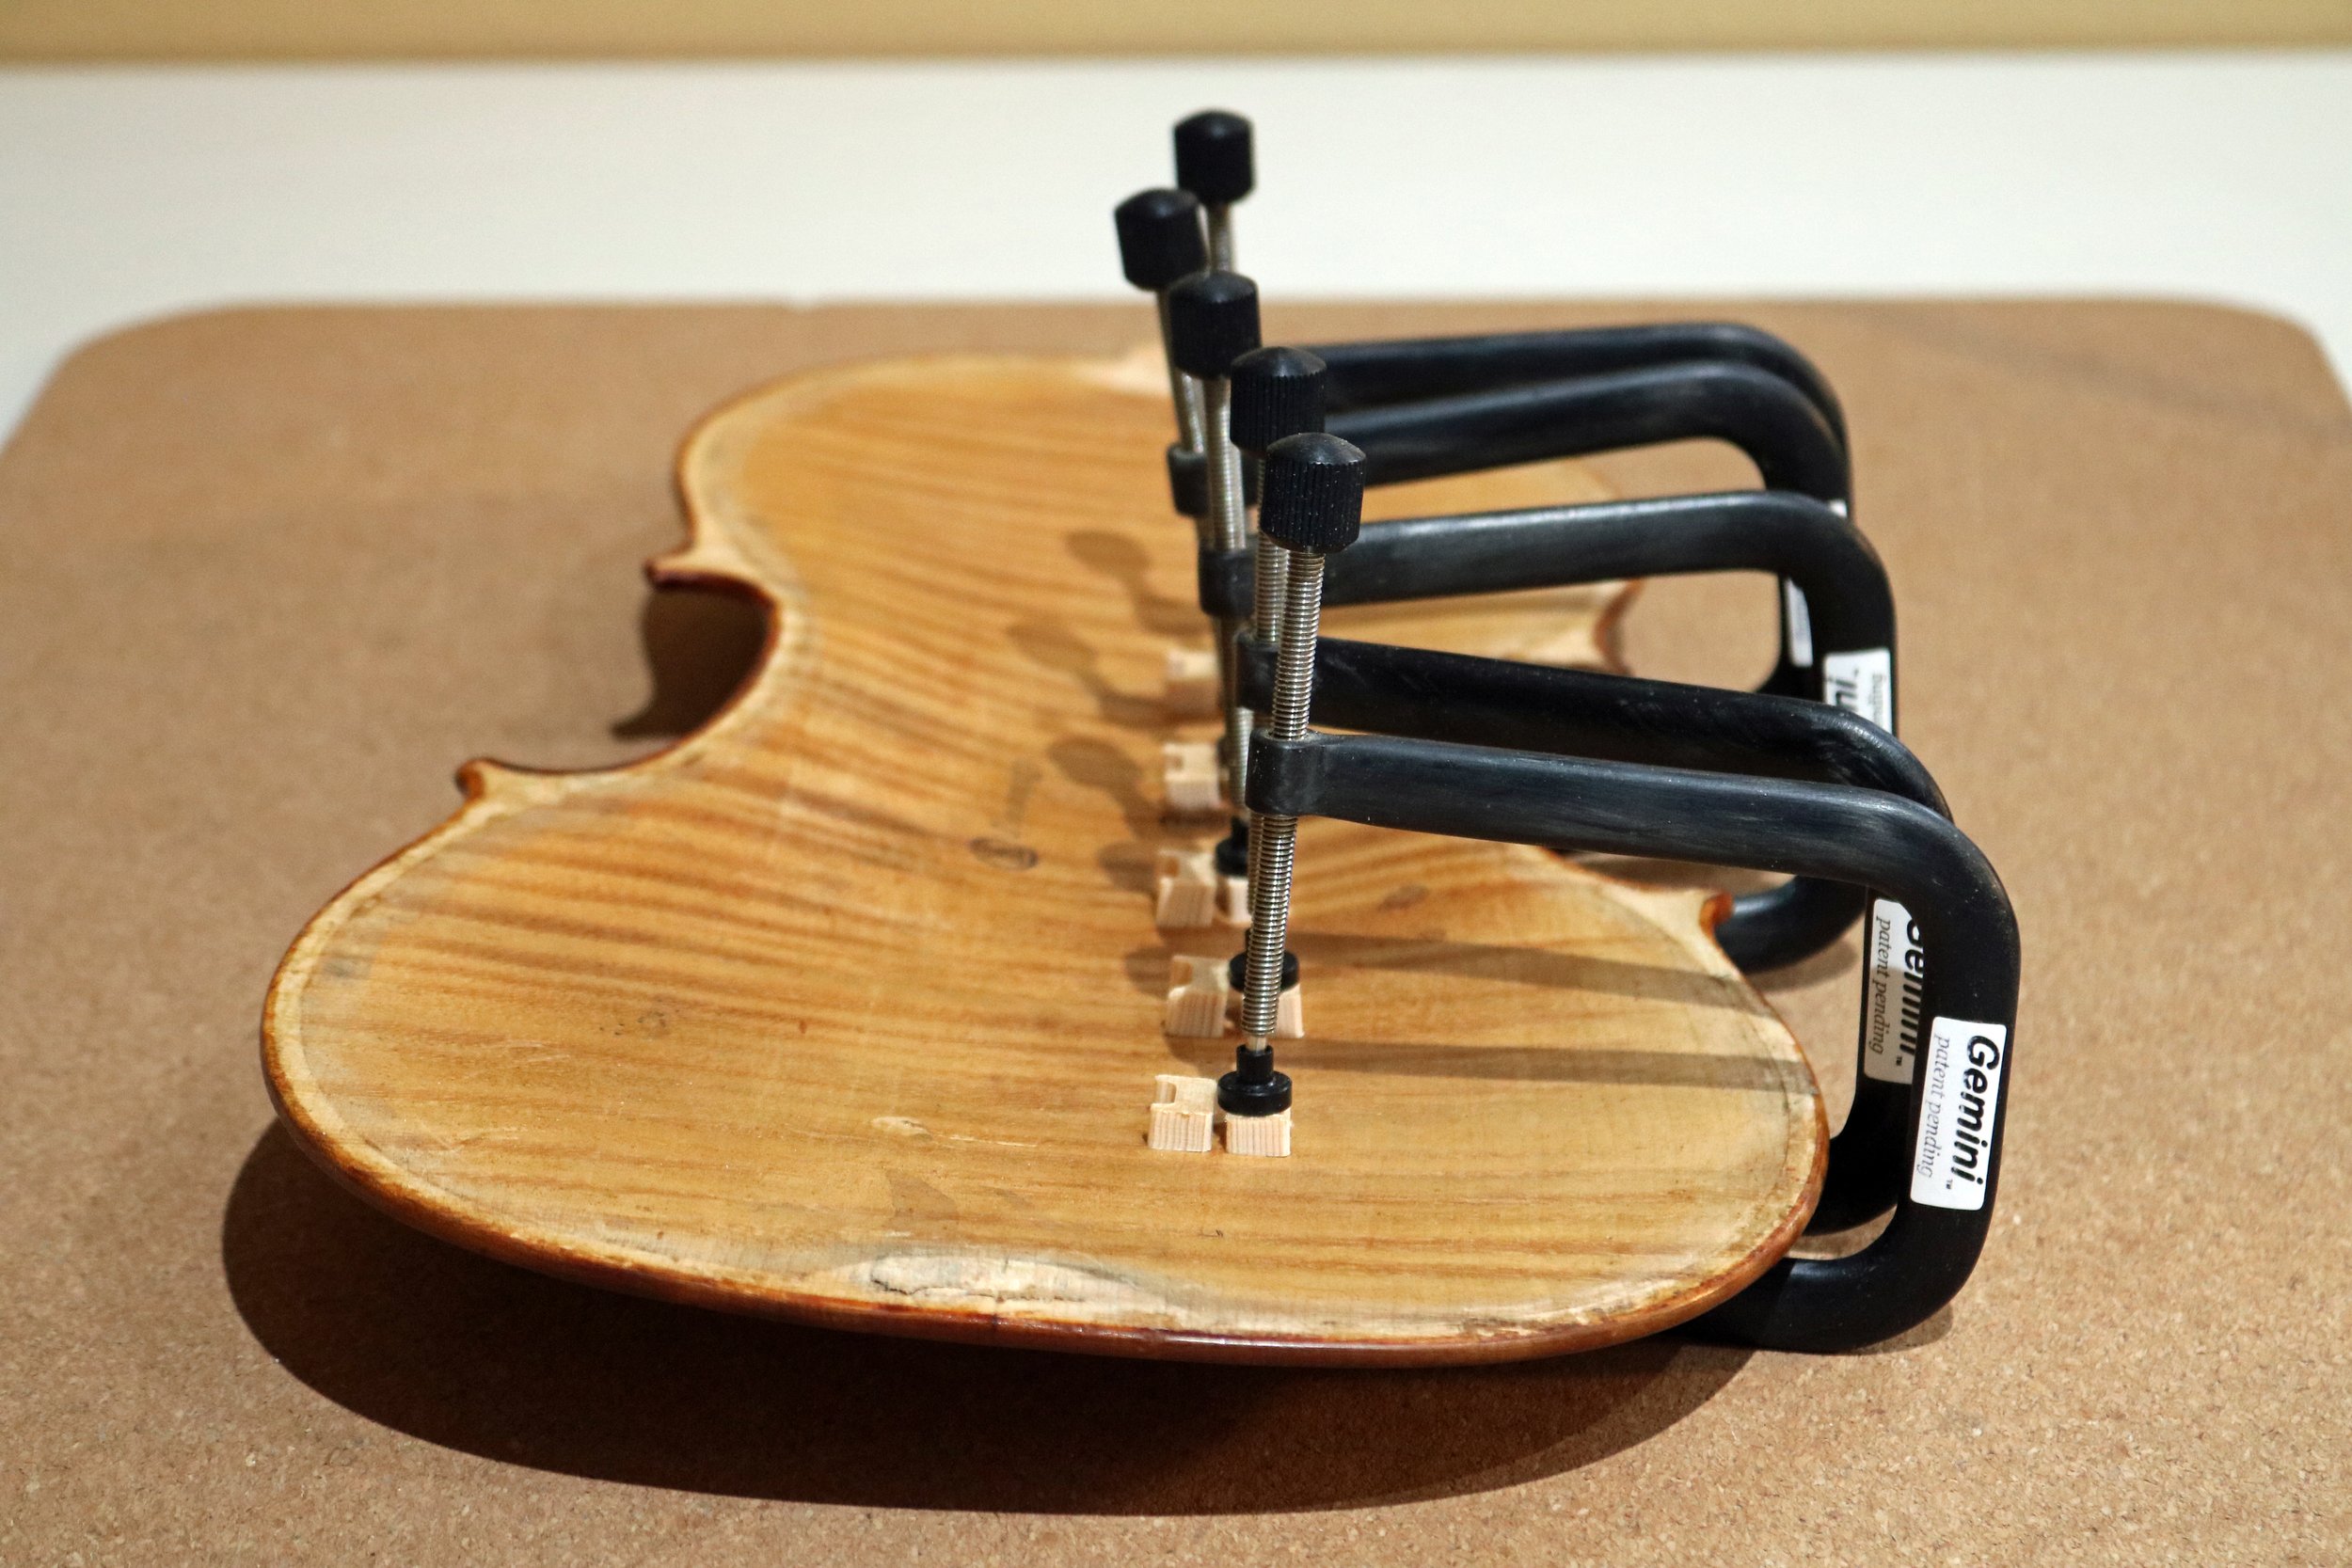
We glued the entire lenght of the crack at once, using a combination of both tower clamps for horizontal pressure and vertical U clamps with plastic for leveling.
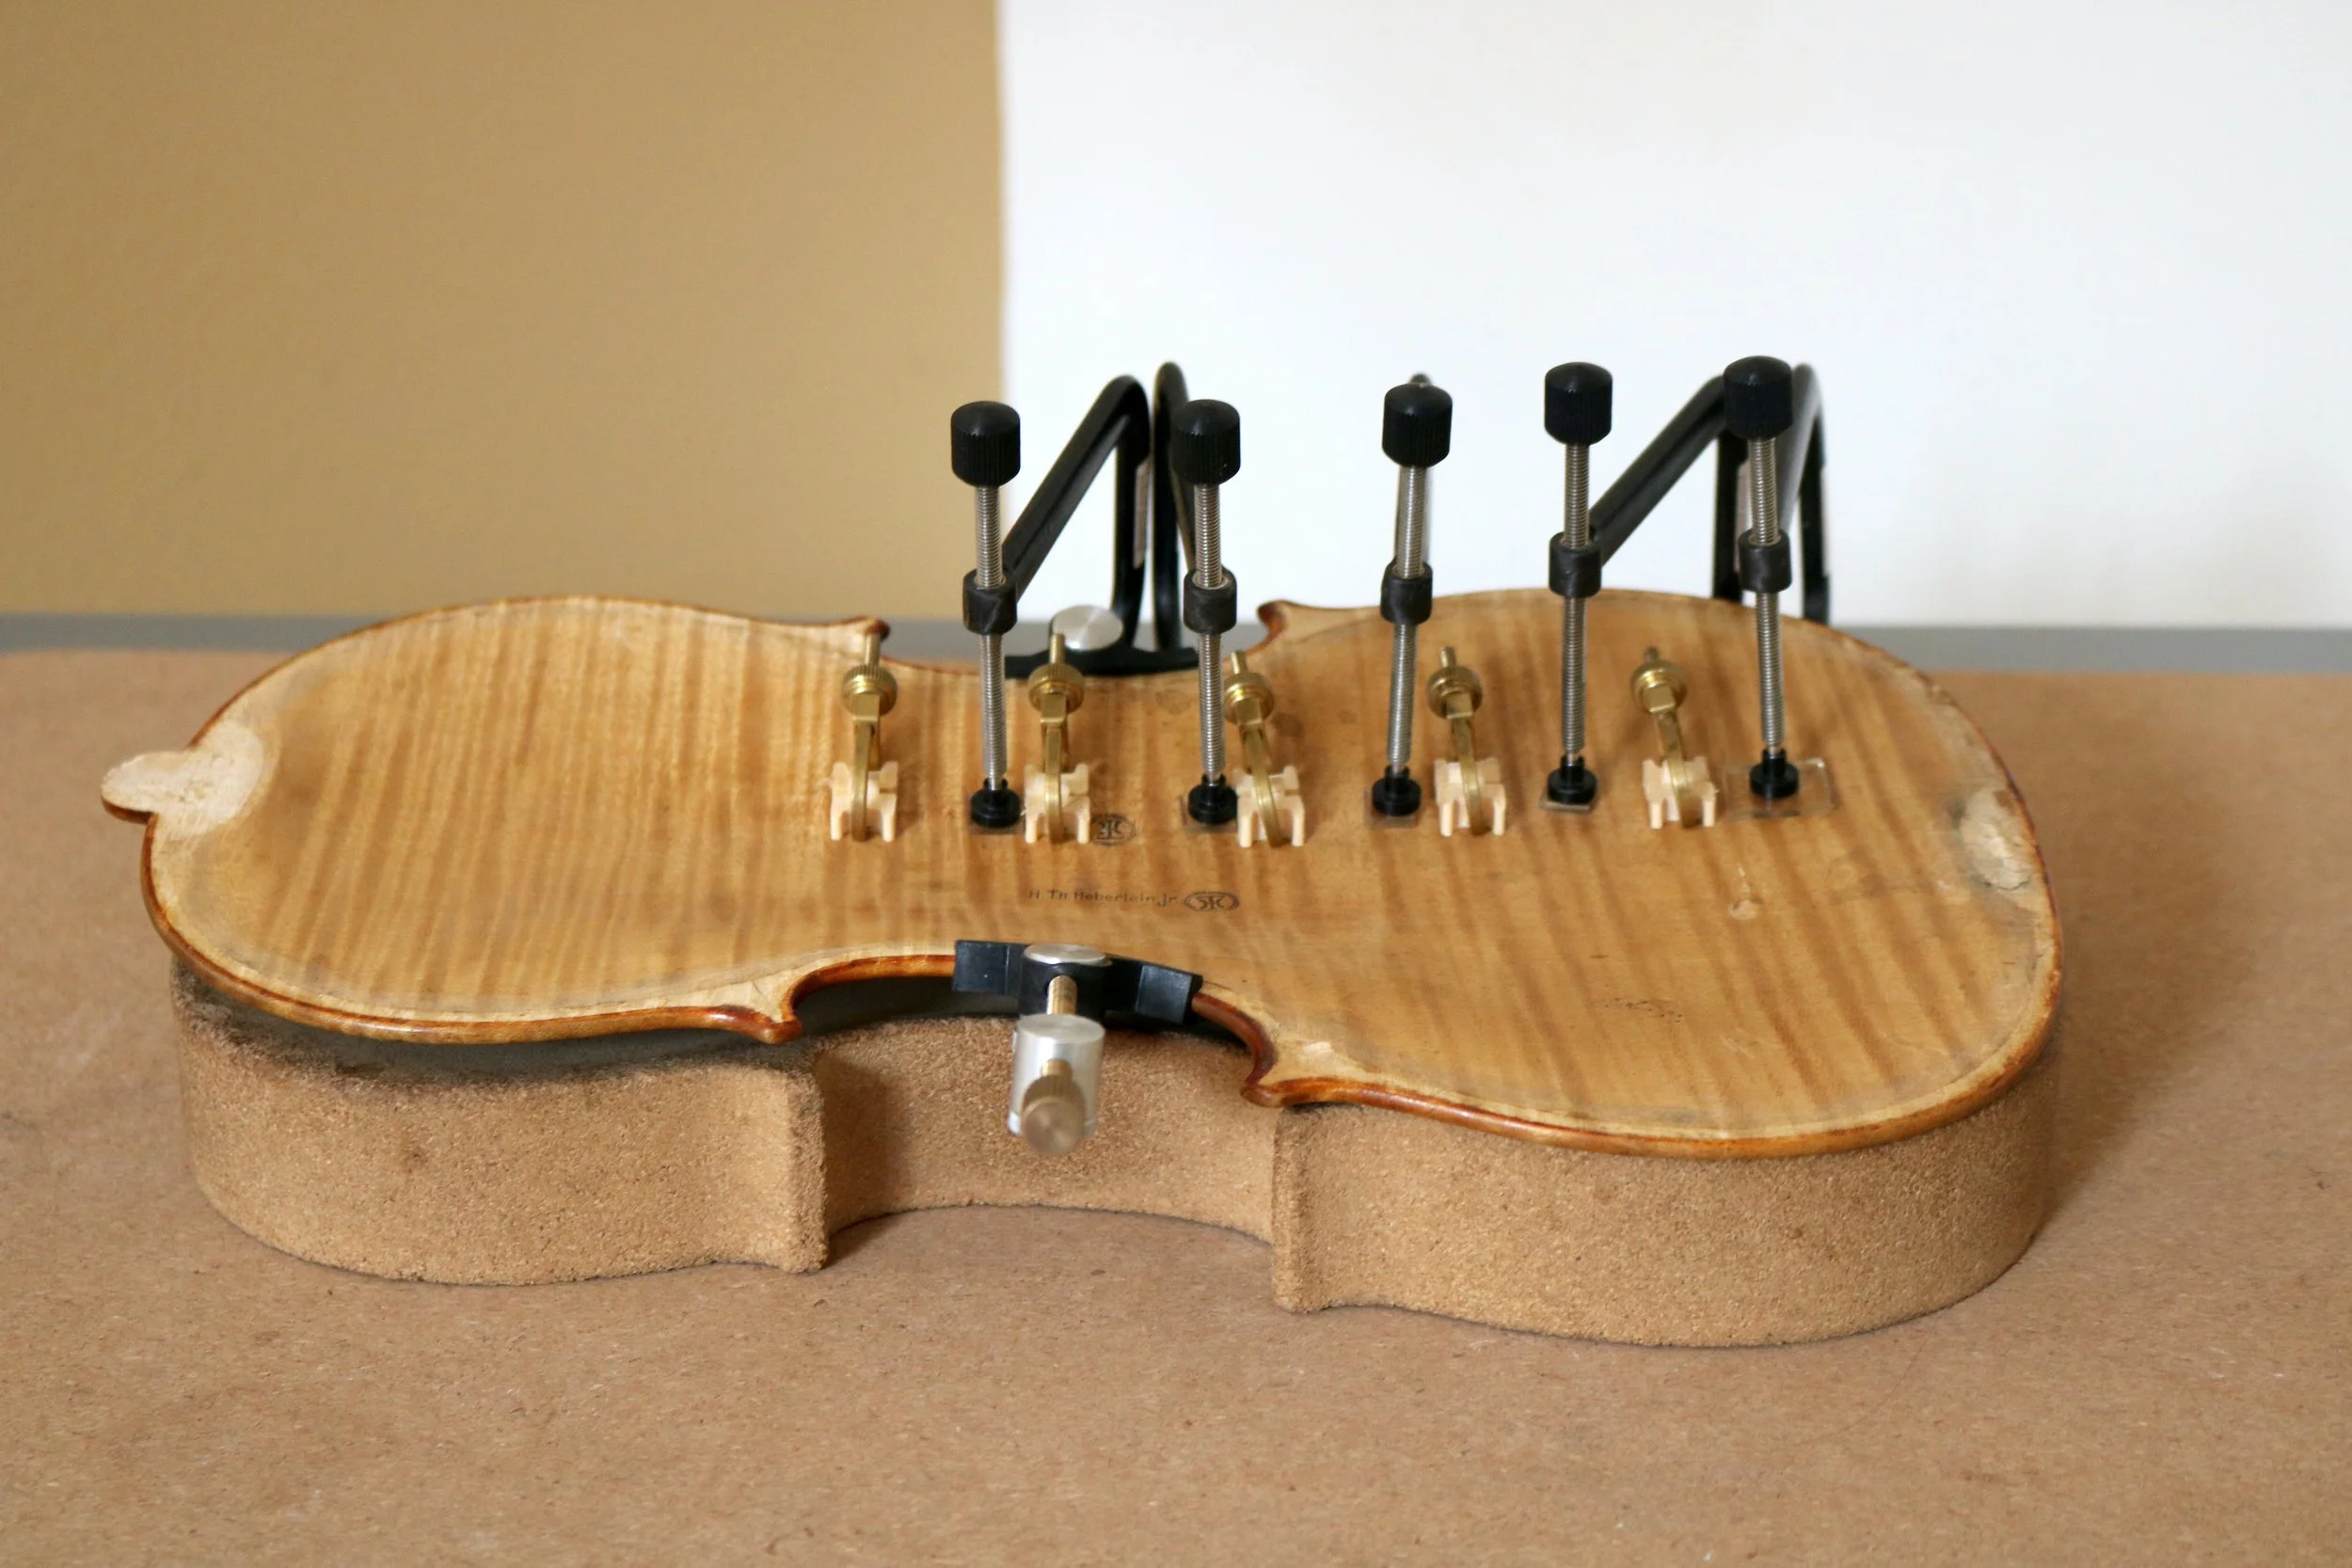
After about 30 minutes we remove the U clamps and plastic, allowing the tower clamps to remain overnight.
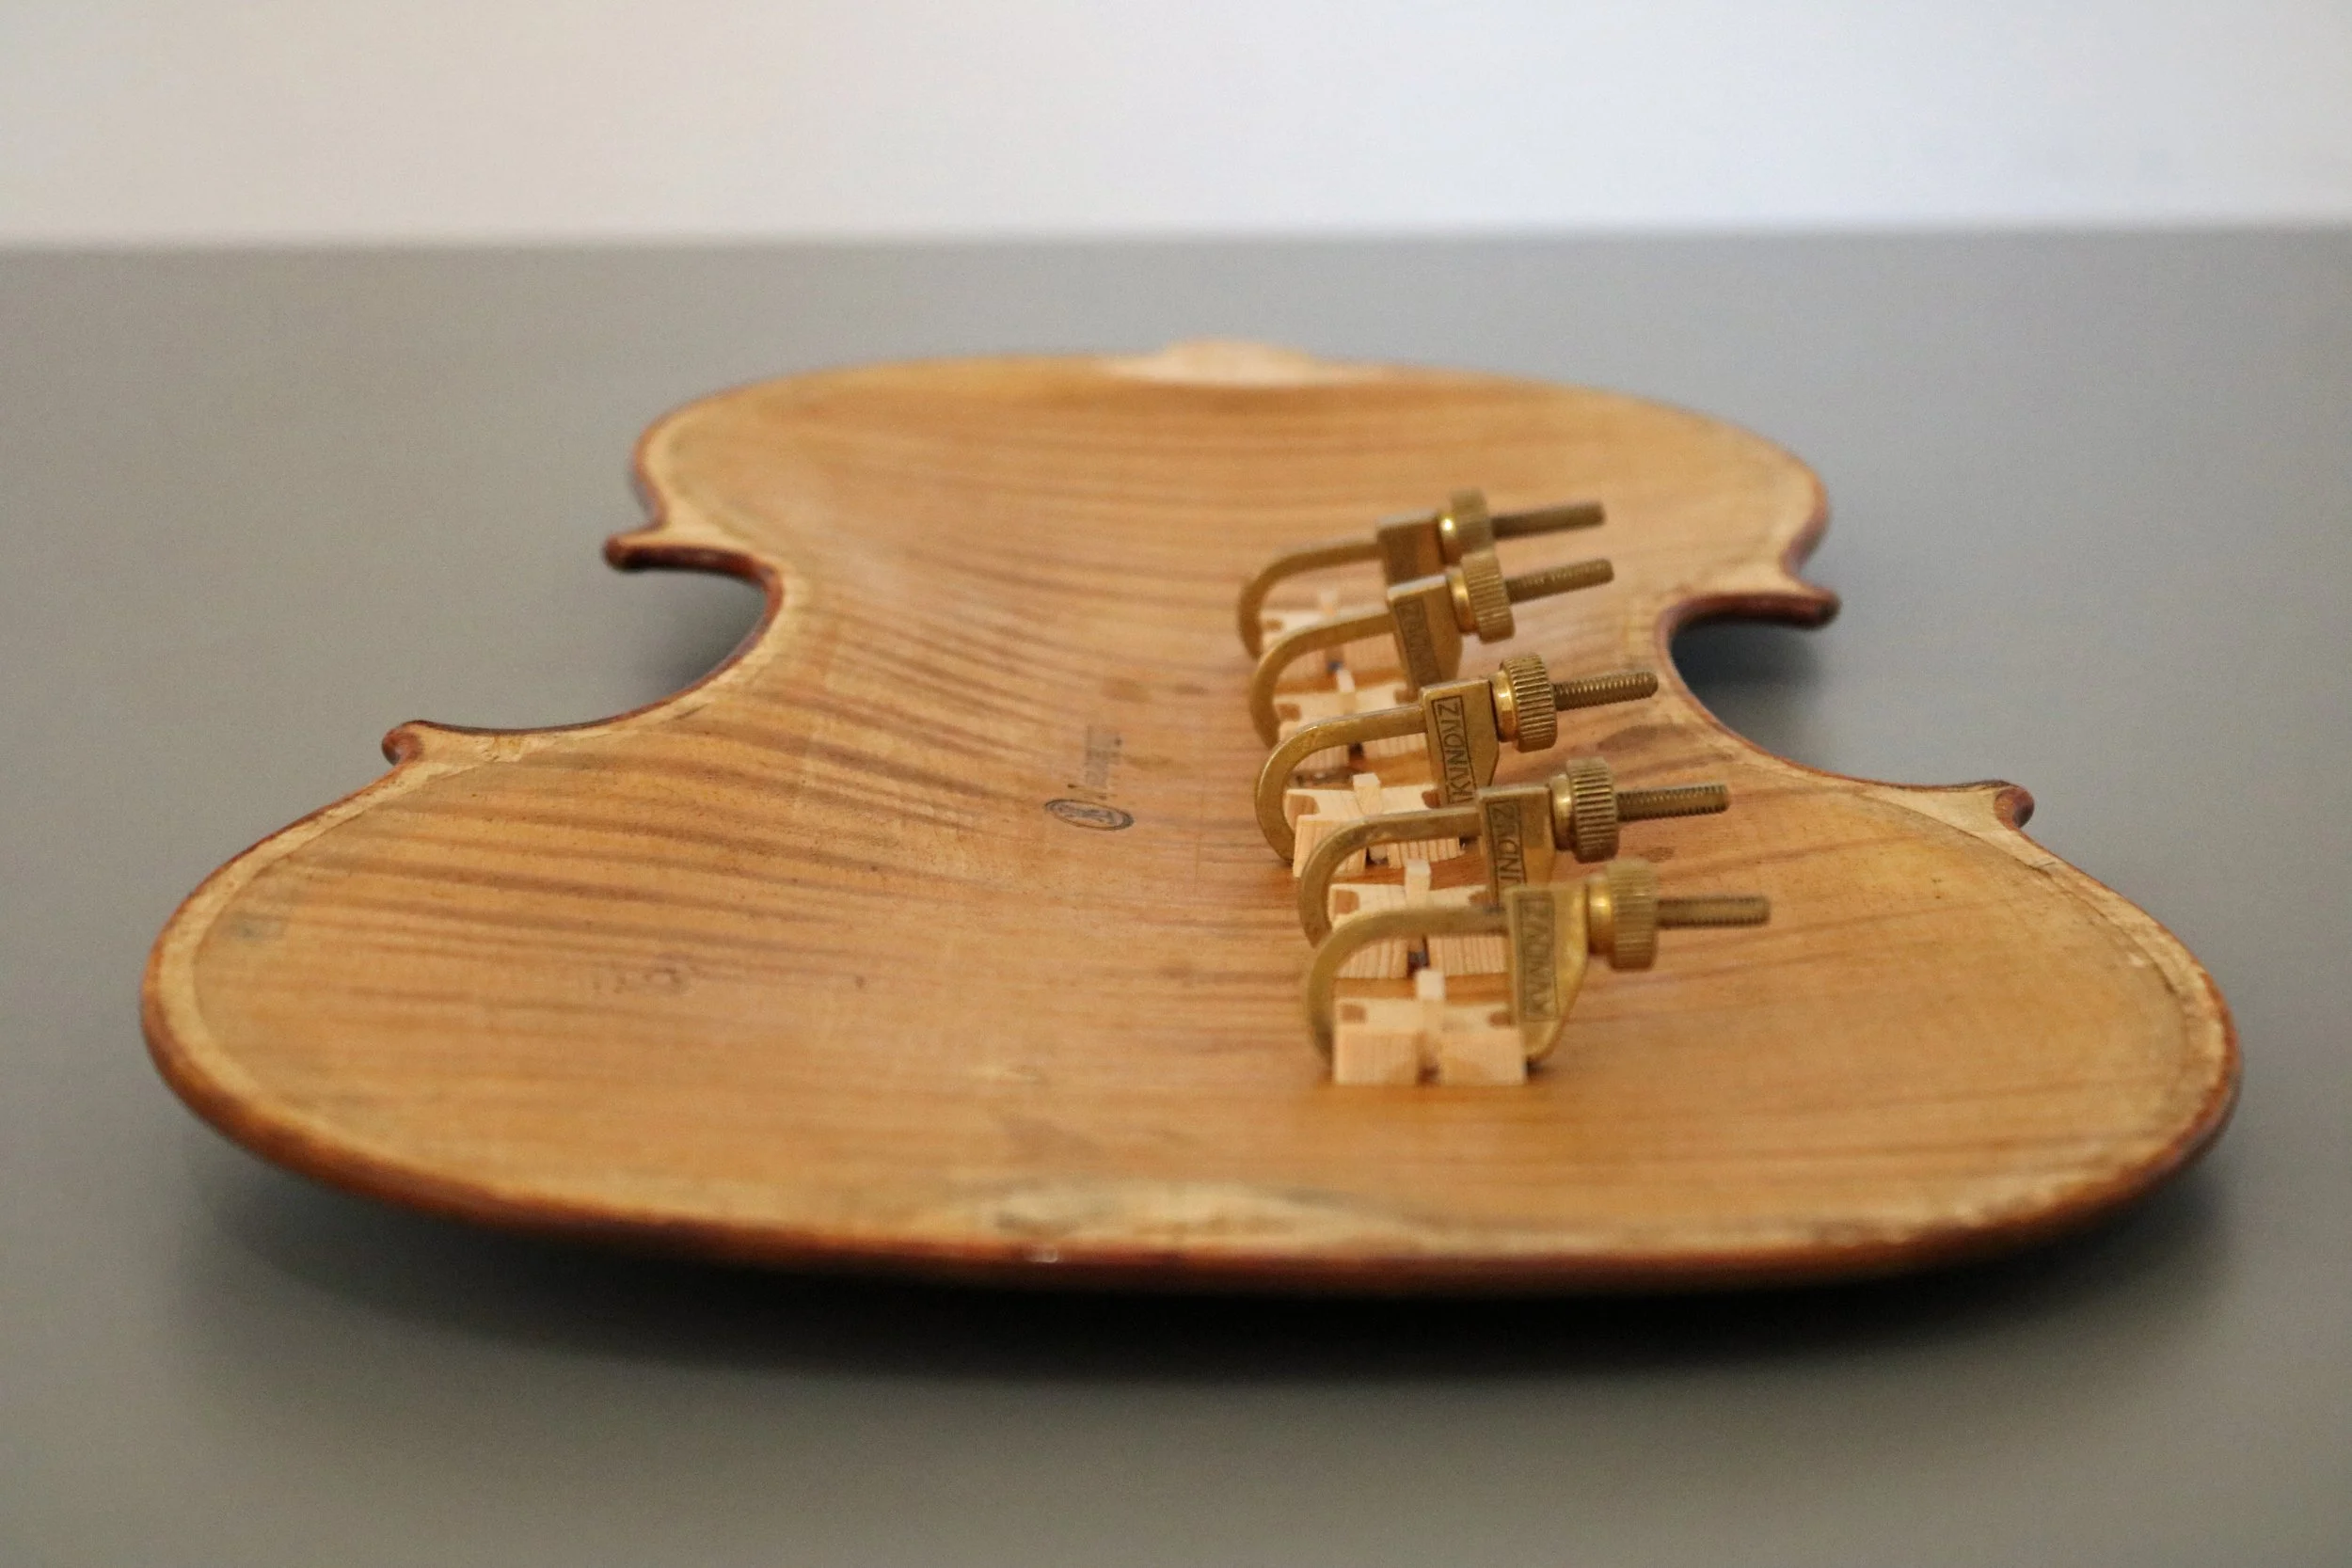
With the crack secure, and the tower clamps still attached to the back, it is time to pour a plaster cast.
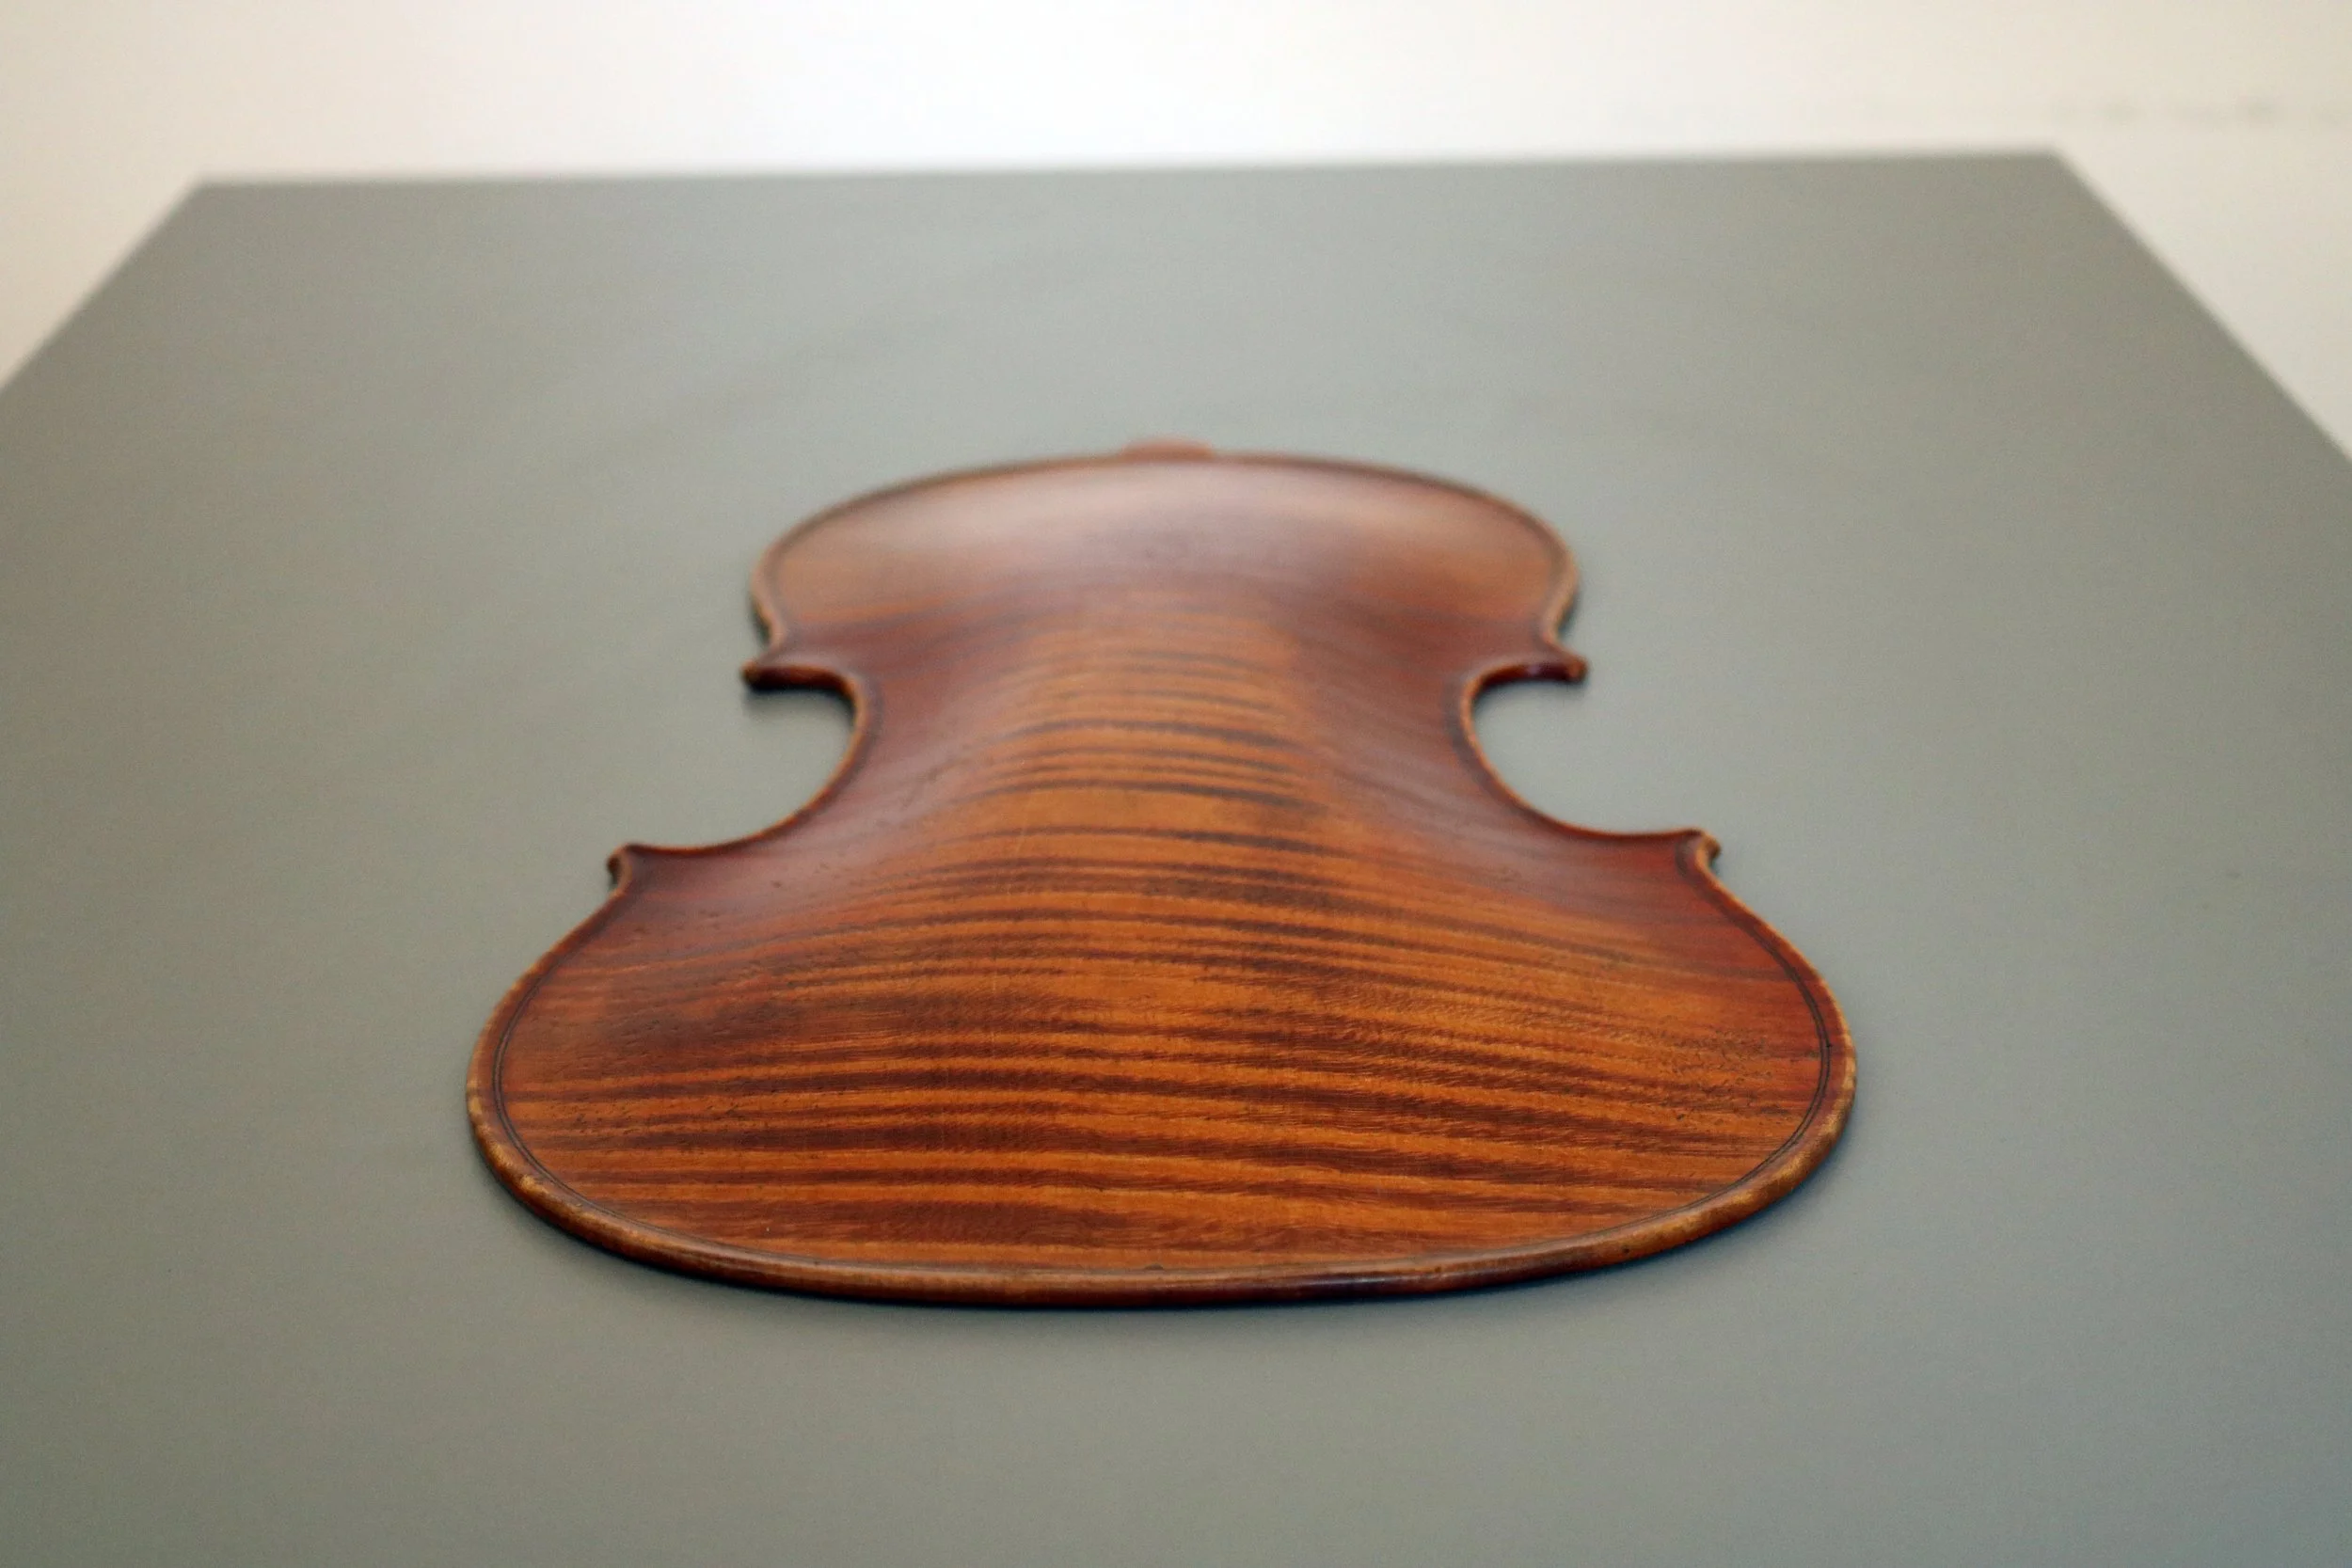
We first create an outline backing using some relatively stiff poster board. This allows for a safer adhesion to and removal from the wooden backer board on which we pour the cast.
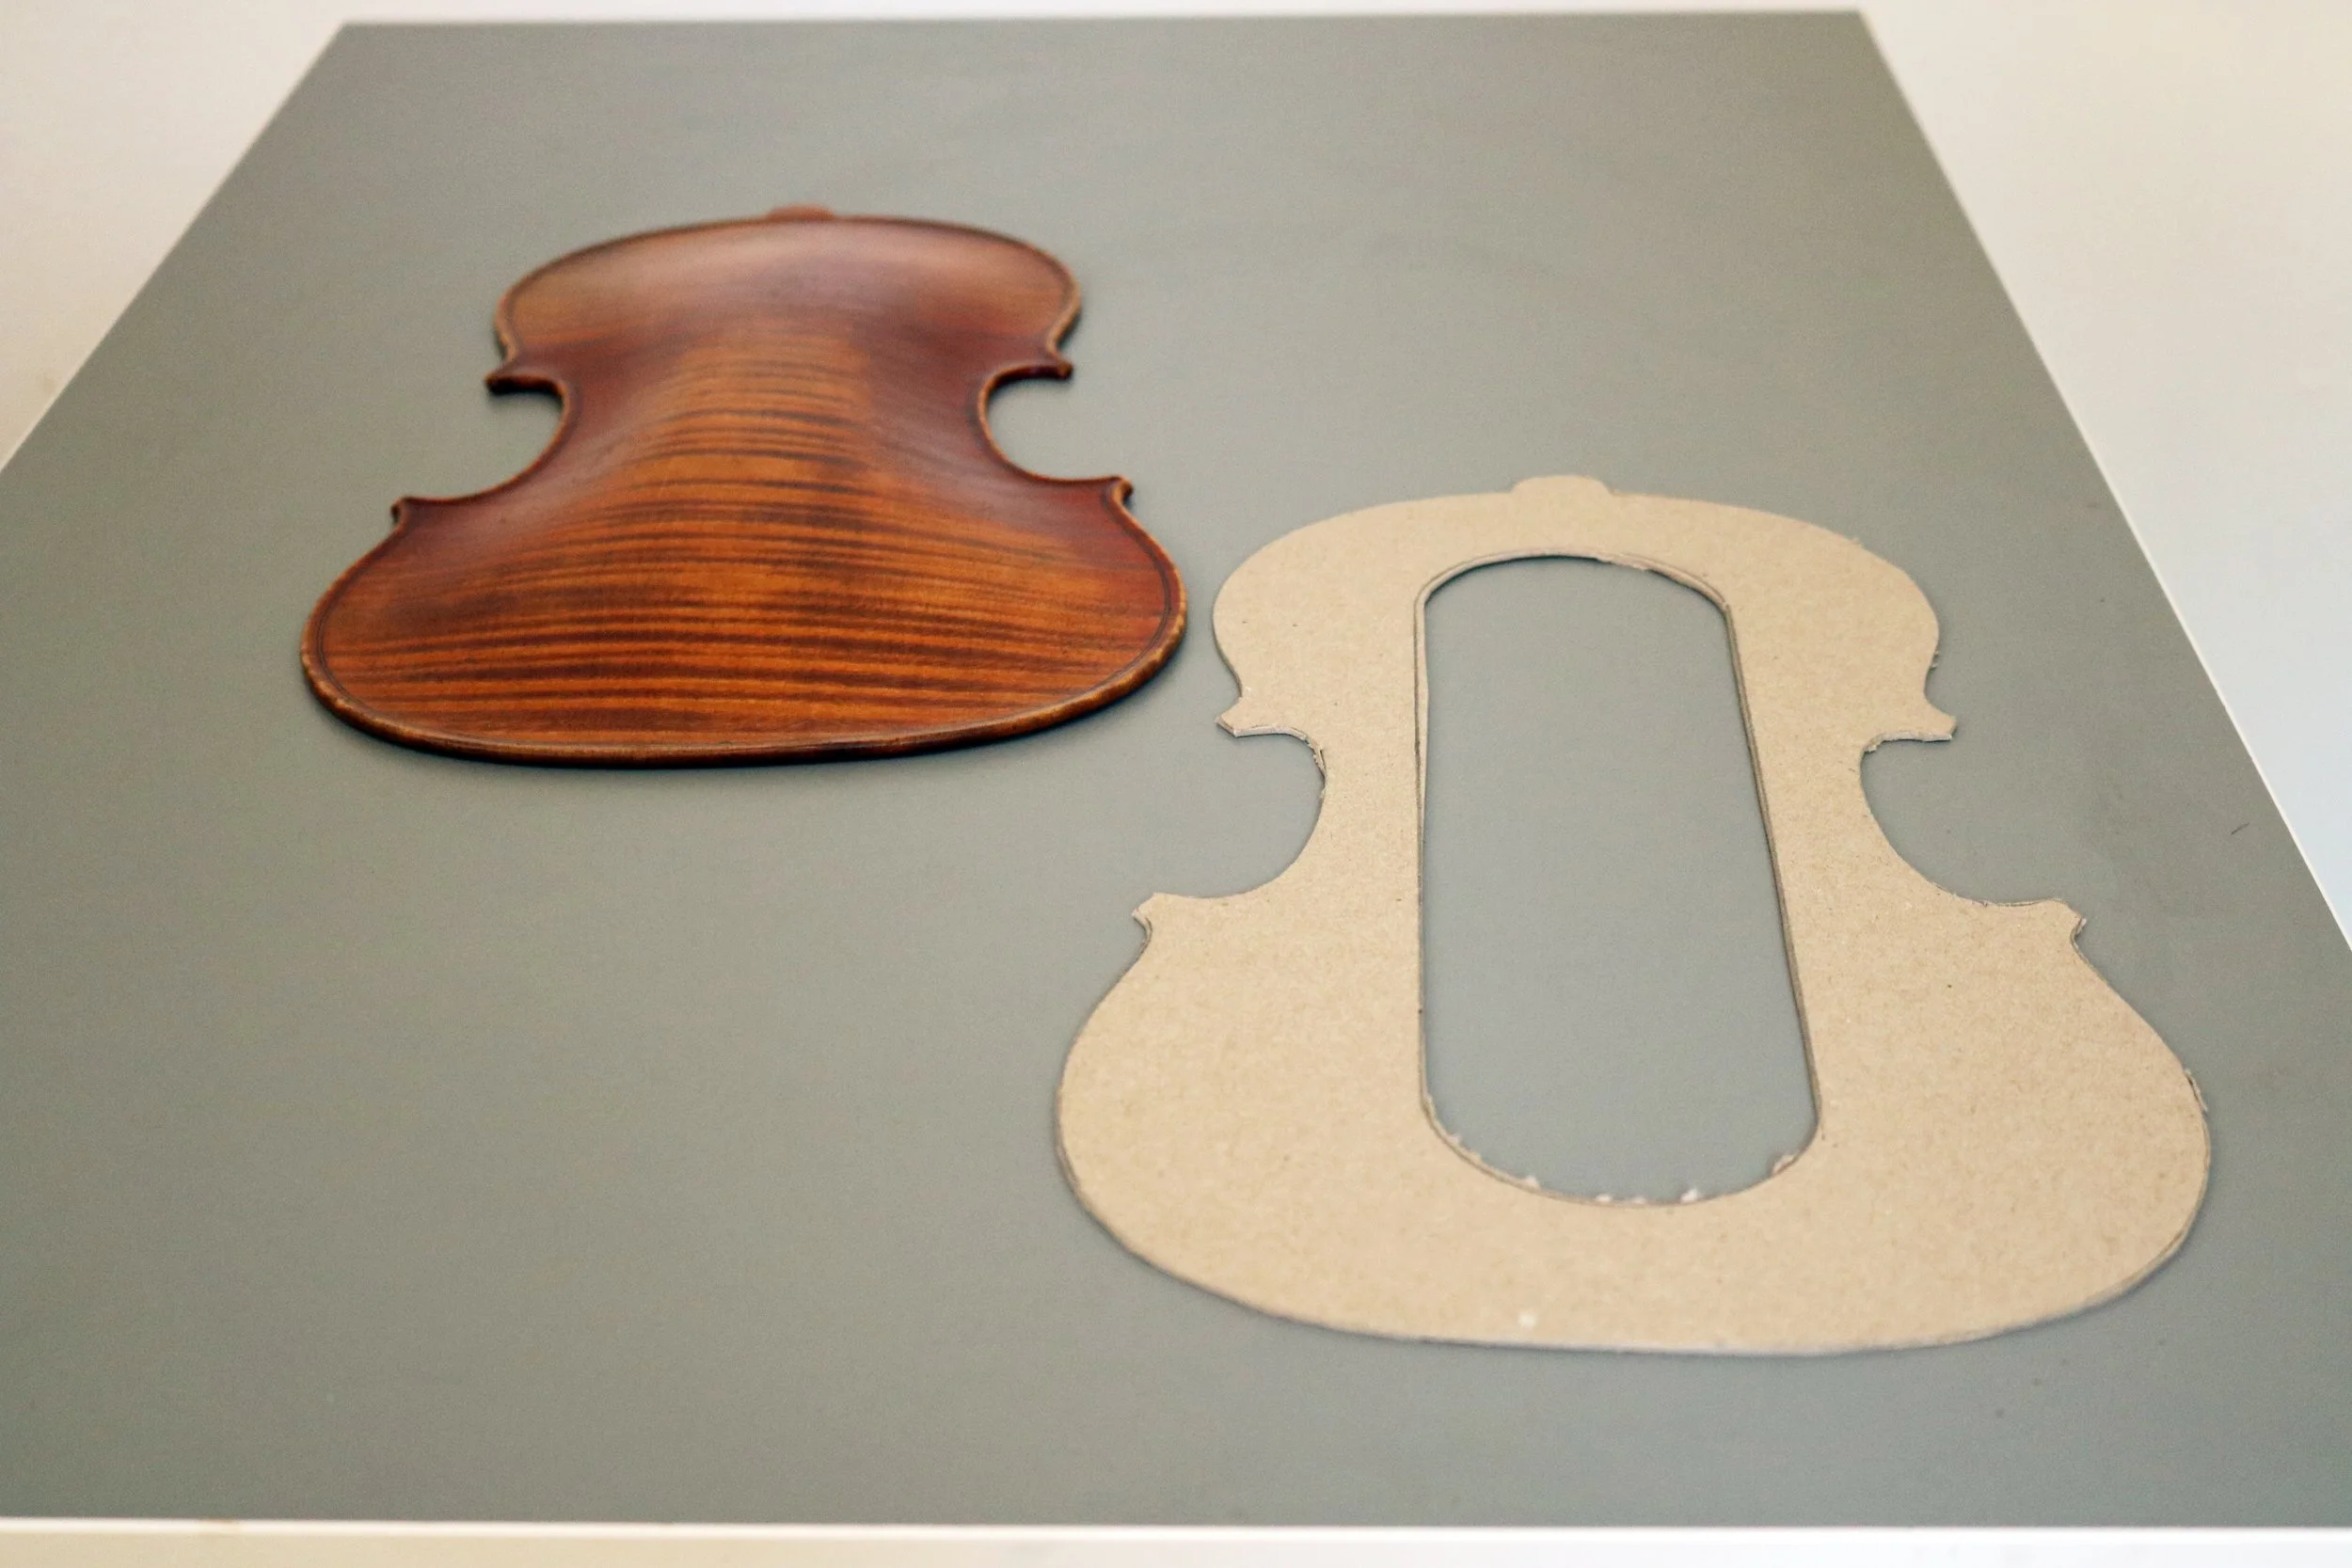
The plate is spot-glued using a weakend hide glue.
Next we will create the reservoir for pouring the cast. For this we use a 1” foam board.
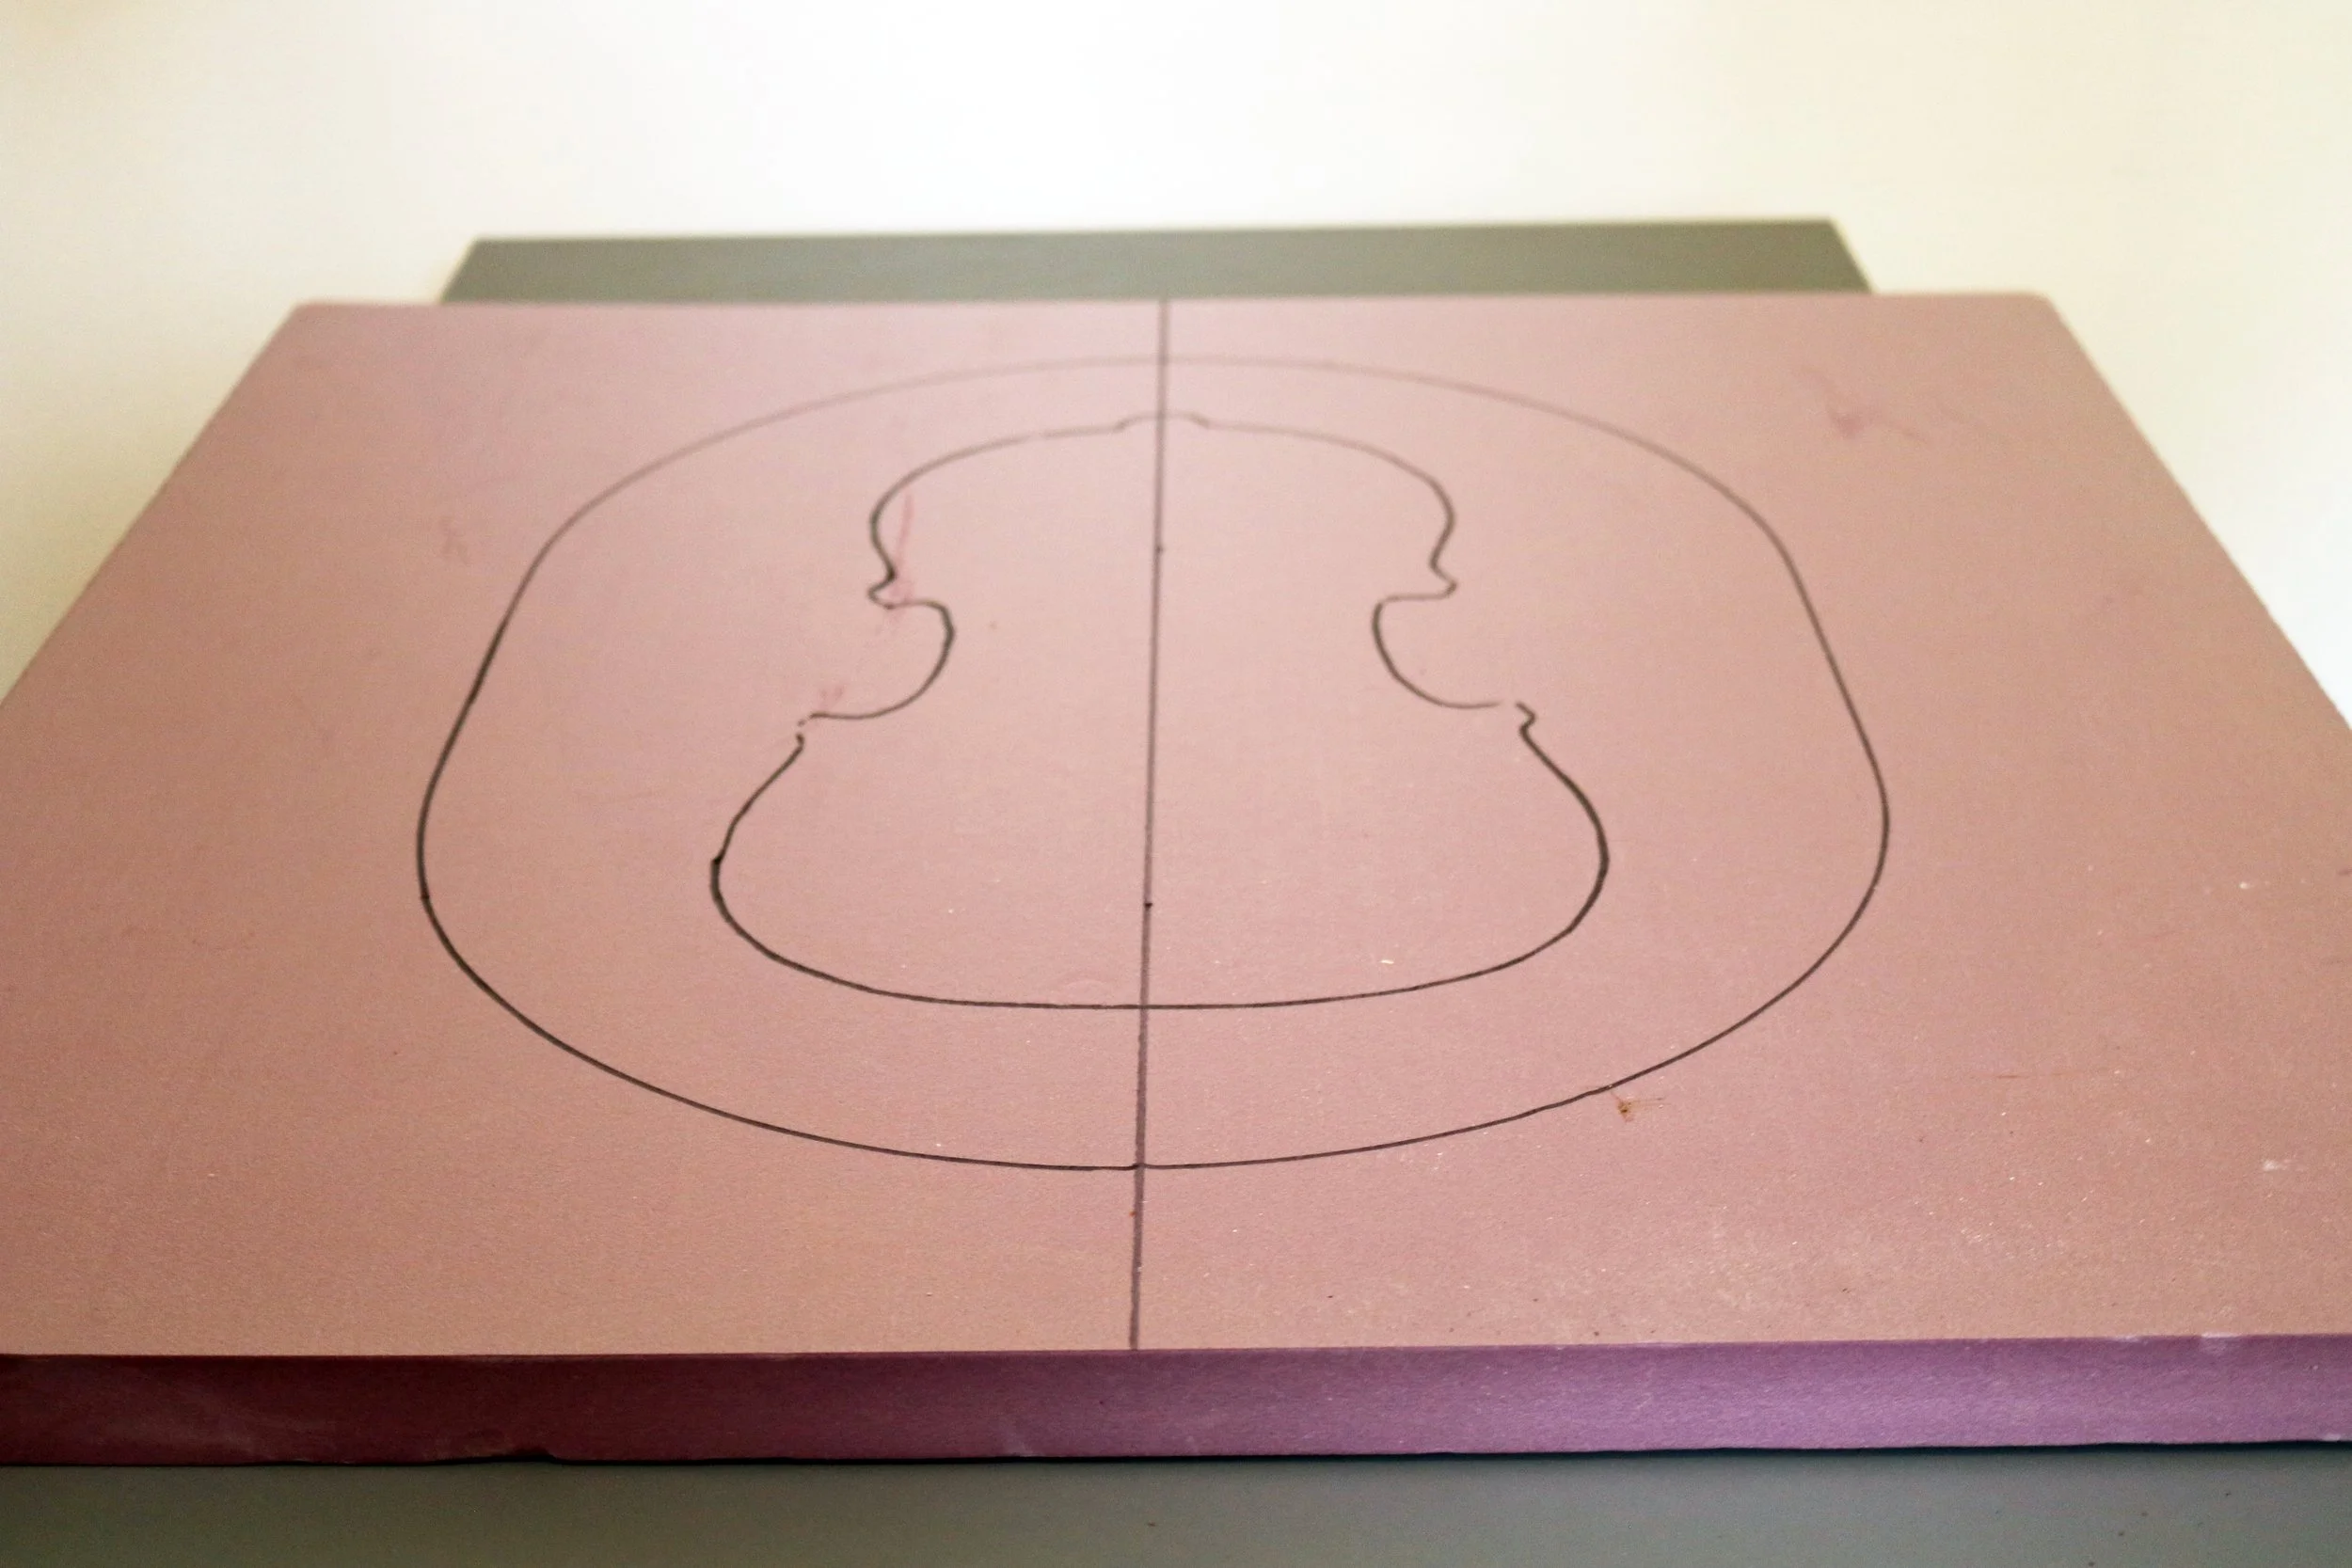
A strong double-sided carpet tape is used for adherance to the wooden platform.
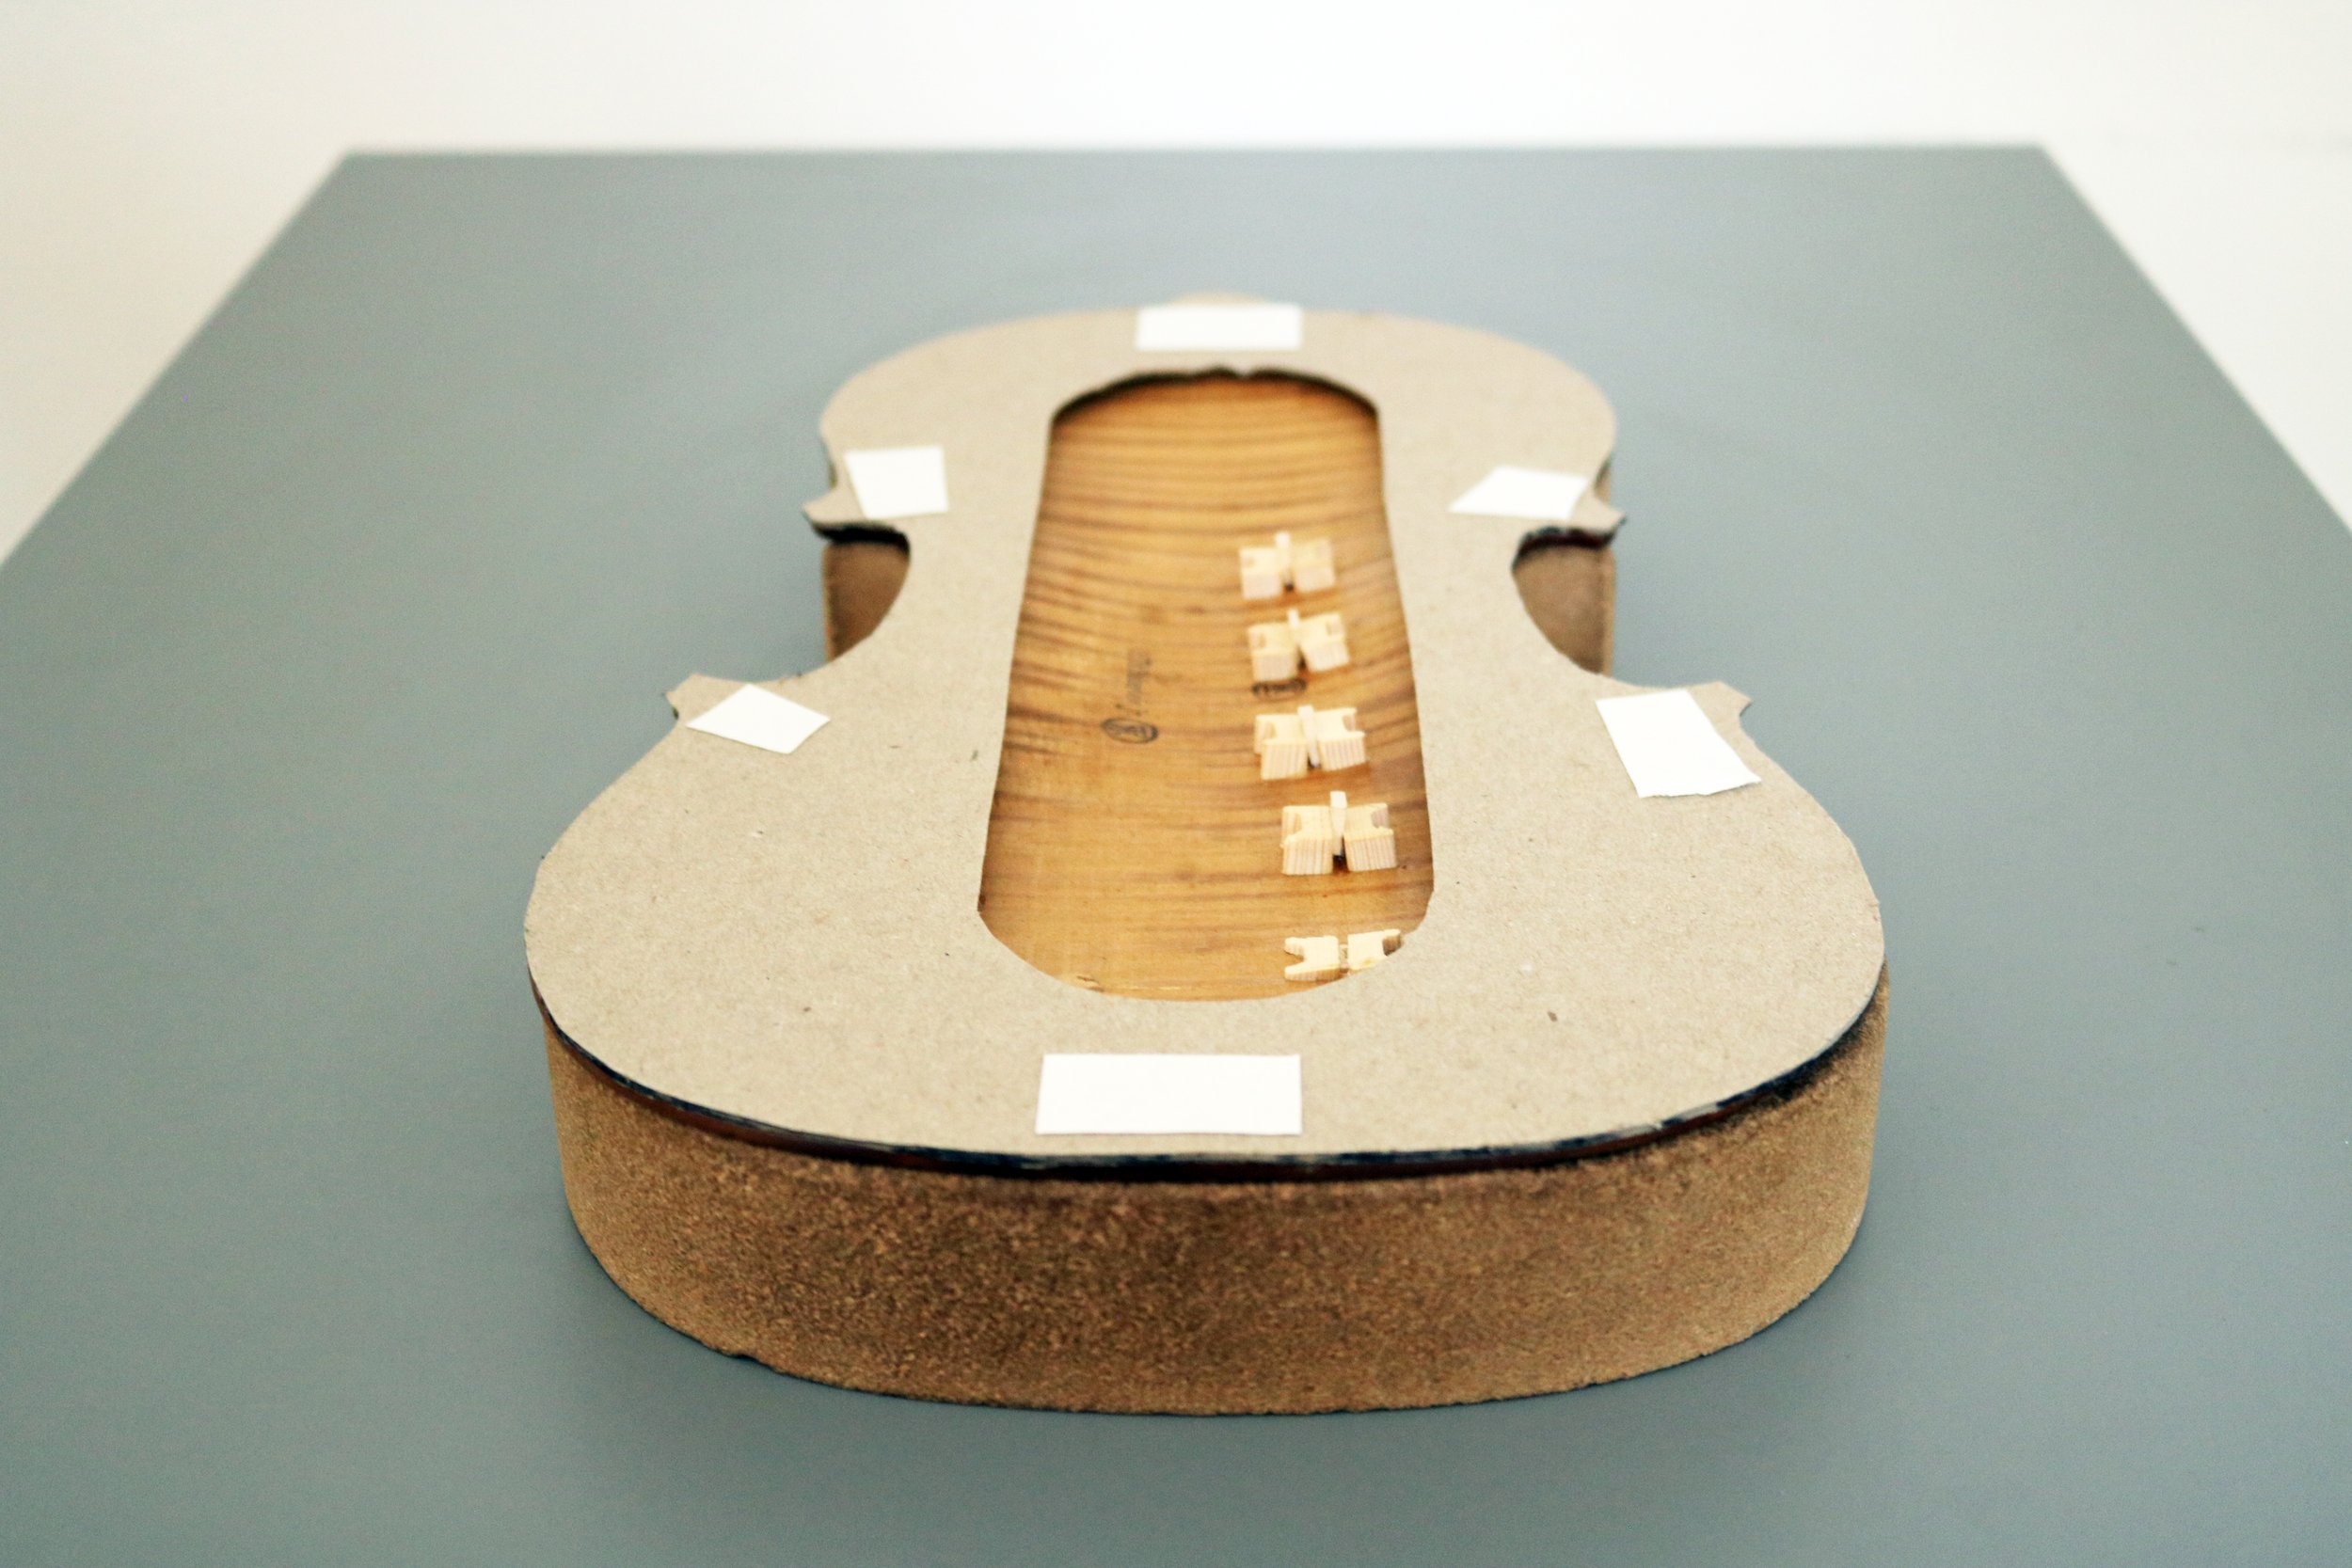
The platform we created for casts has a grid pattern of threaded holes, through which 1/4-20 nylon screws can be raised to support the arching during the pouring process.
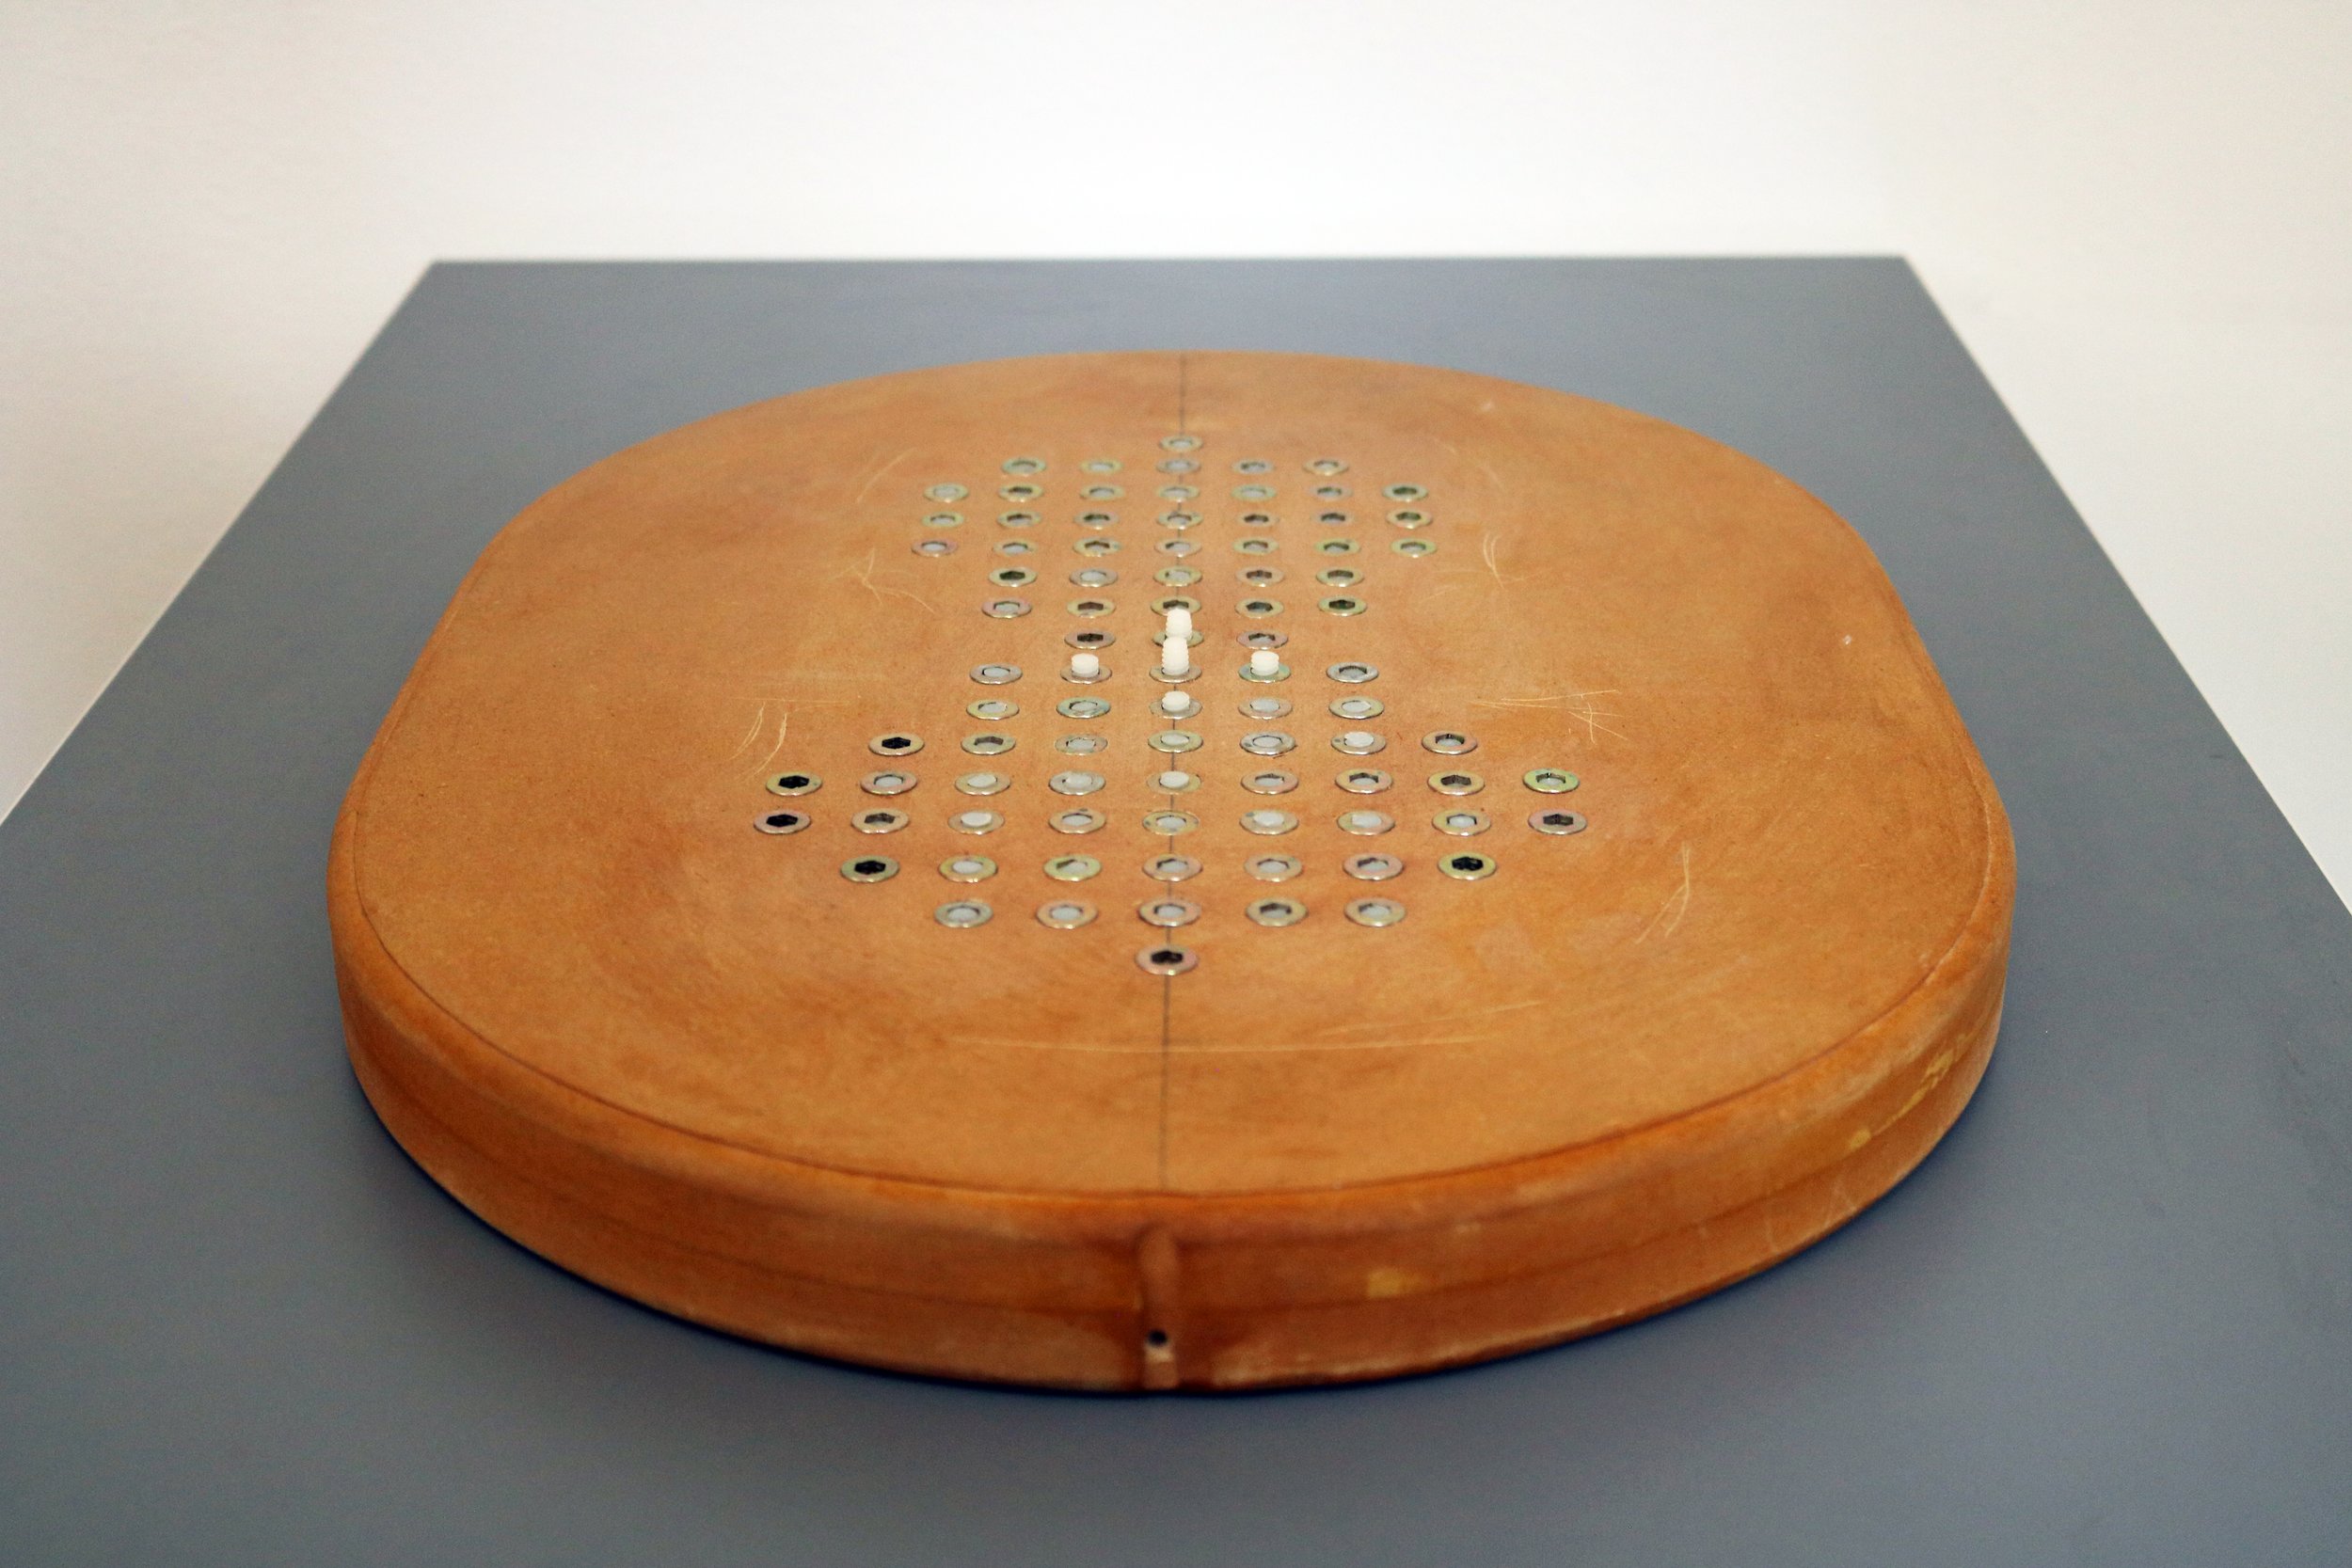
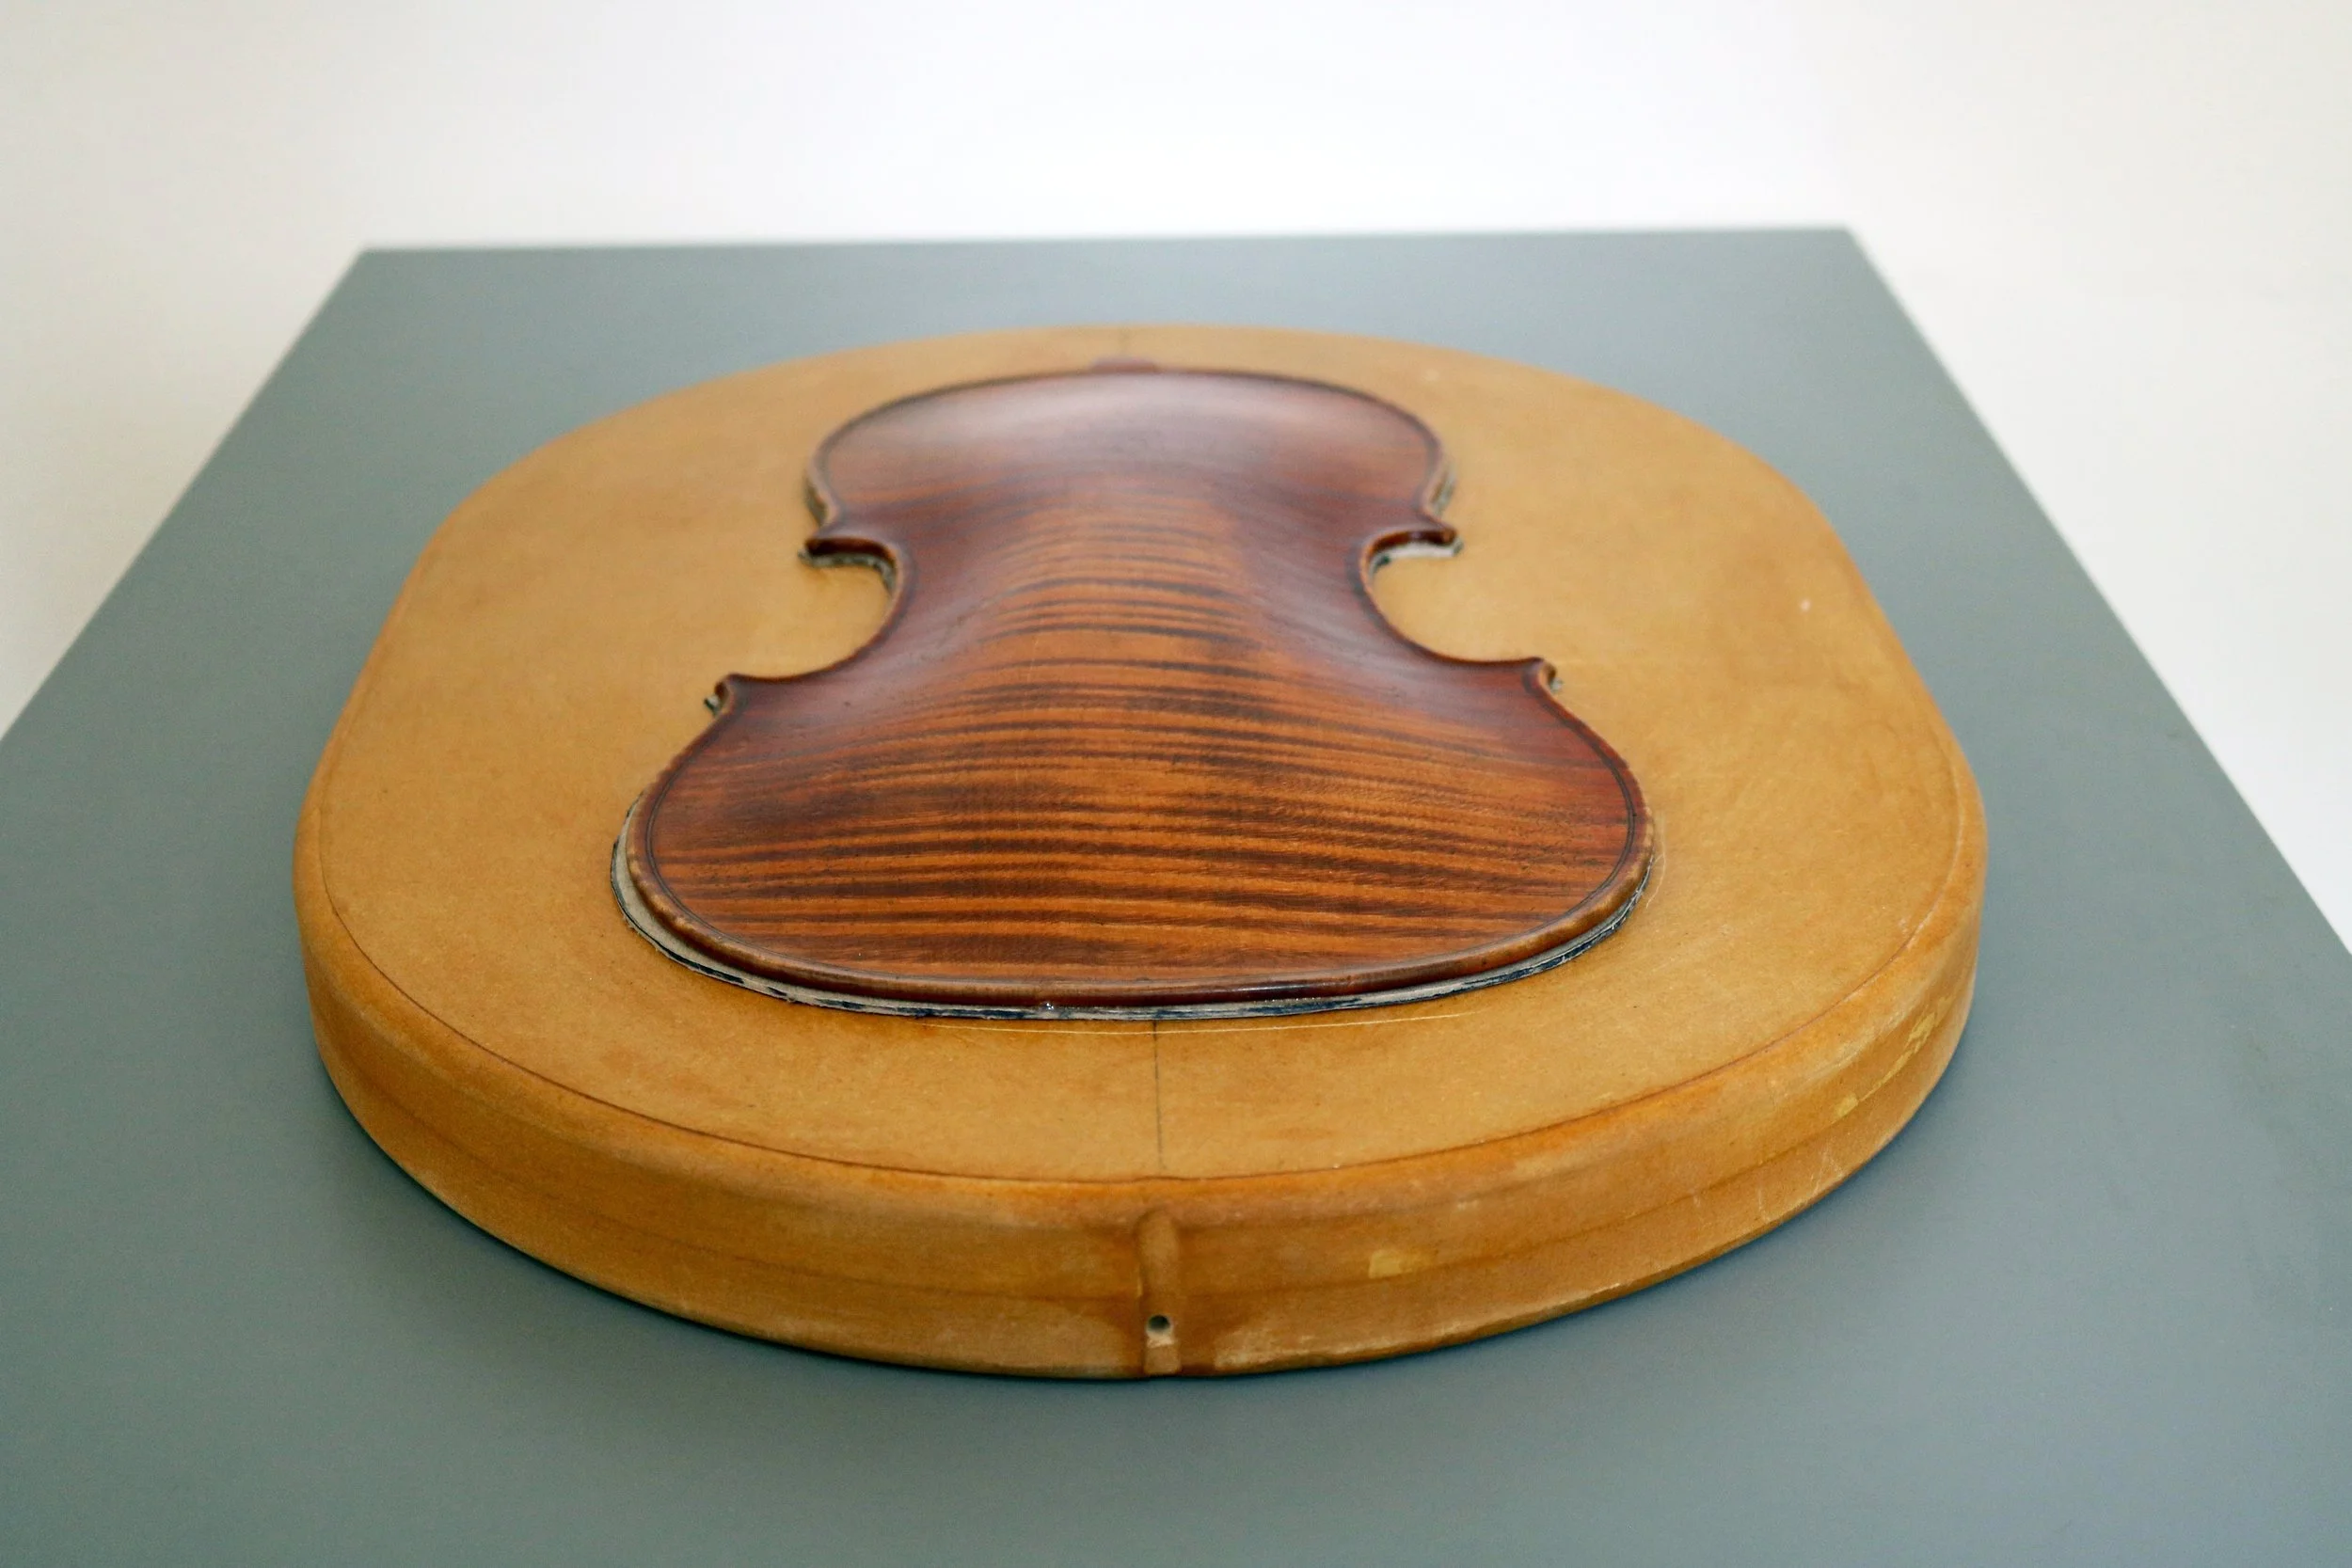
With the plate attached, the platform will be placed into a vacuum bag made from Stretchlon 200.
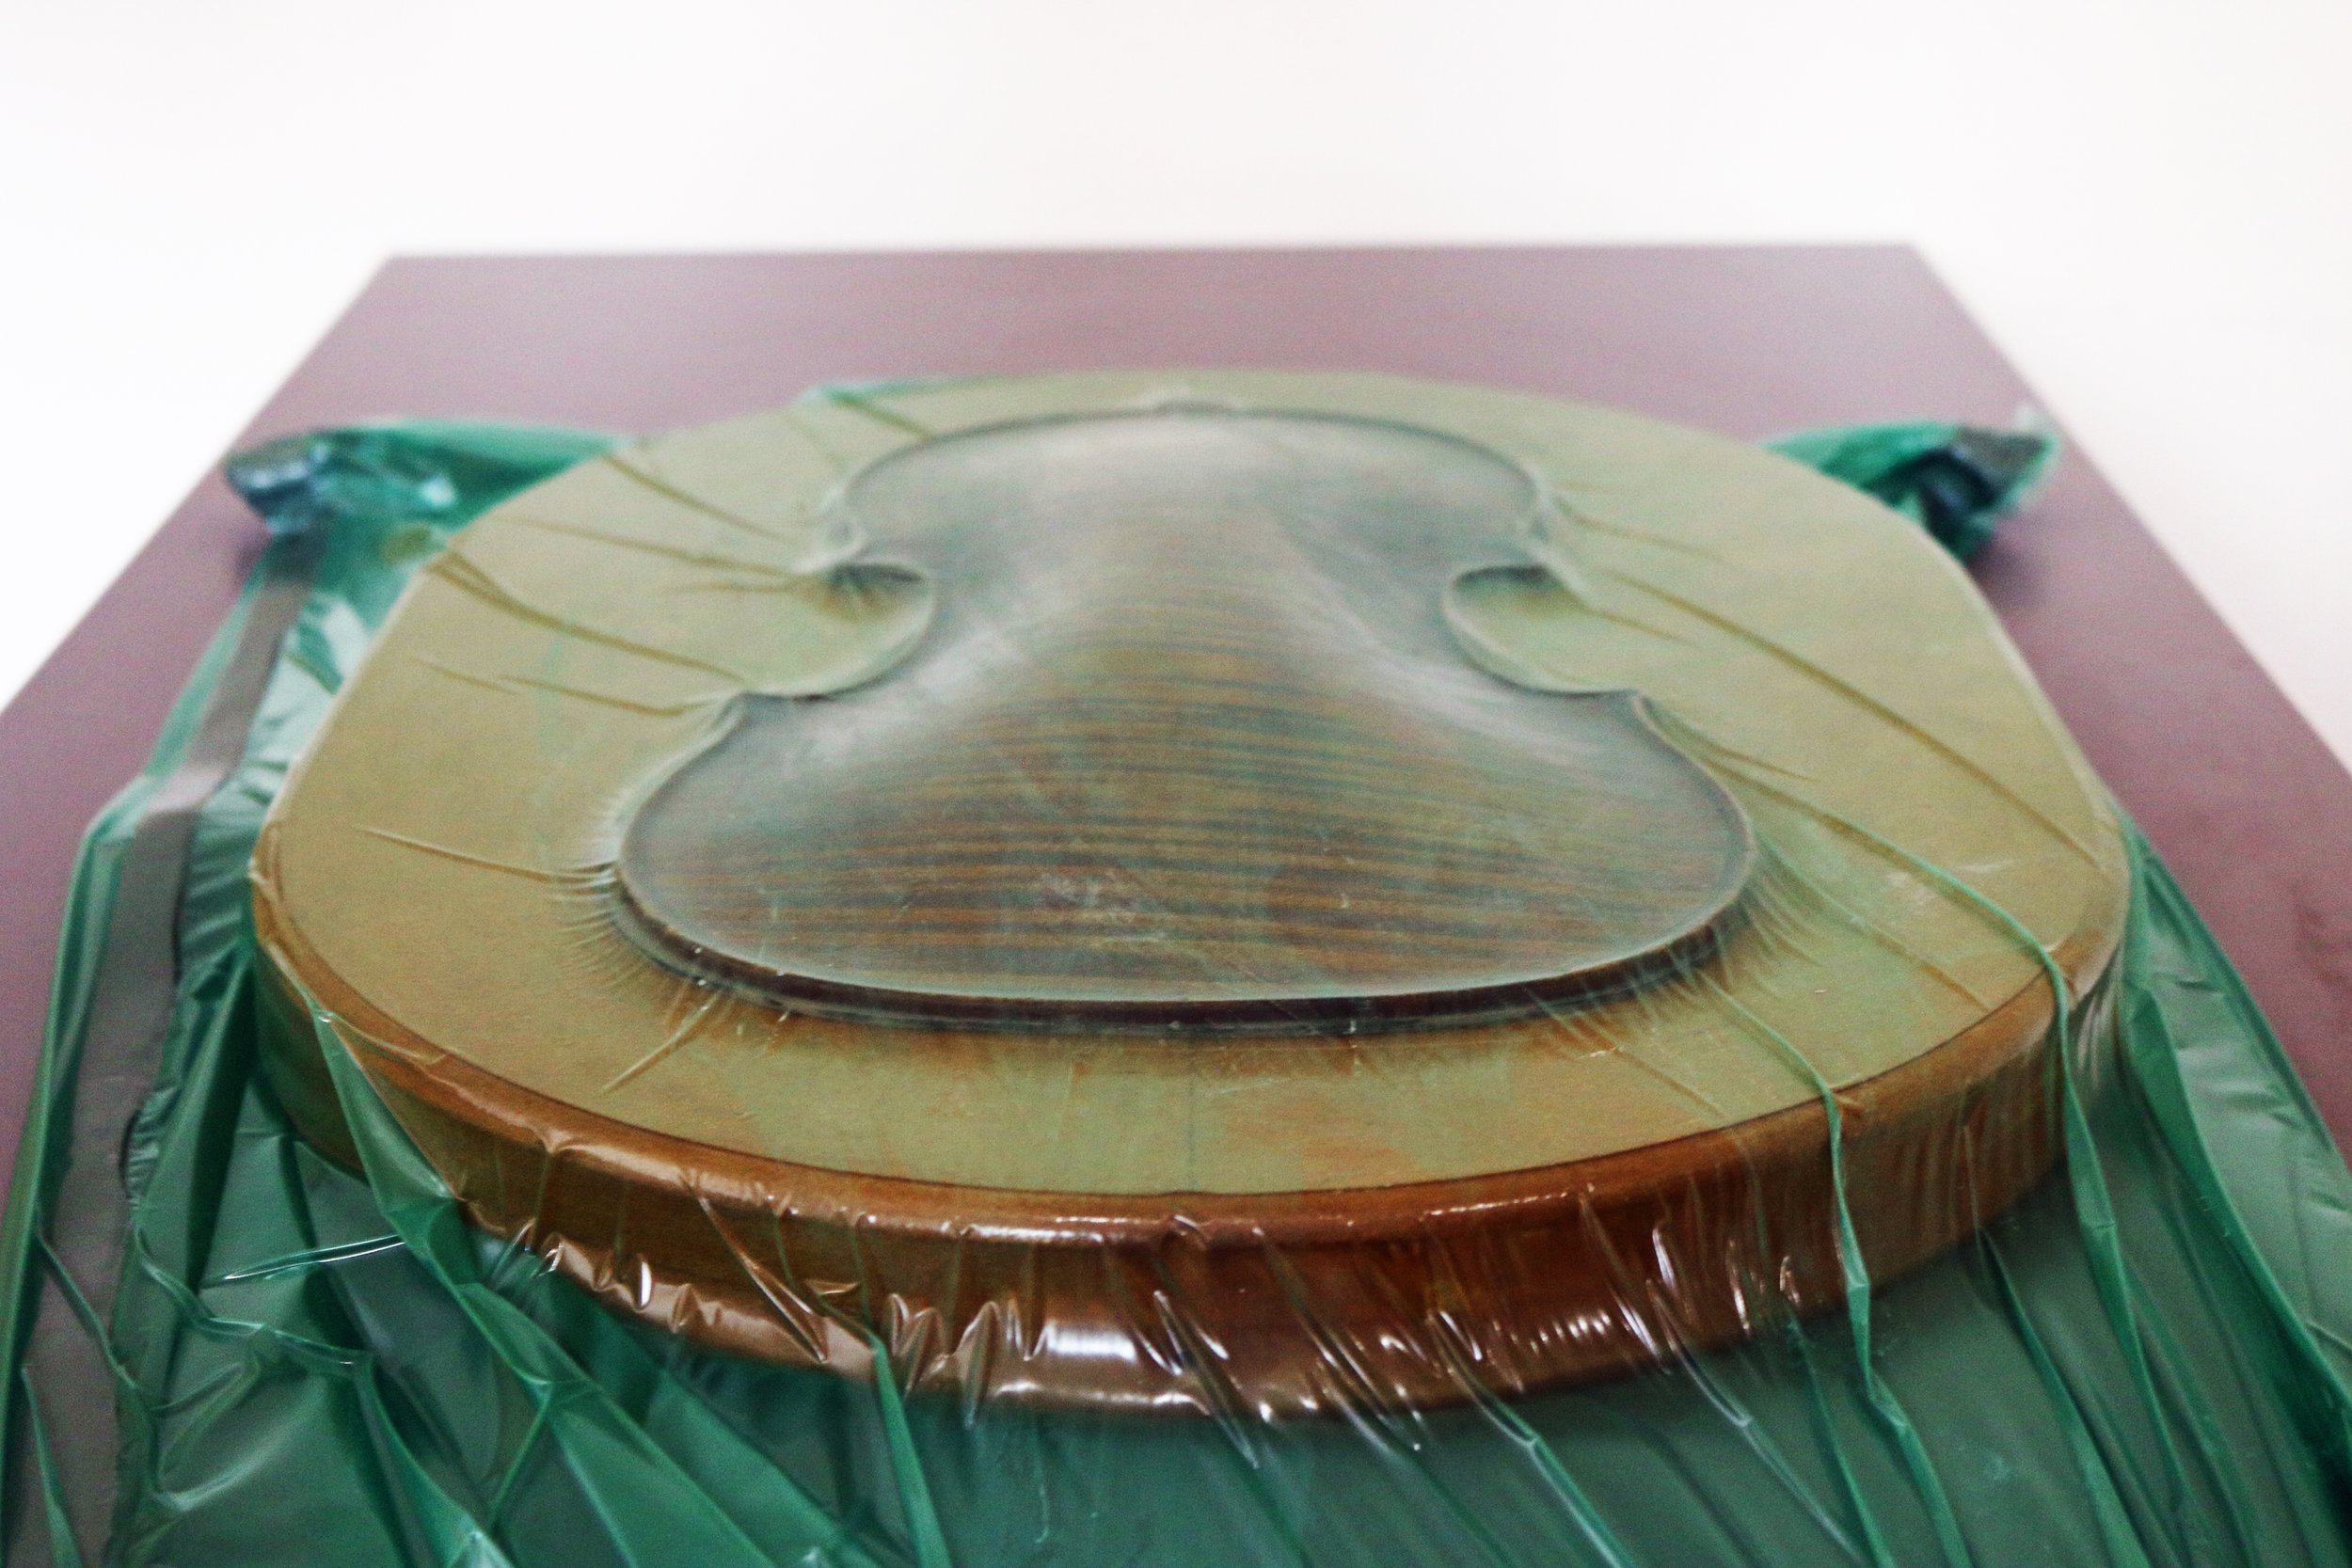
For most casting, we use Kulzer Orthoplaster. The cast can be made quite thin dure to it’s strength, and it has a somewhat reasonable expansion rate.
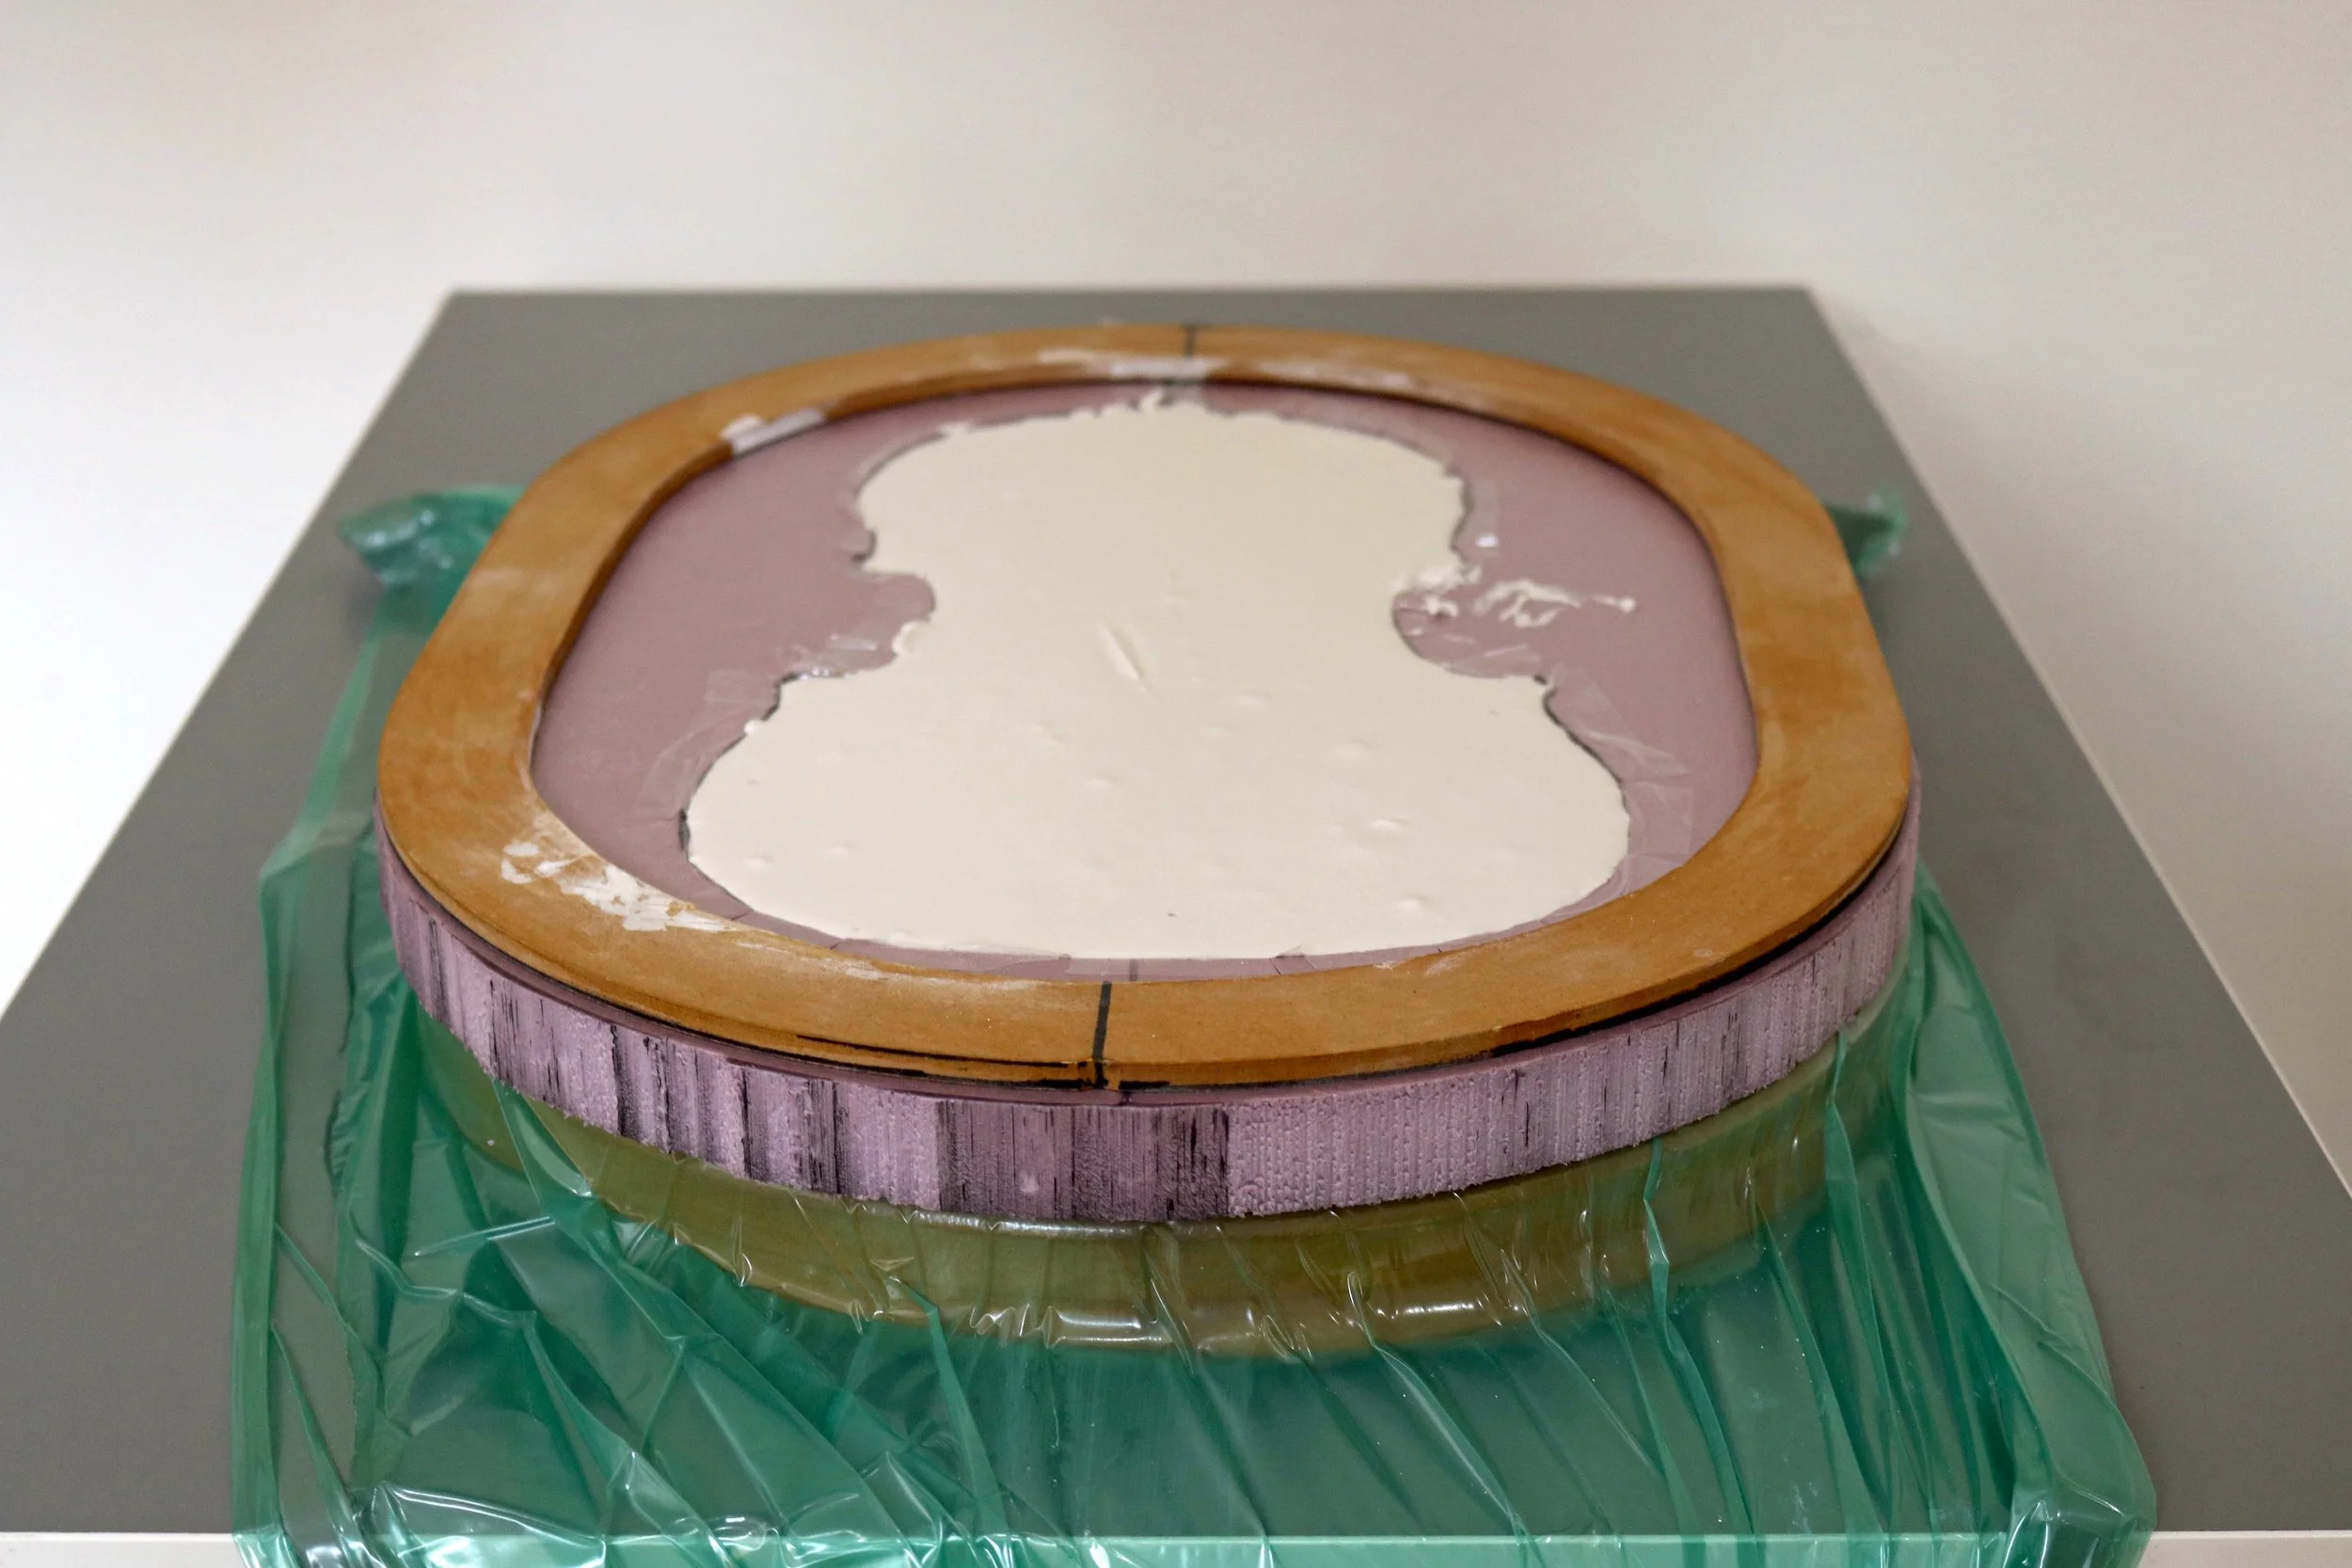
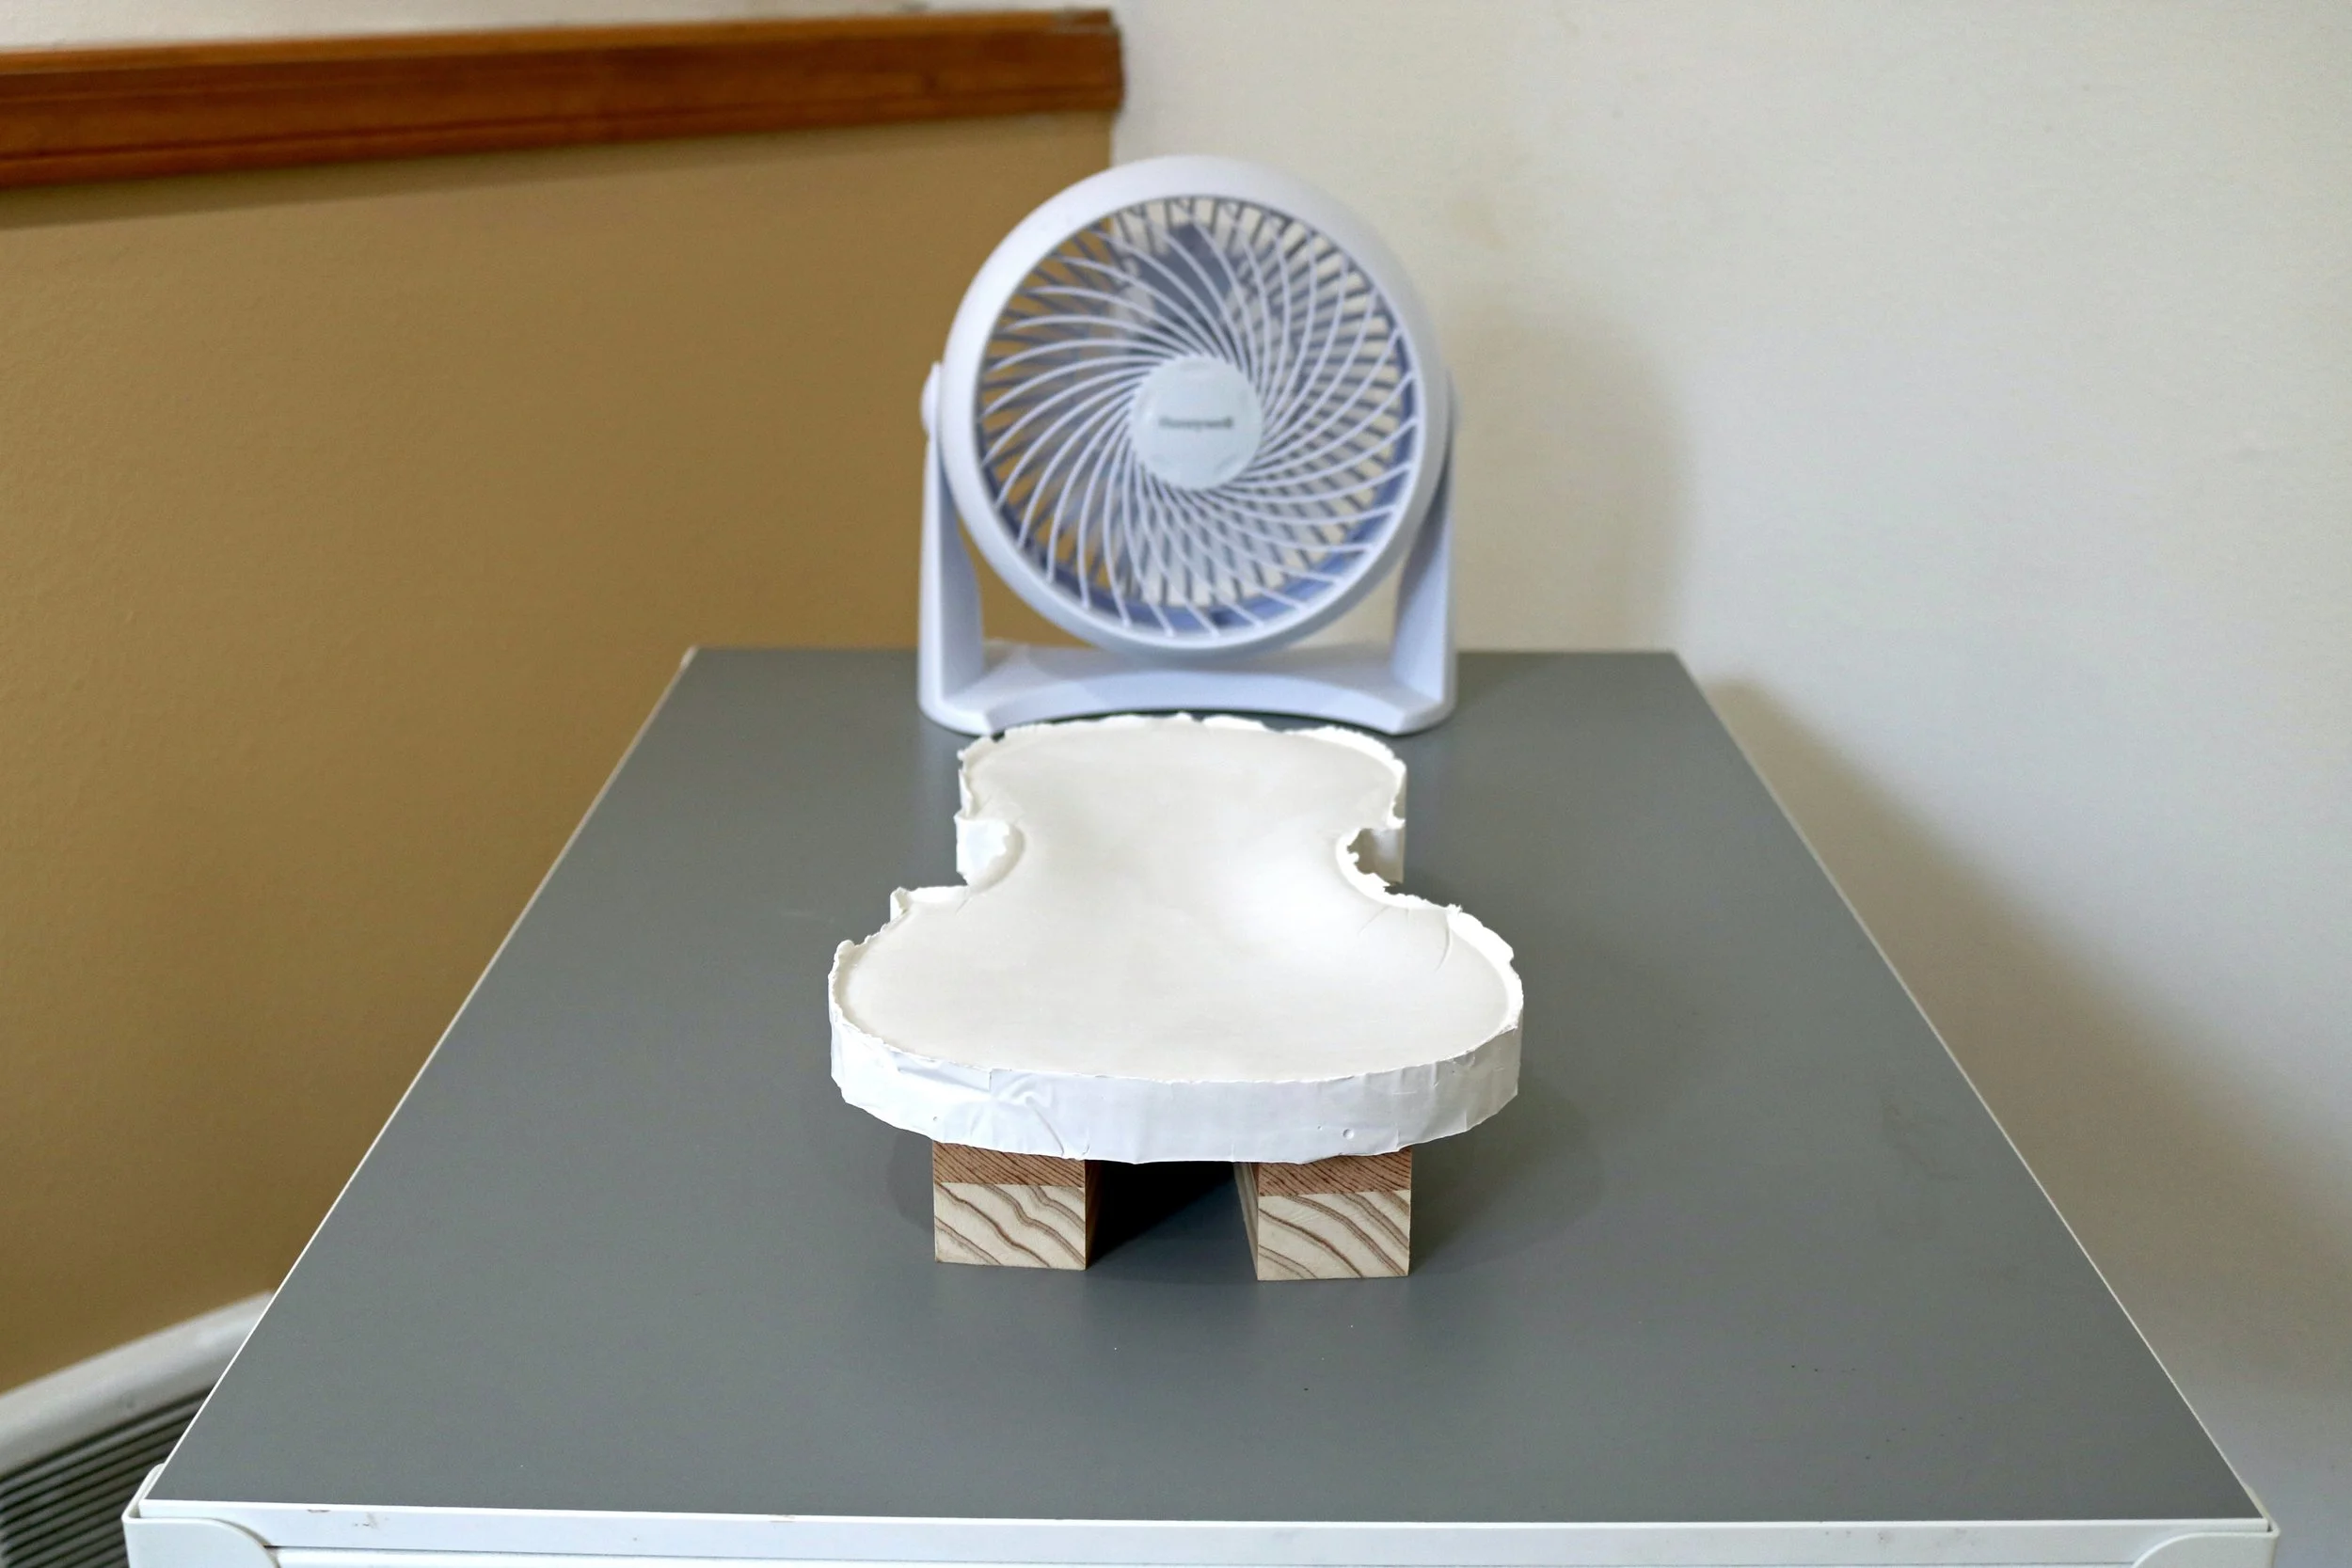
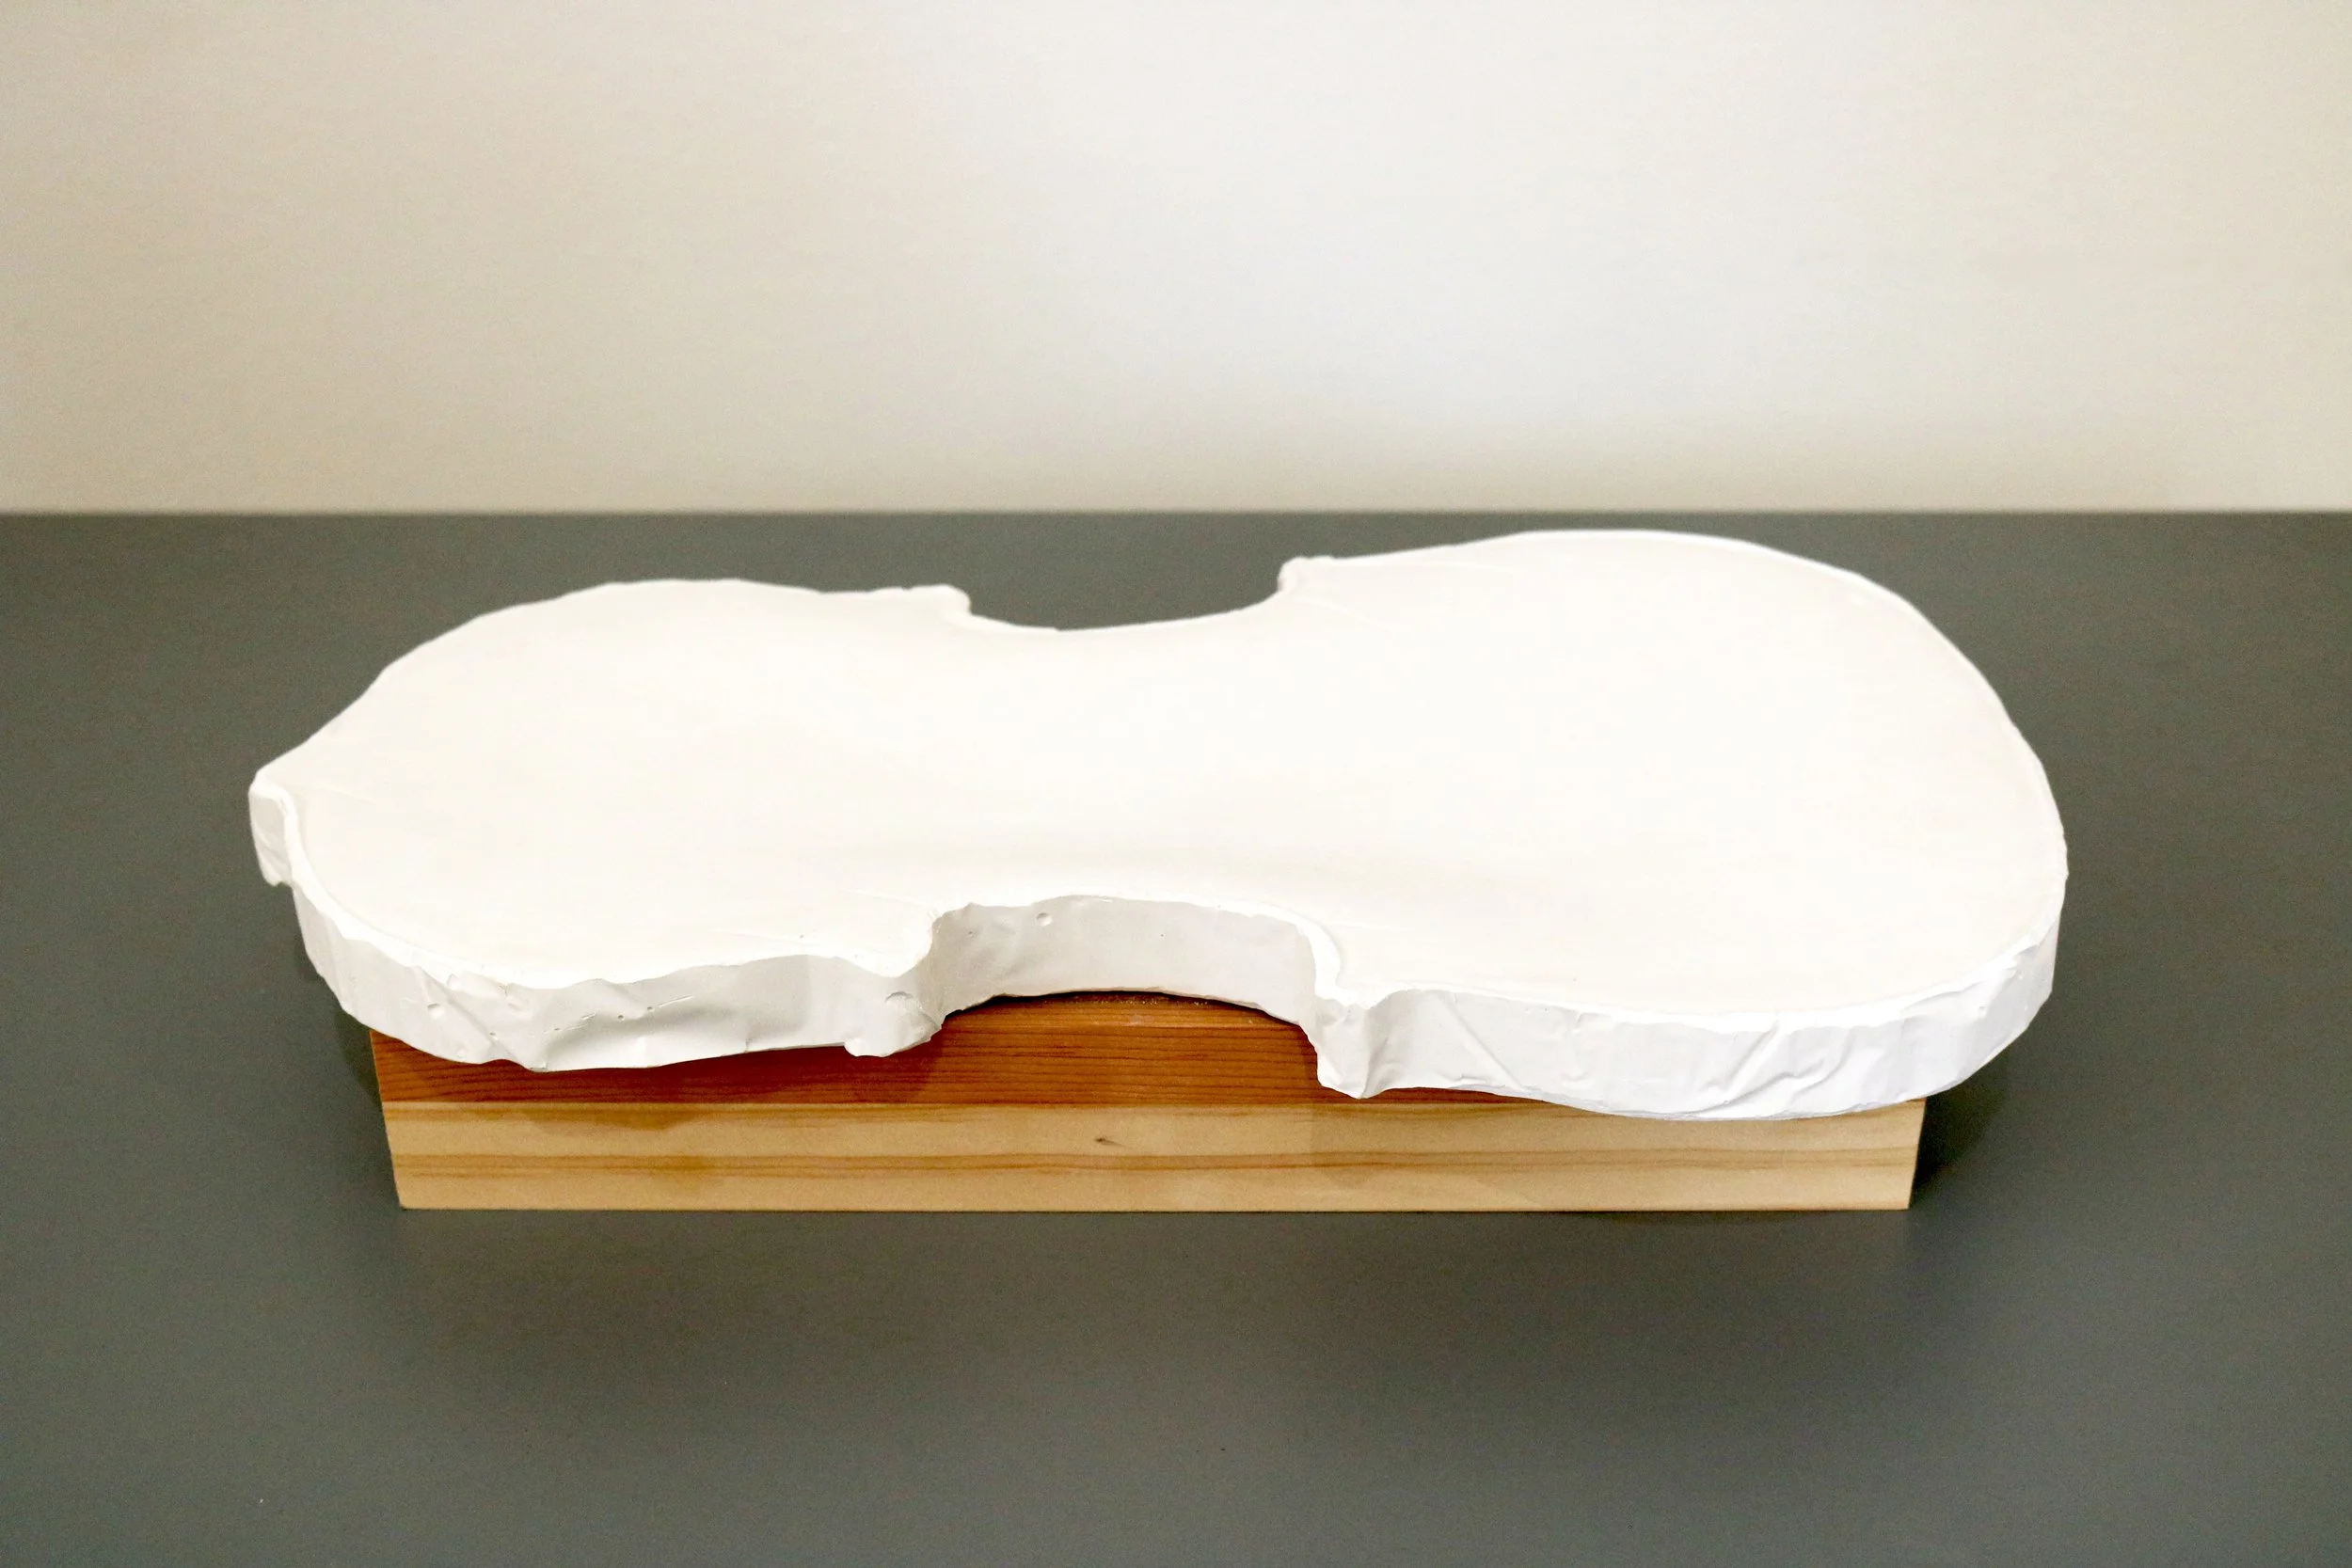
Much care goes into the planning of the size and placement of a soundpost patch, particularly in the back.
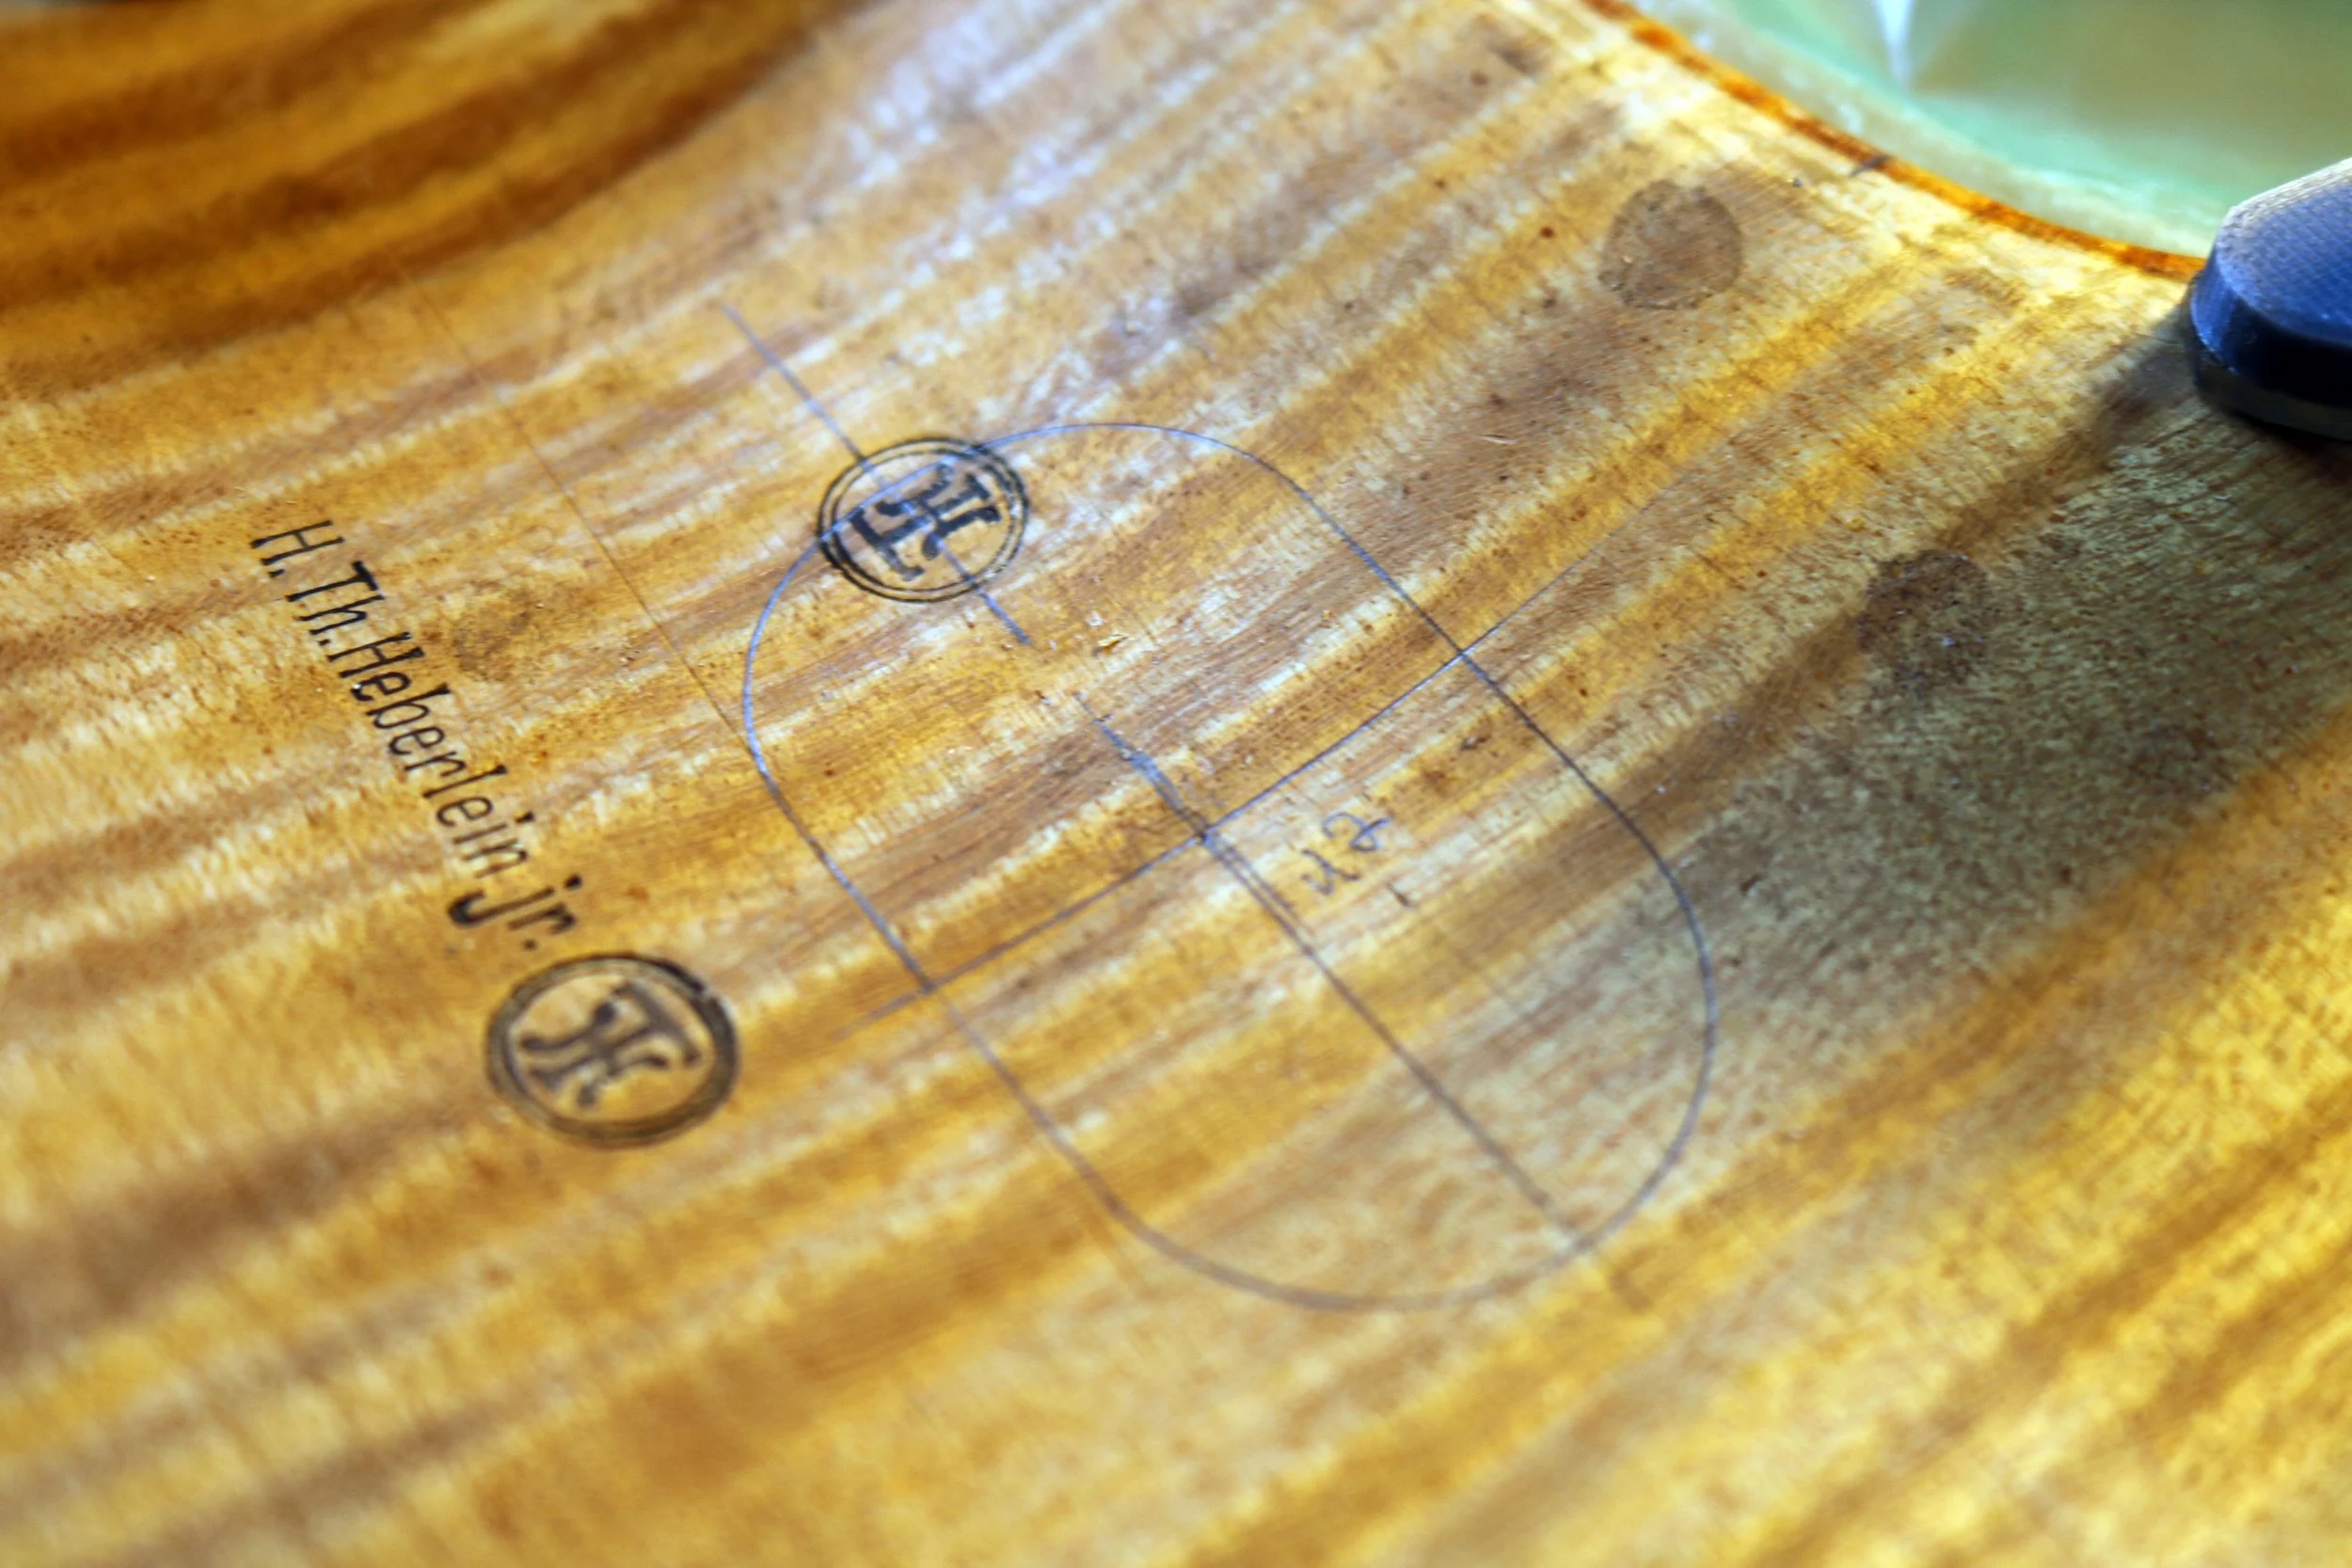
With the plate secured in the cast, the patch bed is prepared using traditional hand tools.
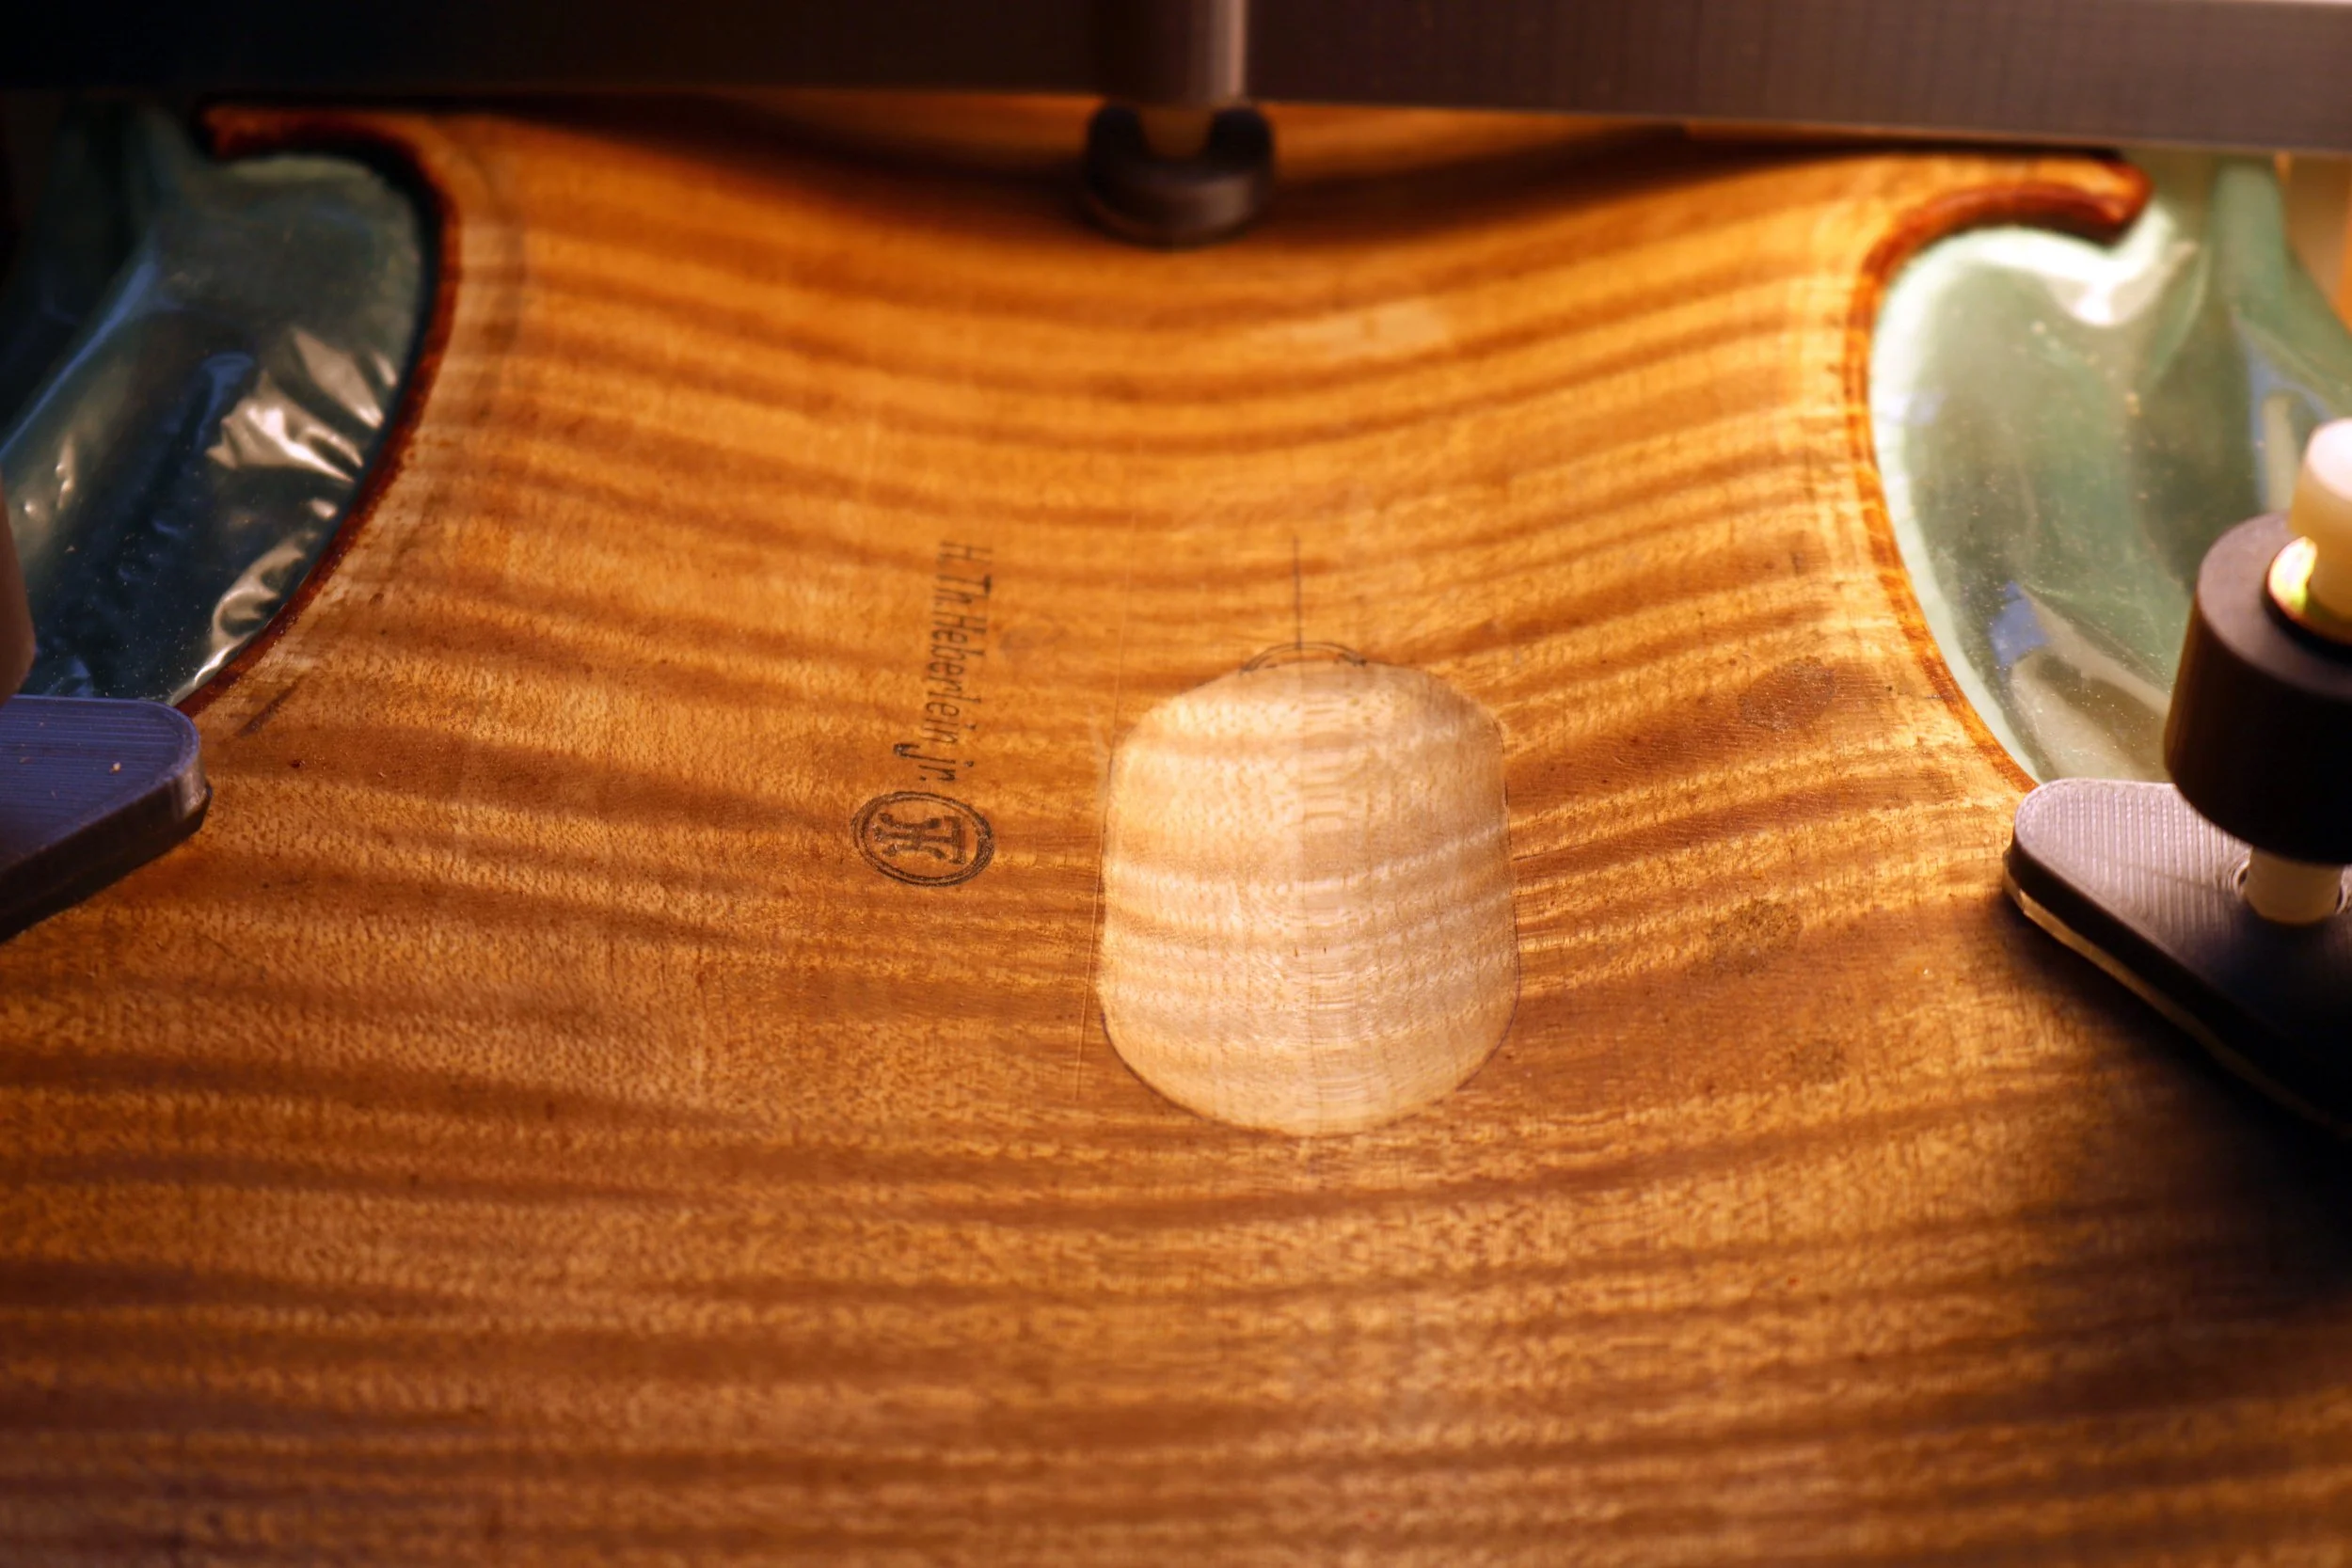
Two referencing nipples are then spot-glued at precise locations outside of the patch bed, and the area is scanned with our Einscan SP.
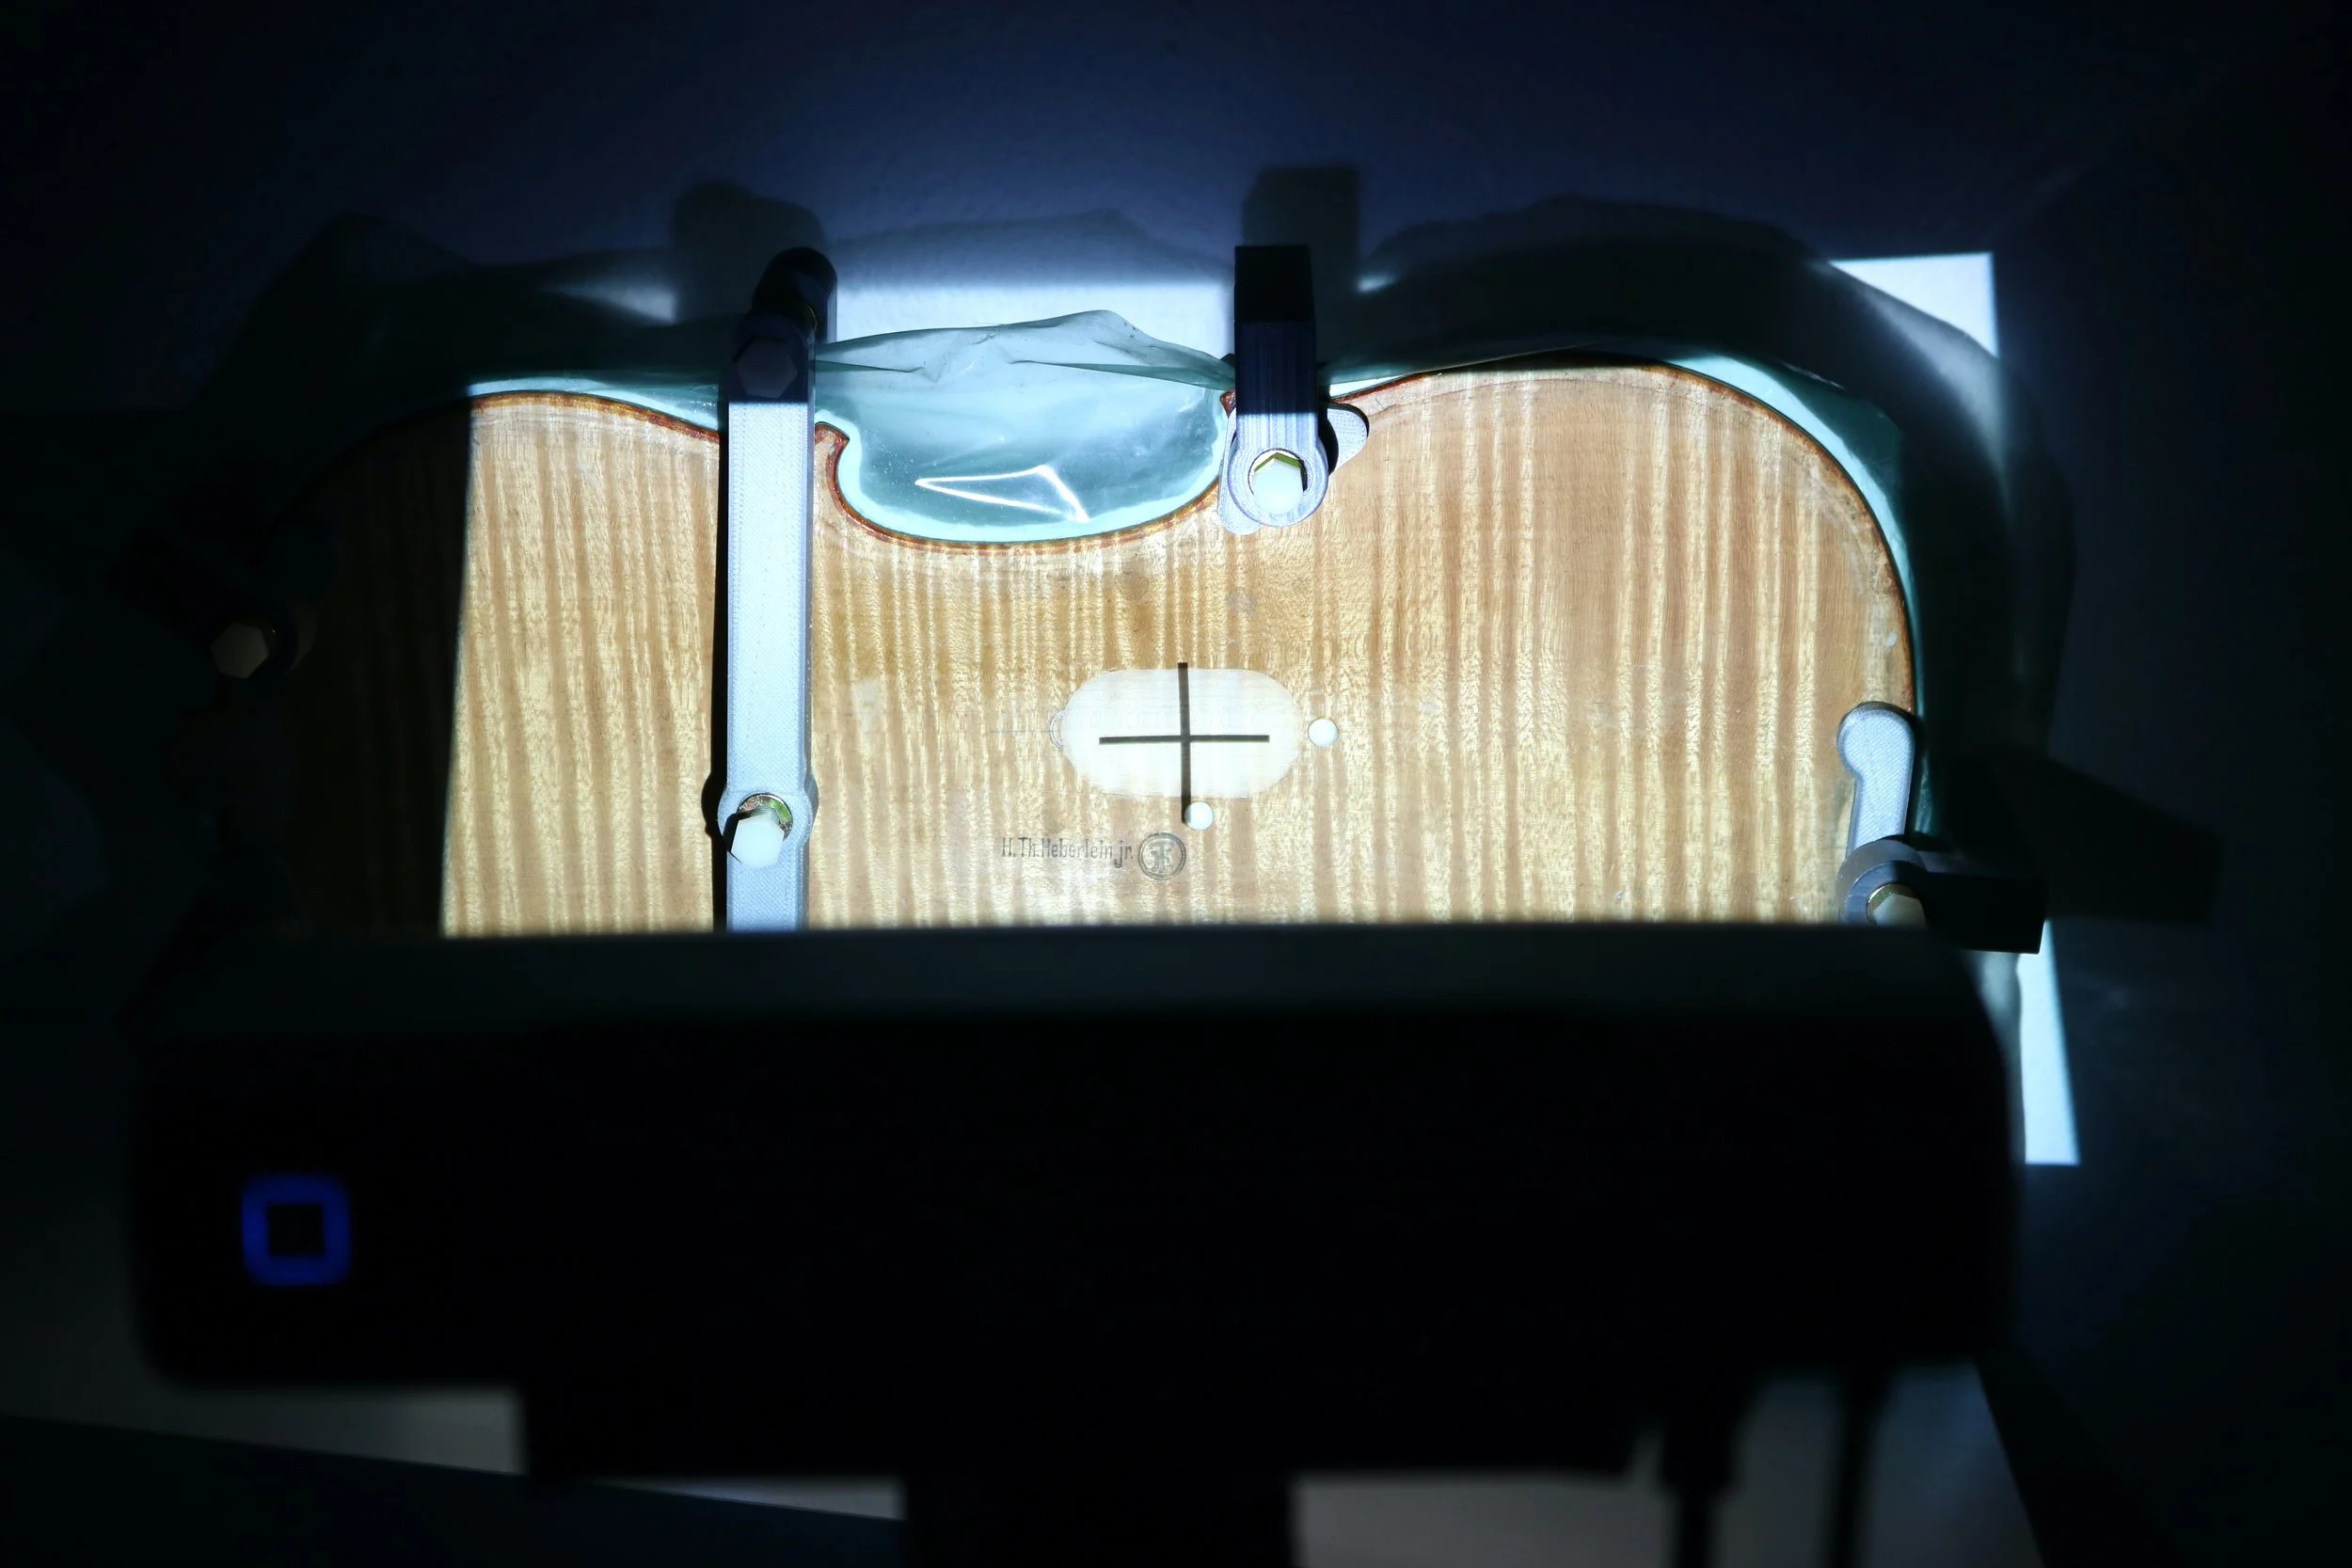
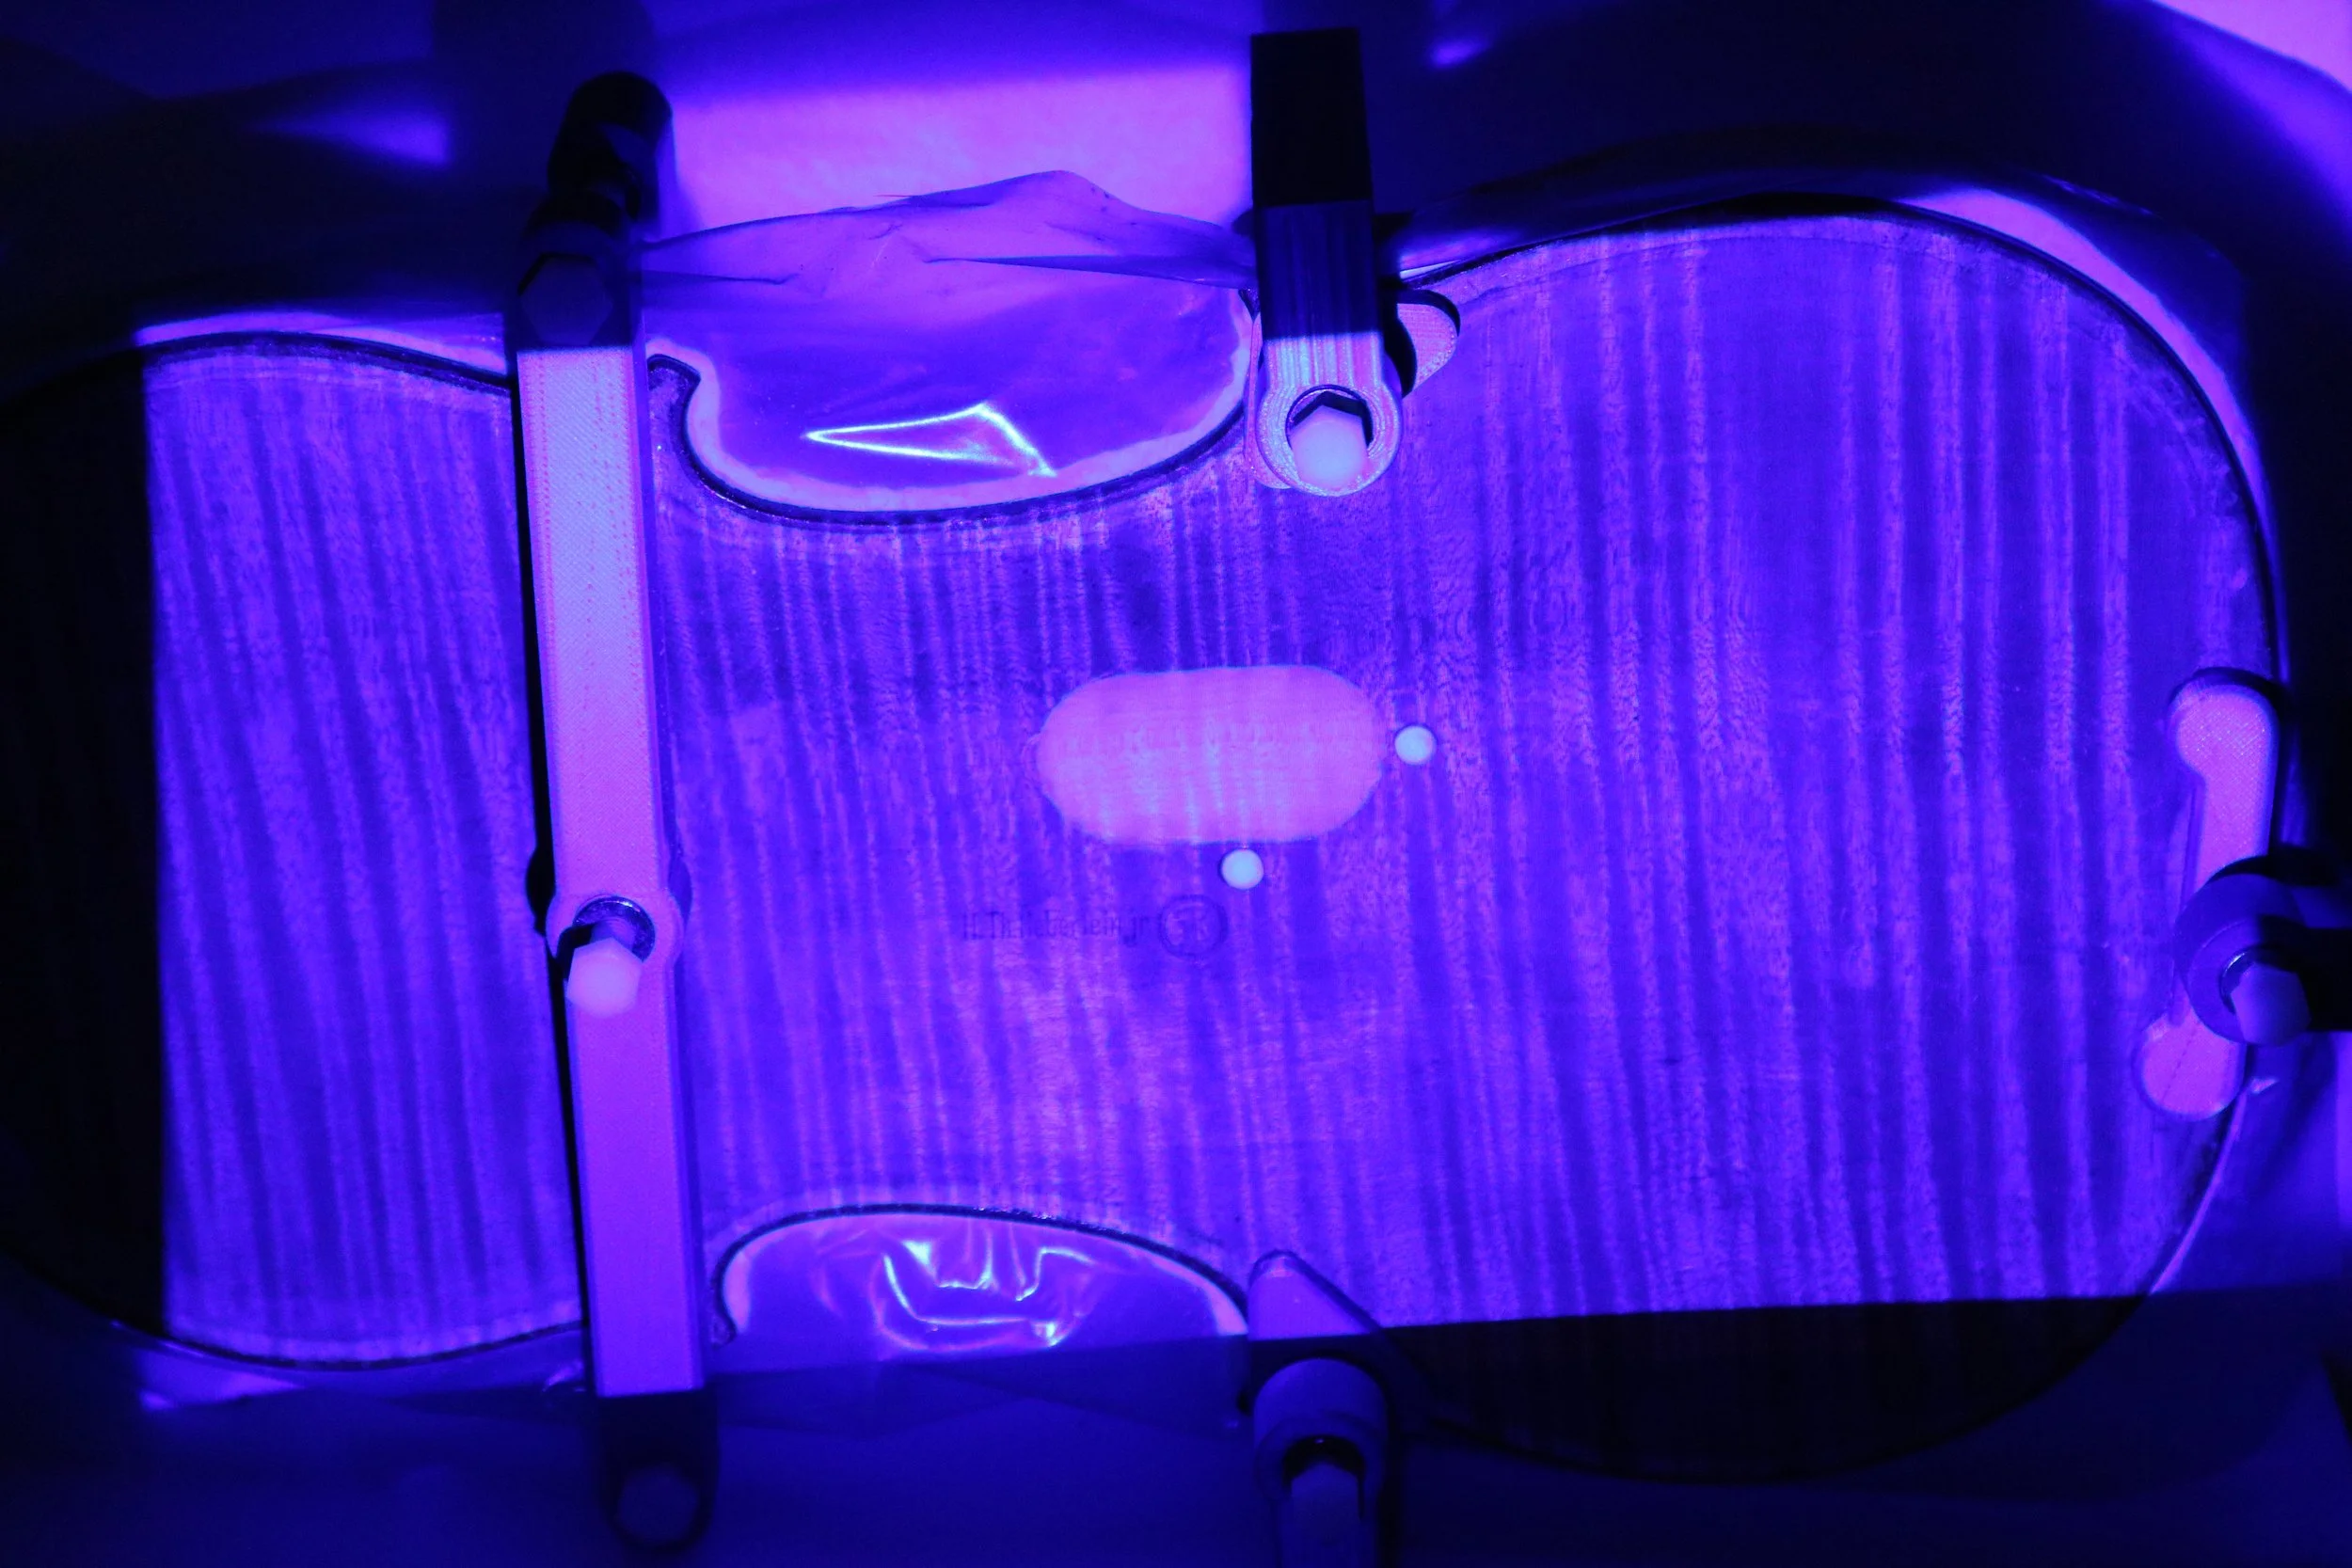
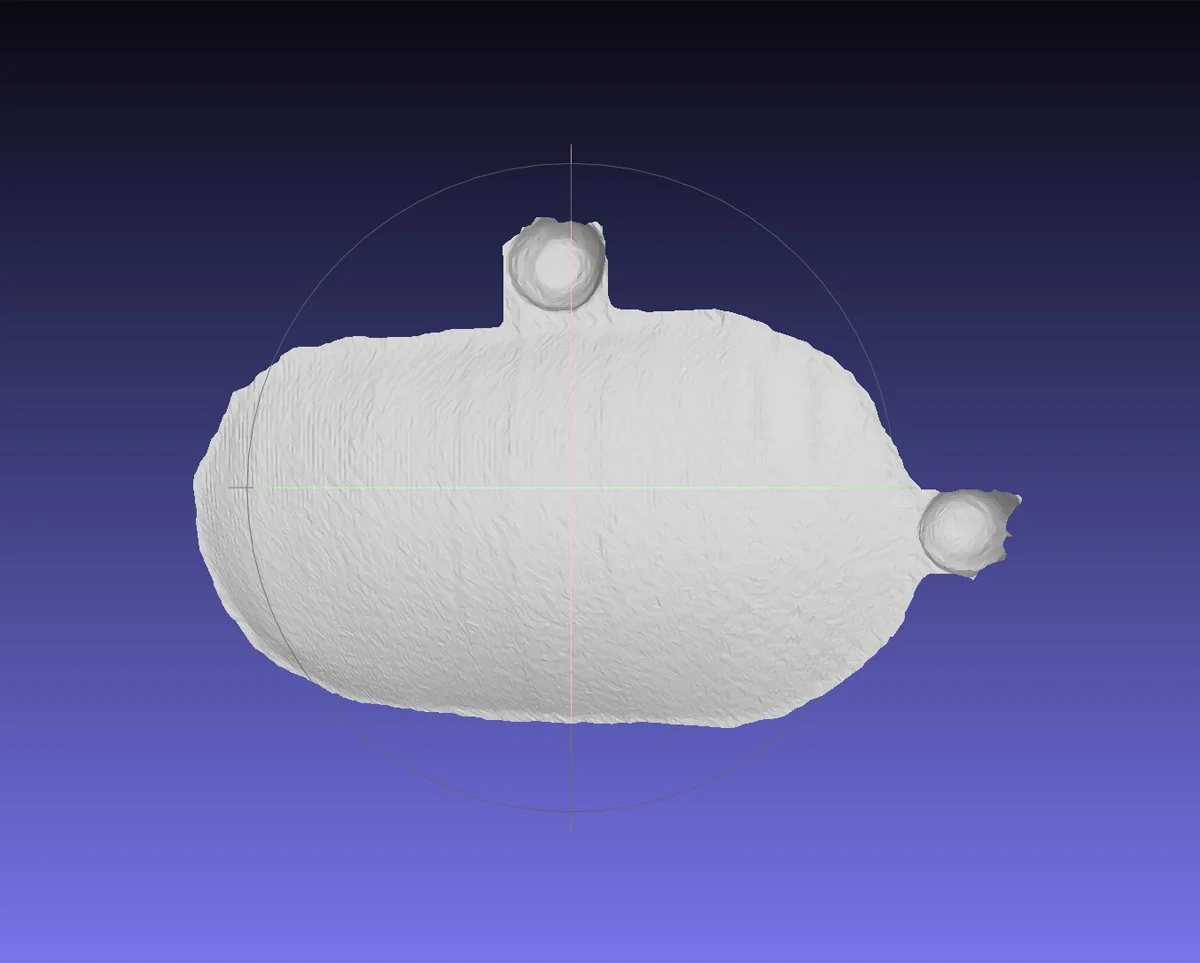
The resulting scan-
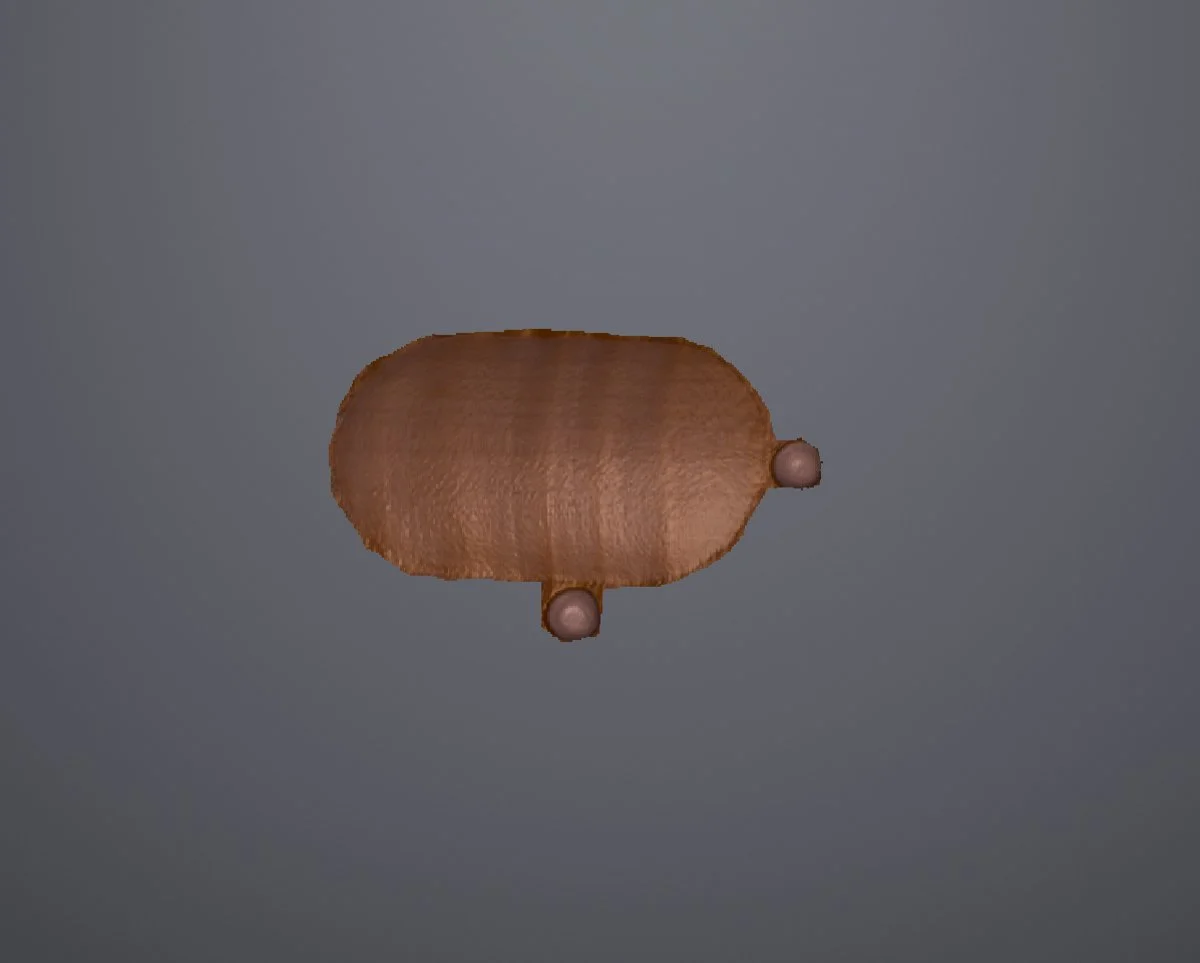
This scan then gets inverted in Meshlab, before a final orientation in 3d editor of Fusion360.
From our vast collection of repair wood, we did find a very appropriate piece of maple for the patch.
Our Roland MDX-50 then made short work of the patch fabrication.
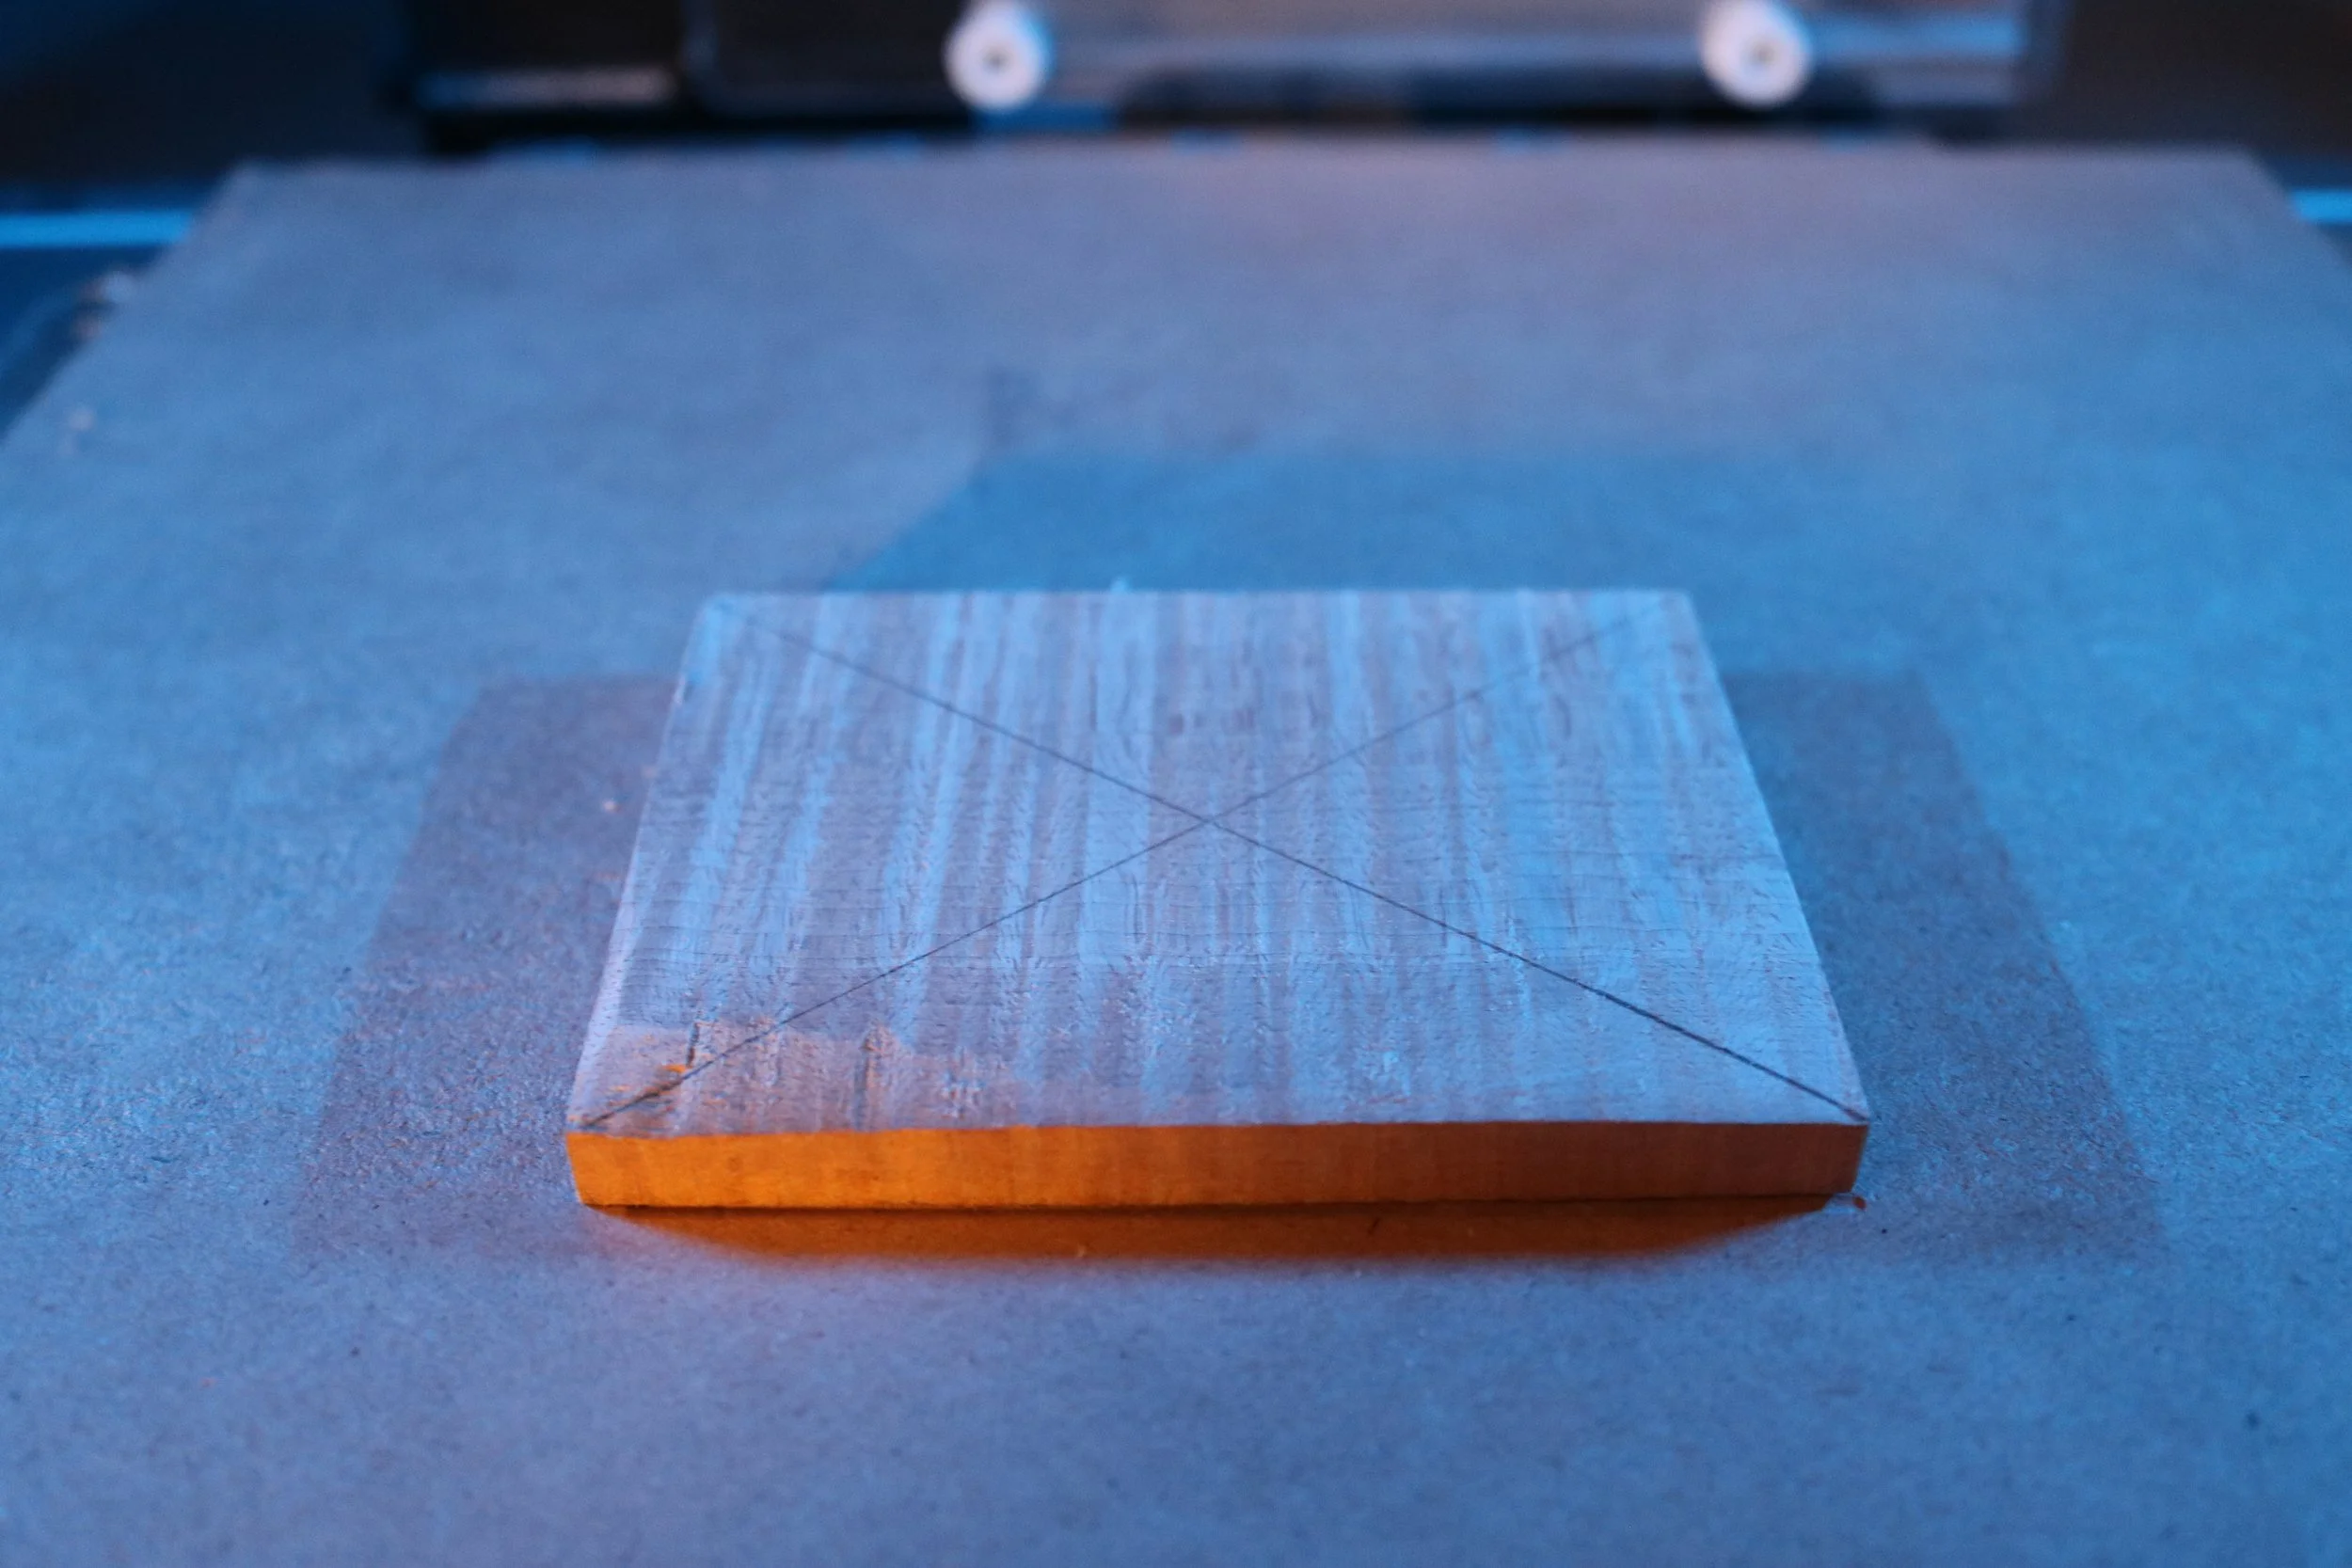
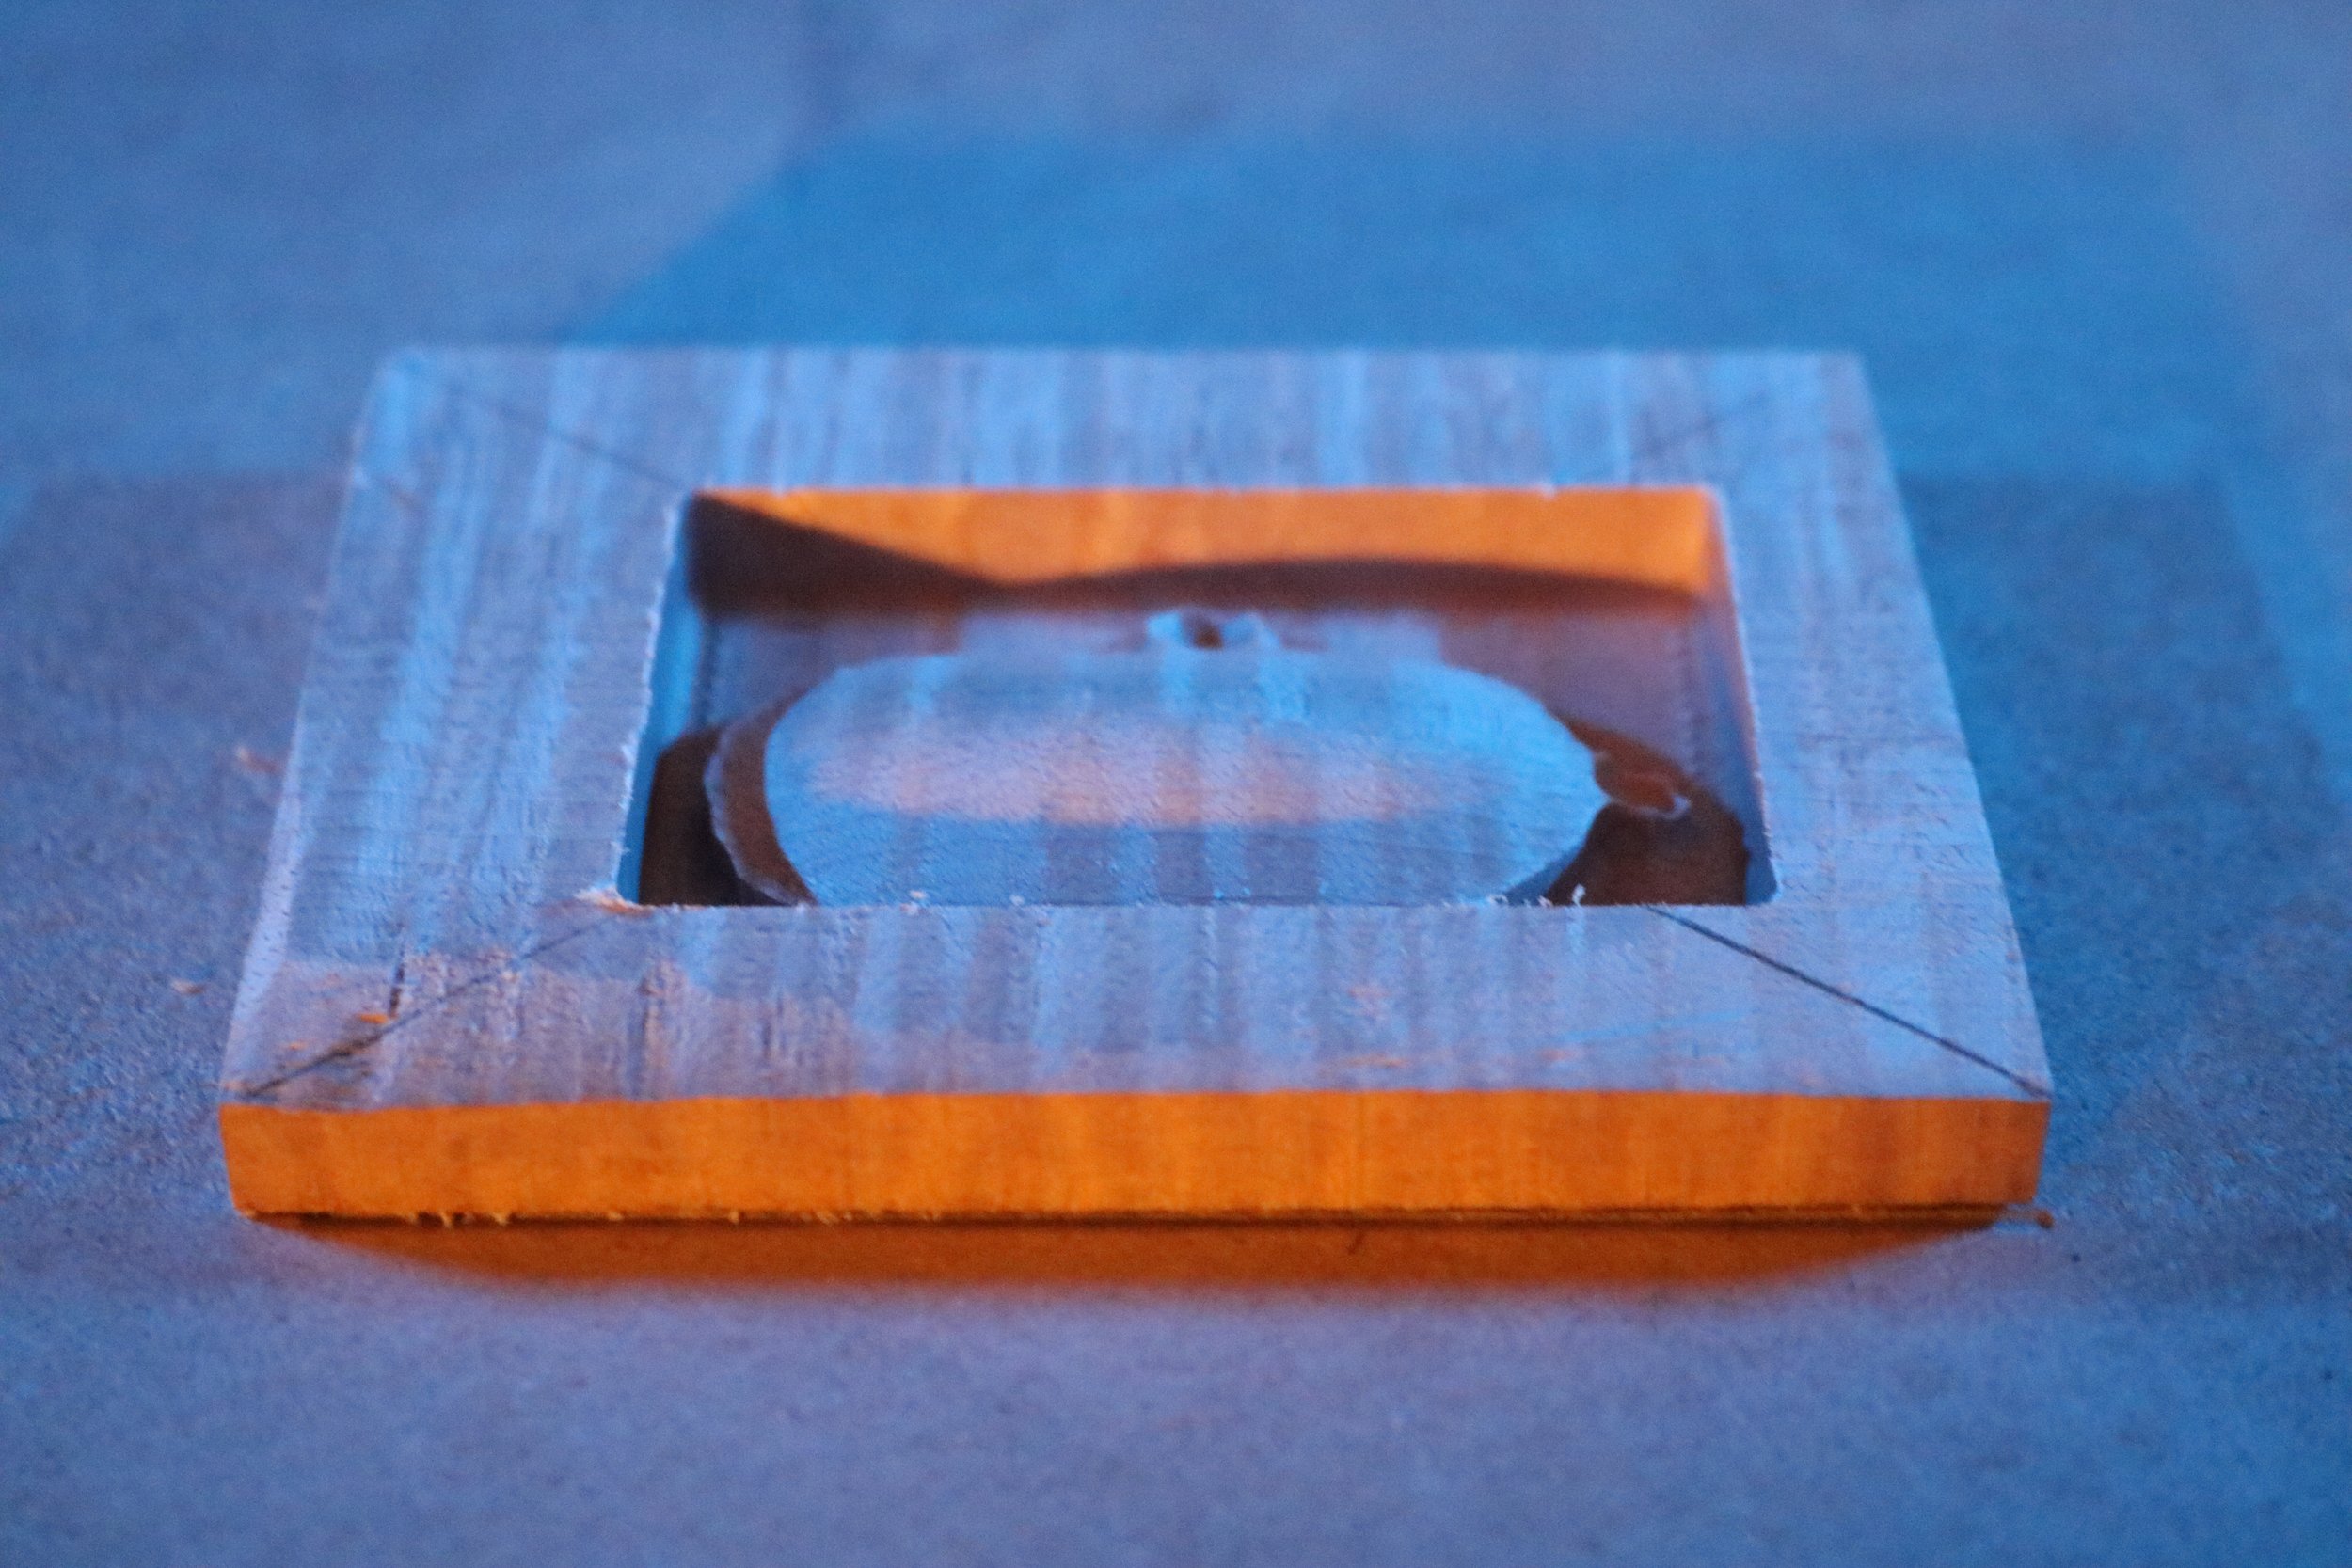
The patched trimmed and ready to glue-
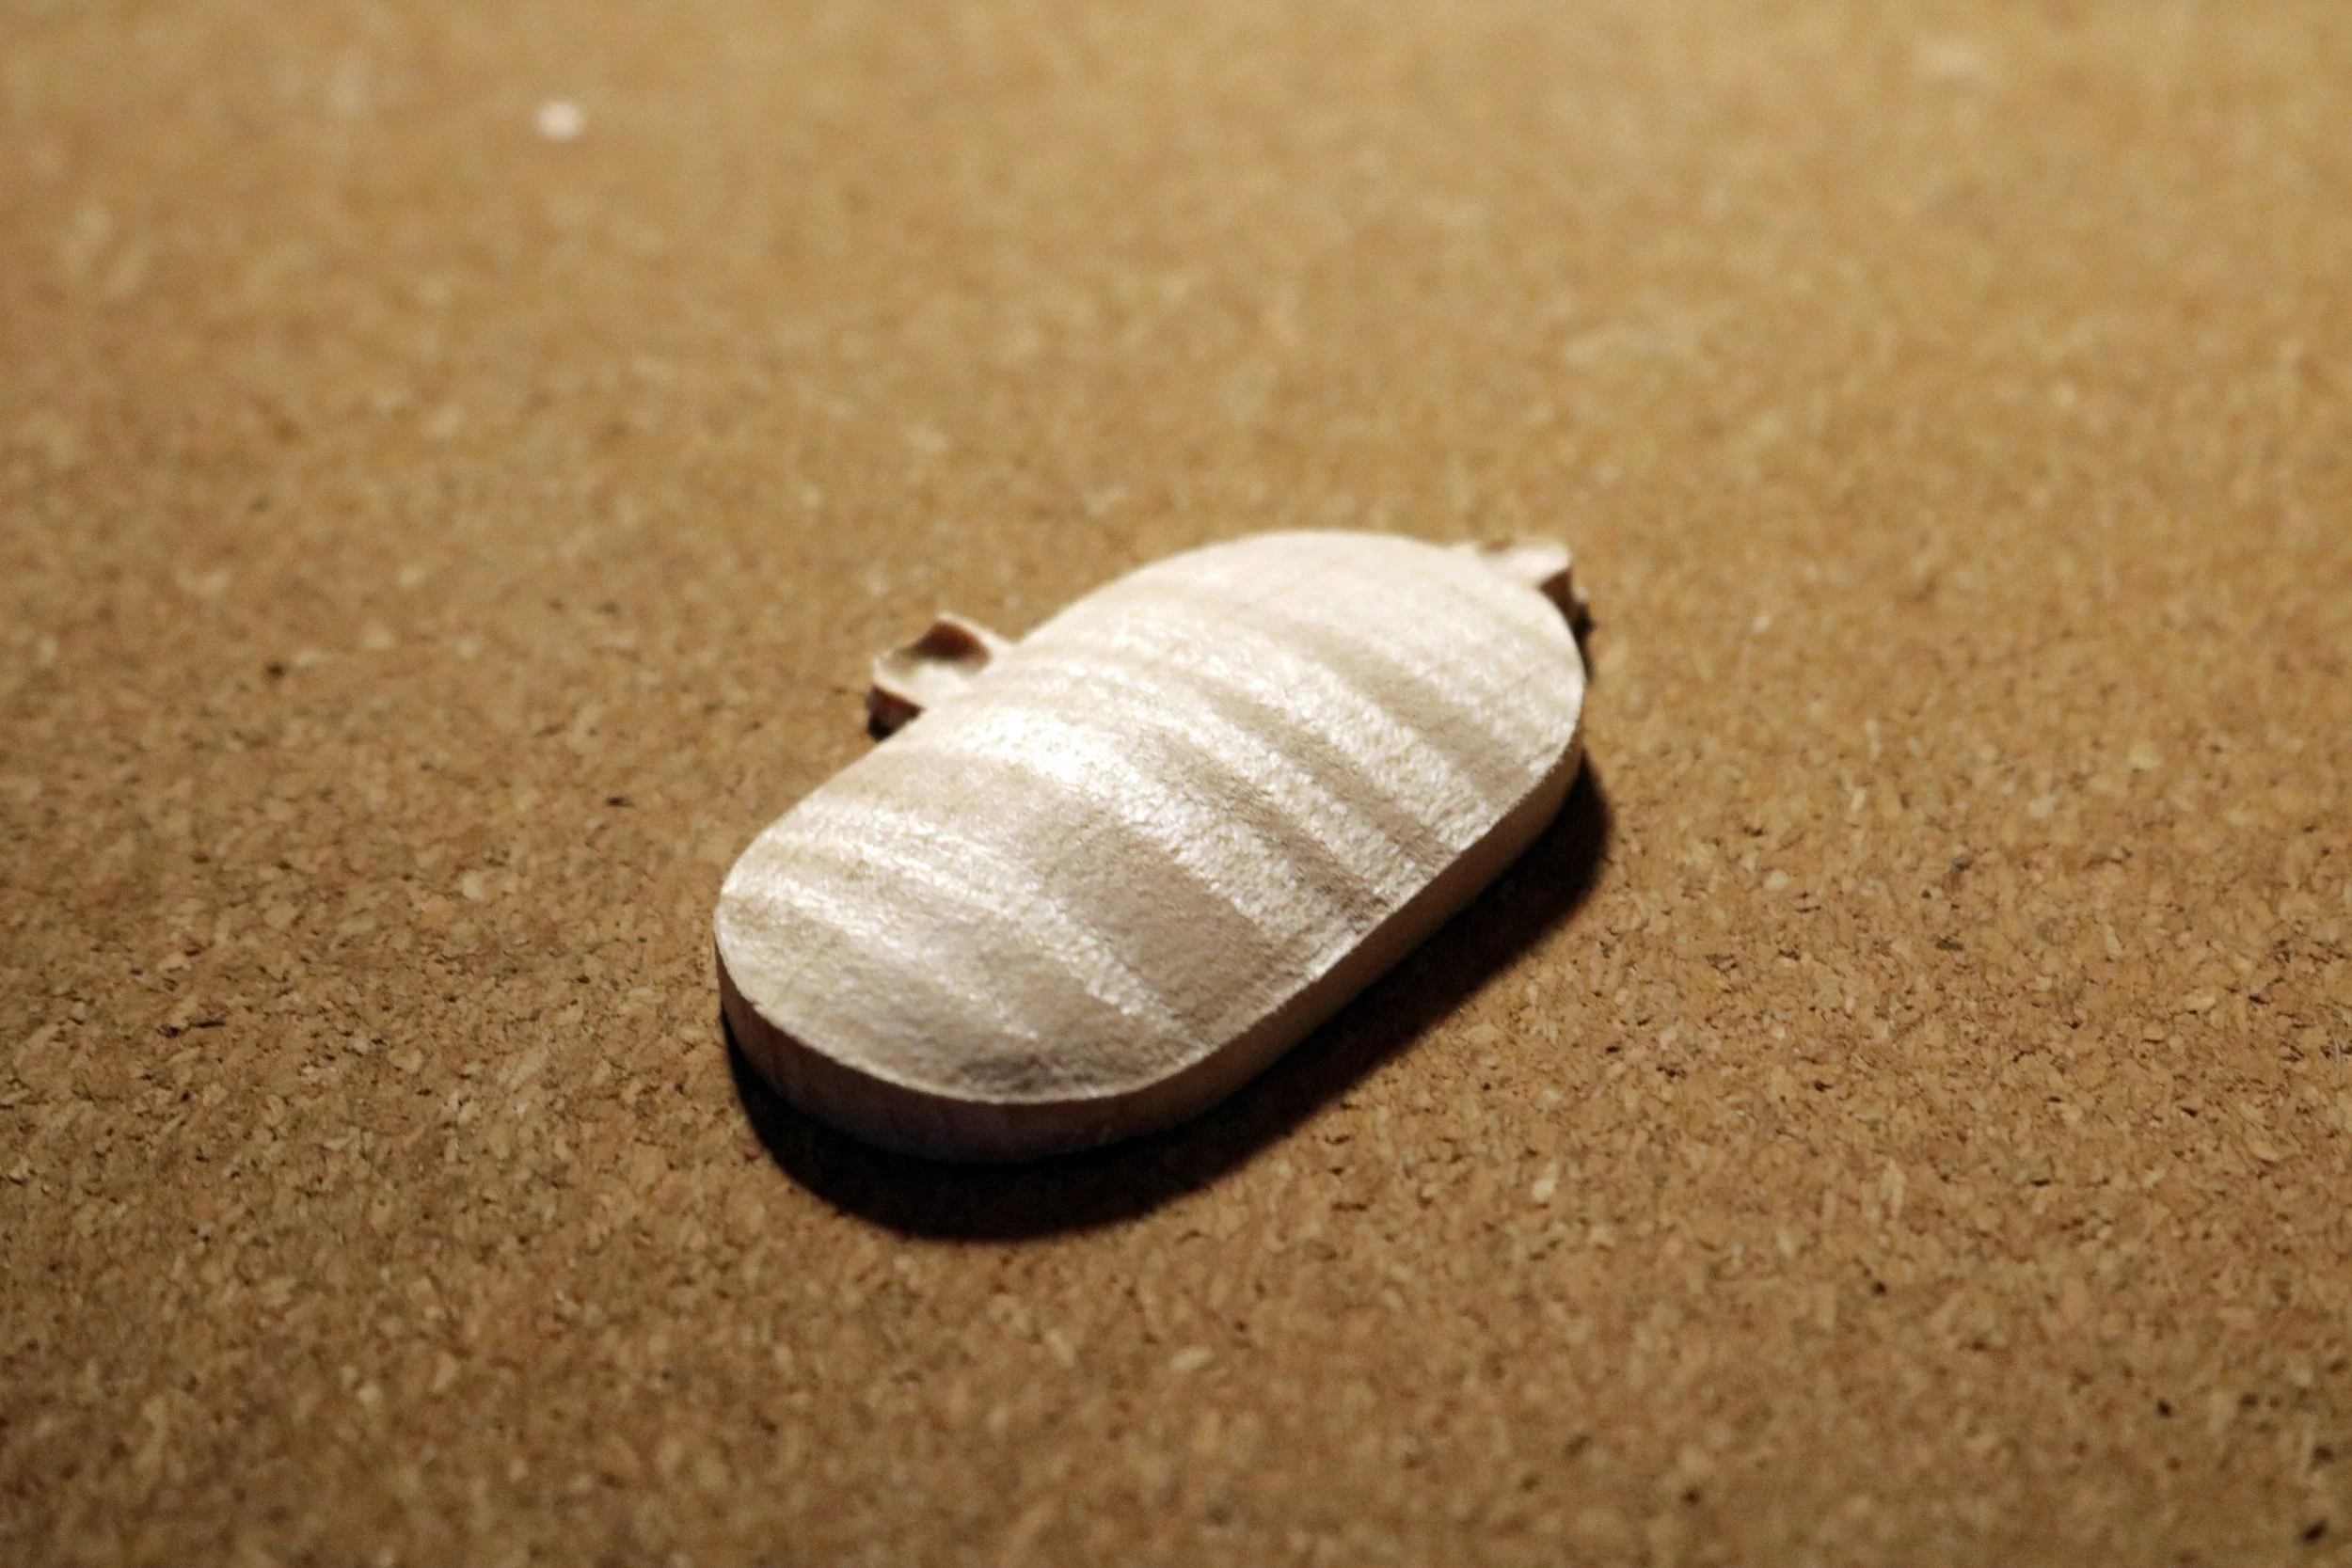
It is always satisfying to just clamp it…
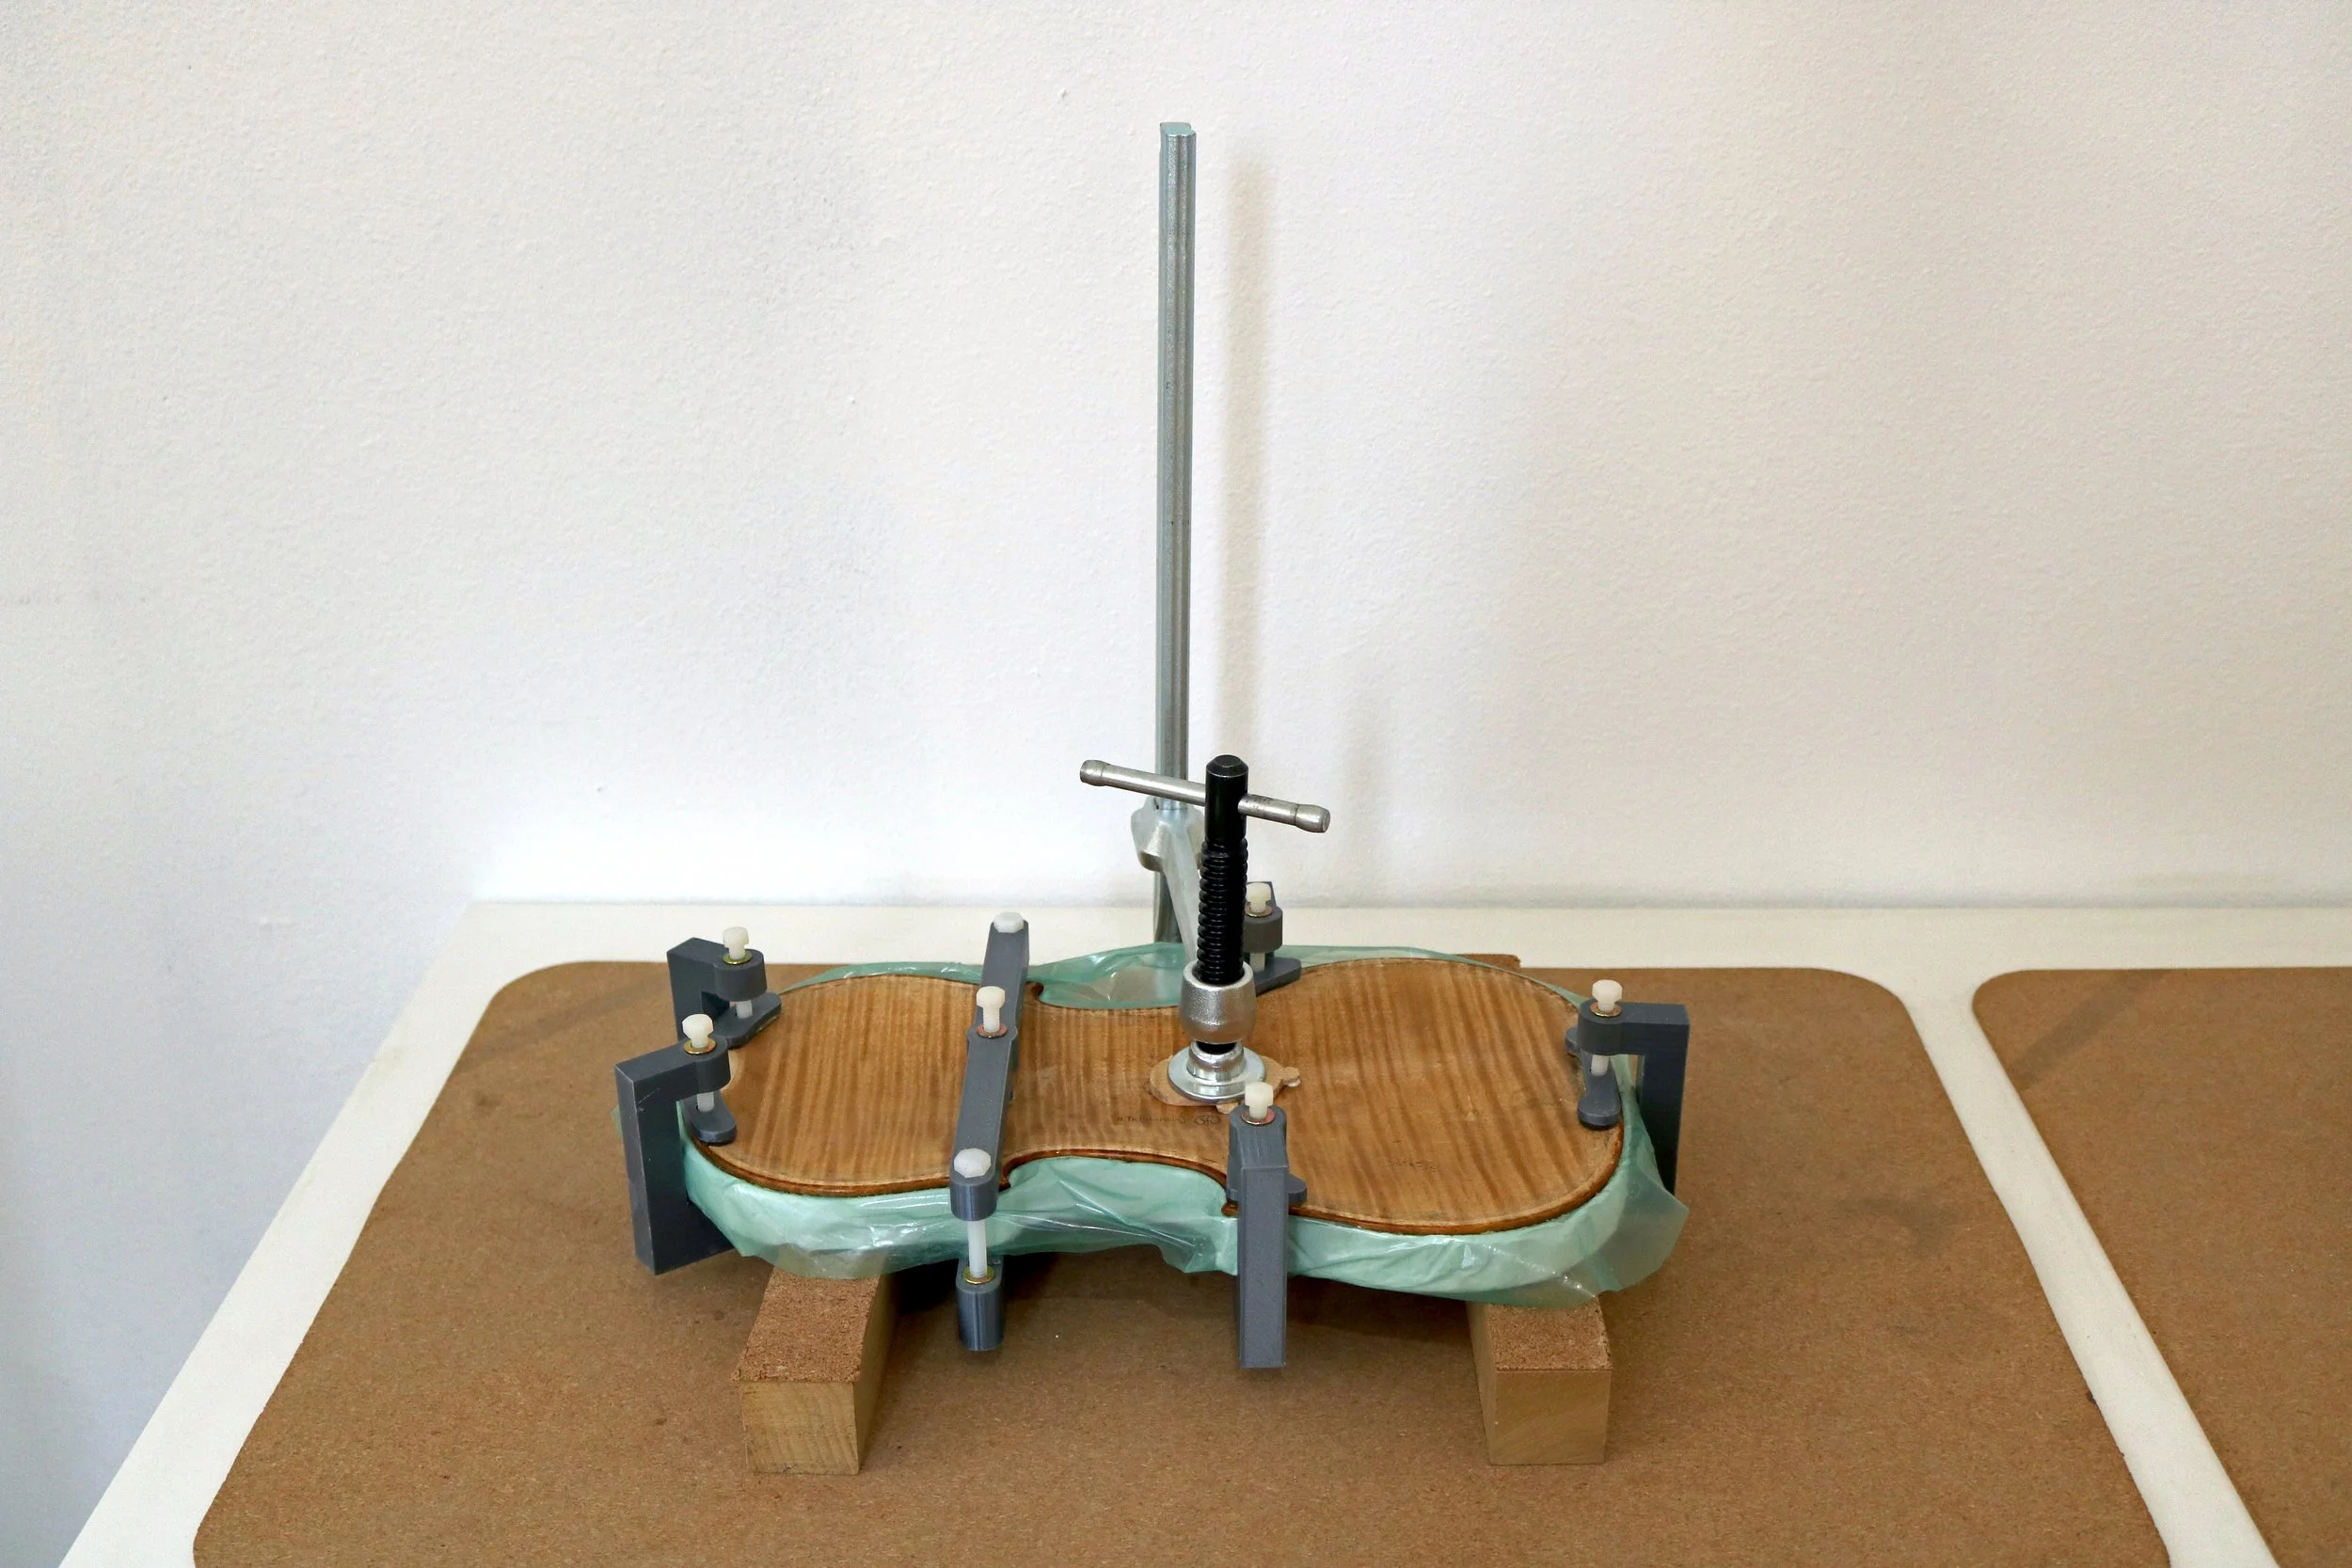
After two weeks, the clamp is removed.
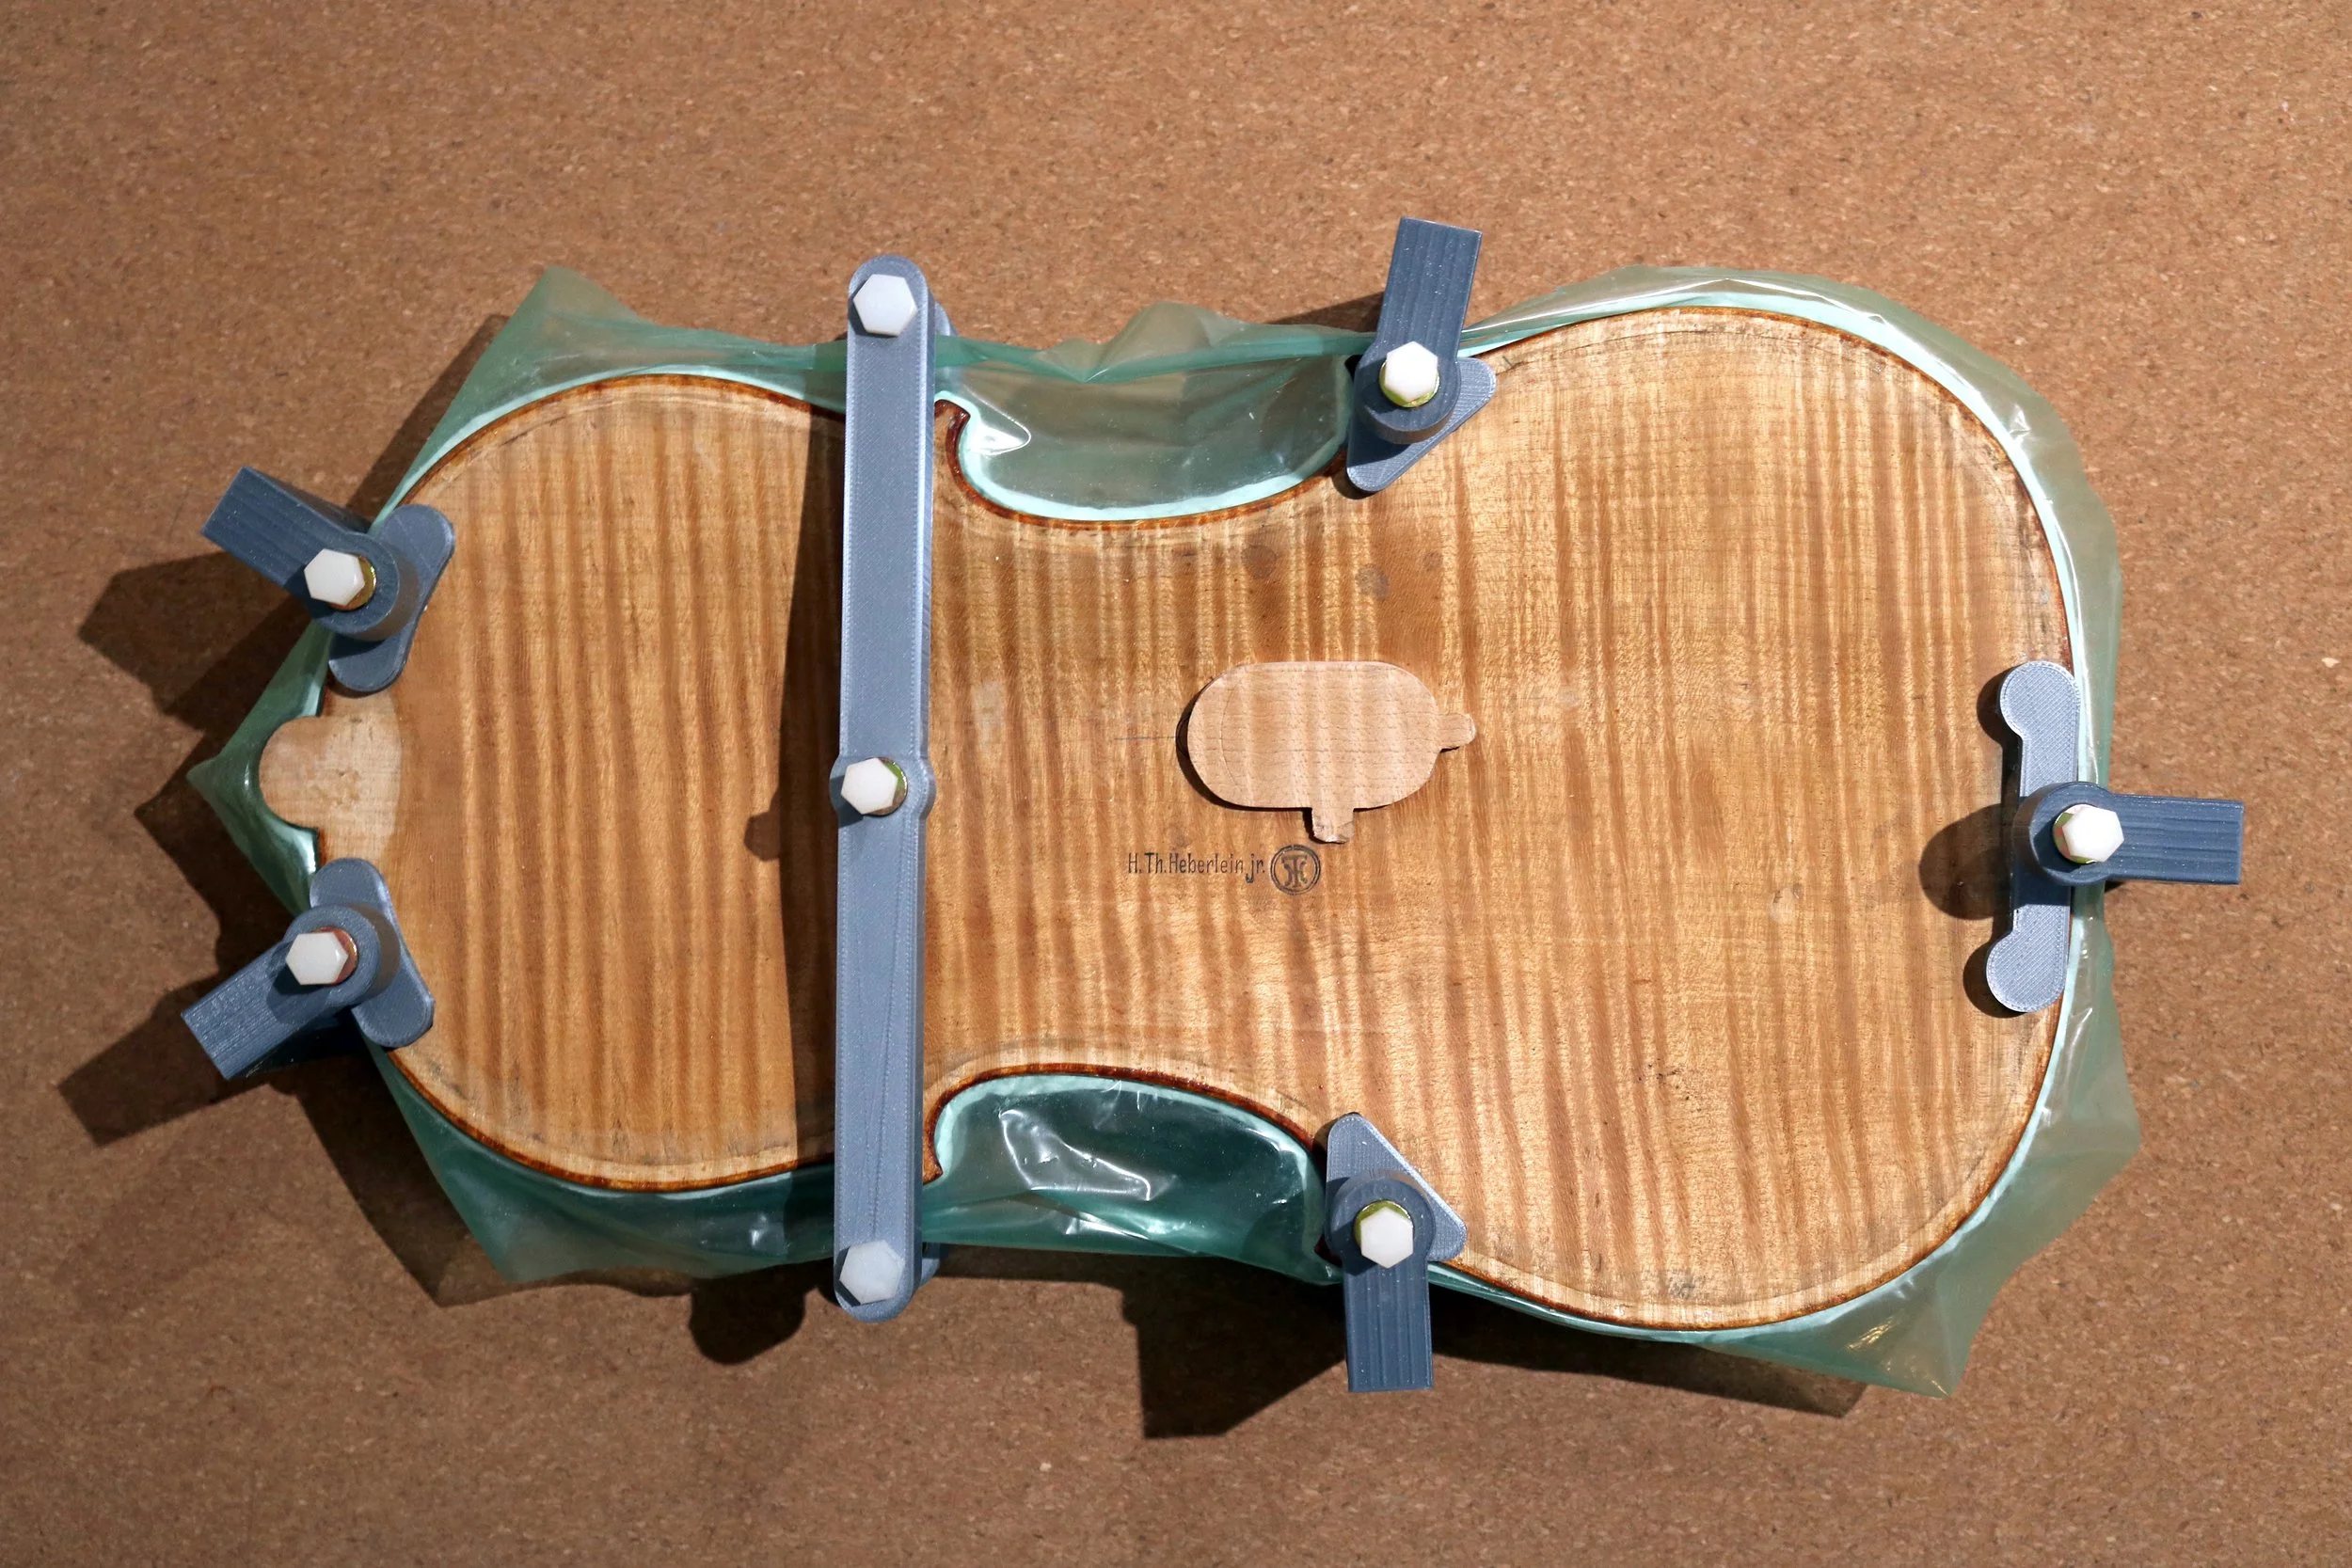
For the final shaping of the patch, we love using our Guardelli Graduation Tool.
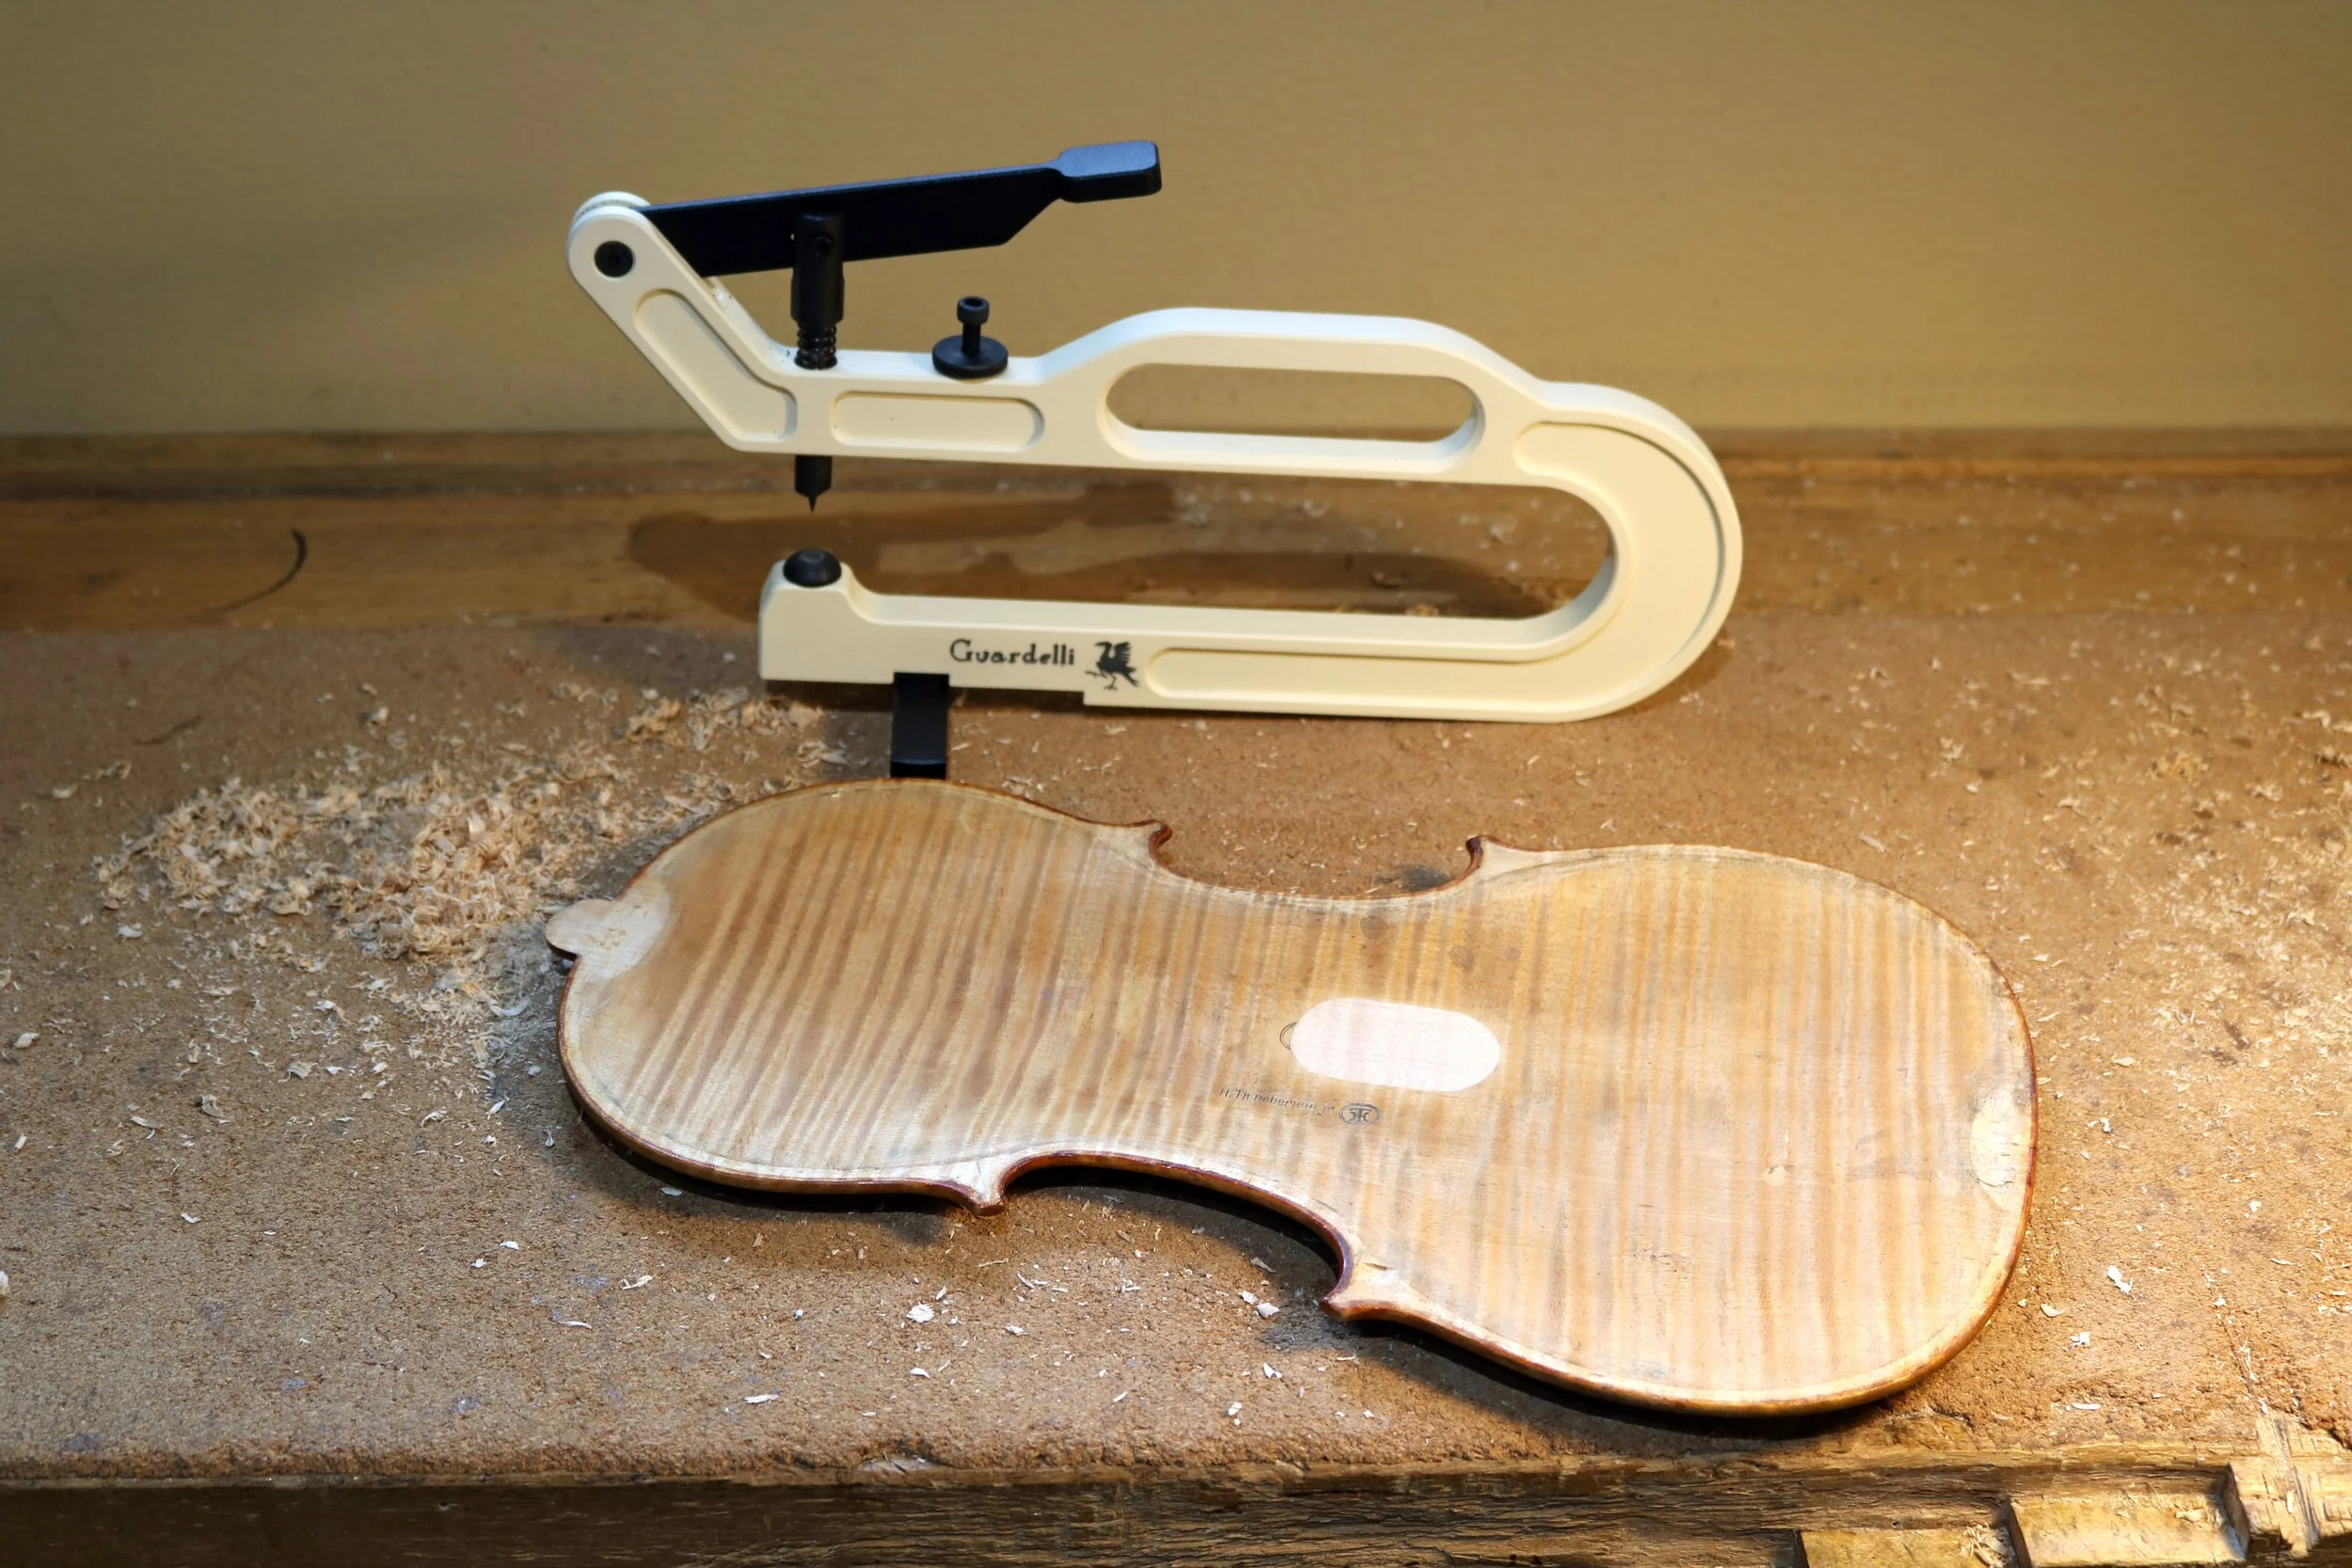
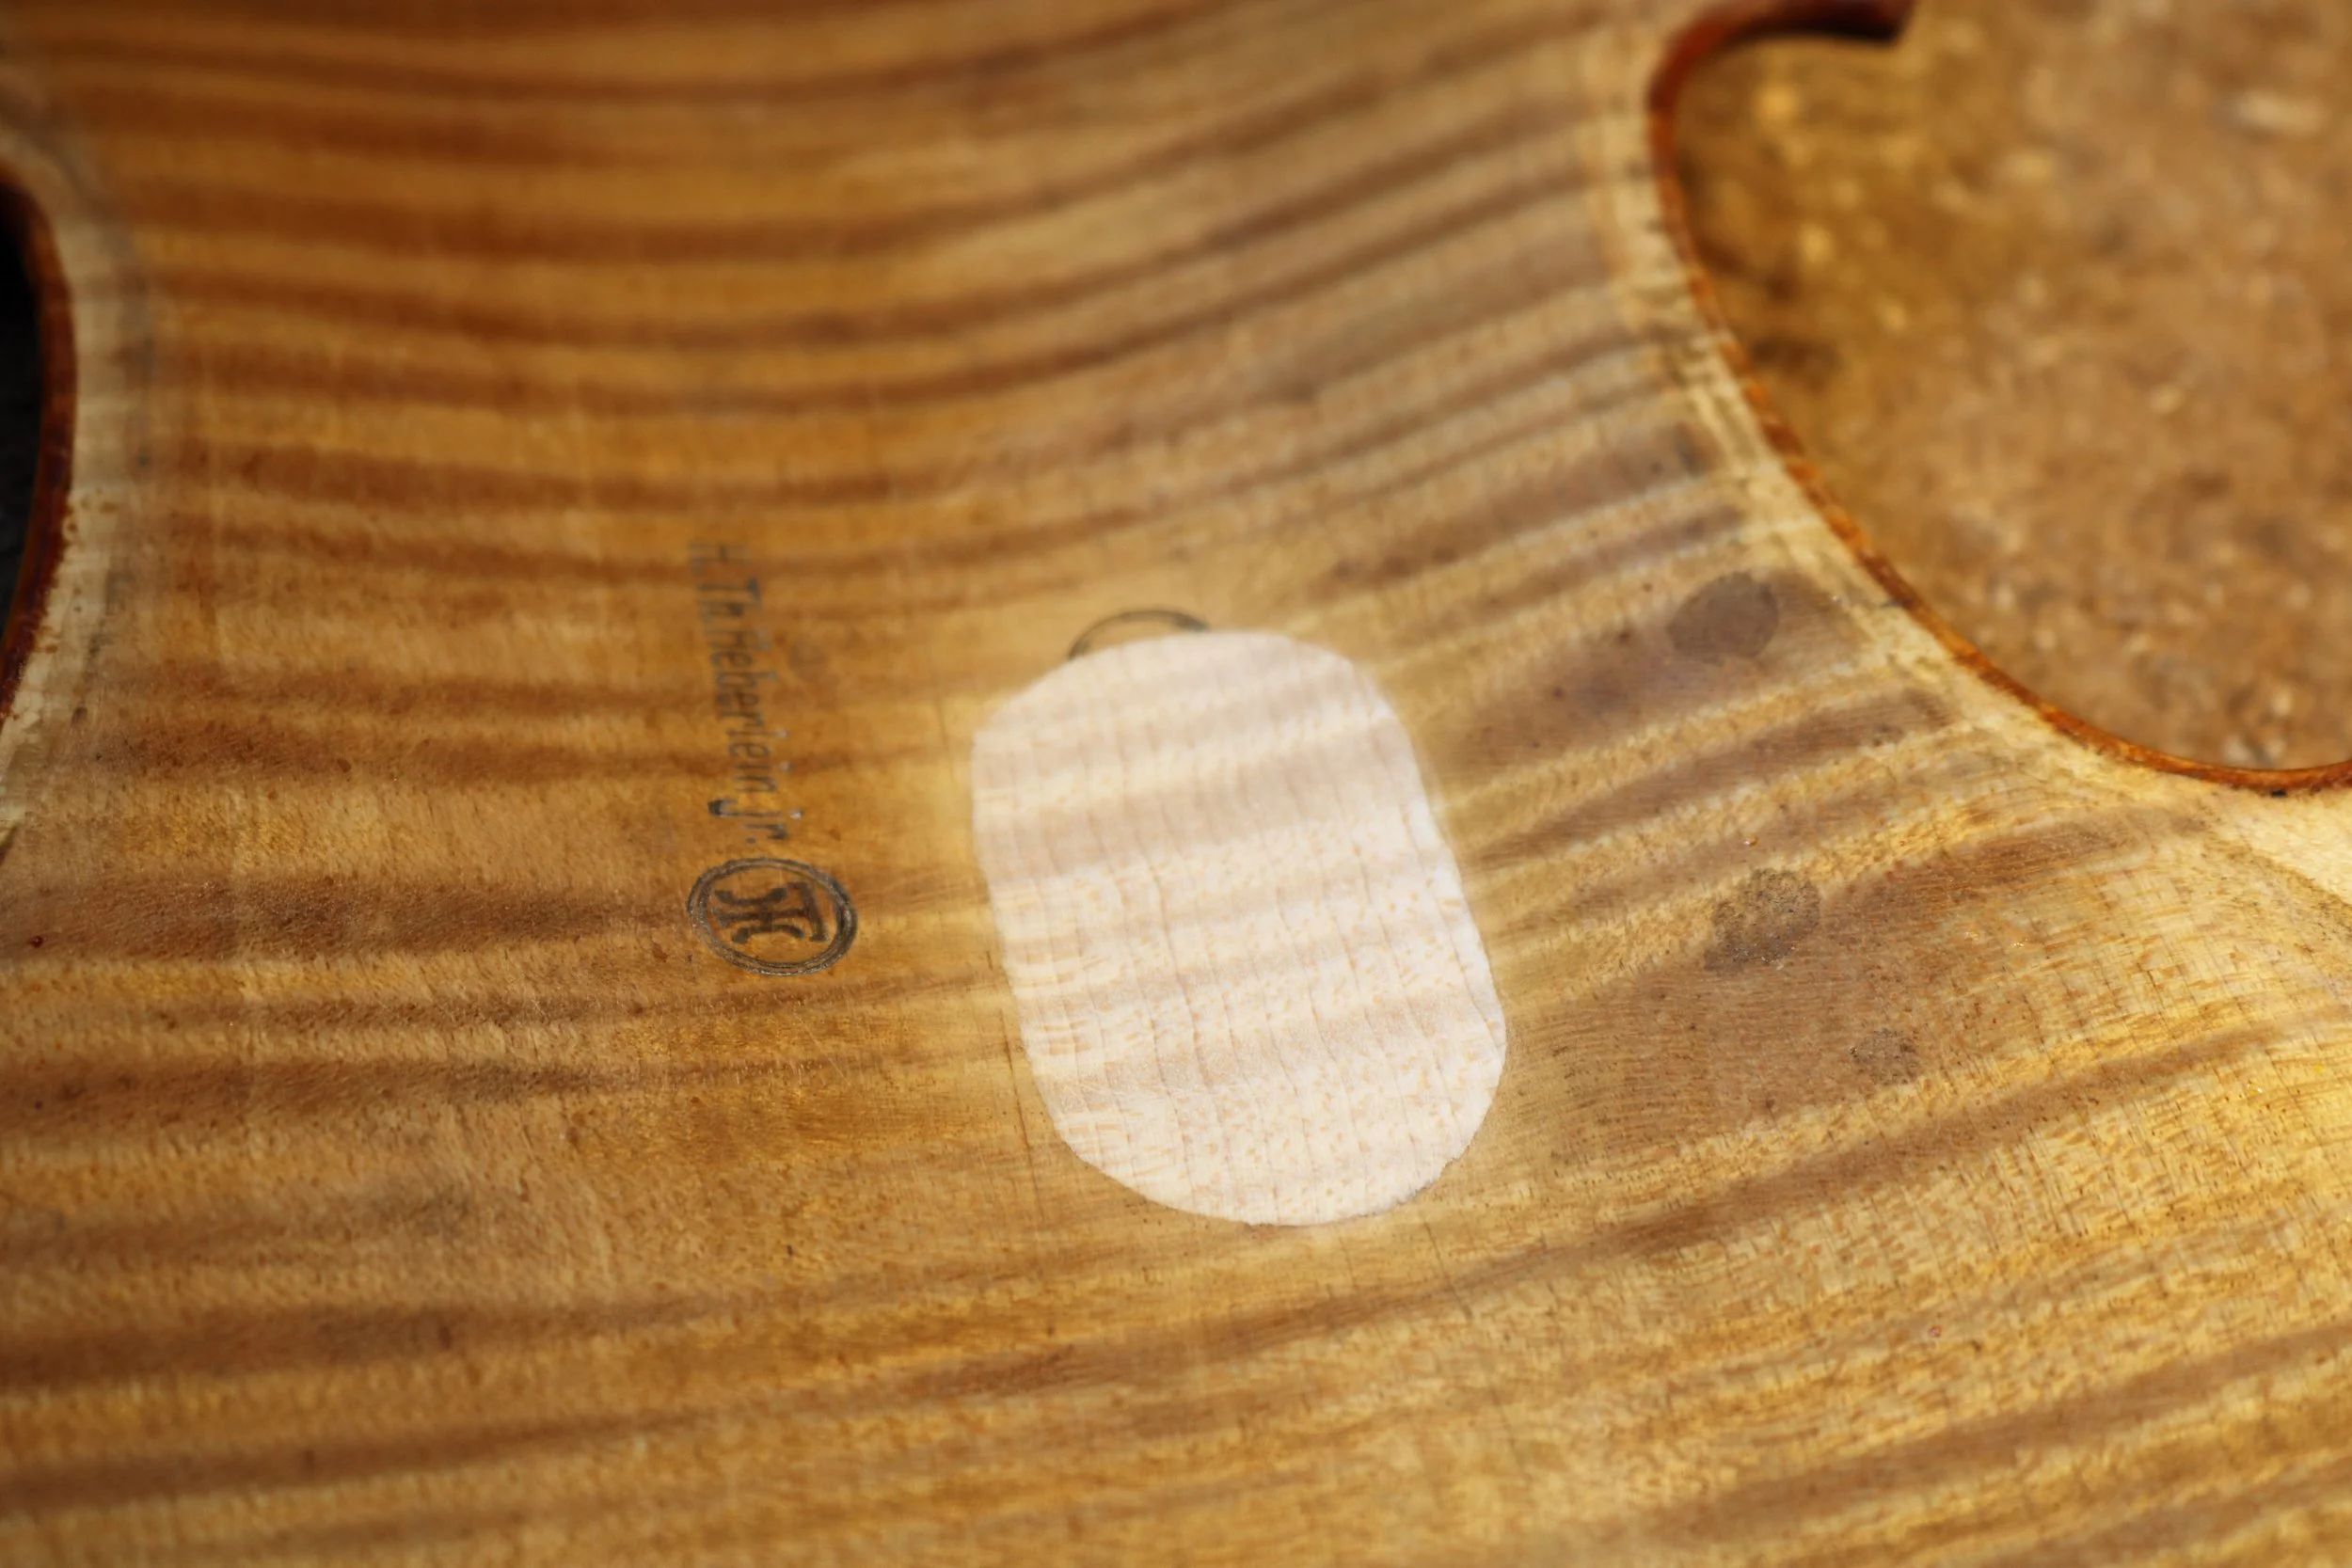
The patch, before cleating & wood treatment-
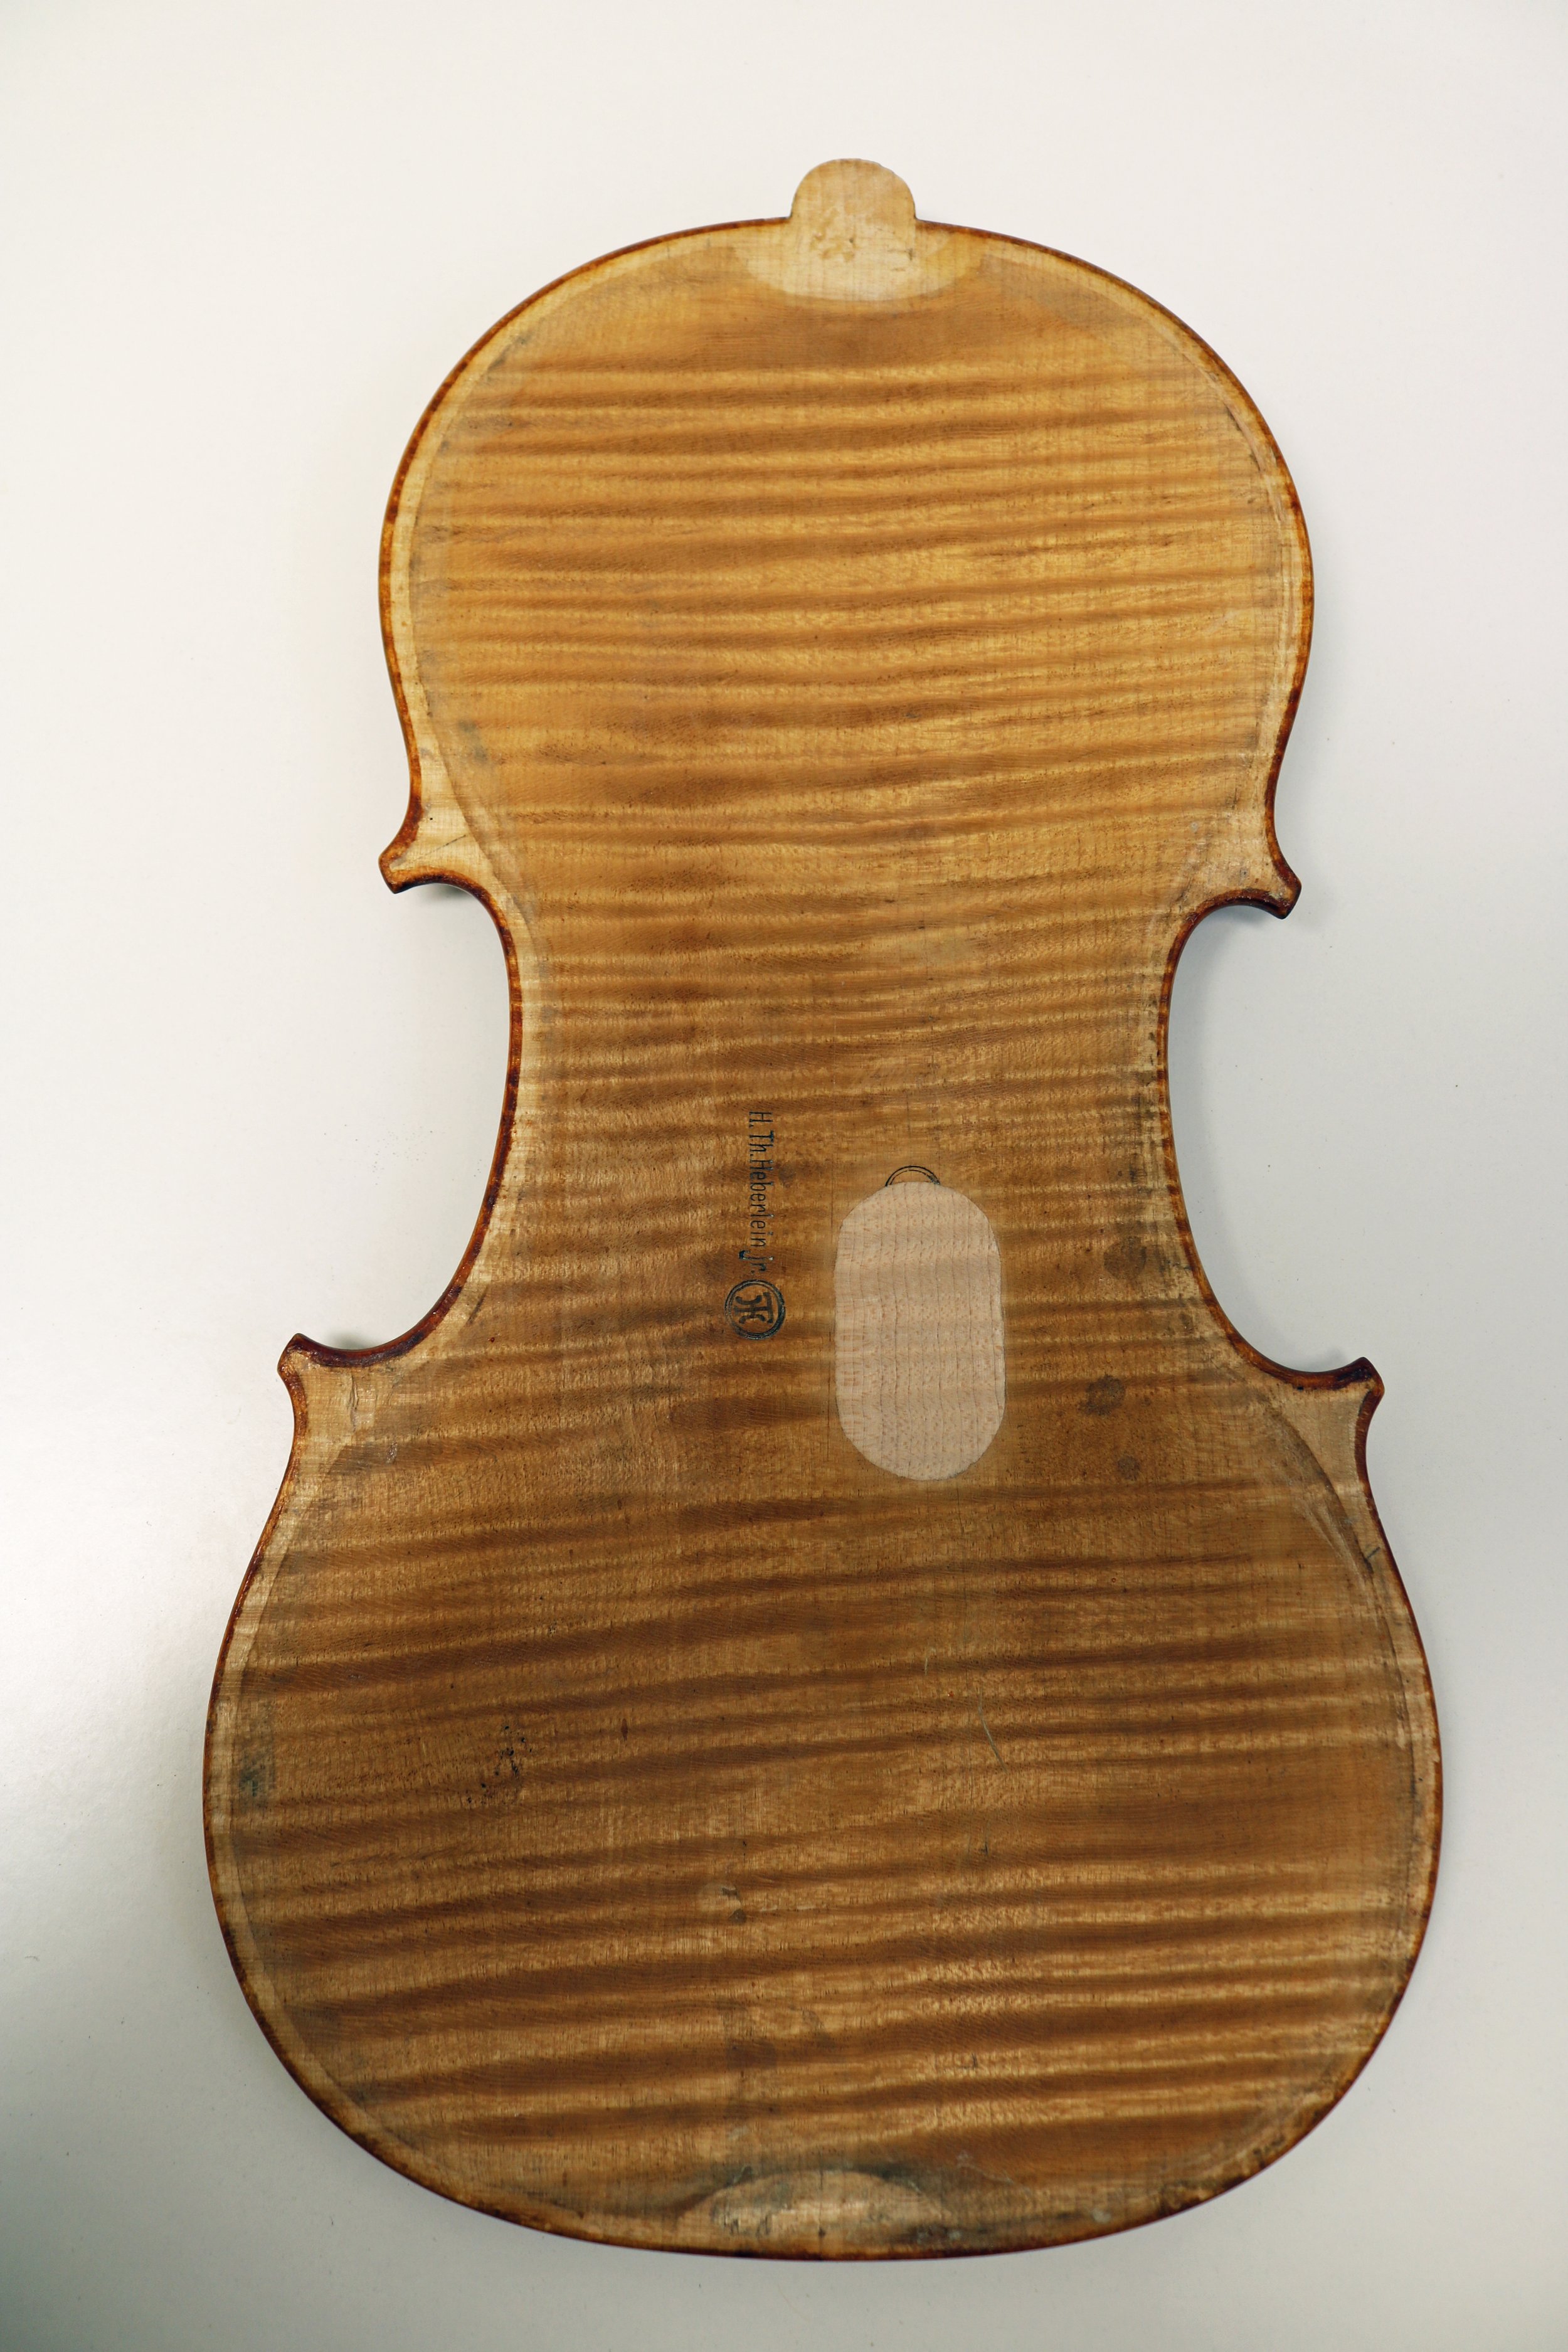
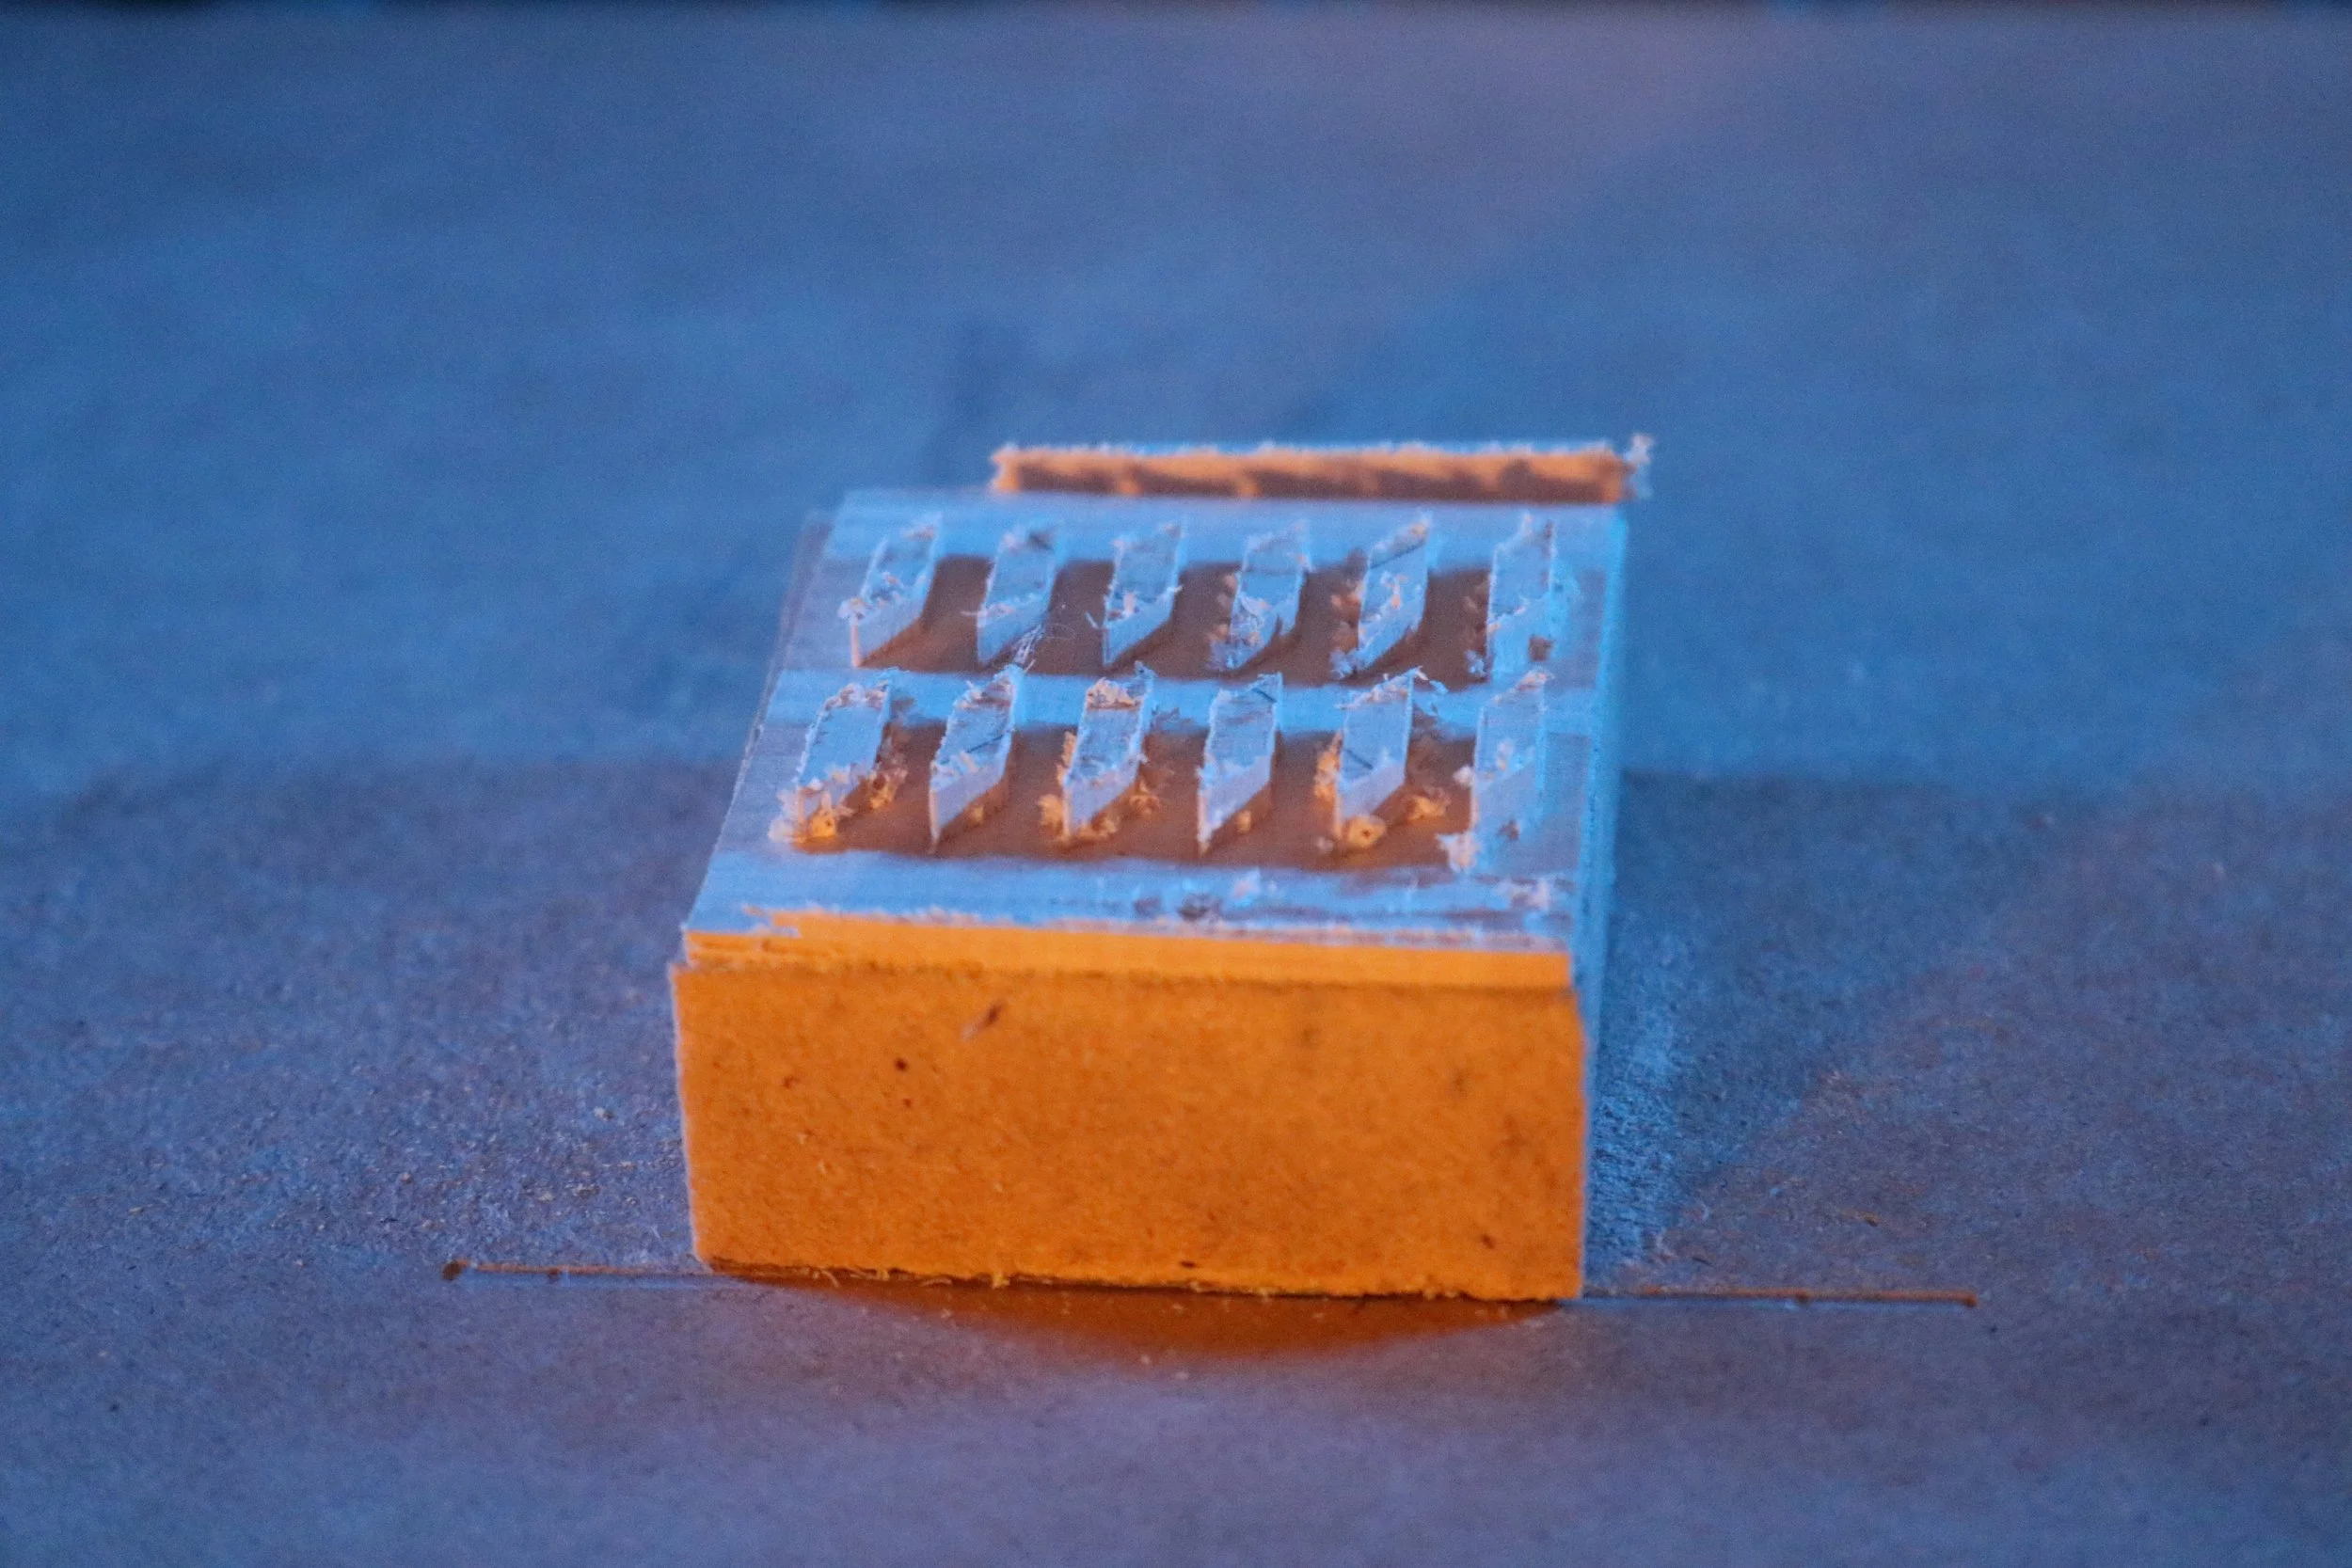
The CNC is used to again whip up a batch of identical cleats, this time maple.
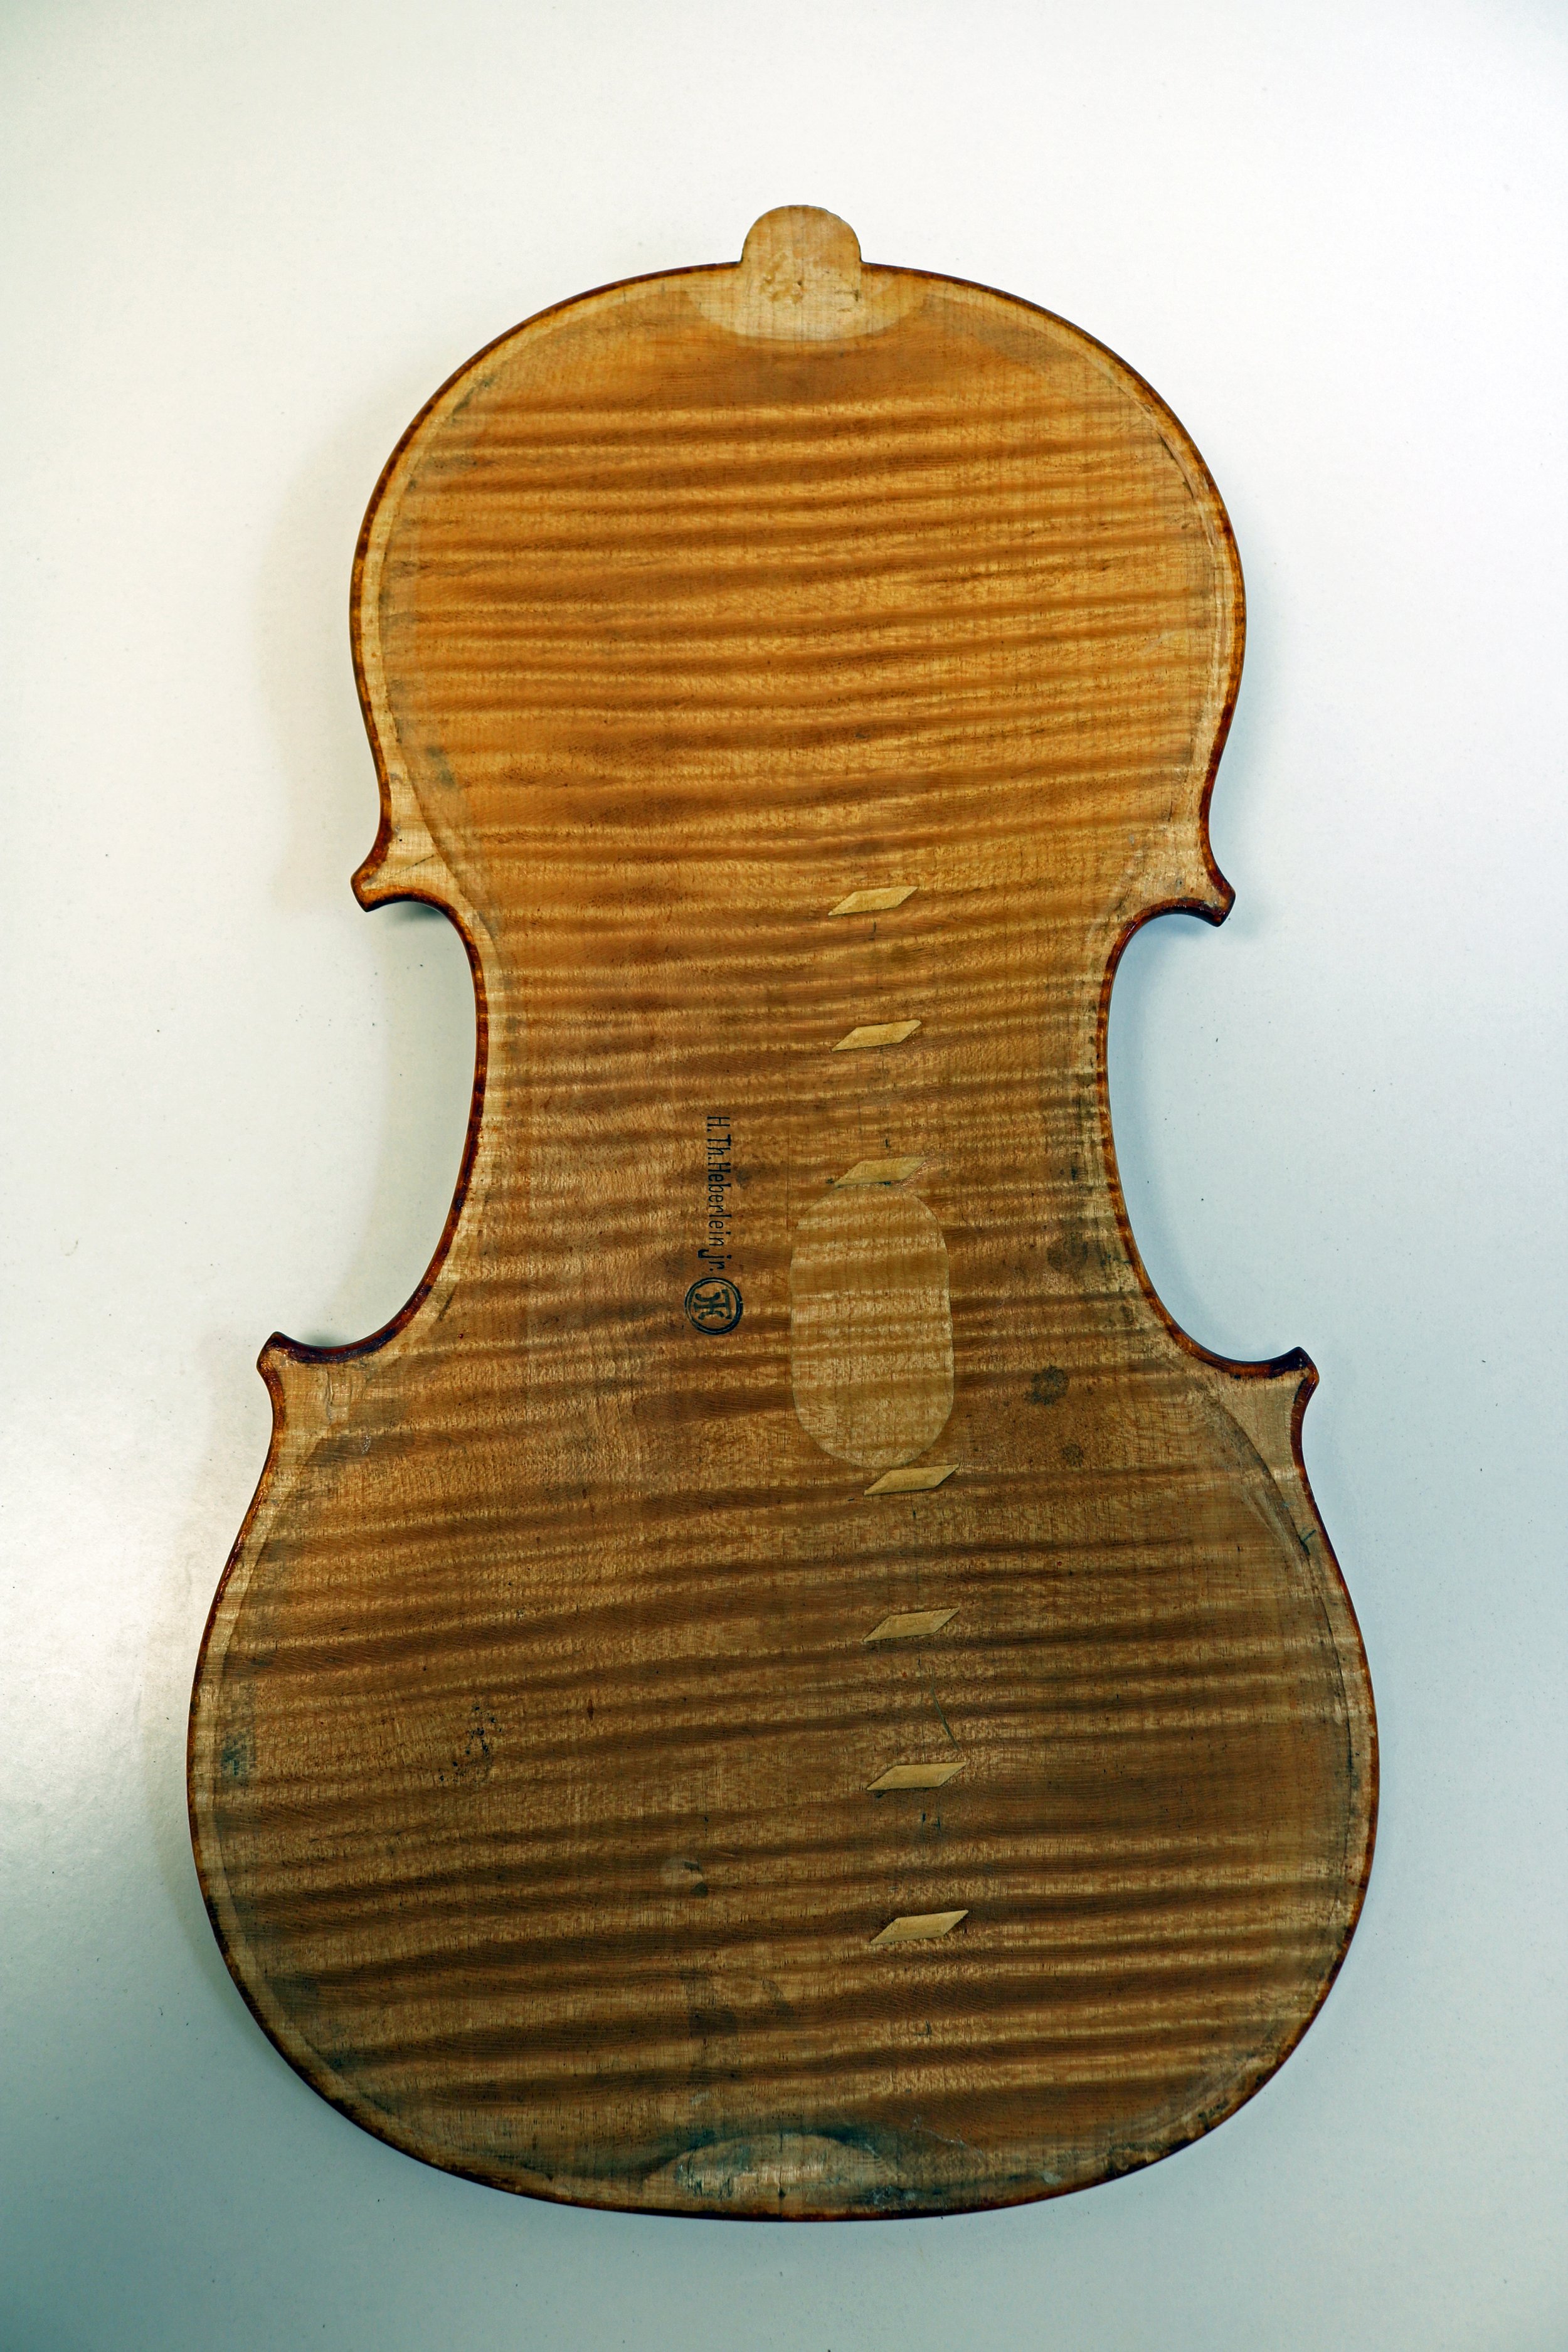
The finished back interior- some effort was made to match the flames.
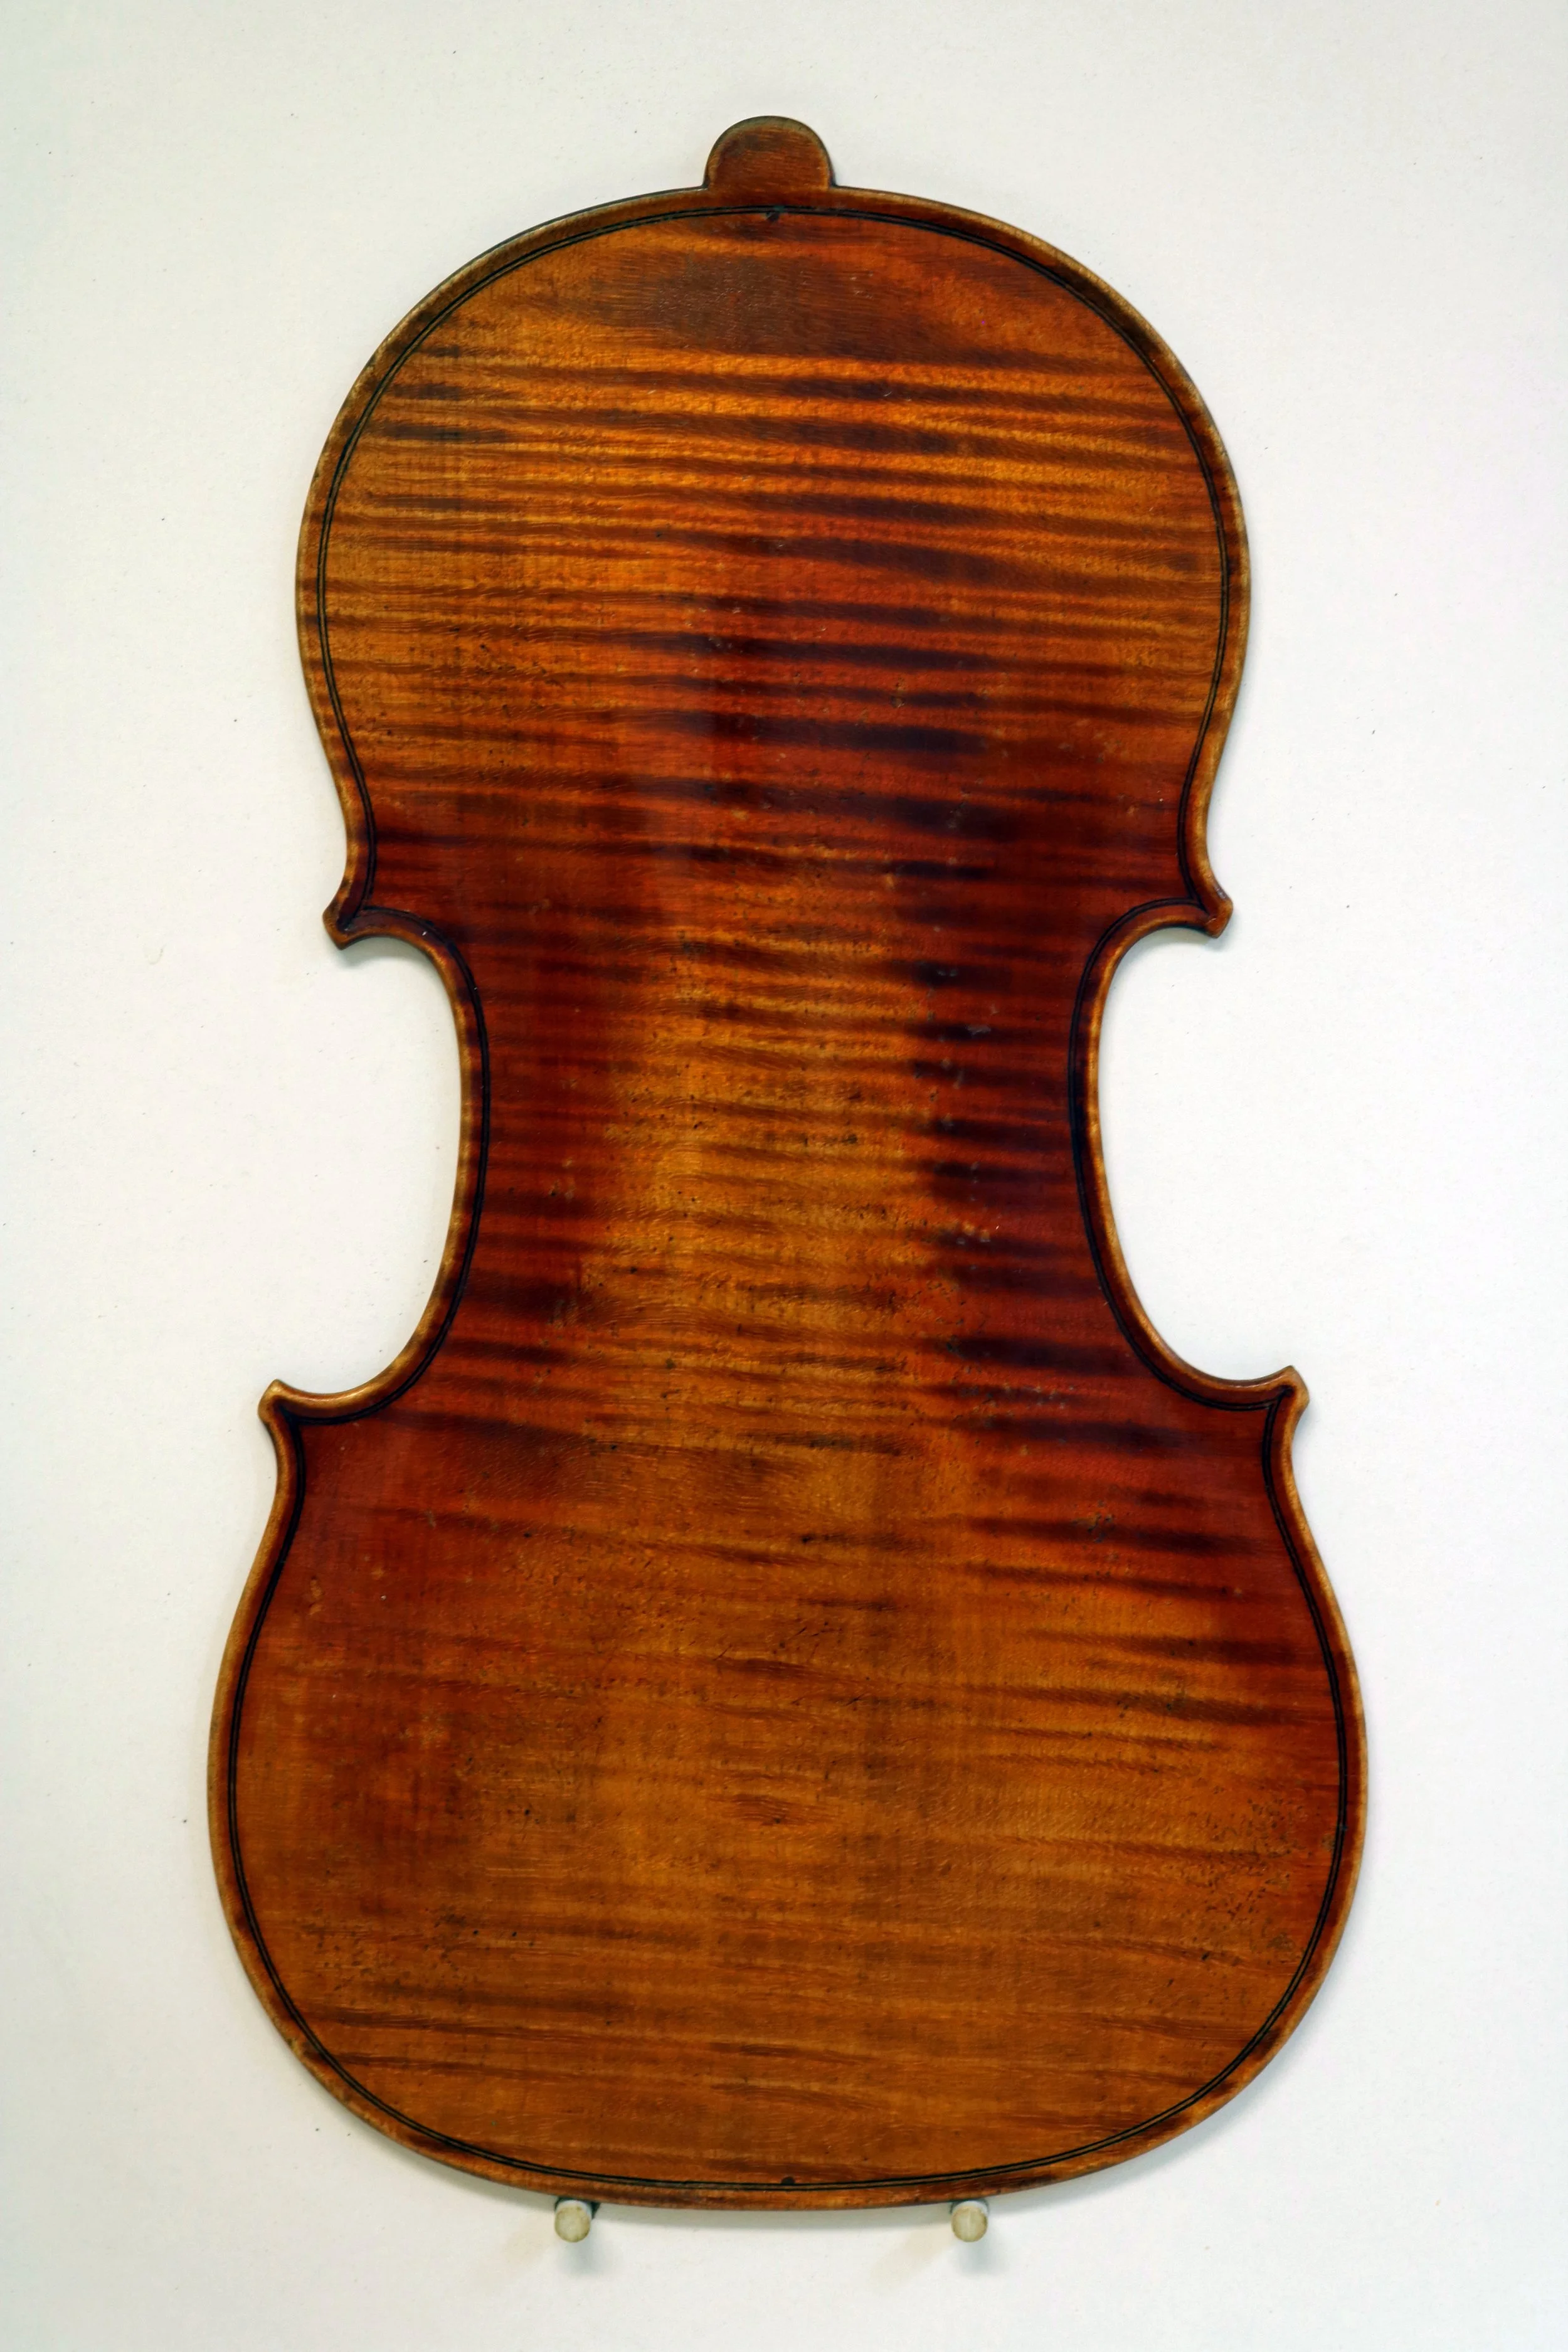
After a short session in the varnish room, the back exterior came out pretty good as well.
Thanks for viewing!