A Violin Button Graft
We recently completed the restoration of a very nice American violin.
This blog post shall highlight the work done to the back button area.
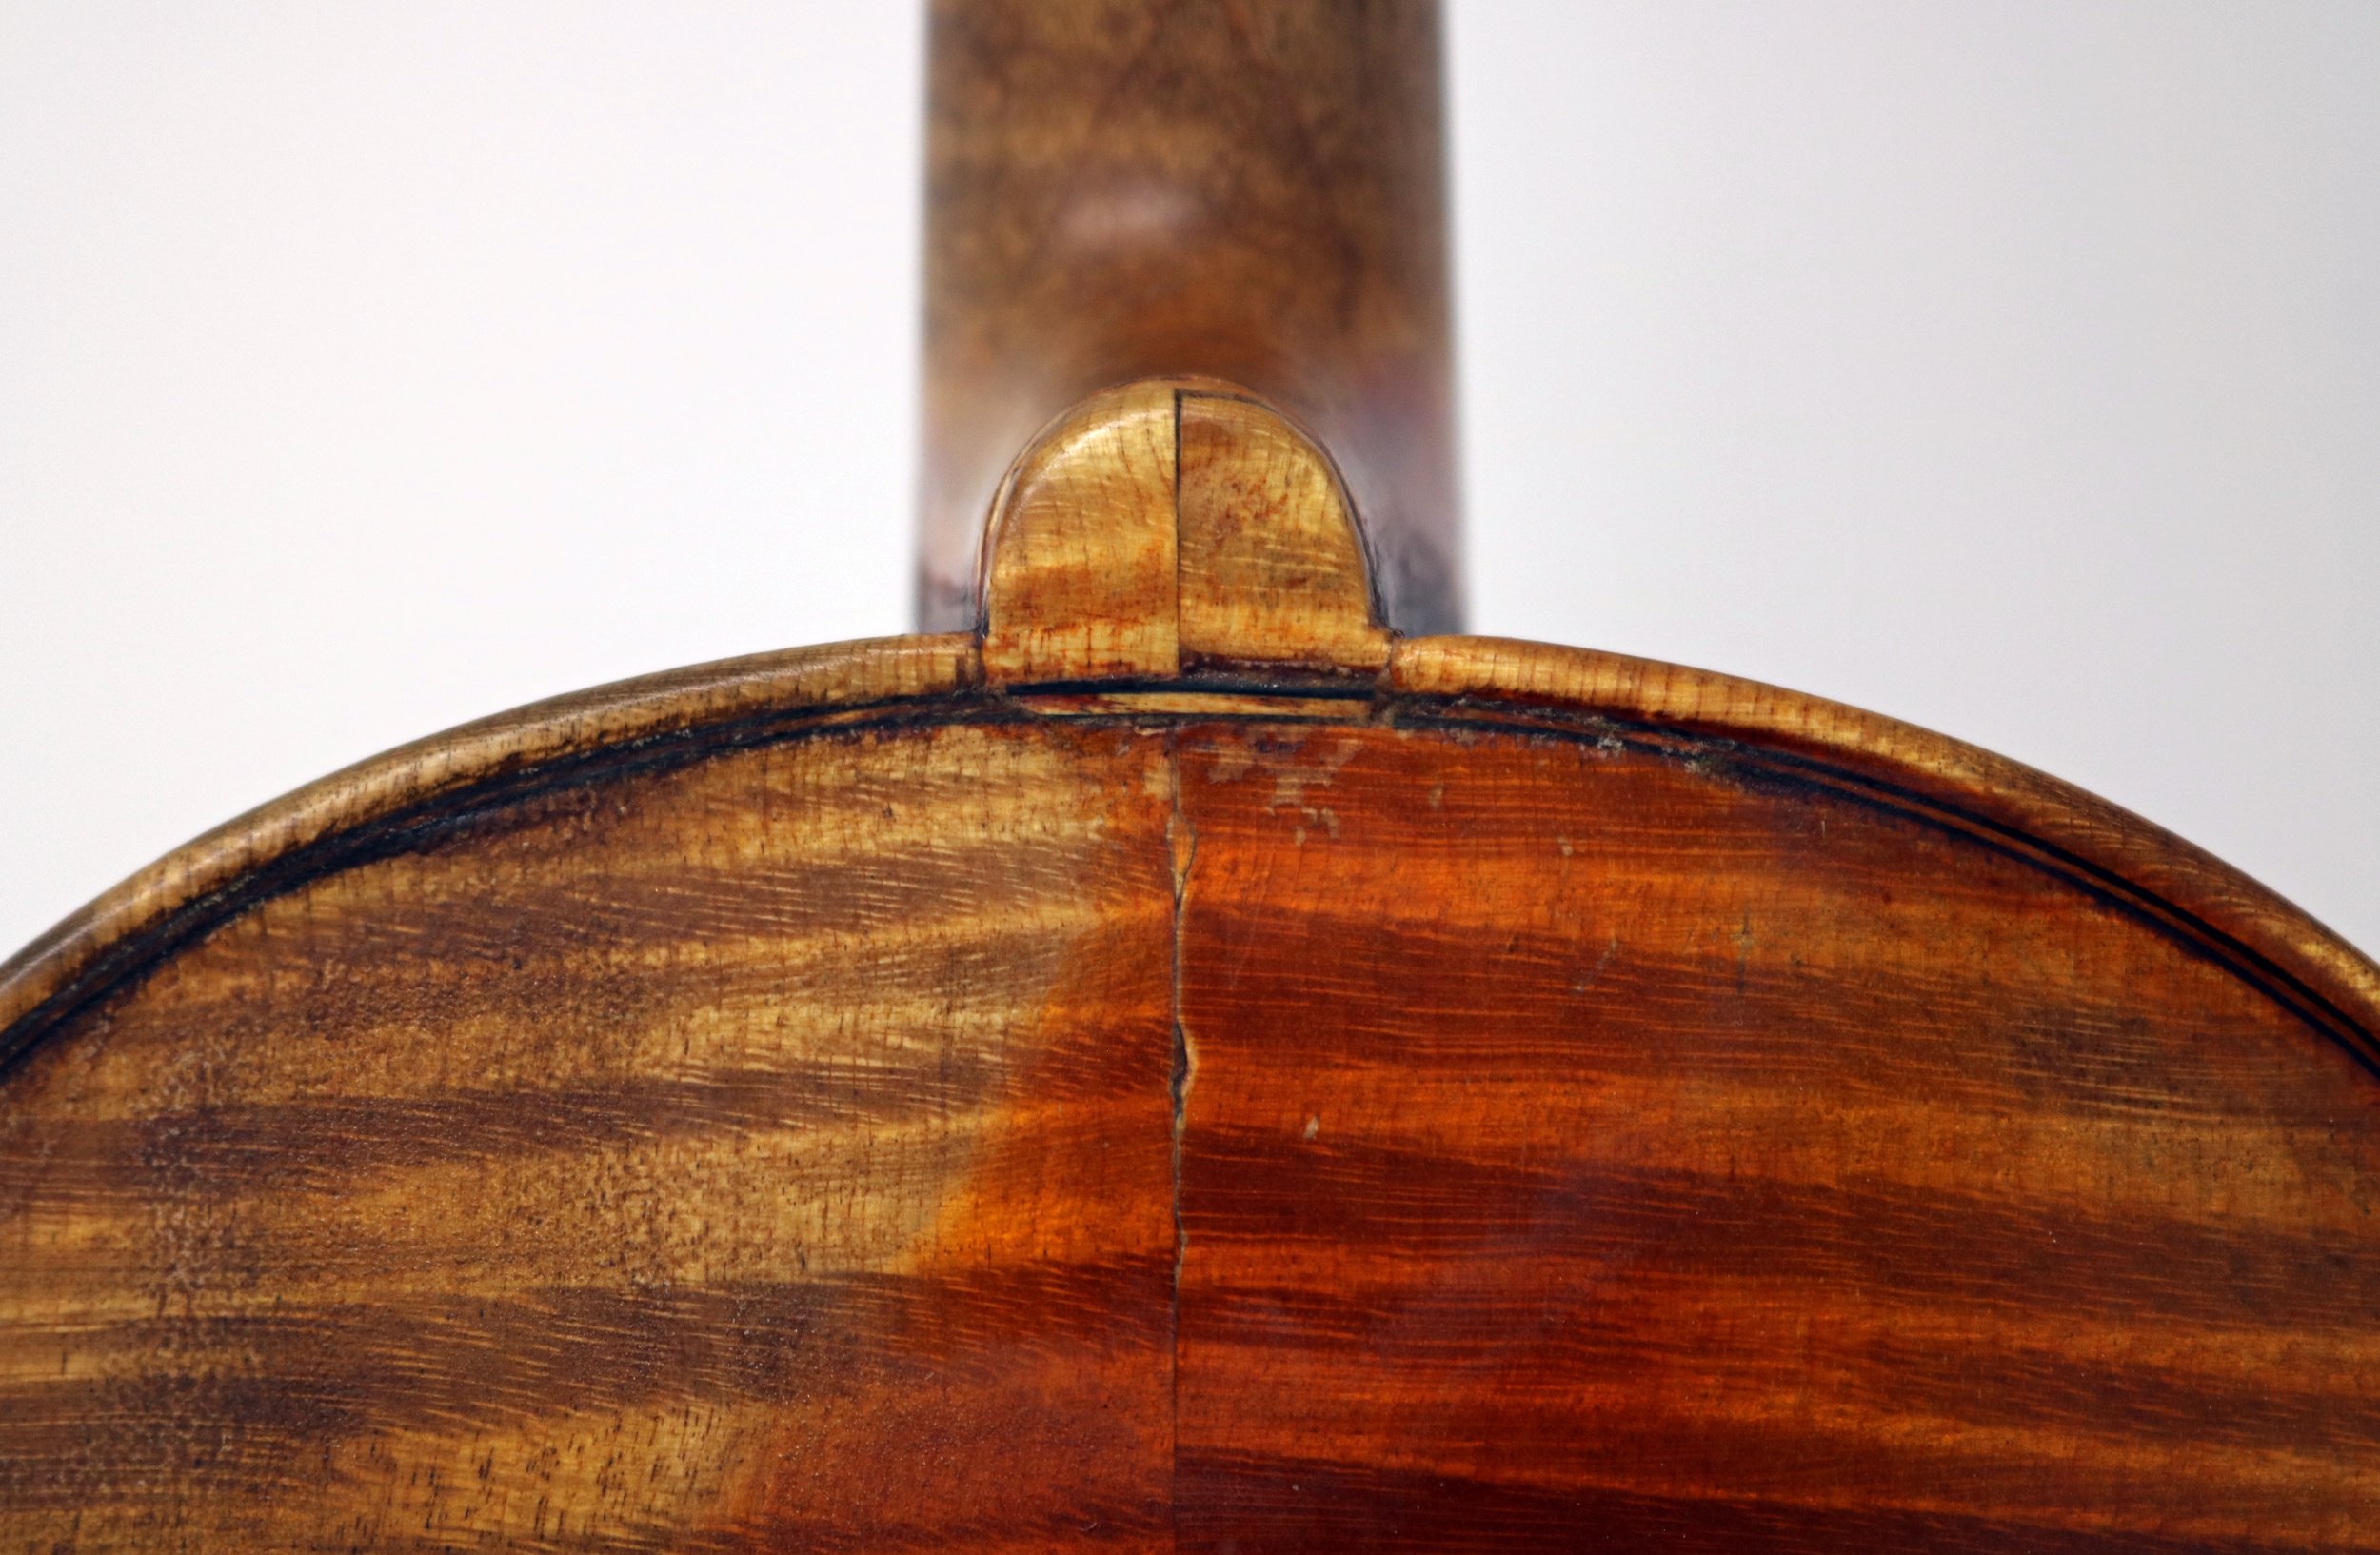
An ever-sinking neck projection was the result of a failing repair to the back button area and purfling.
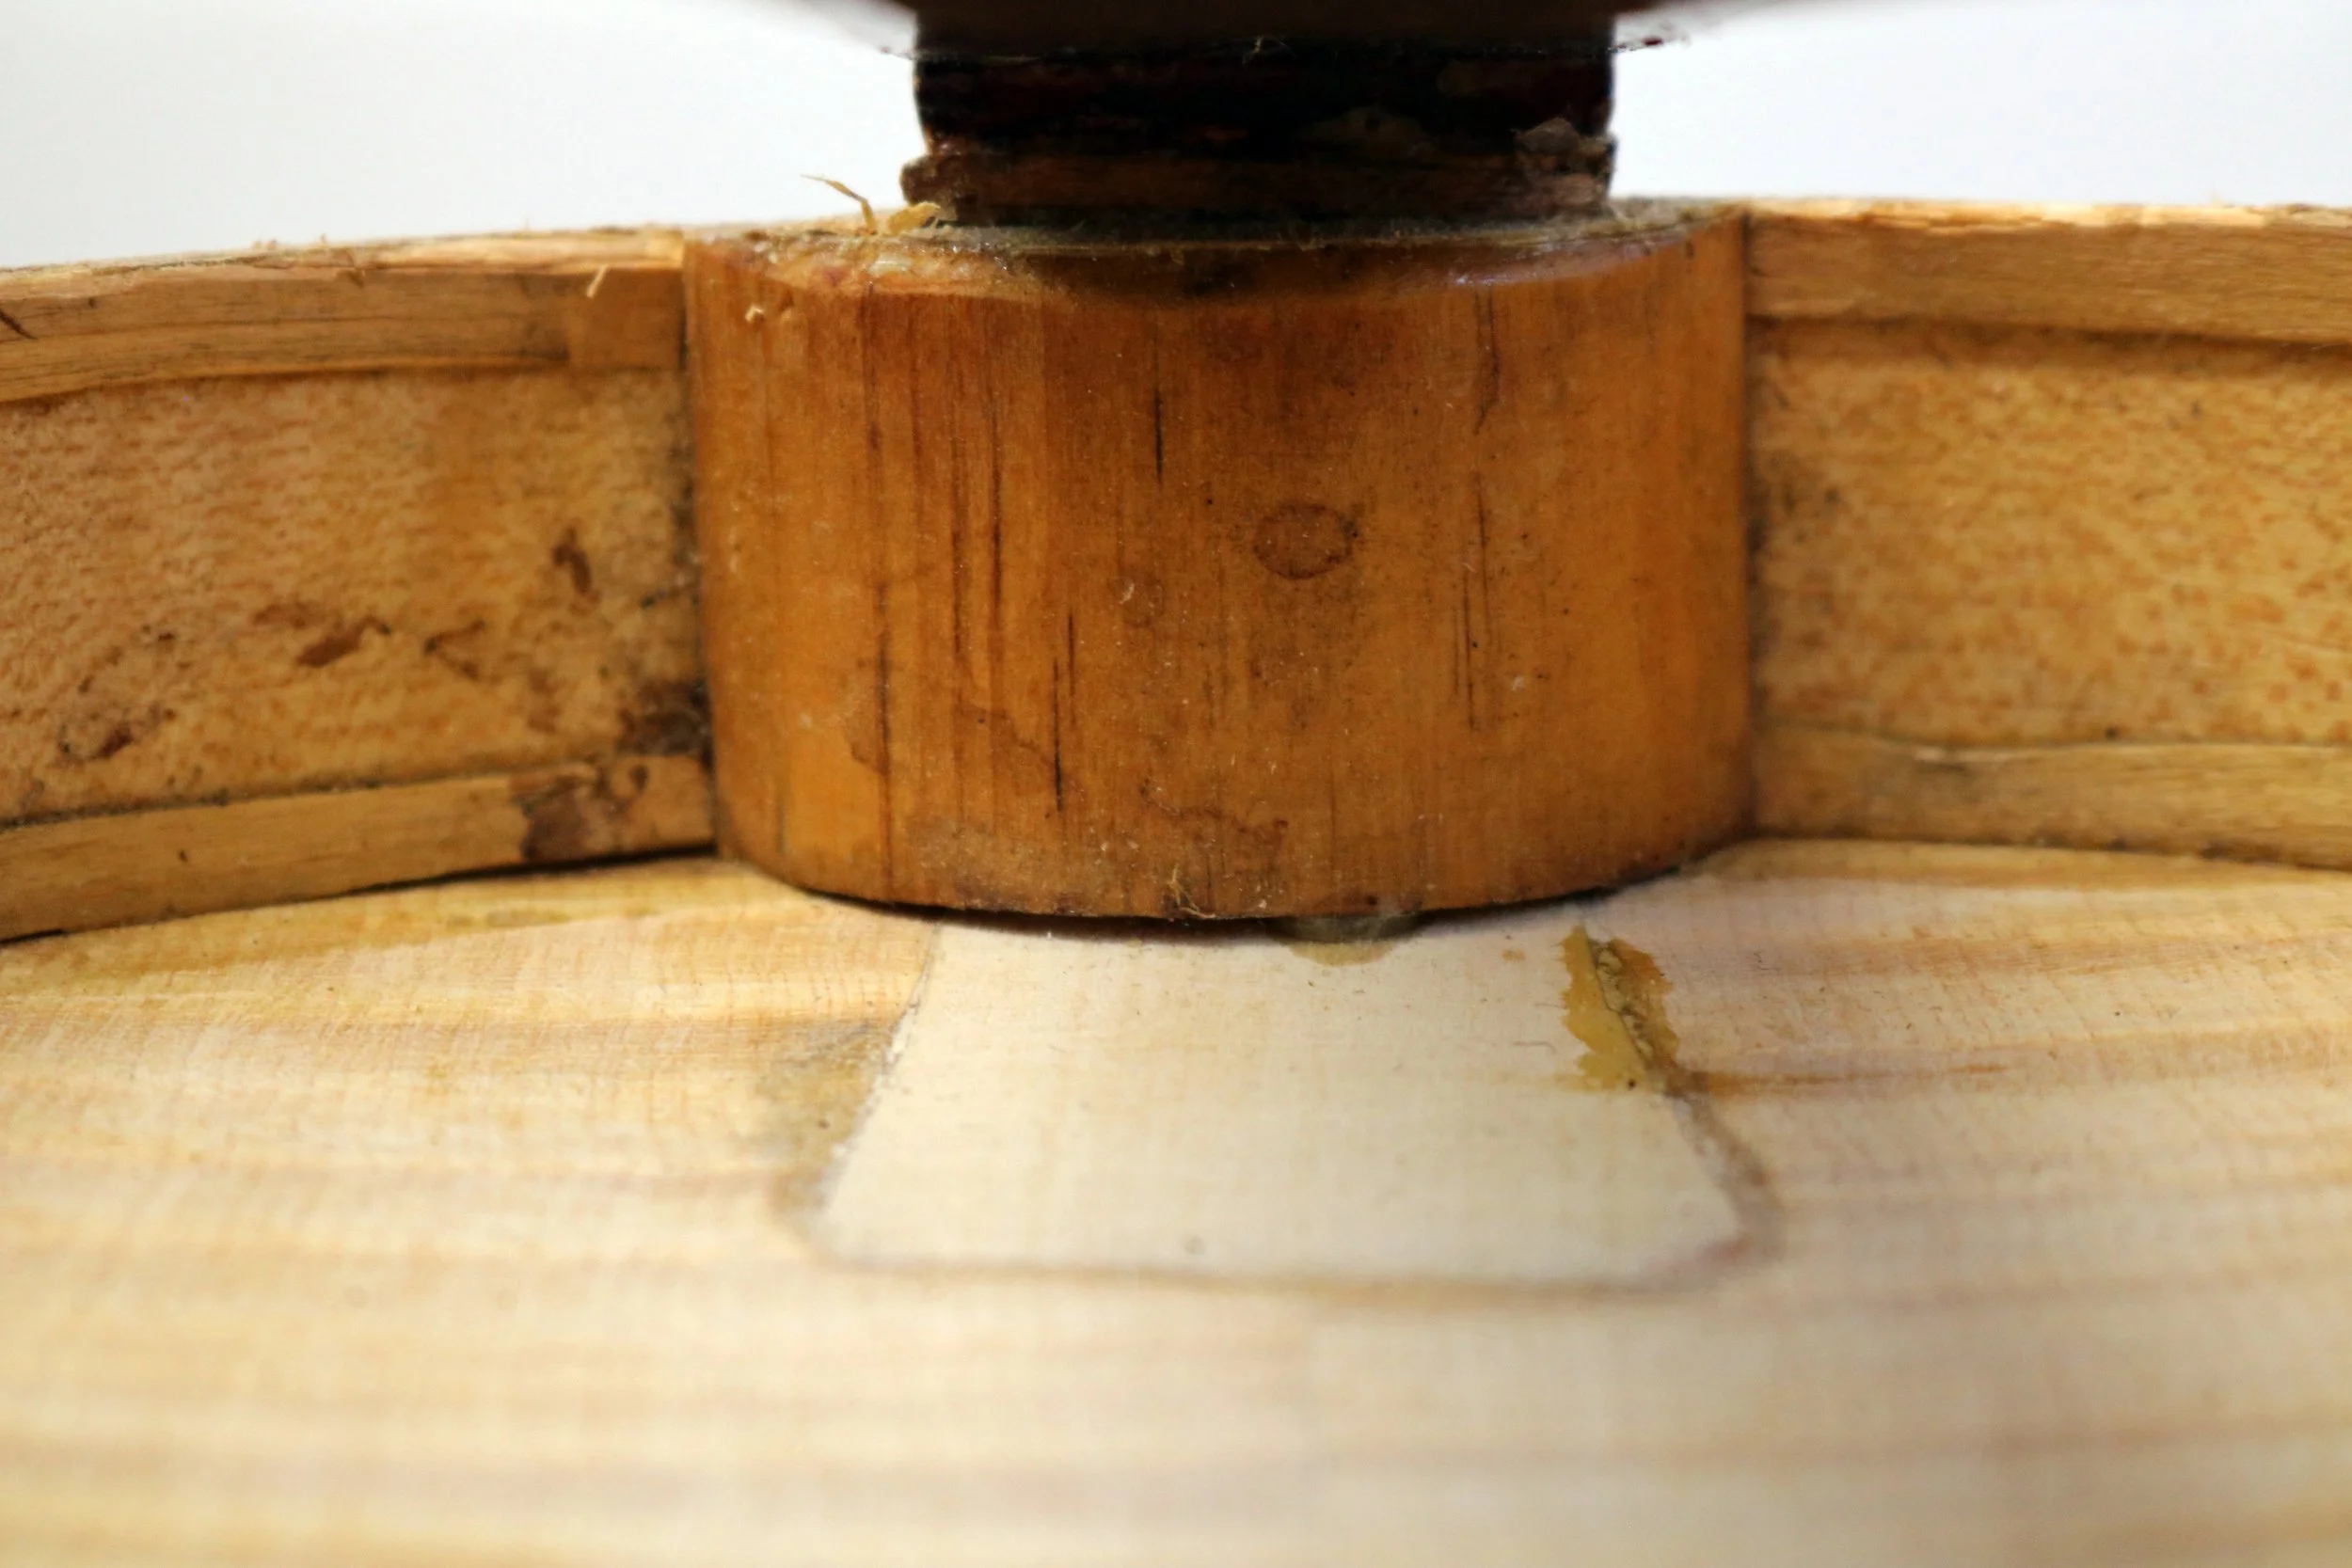
Upon removing the top we would find the upper block almost completely unglued from the back, placed over a large and unstable patch.
A patch of most unfortunate dimensions.
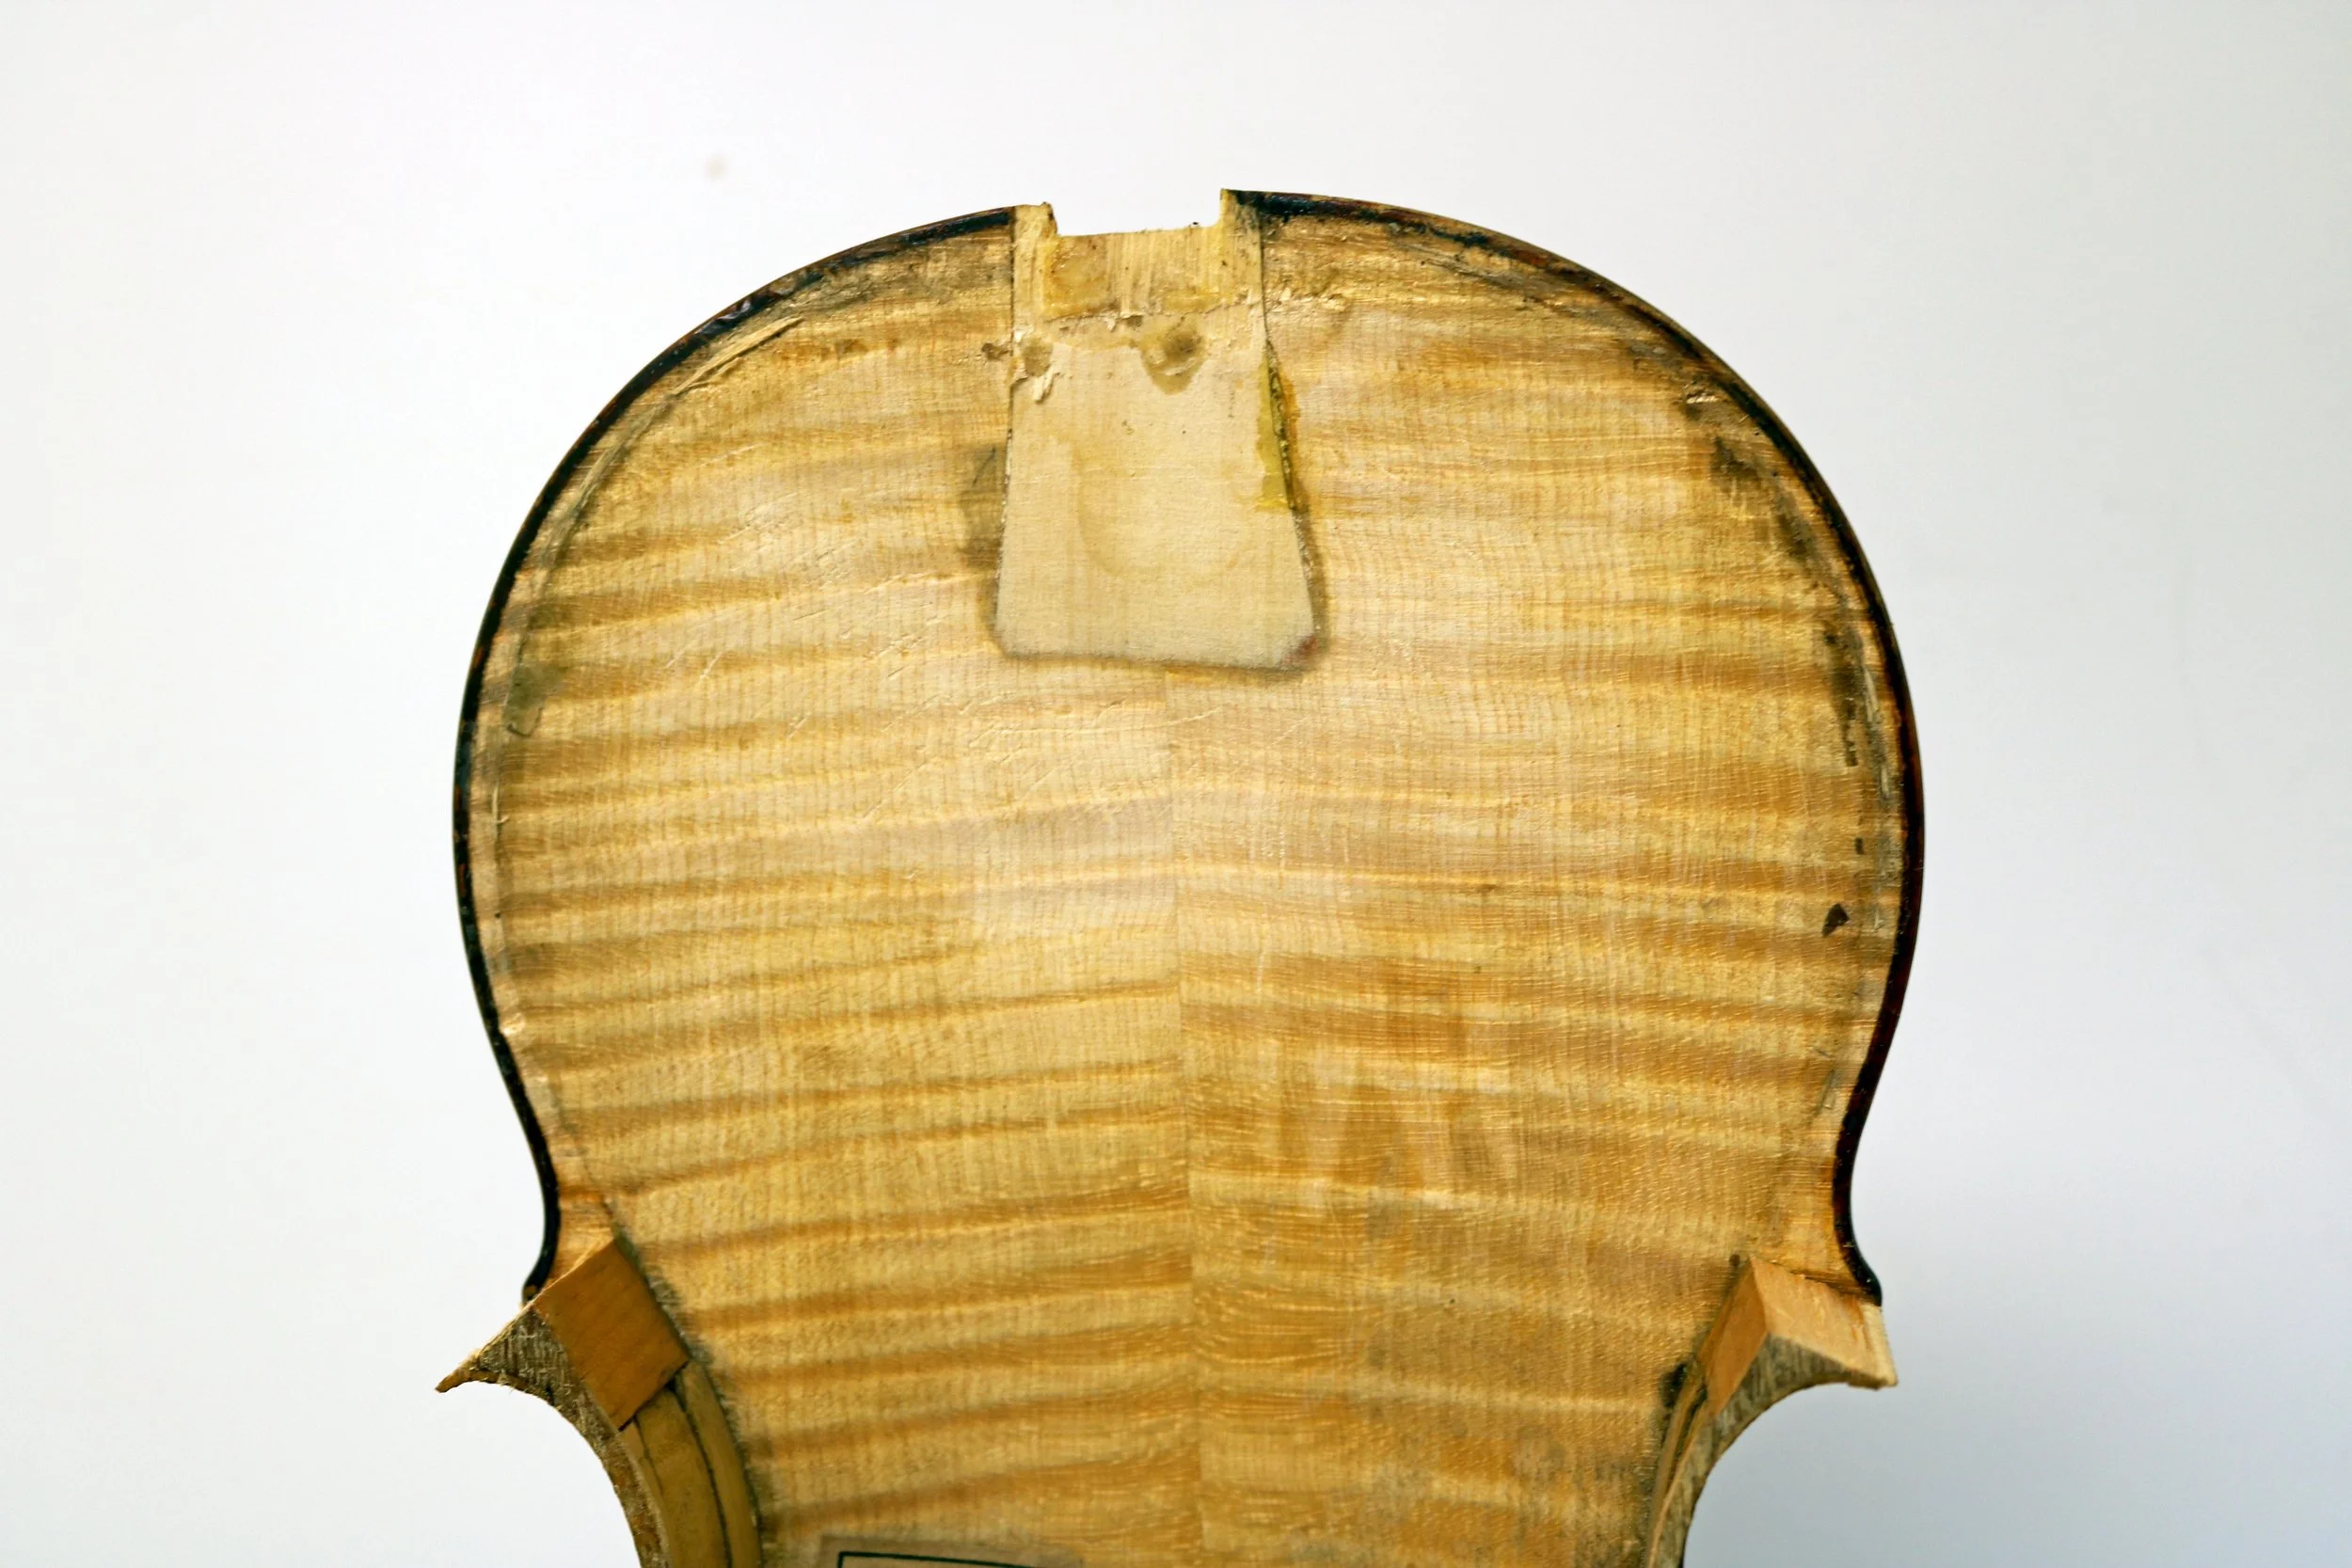
We would begin by making a partial plaster cast of the back button area.
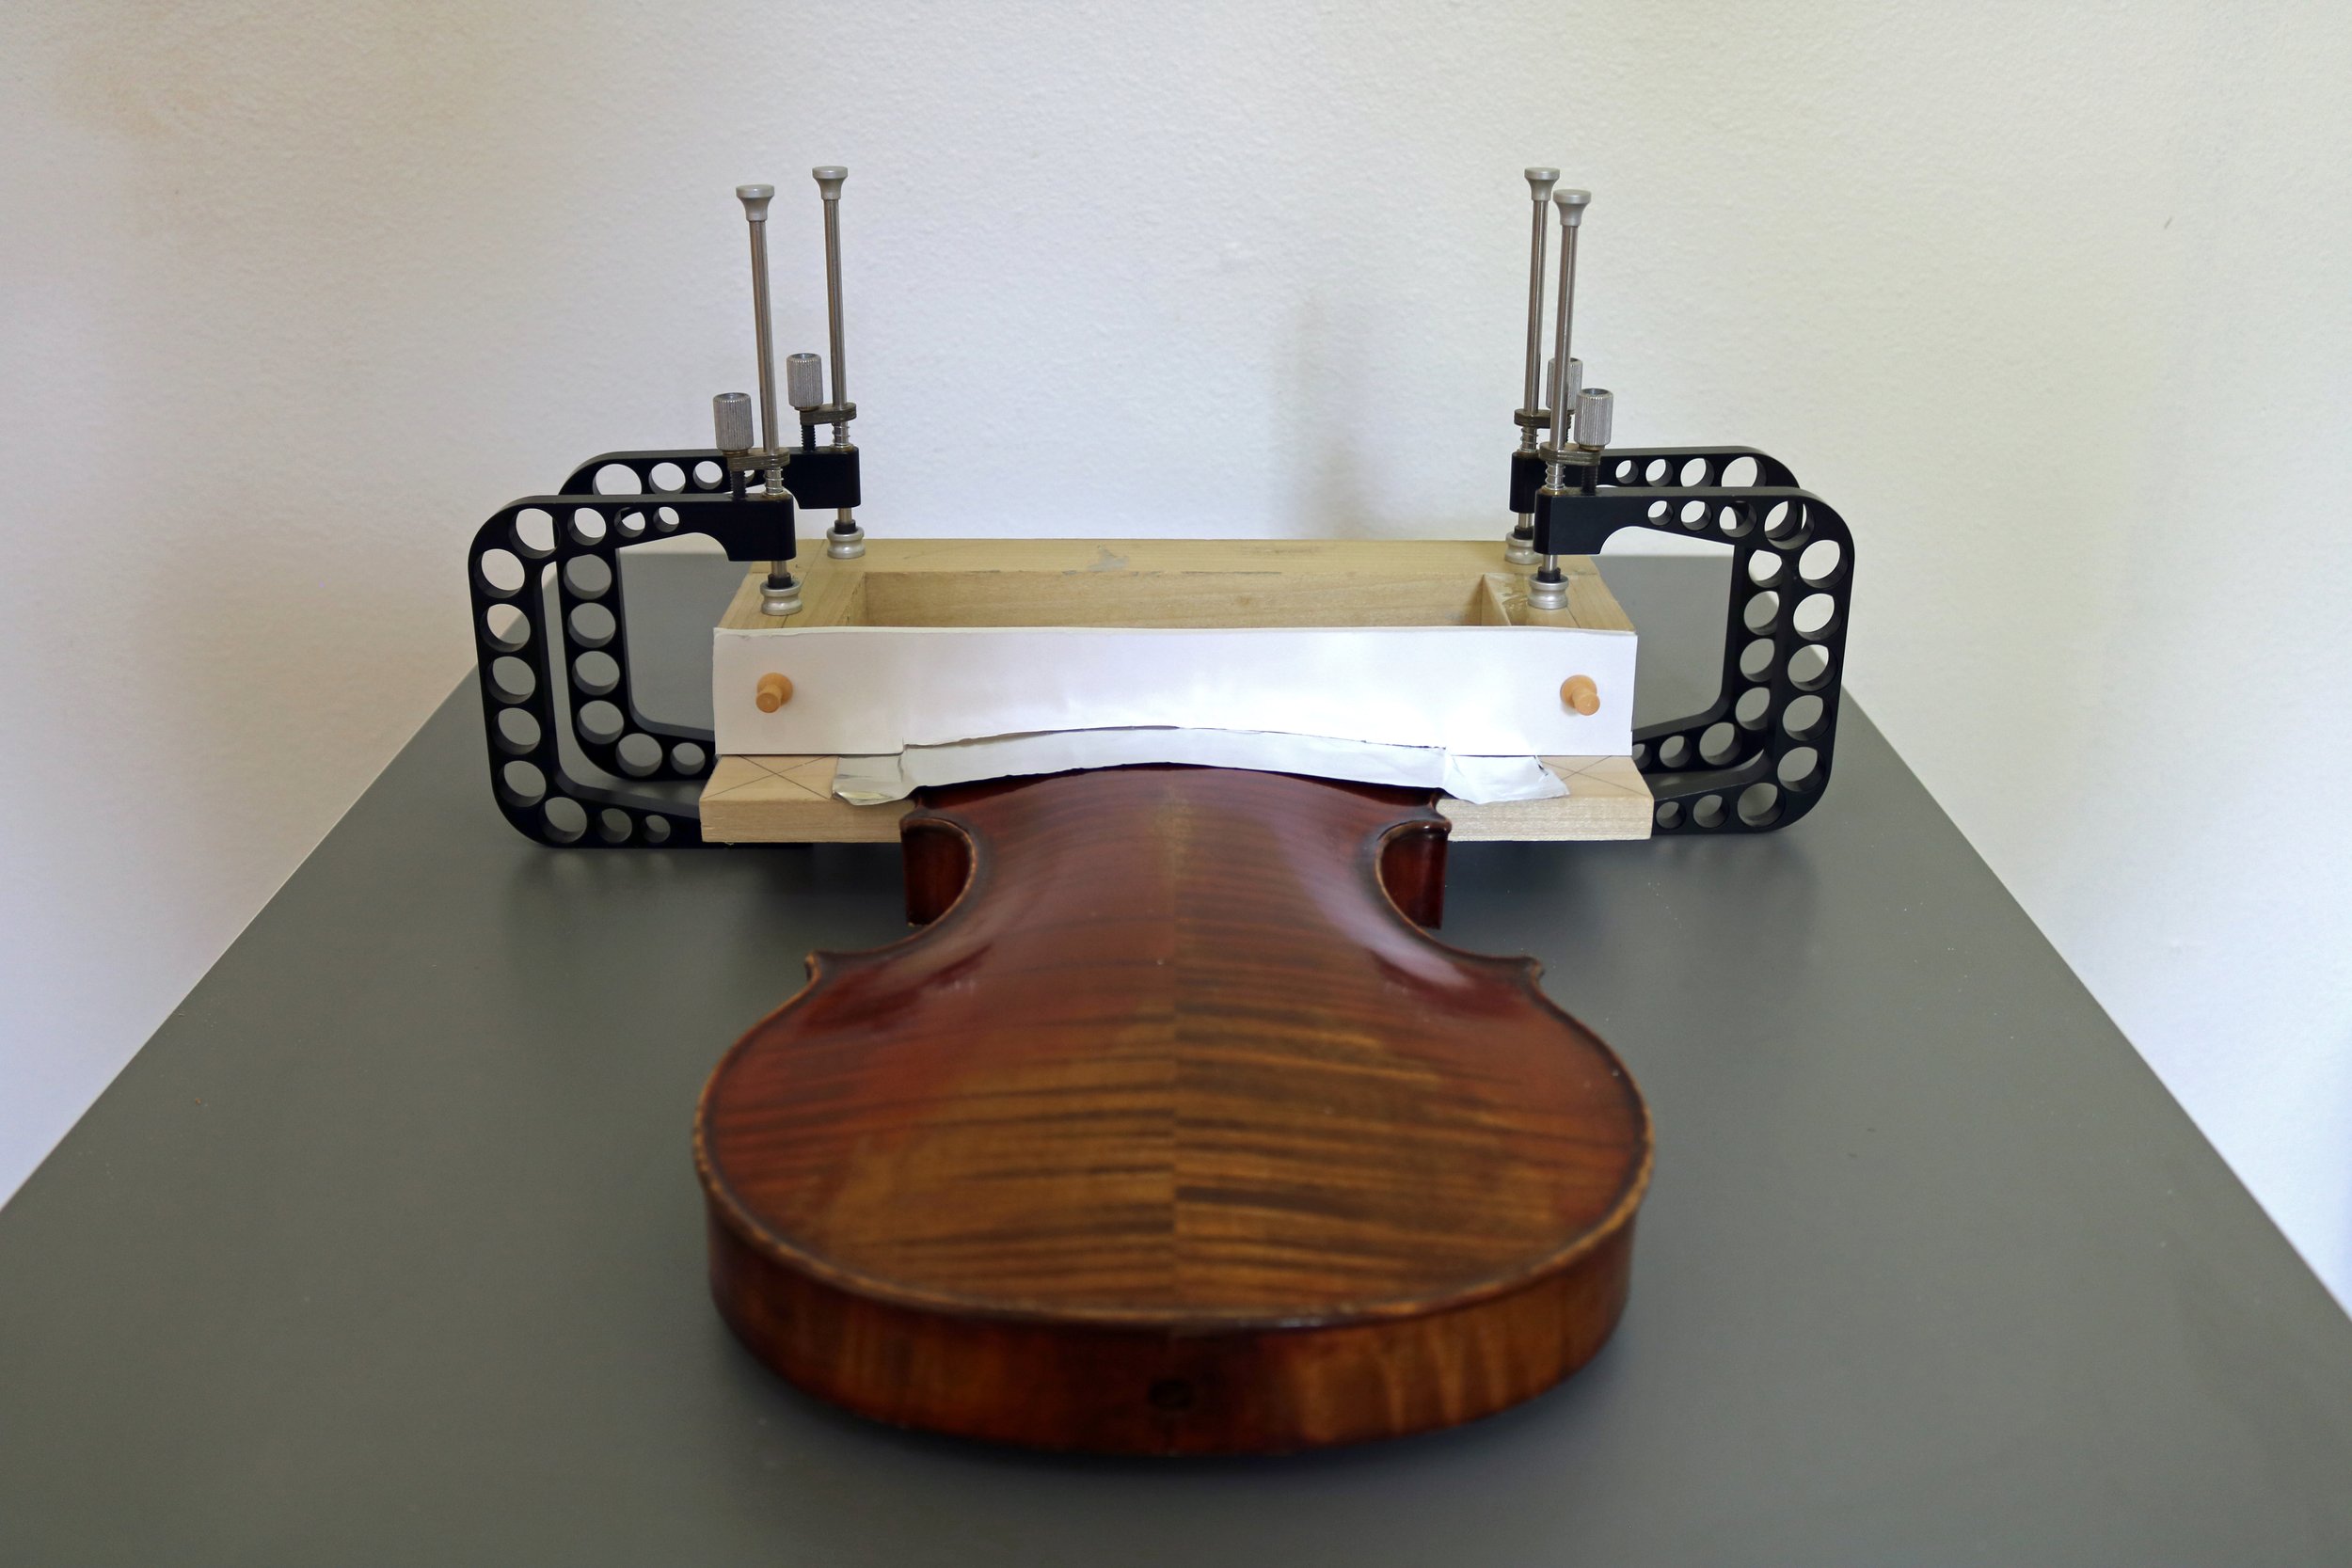
Speeding things up a little..
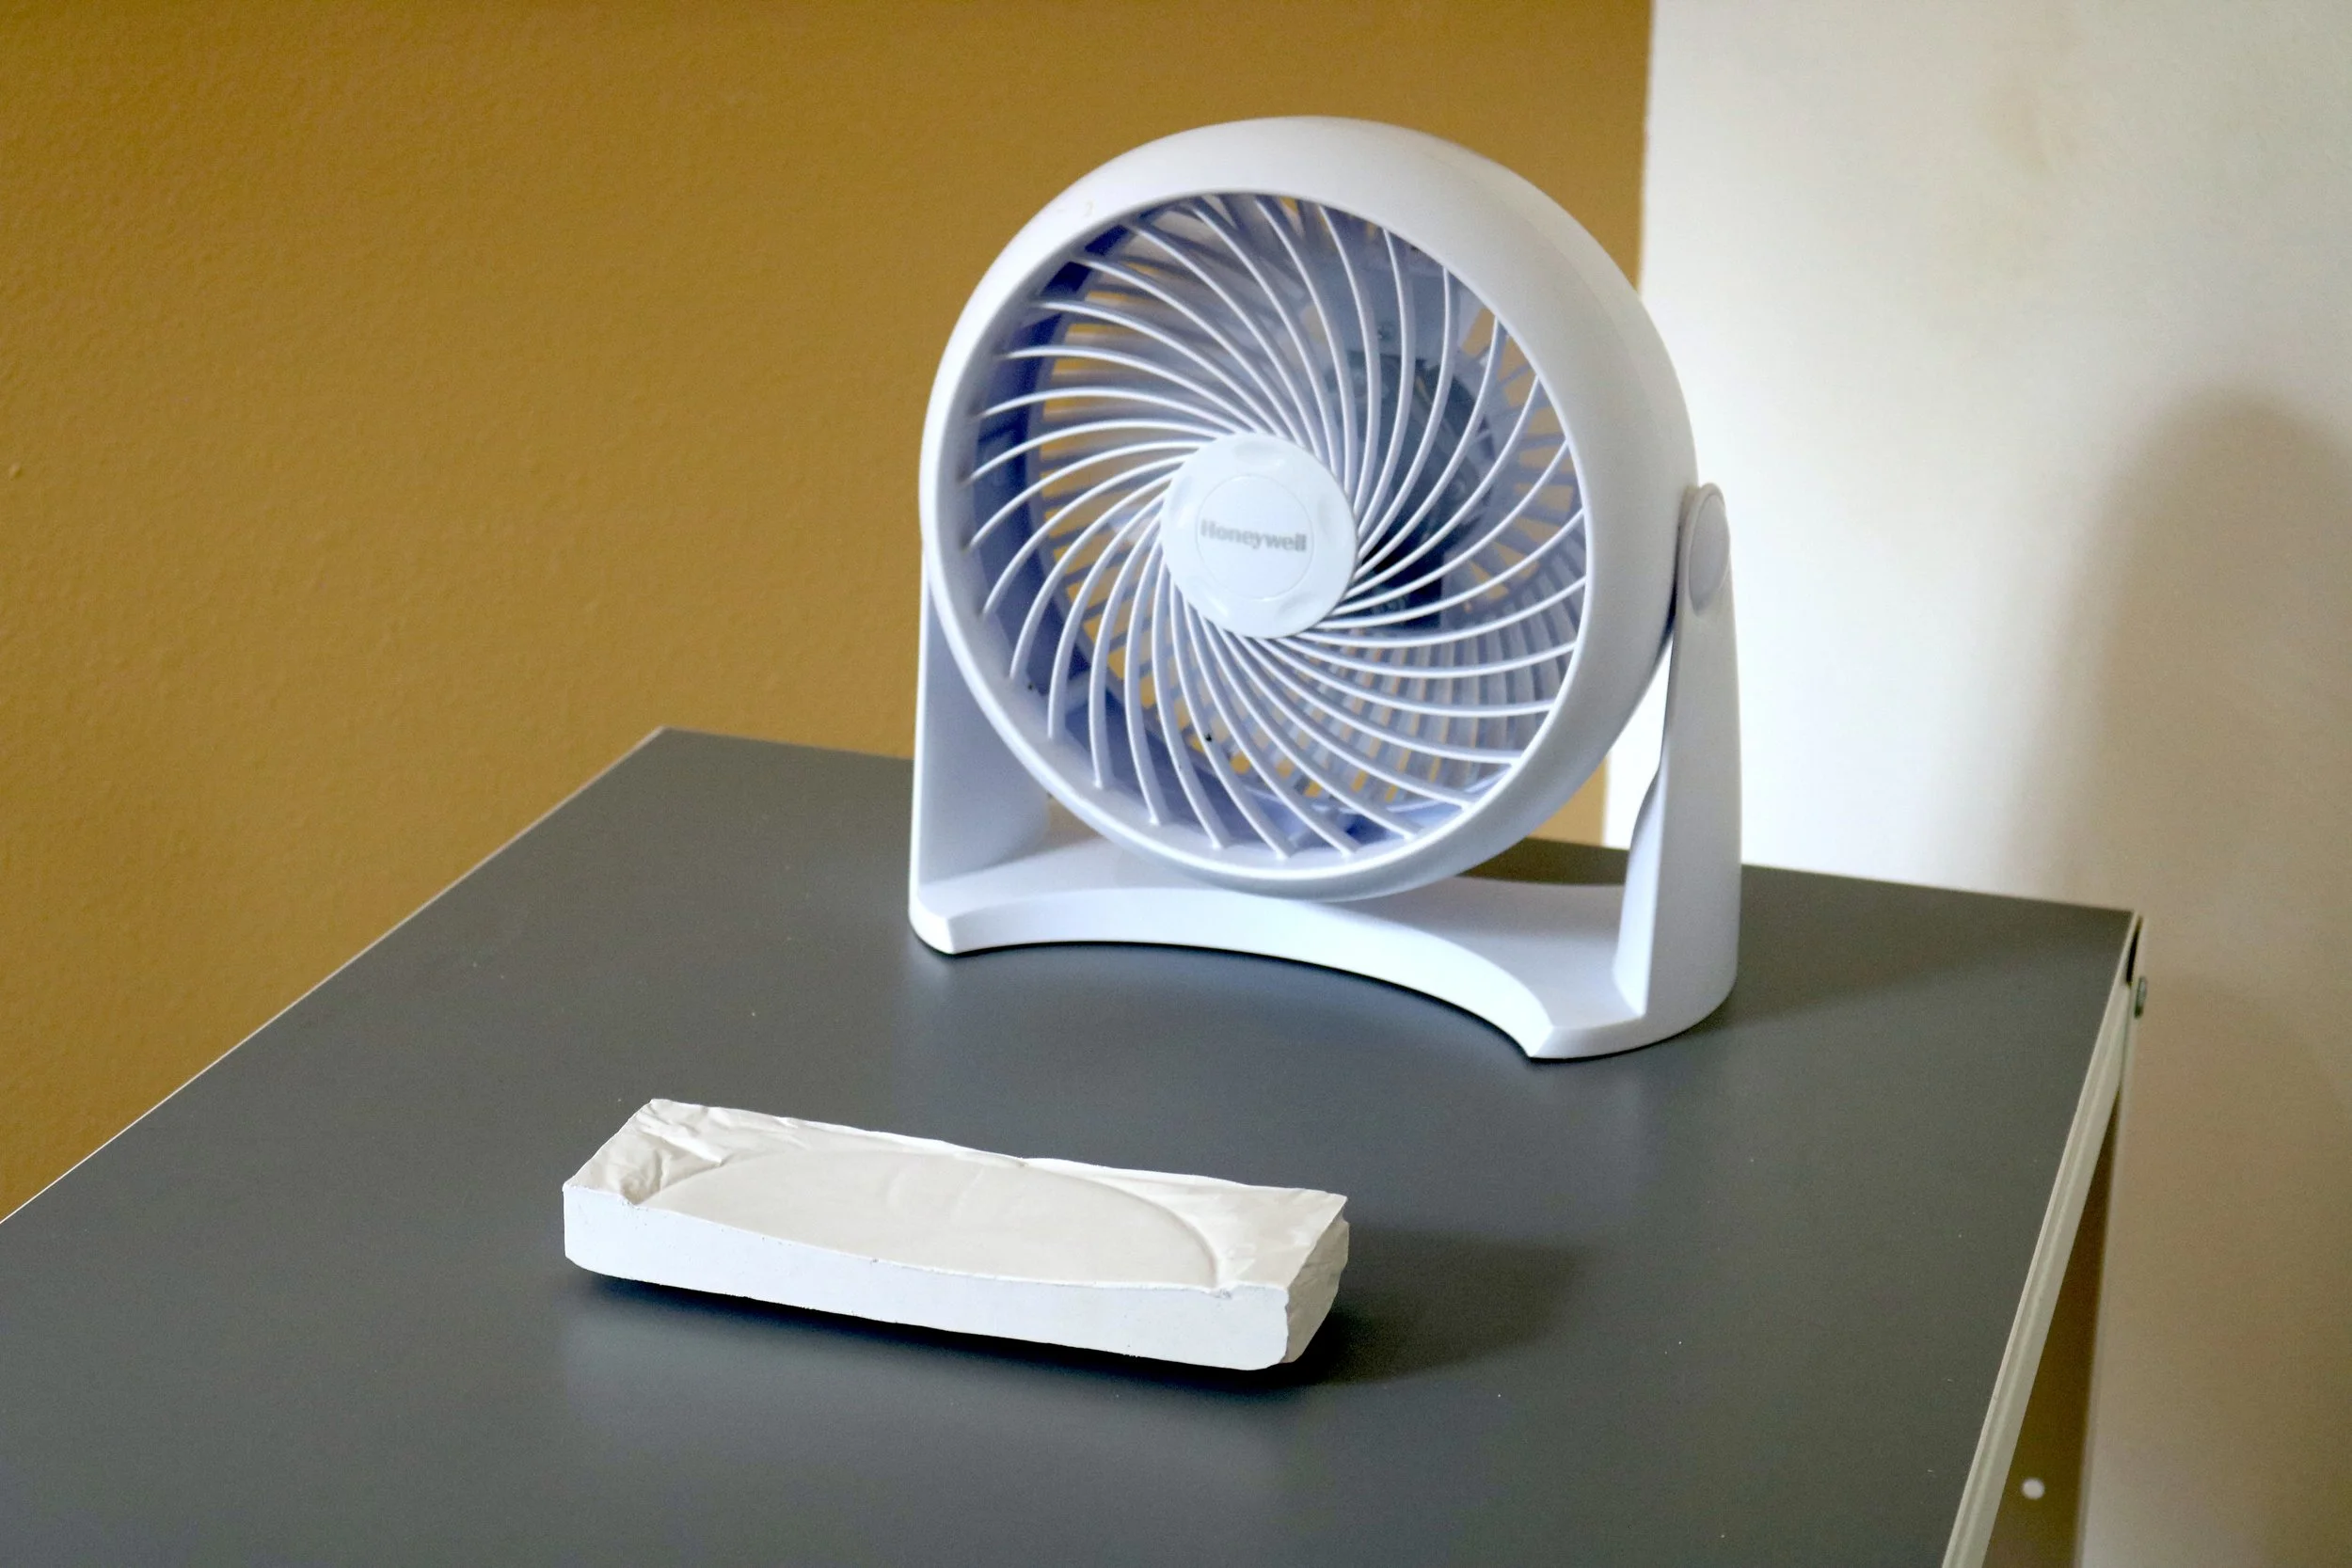
Our regular template for creating these patches was used as reference as we began to visualize how to create a button graft seamlessly integrated into a unique shaped back patch.
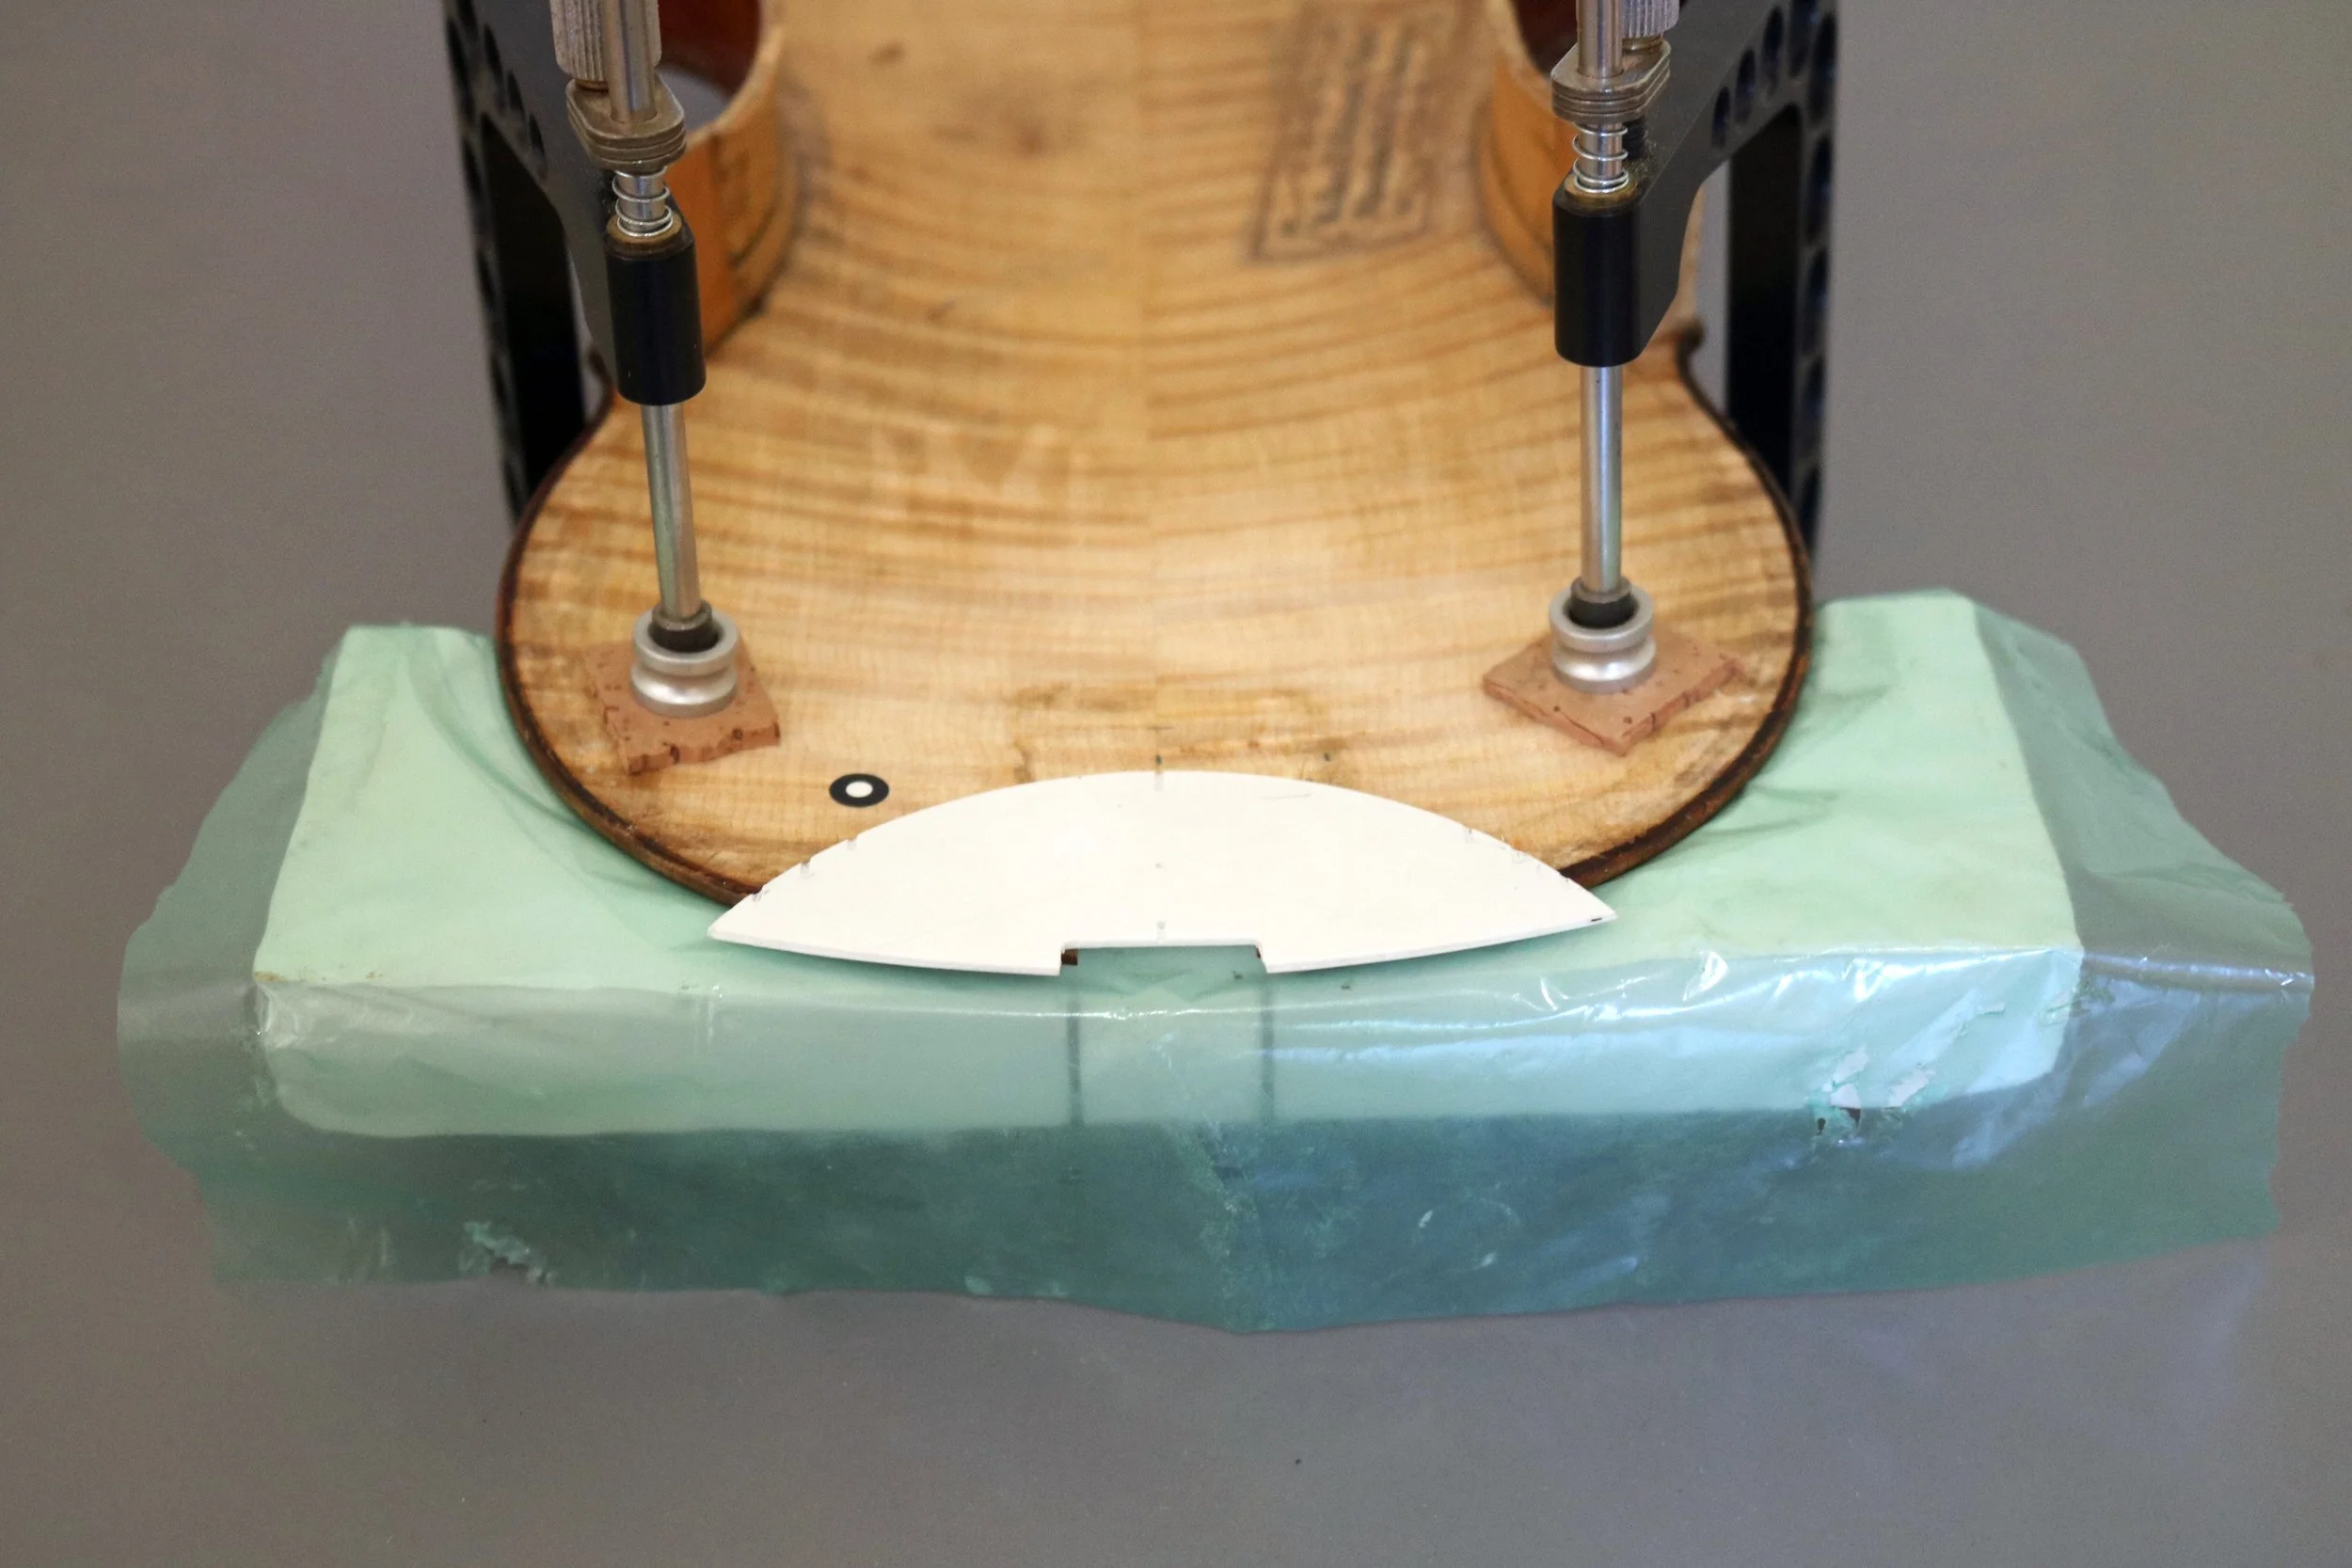
A photograph of the area was taken with a calibration sticker.
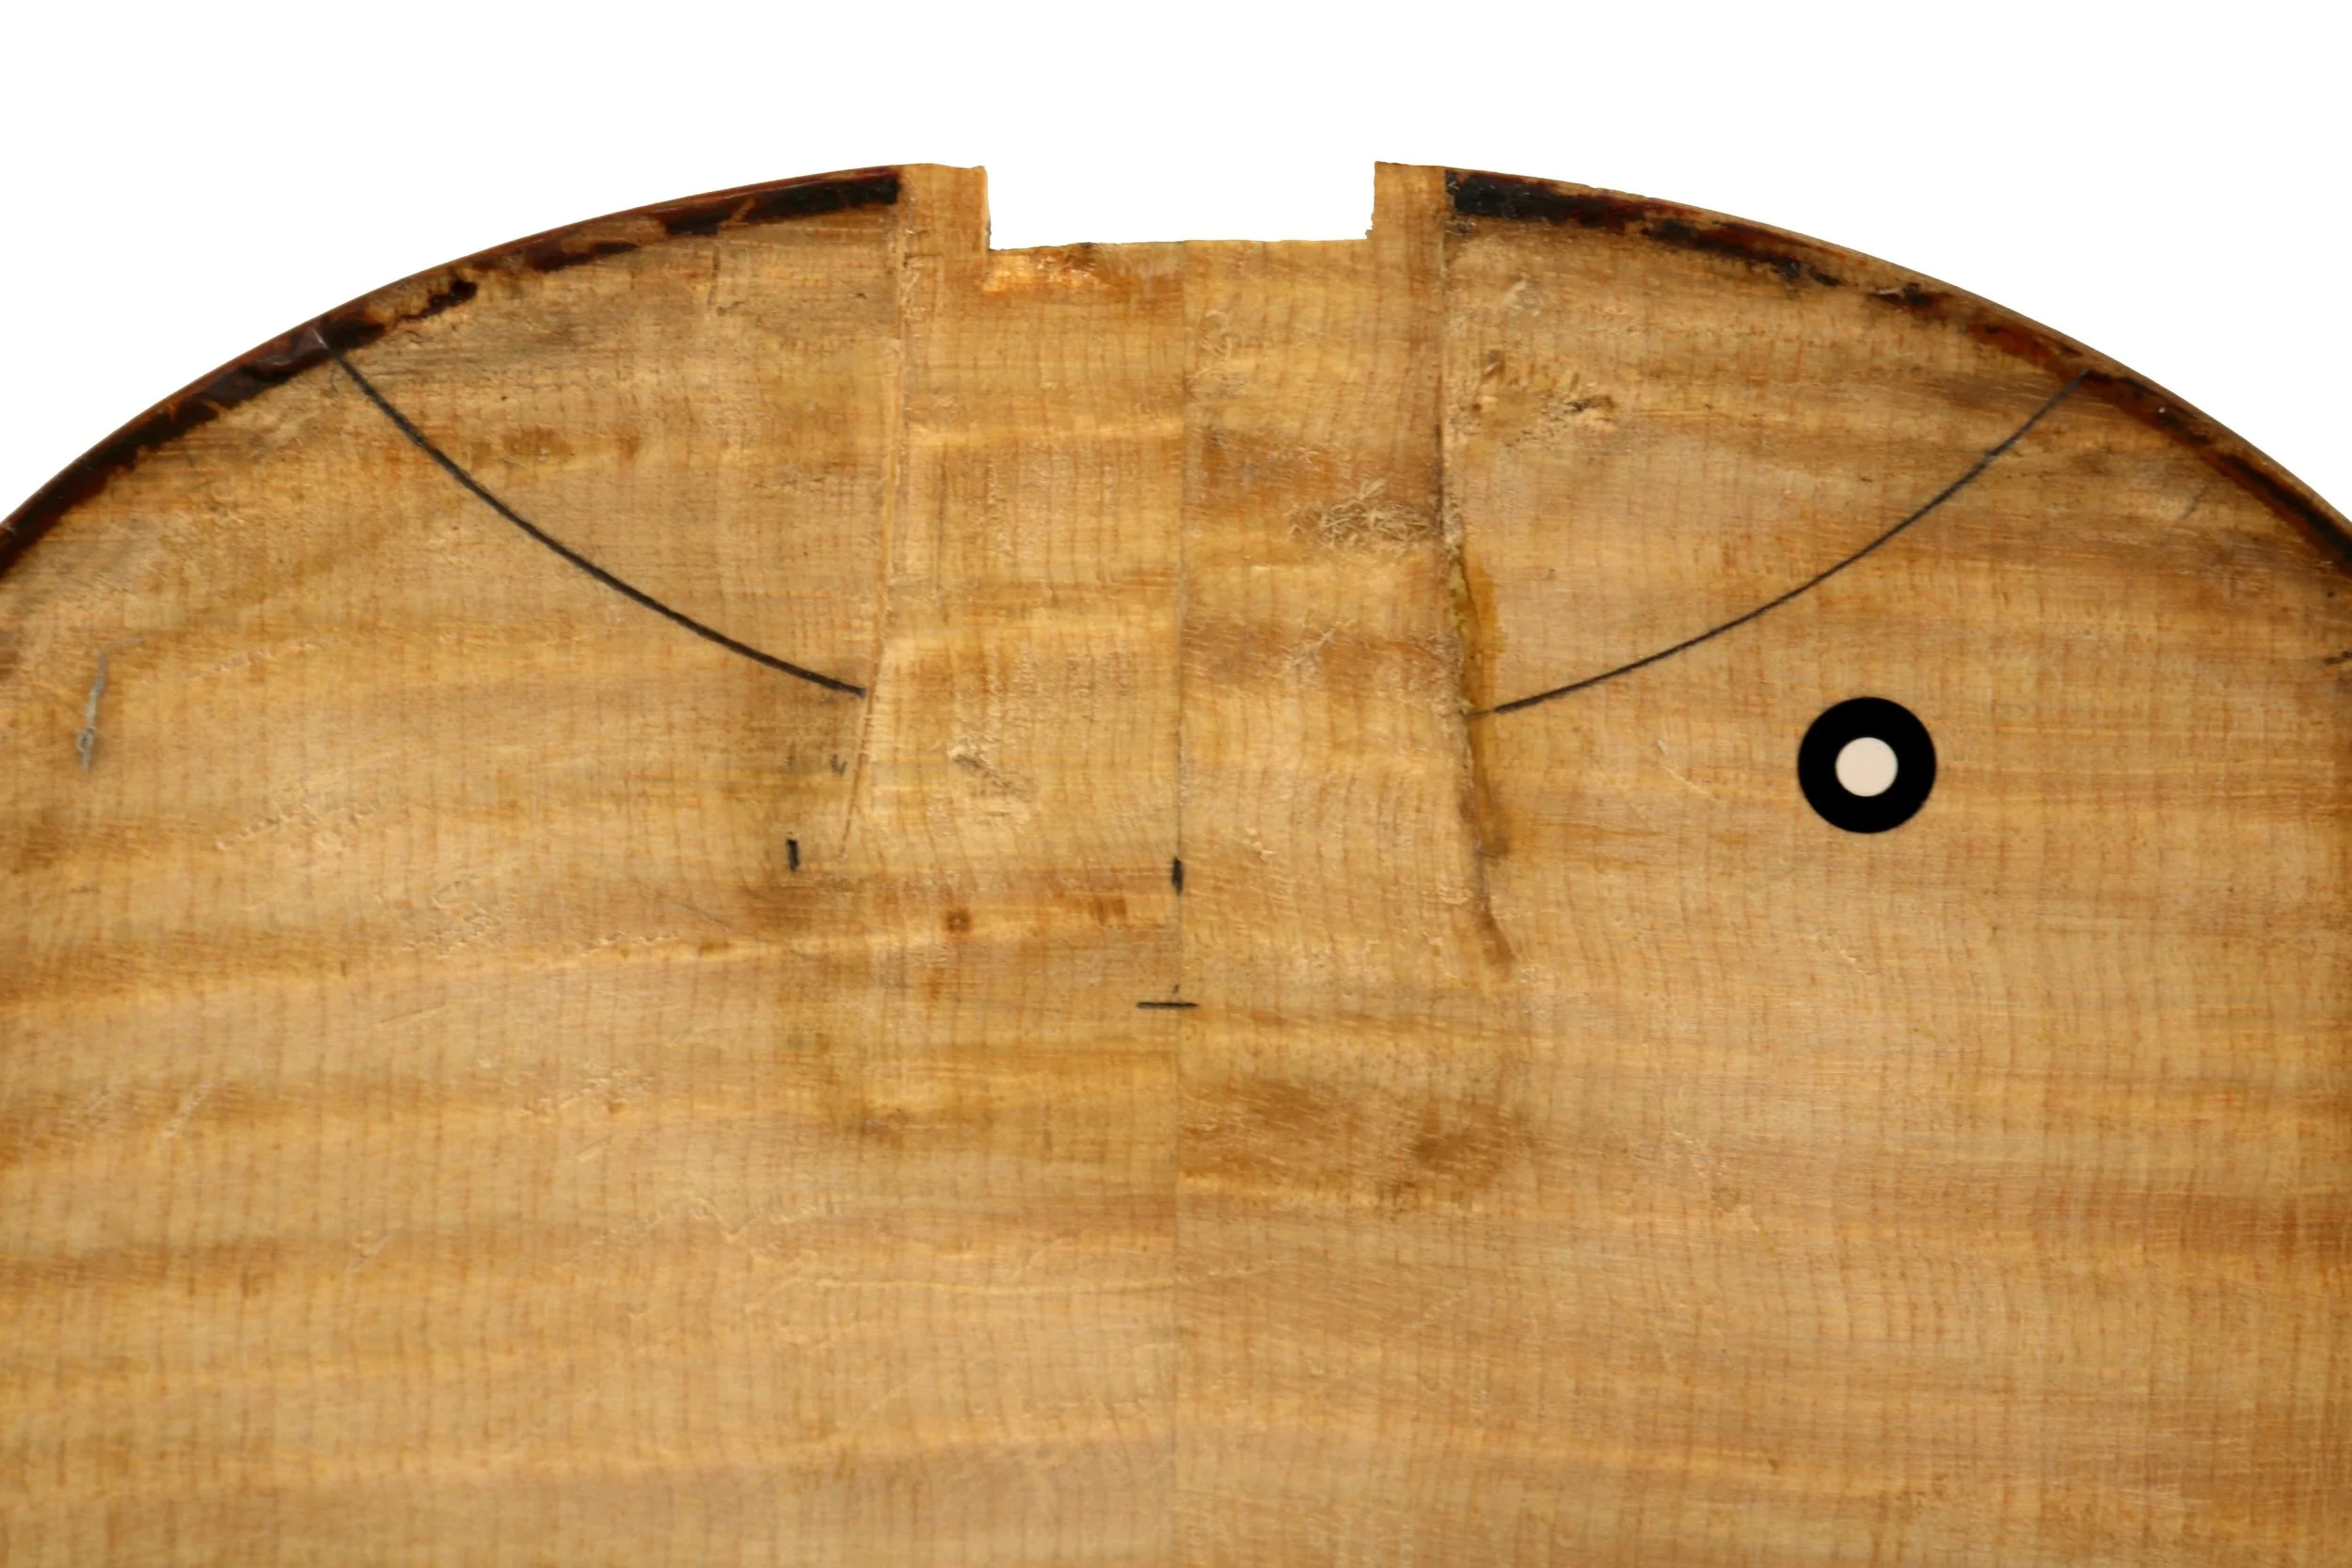
This photo was imported to Fusion360, as a canvas.
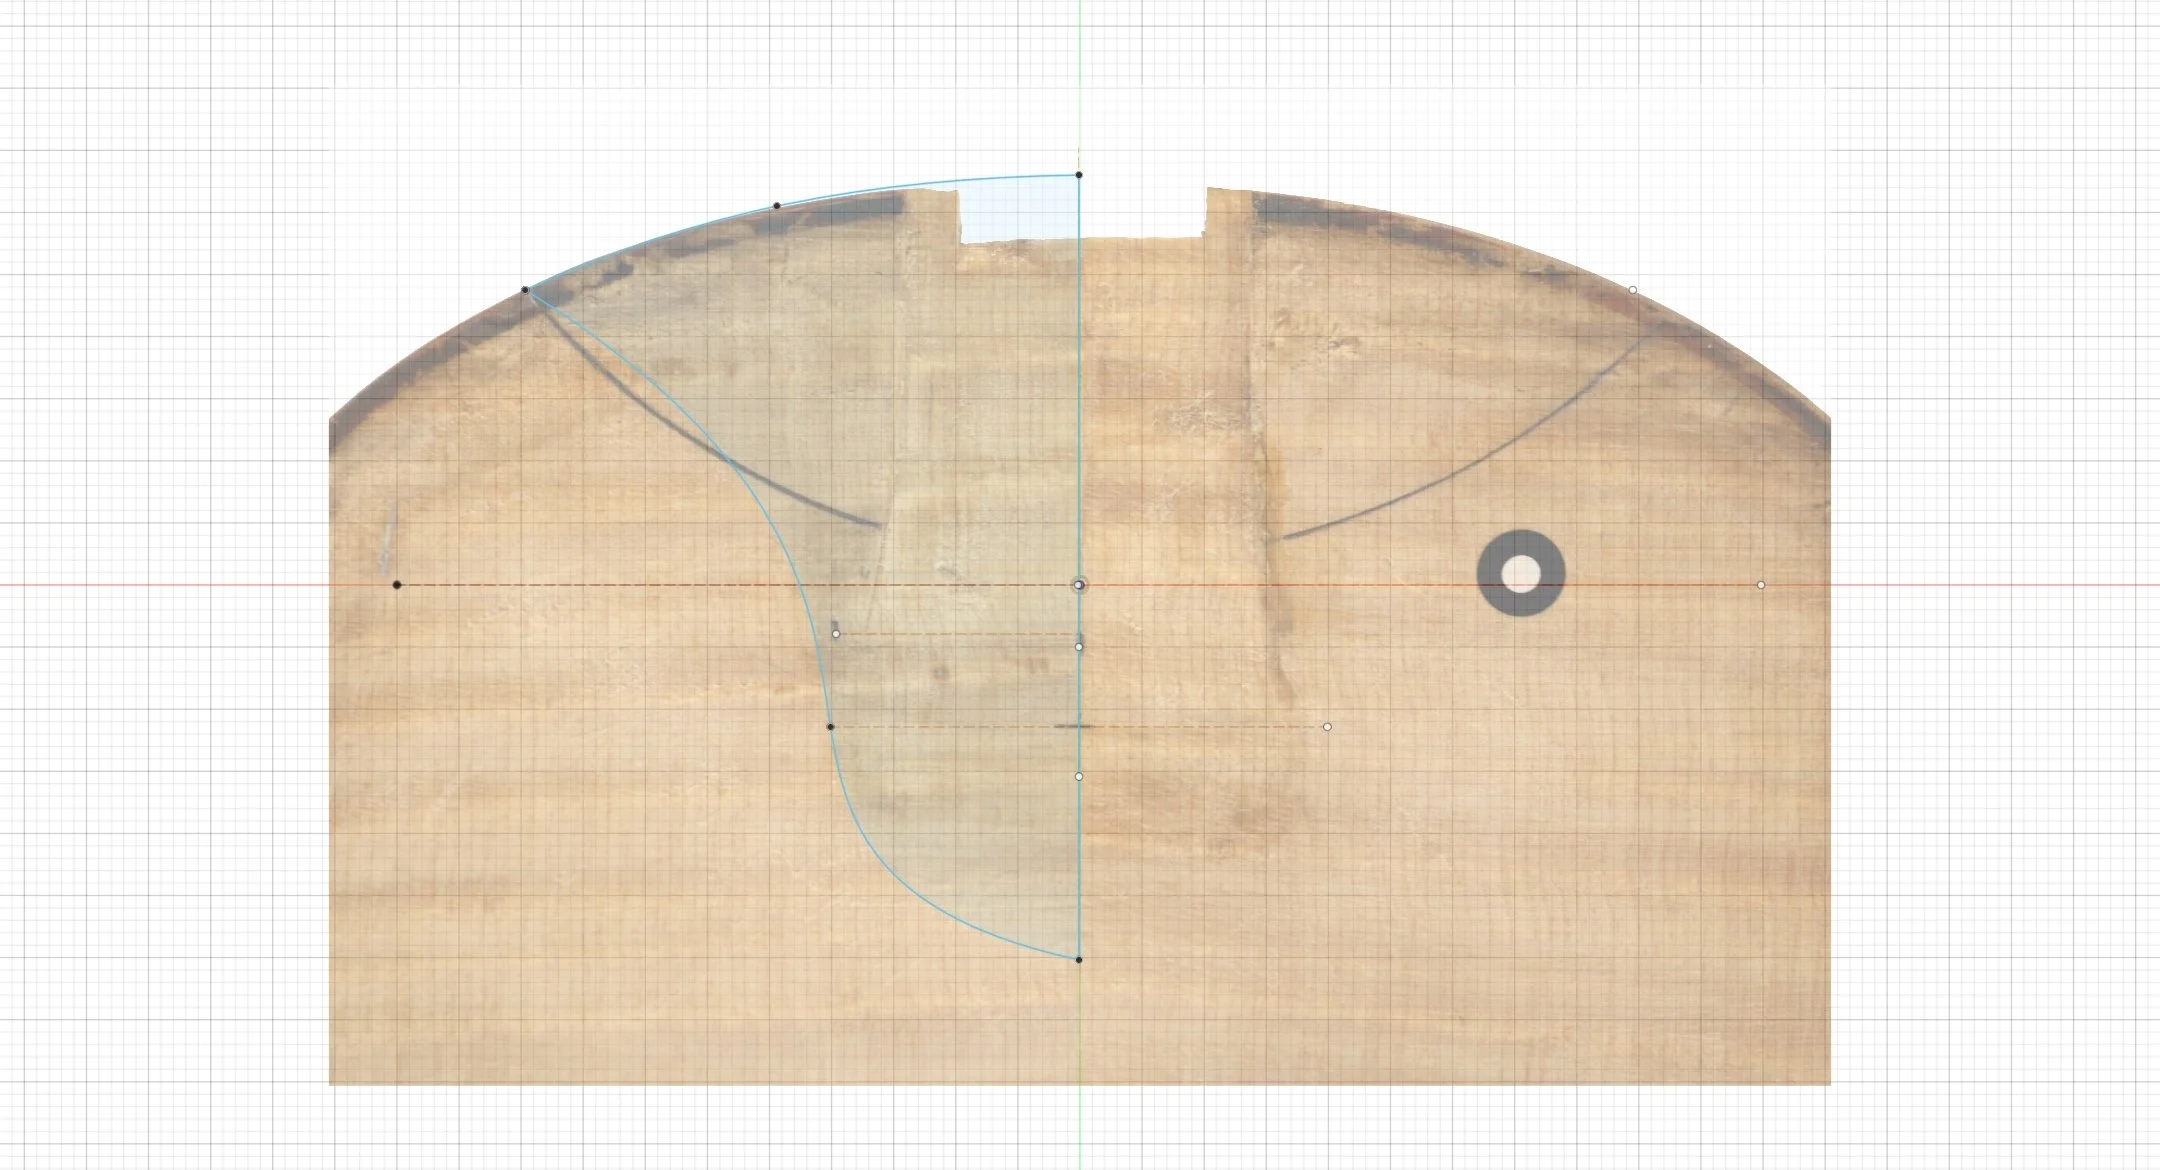
We then dreamt up a patch shape that would enable us to transition from the previous excavation of original wood into a more tapered, stabile and elegant graft.
The drawing was then extracted and used to create a 3d printed template.
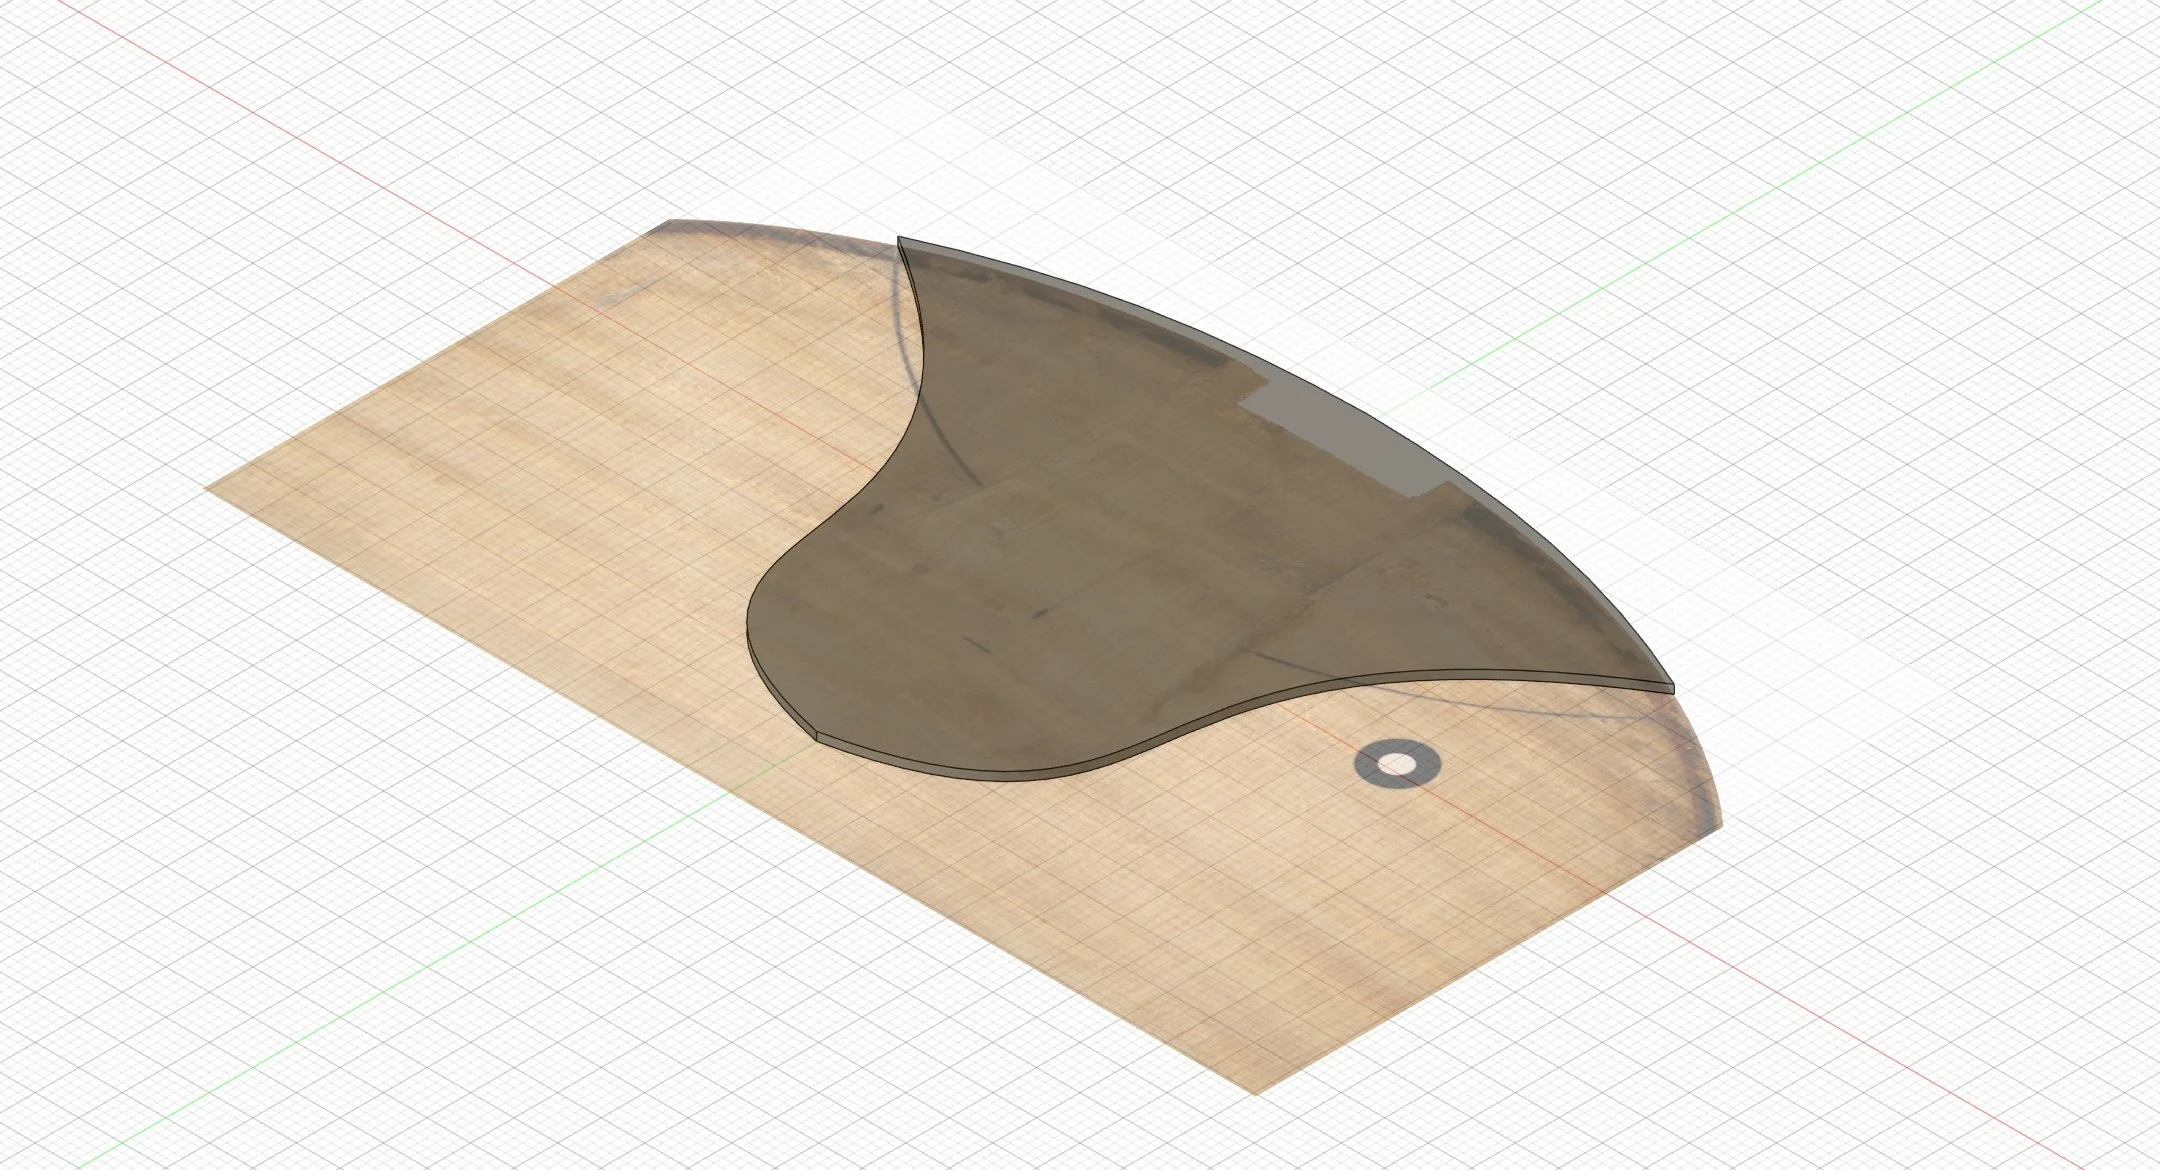
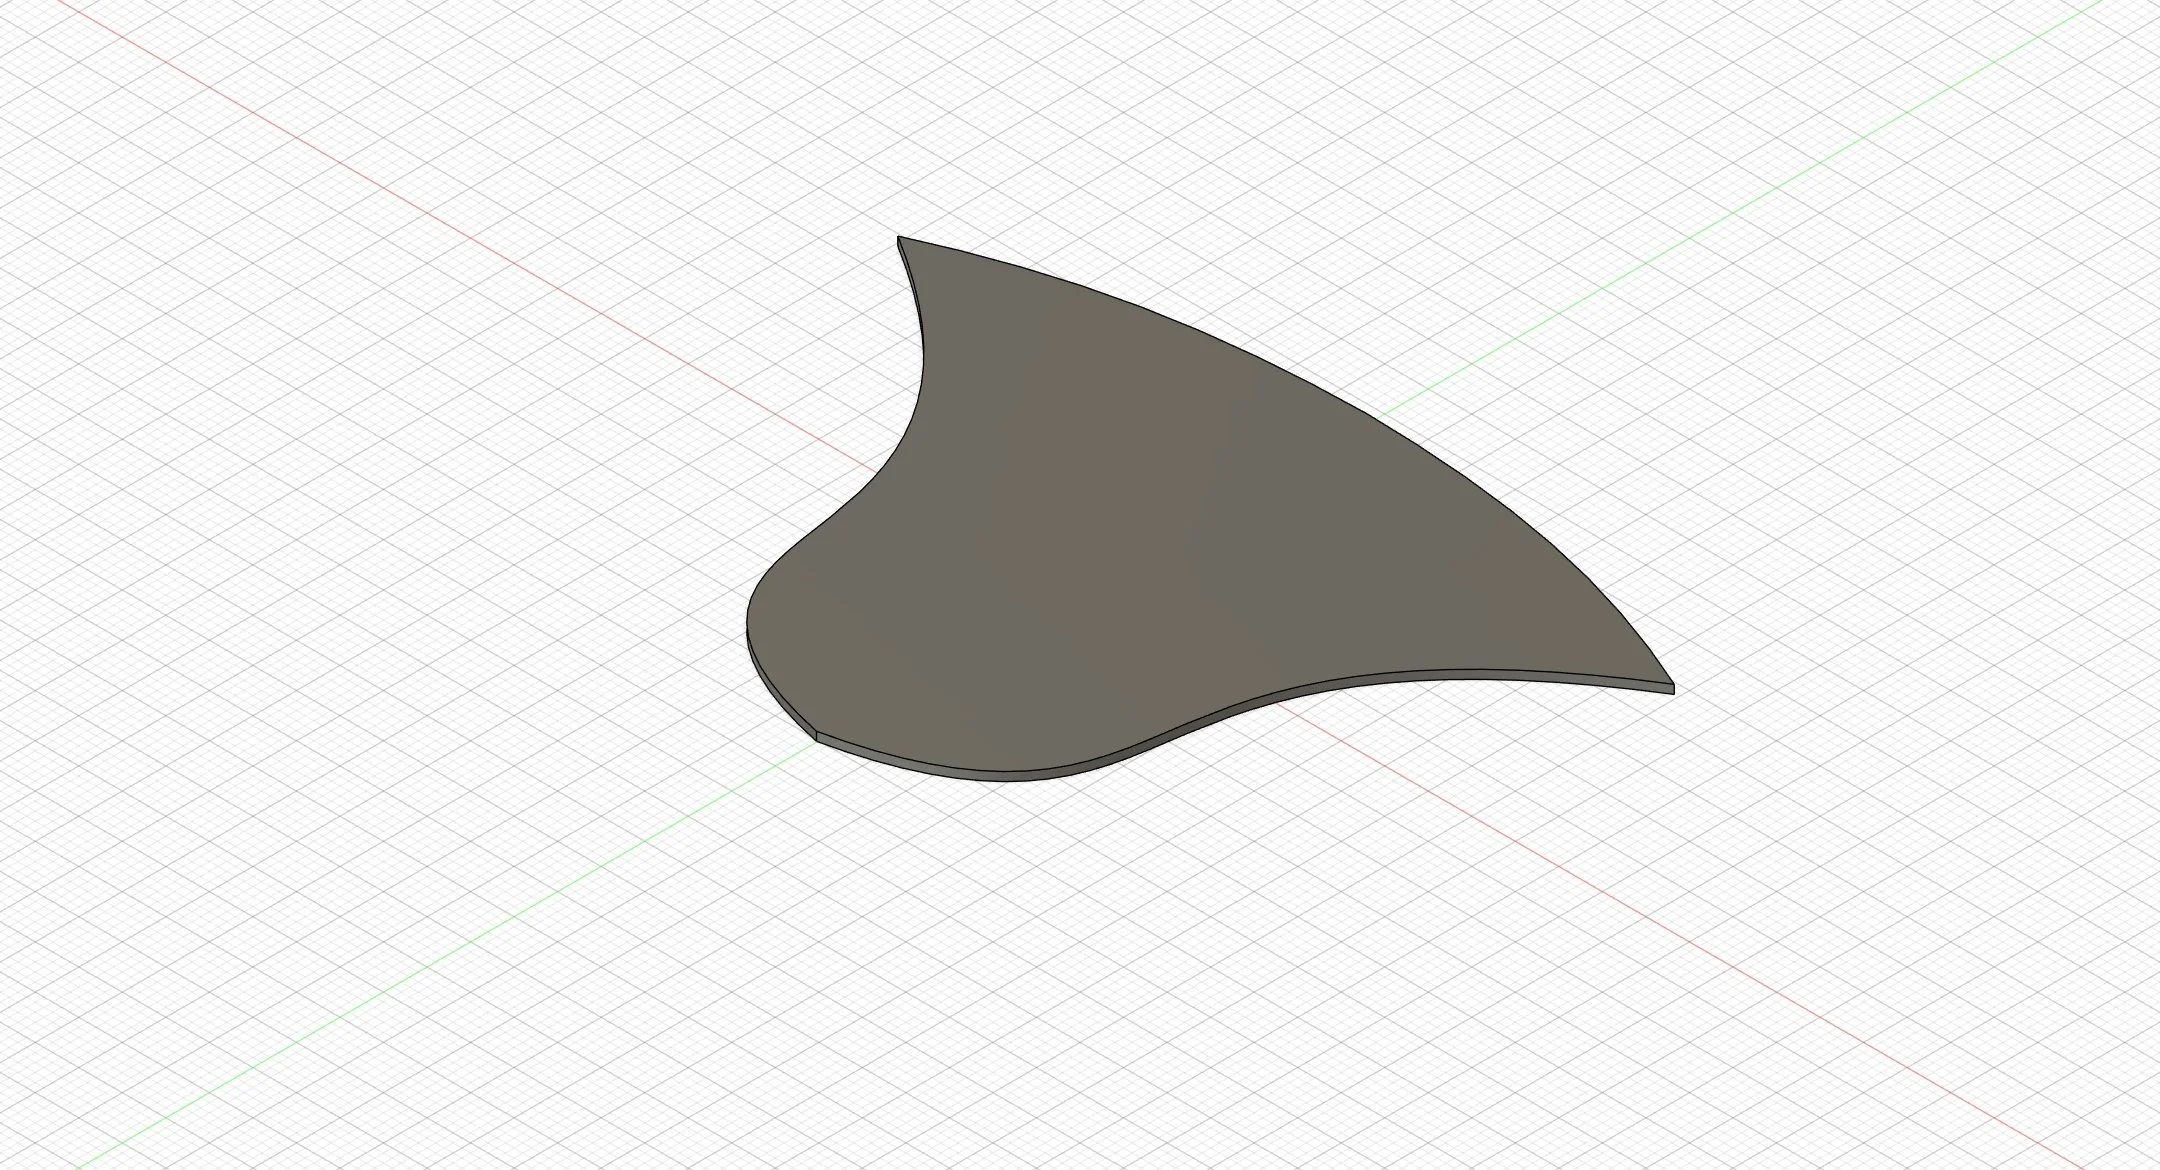
Keeping it light, it’s sort of ghostly, right?
We shall call this GHOSTPATCH.
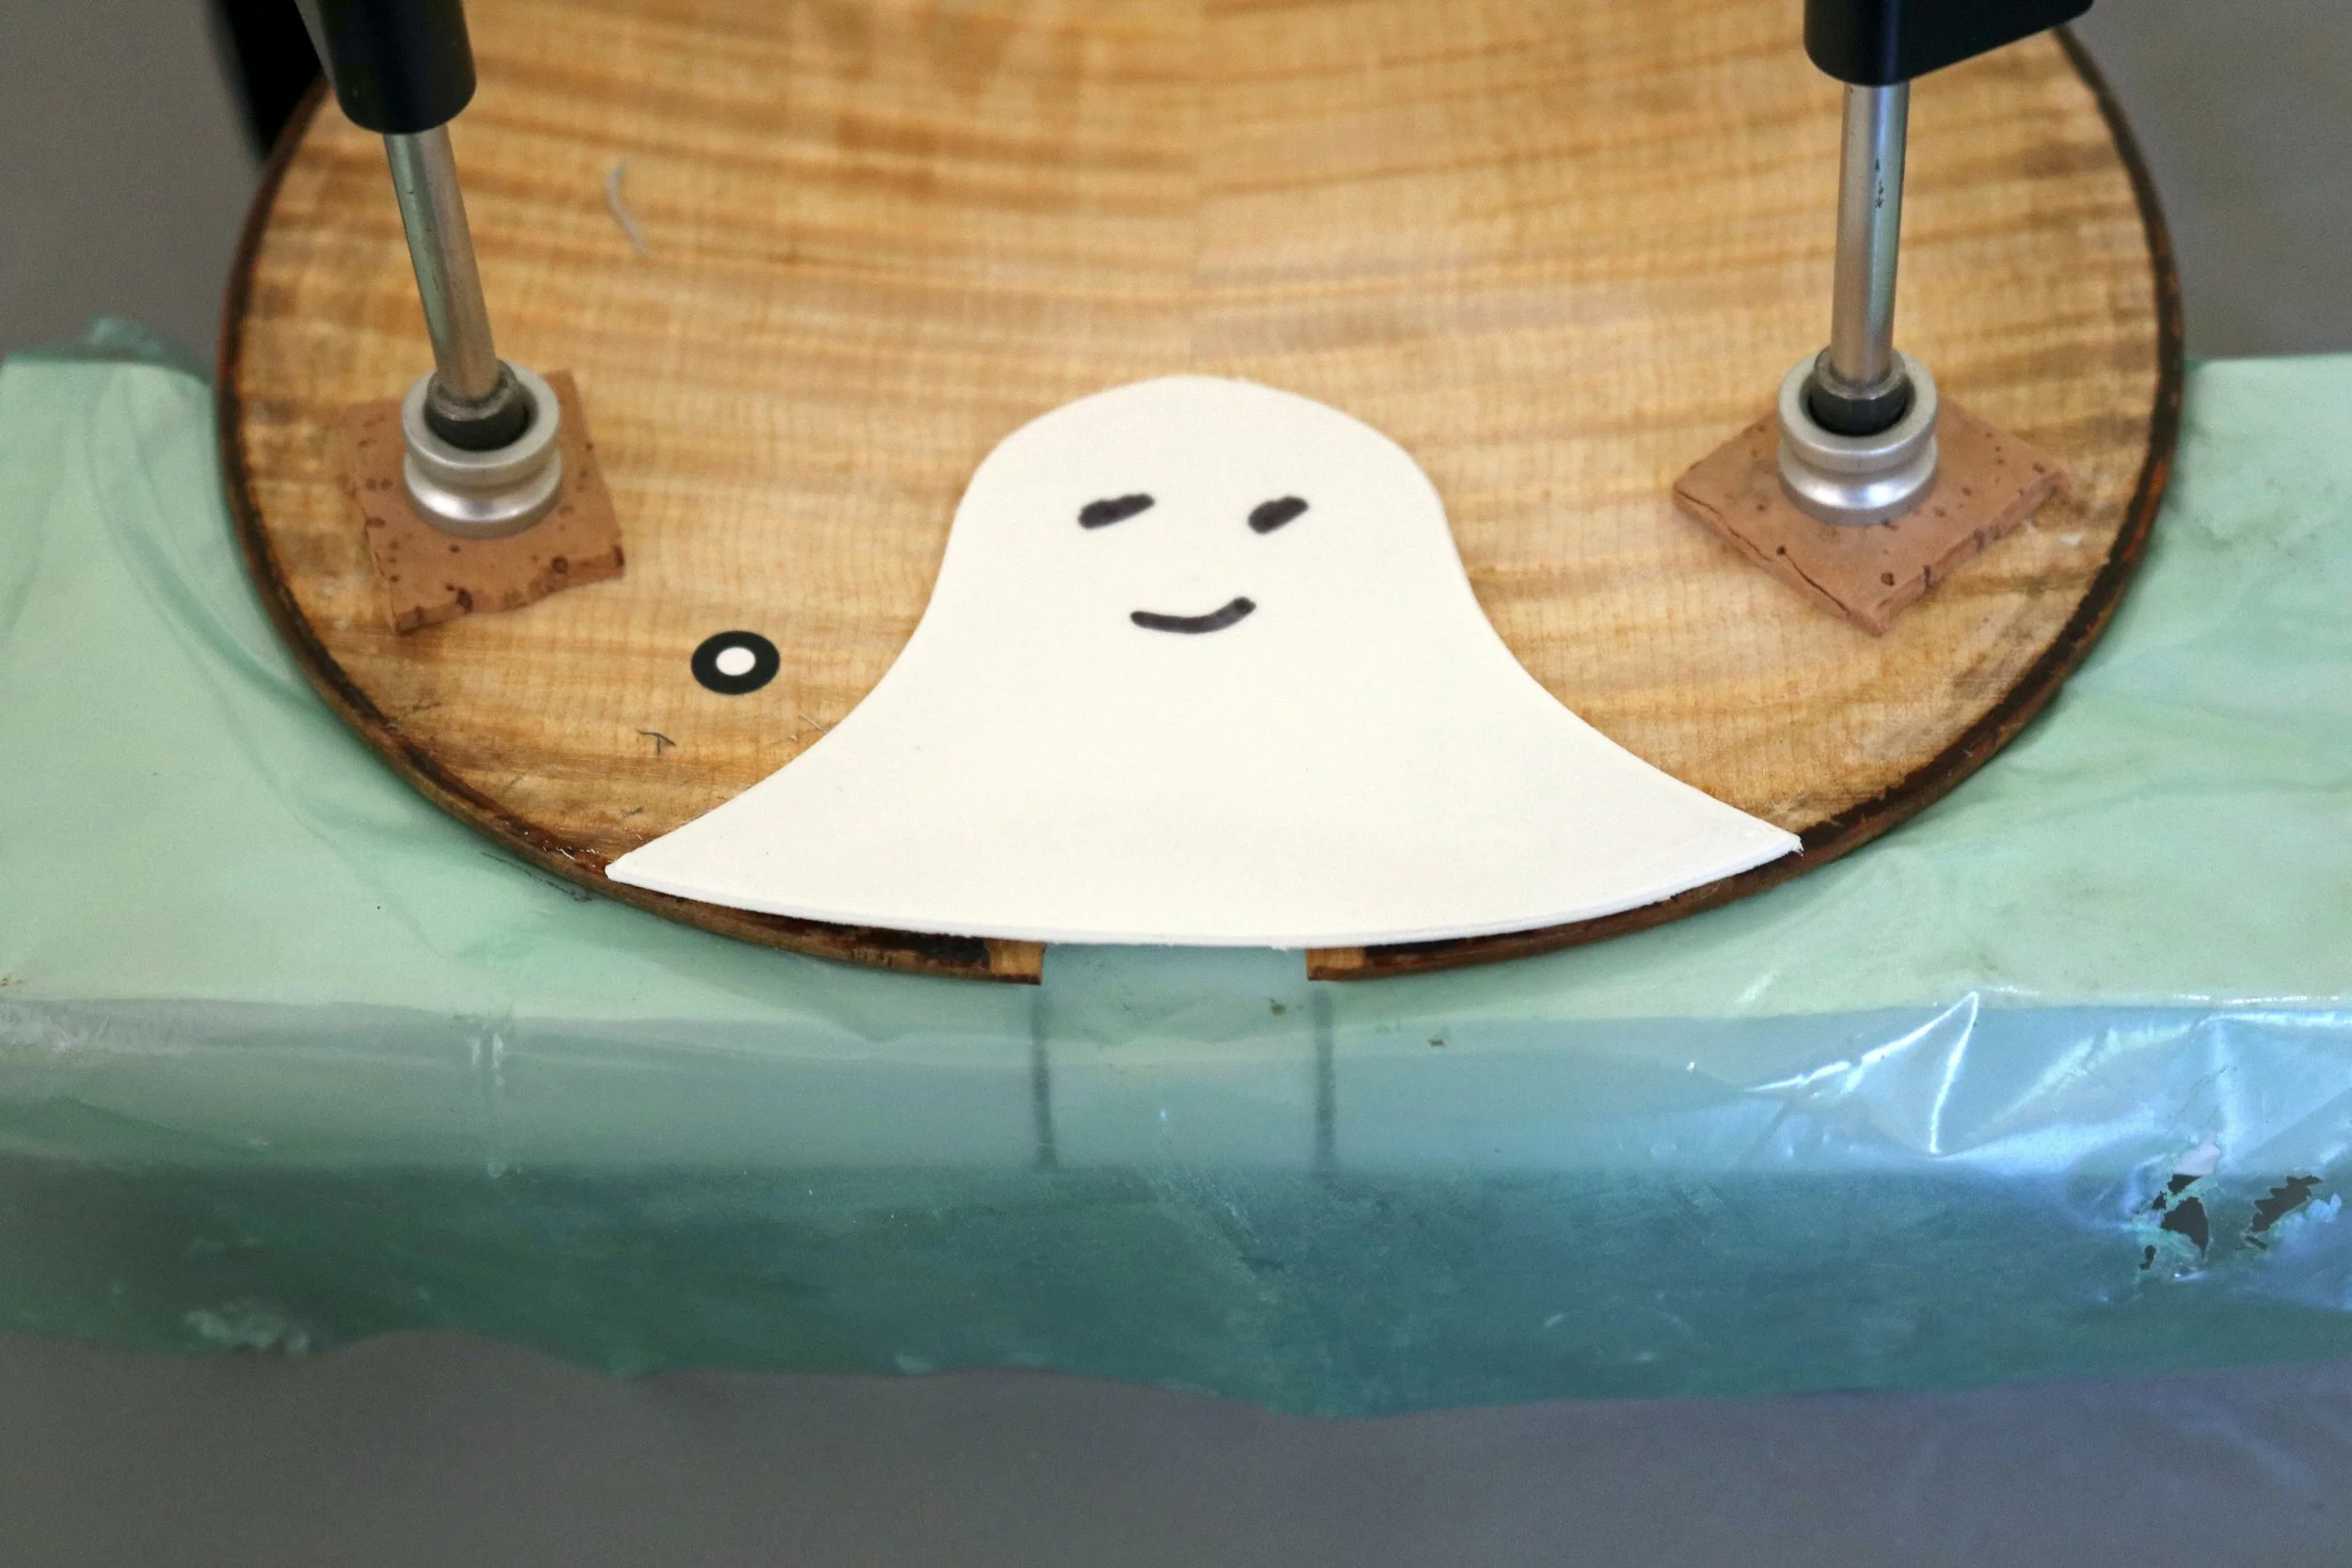
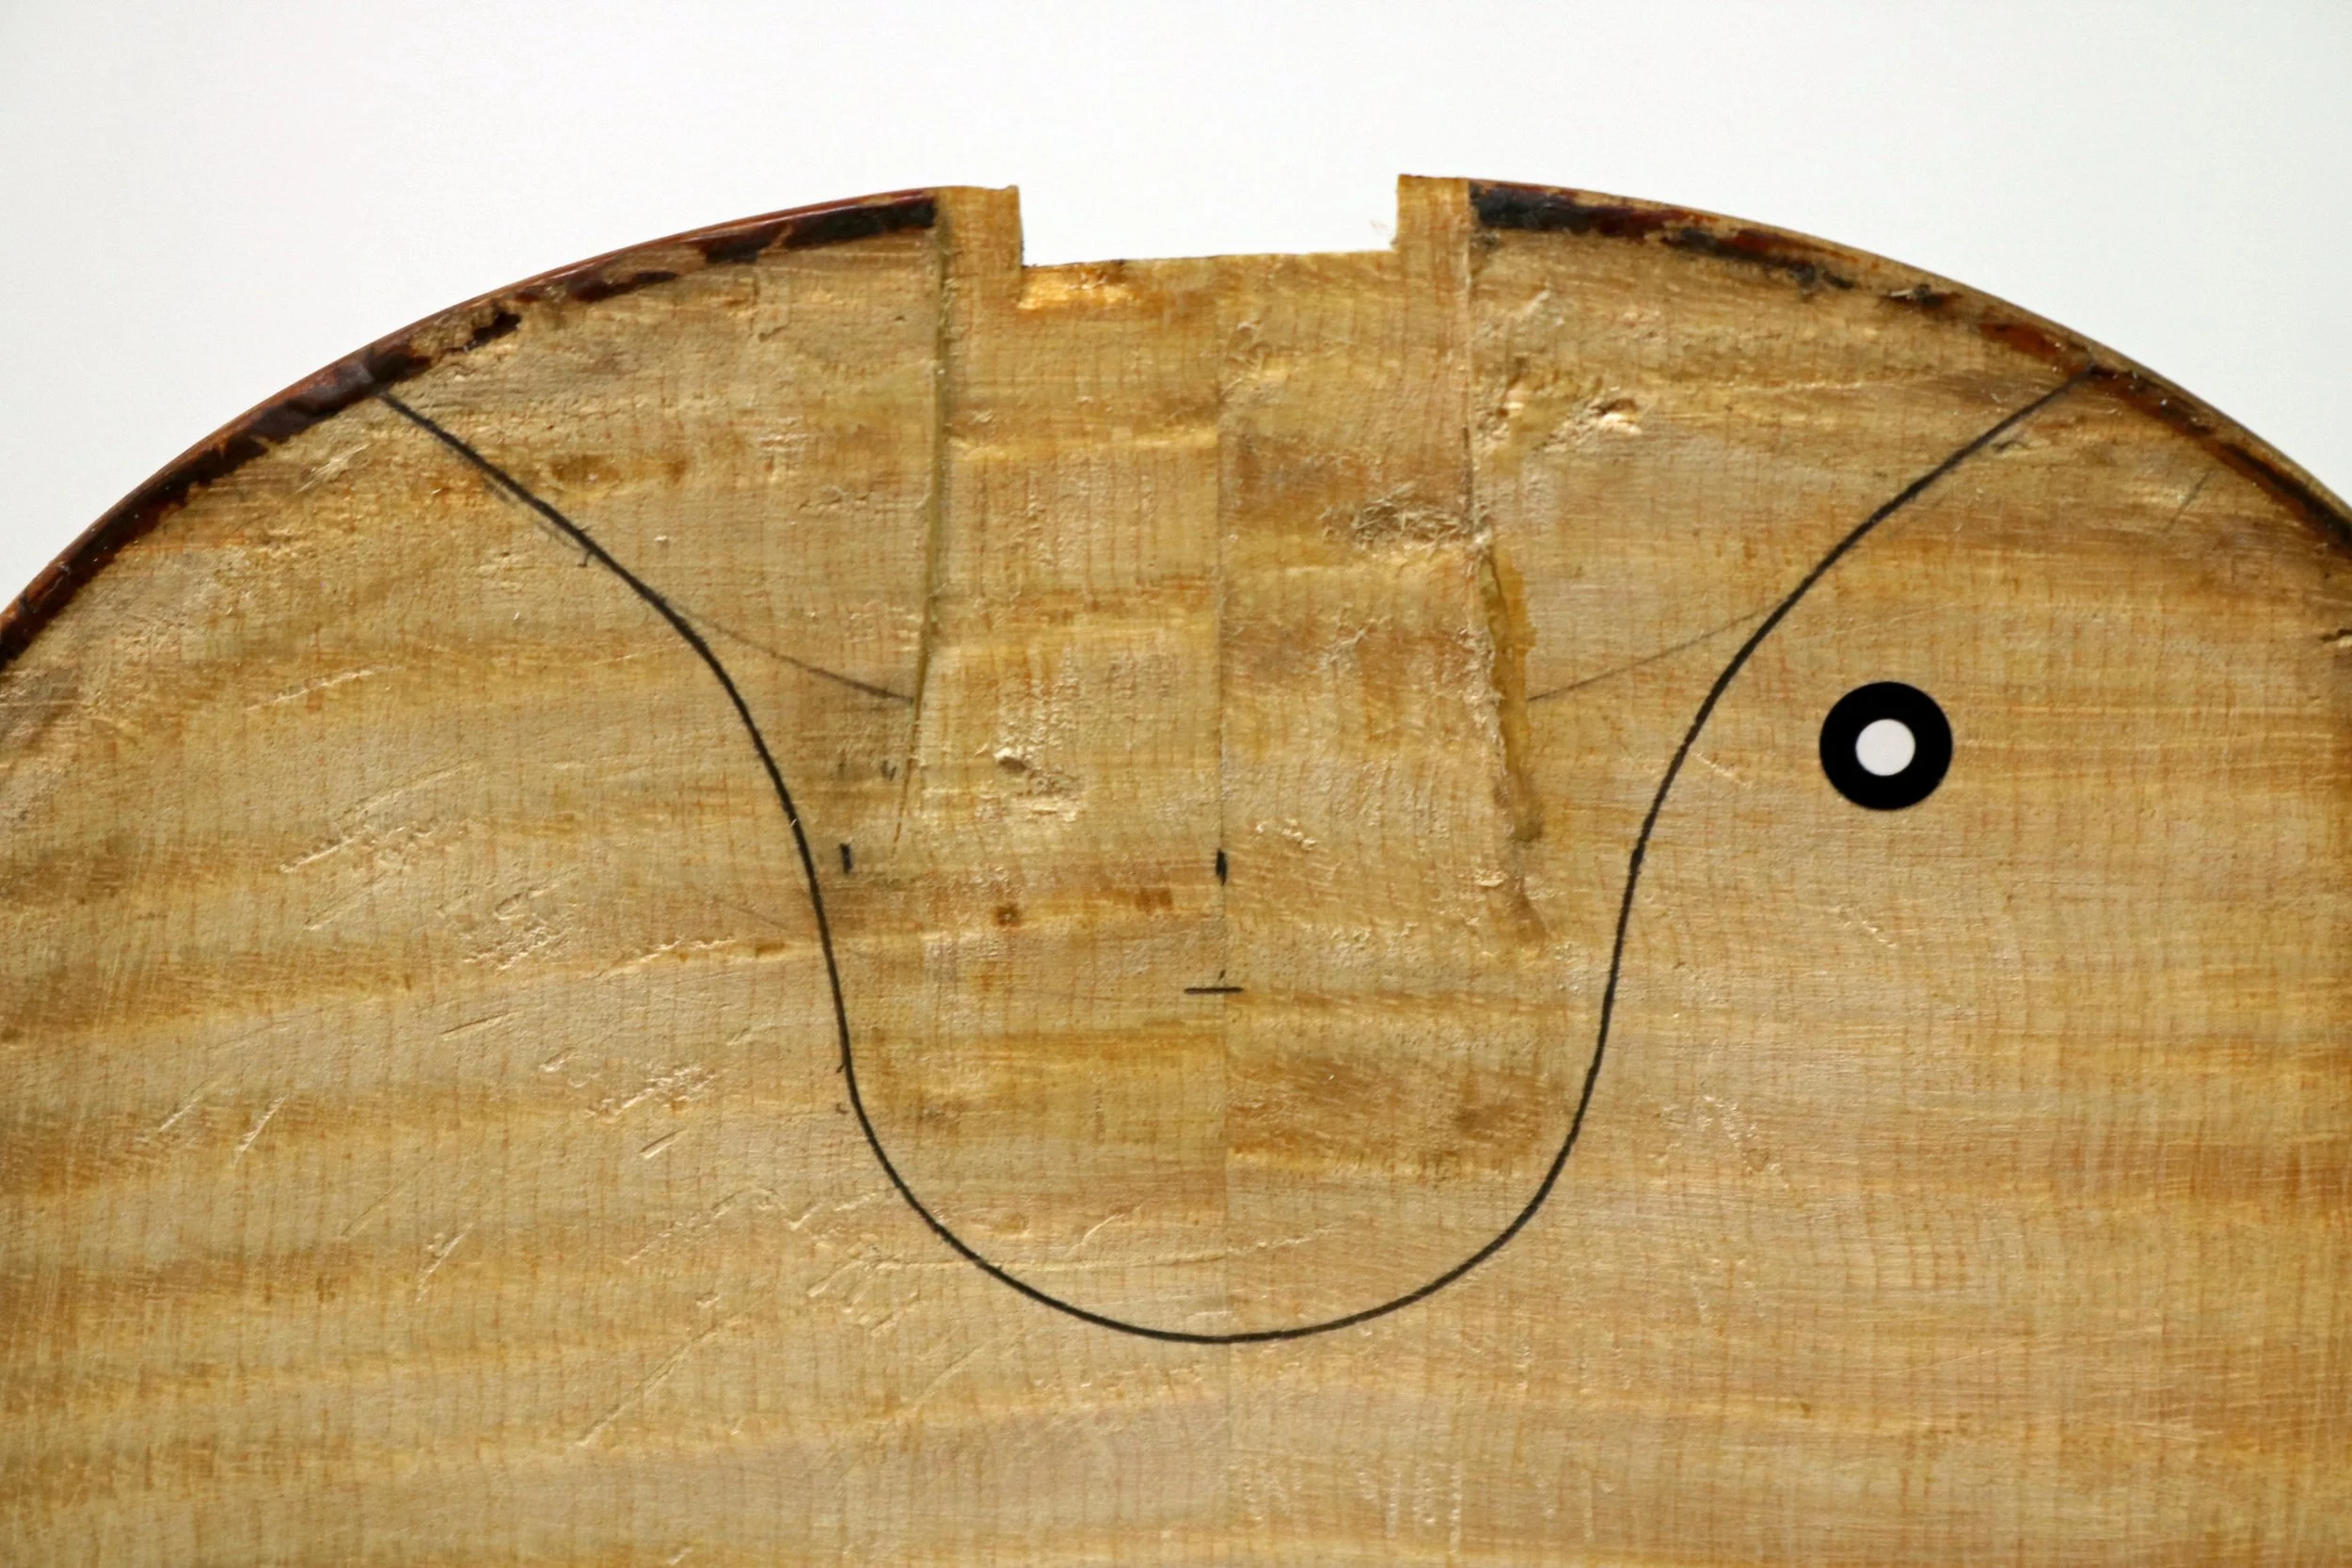
After our own careful excavation of wood to create a nicely tapered bed for our patch, we scanned the area with our Einscan-SP.
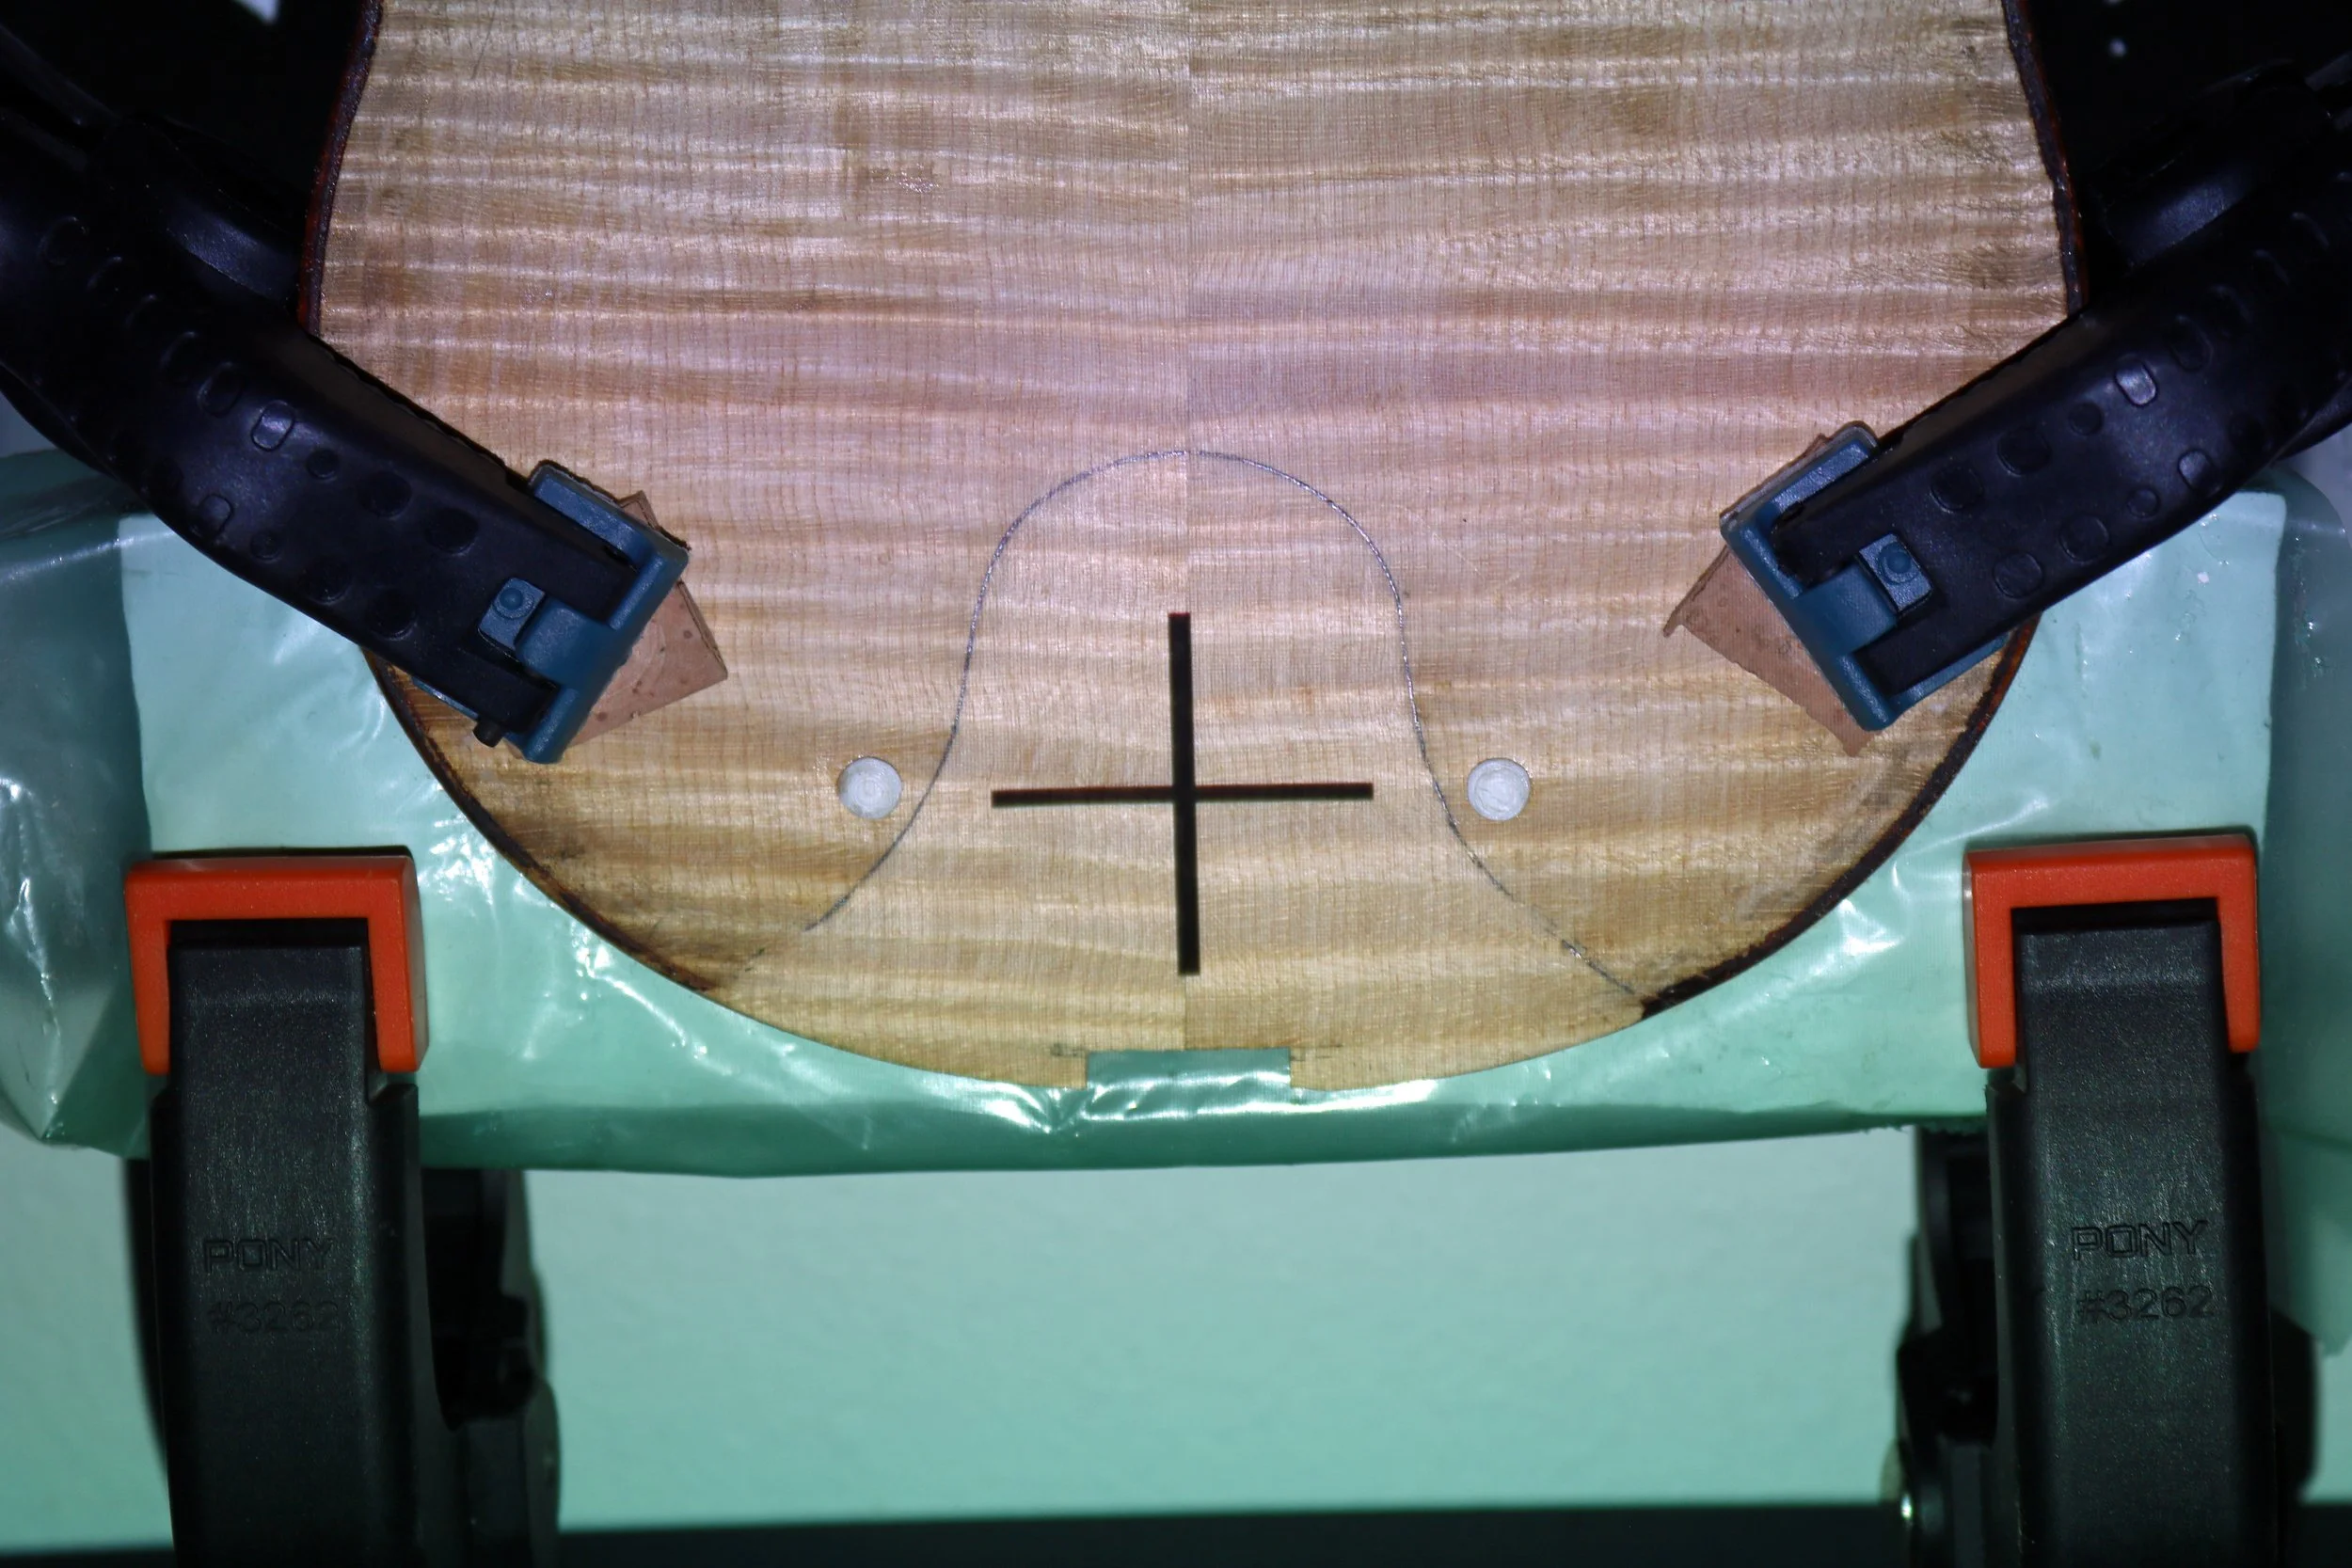
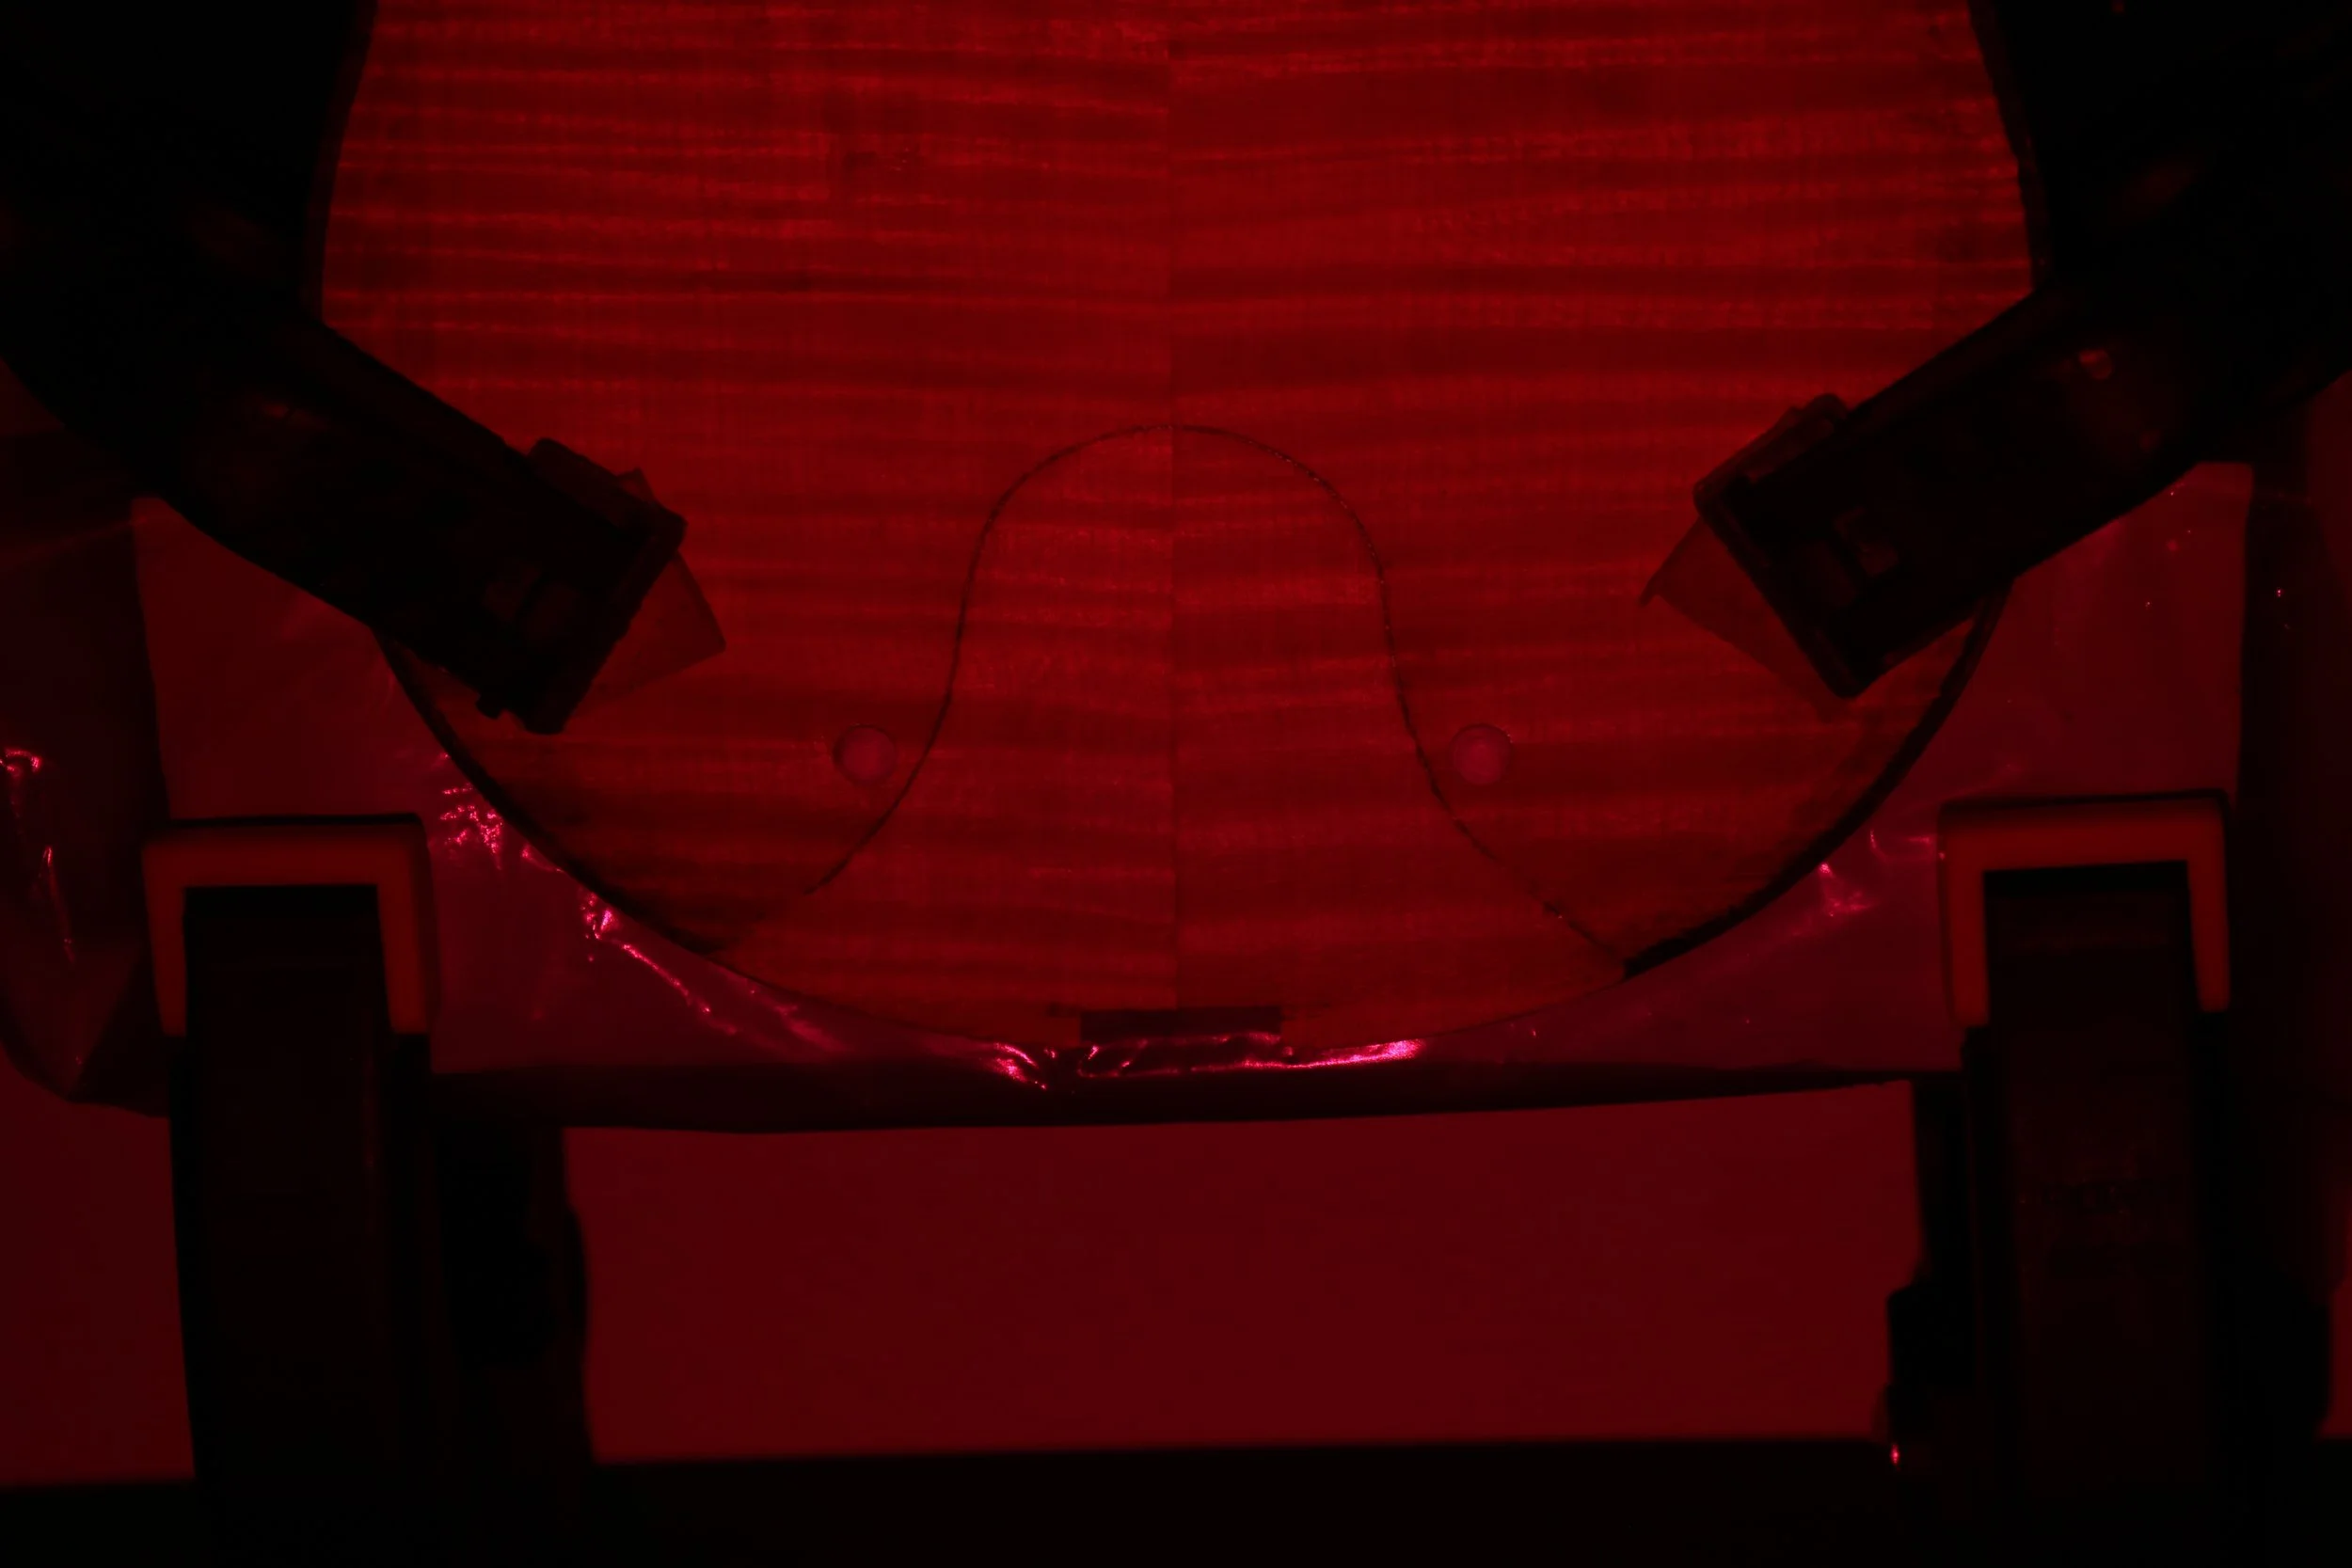
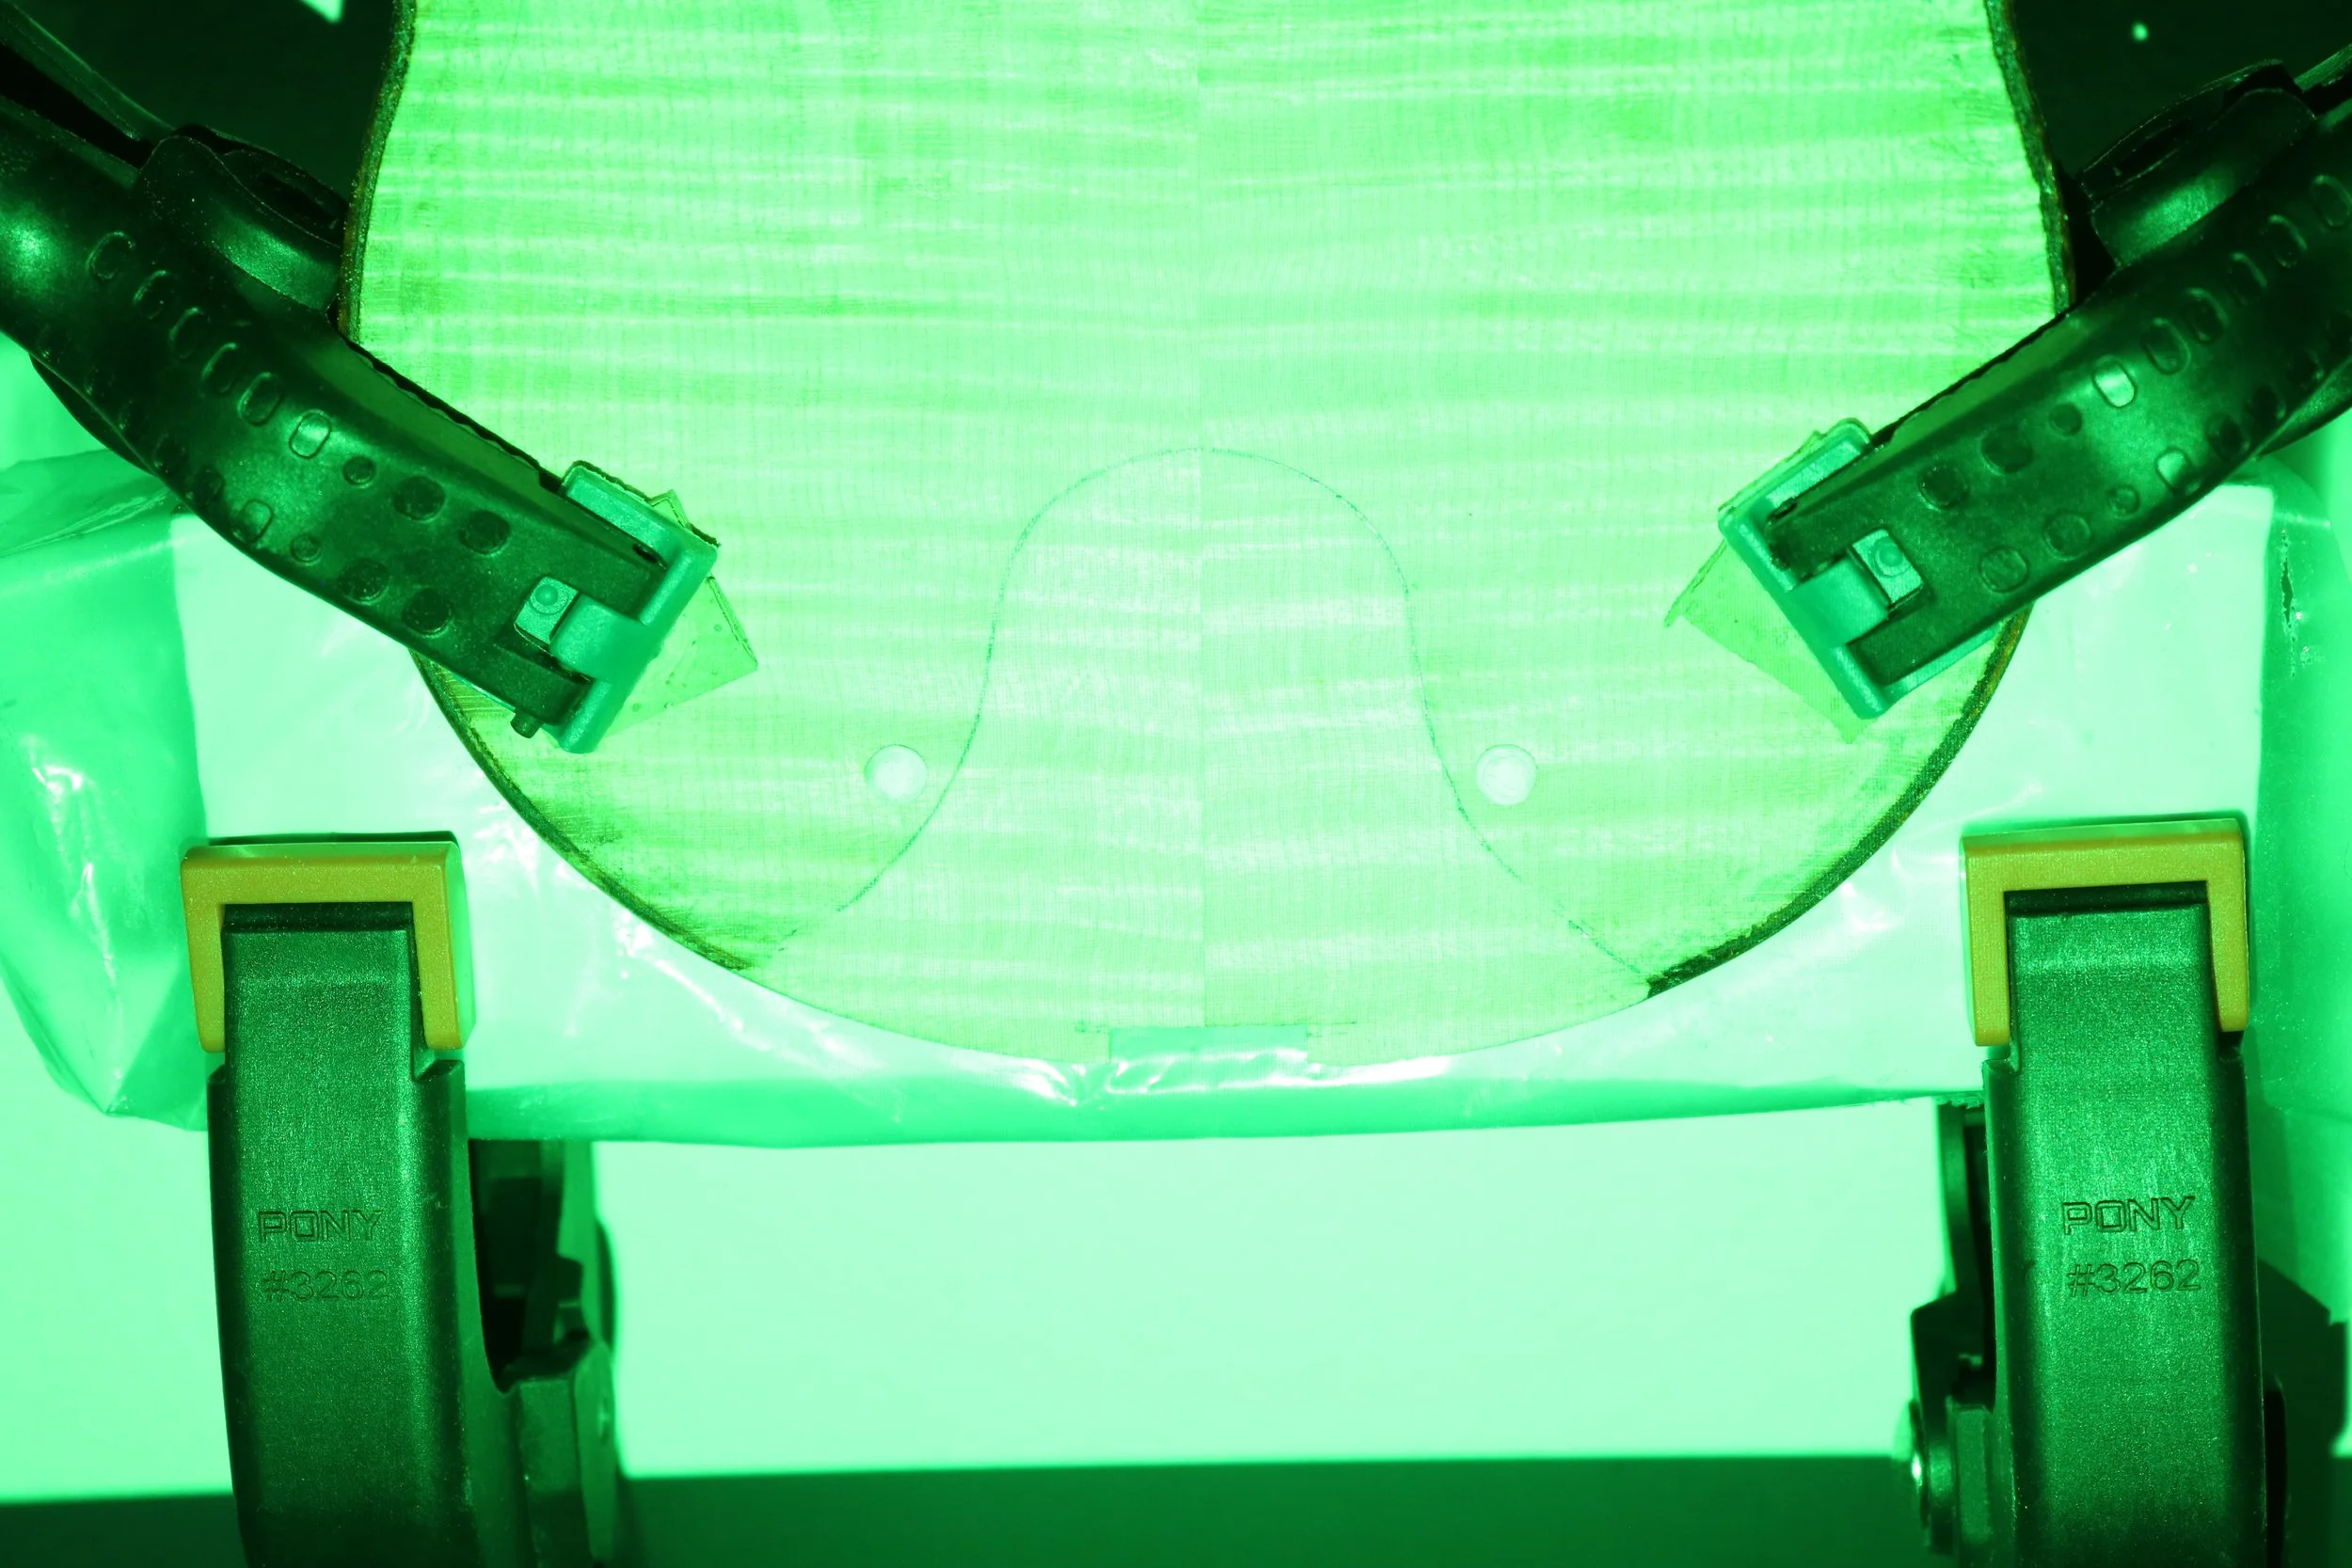
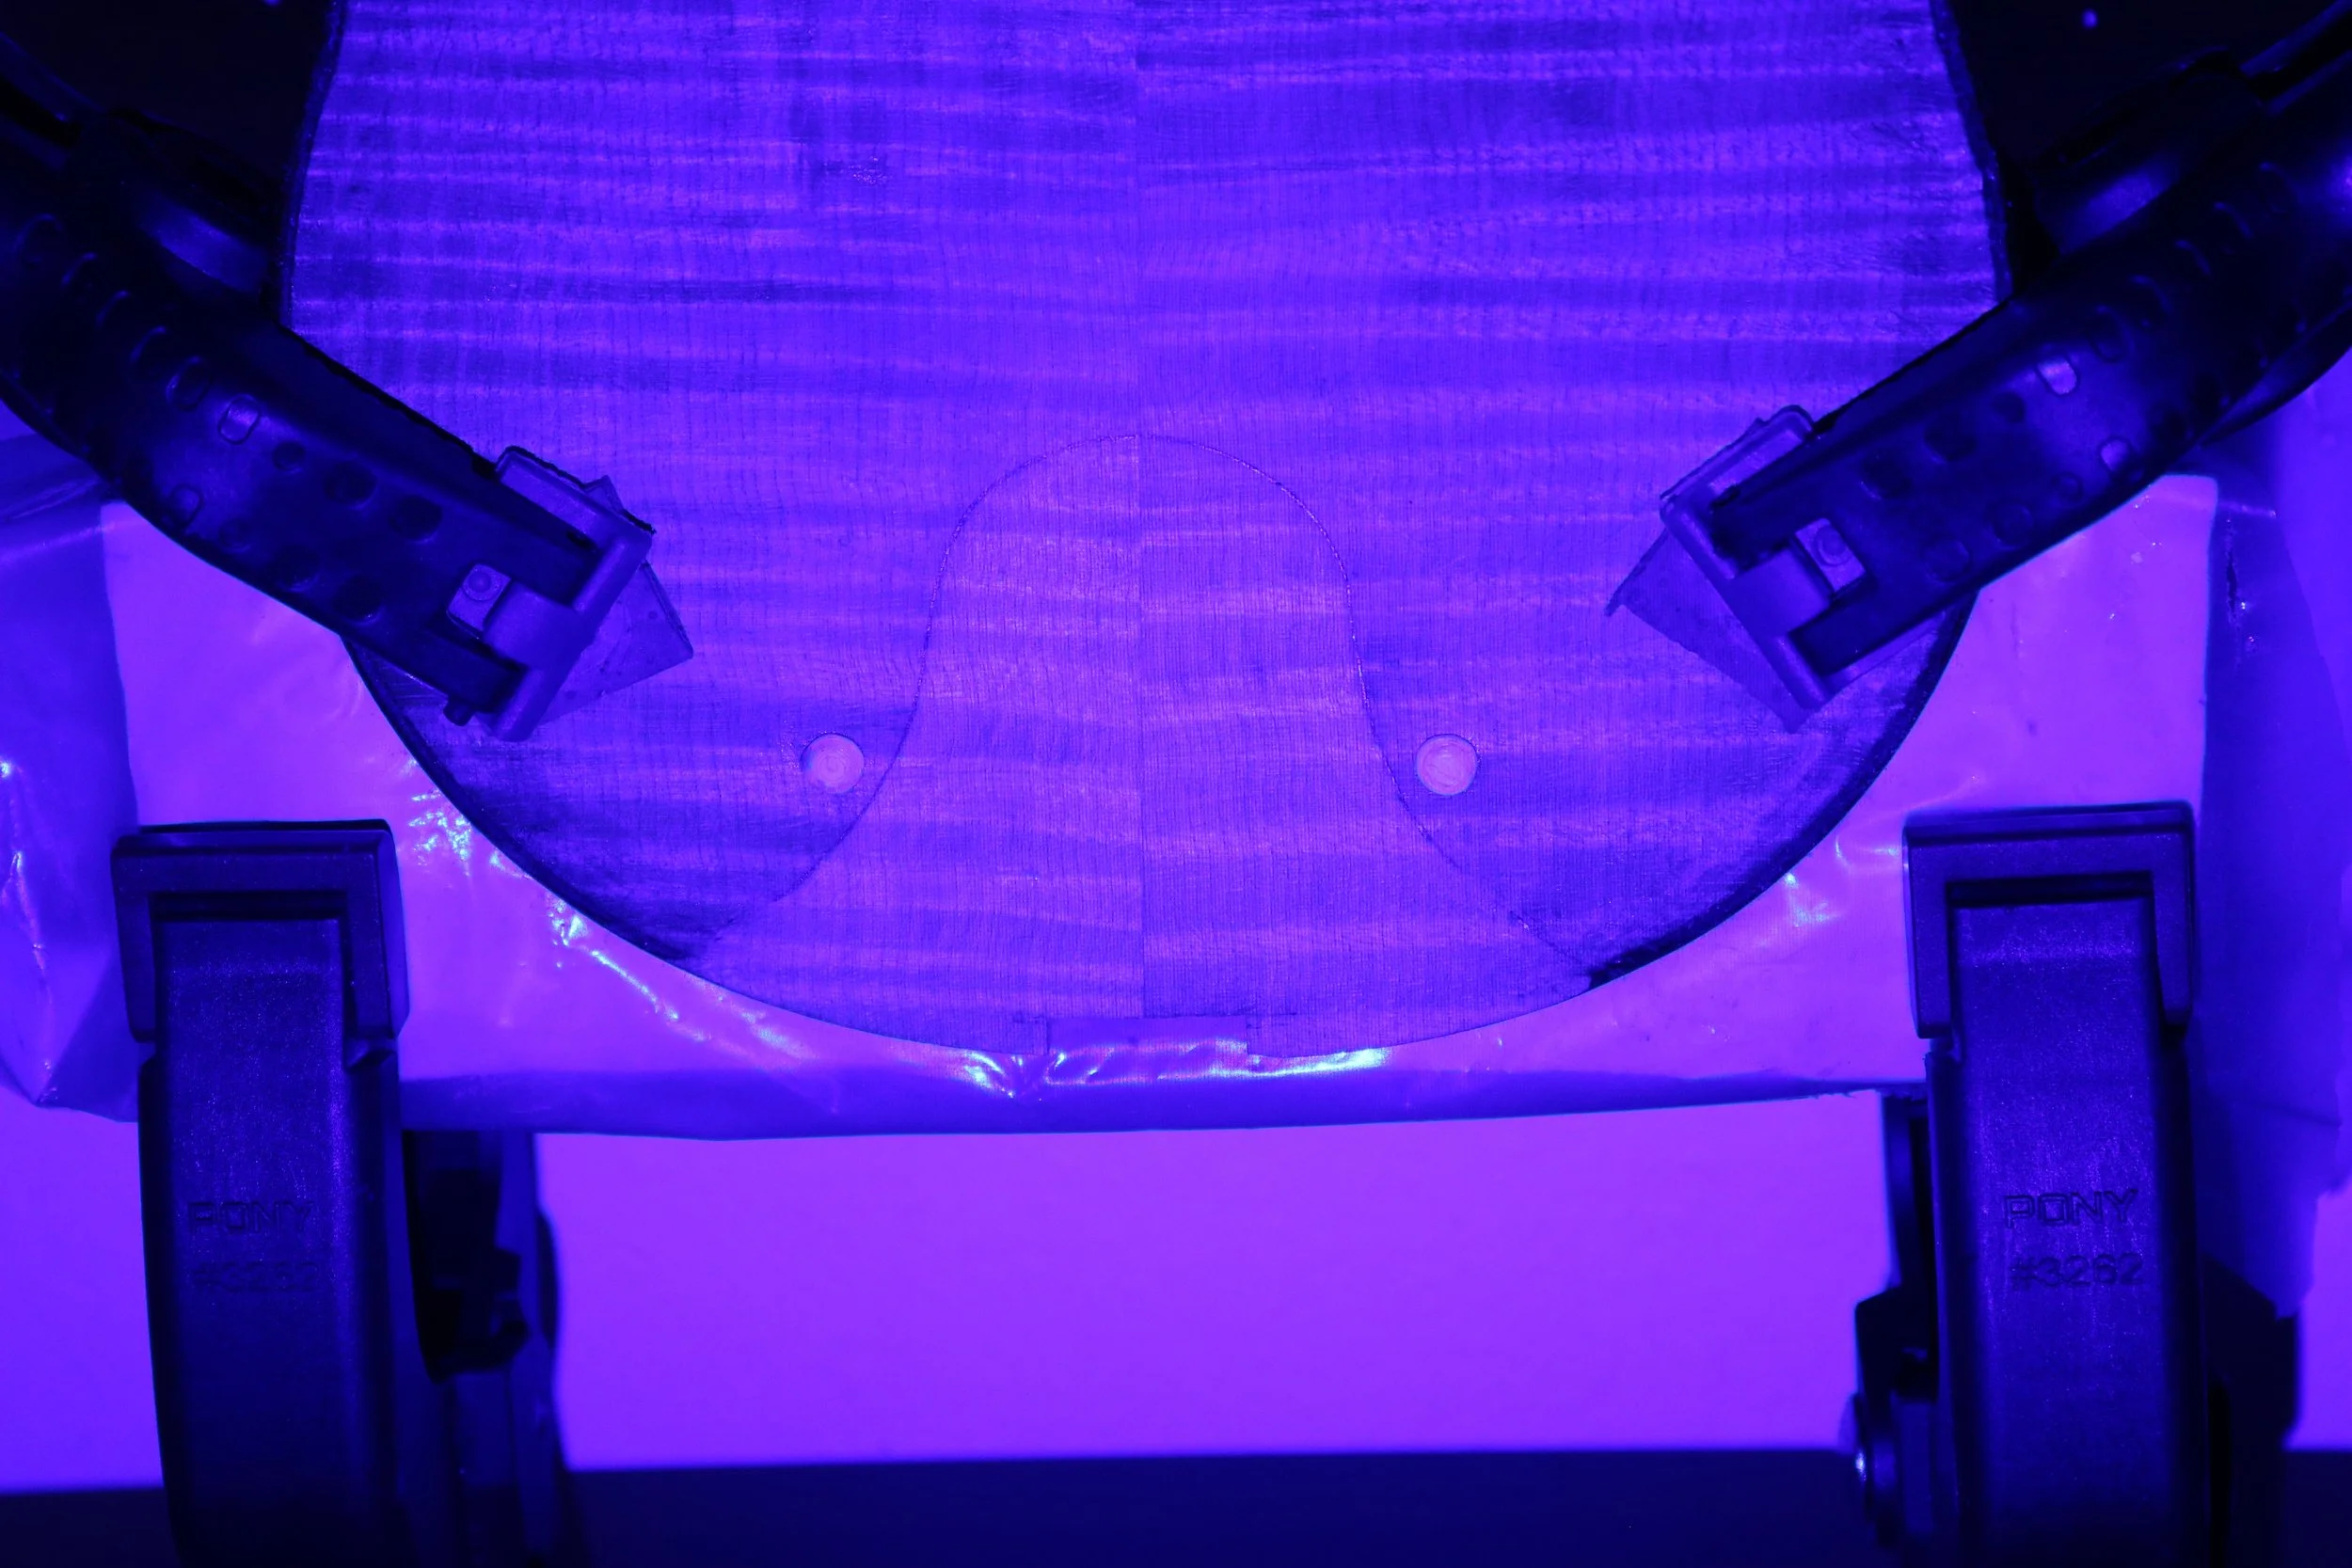
Also ghostly..
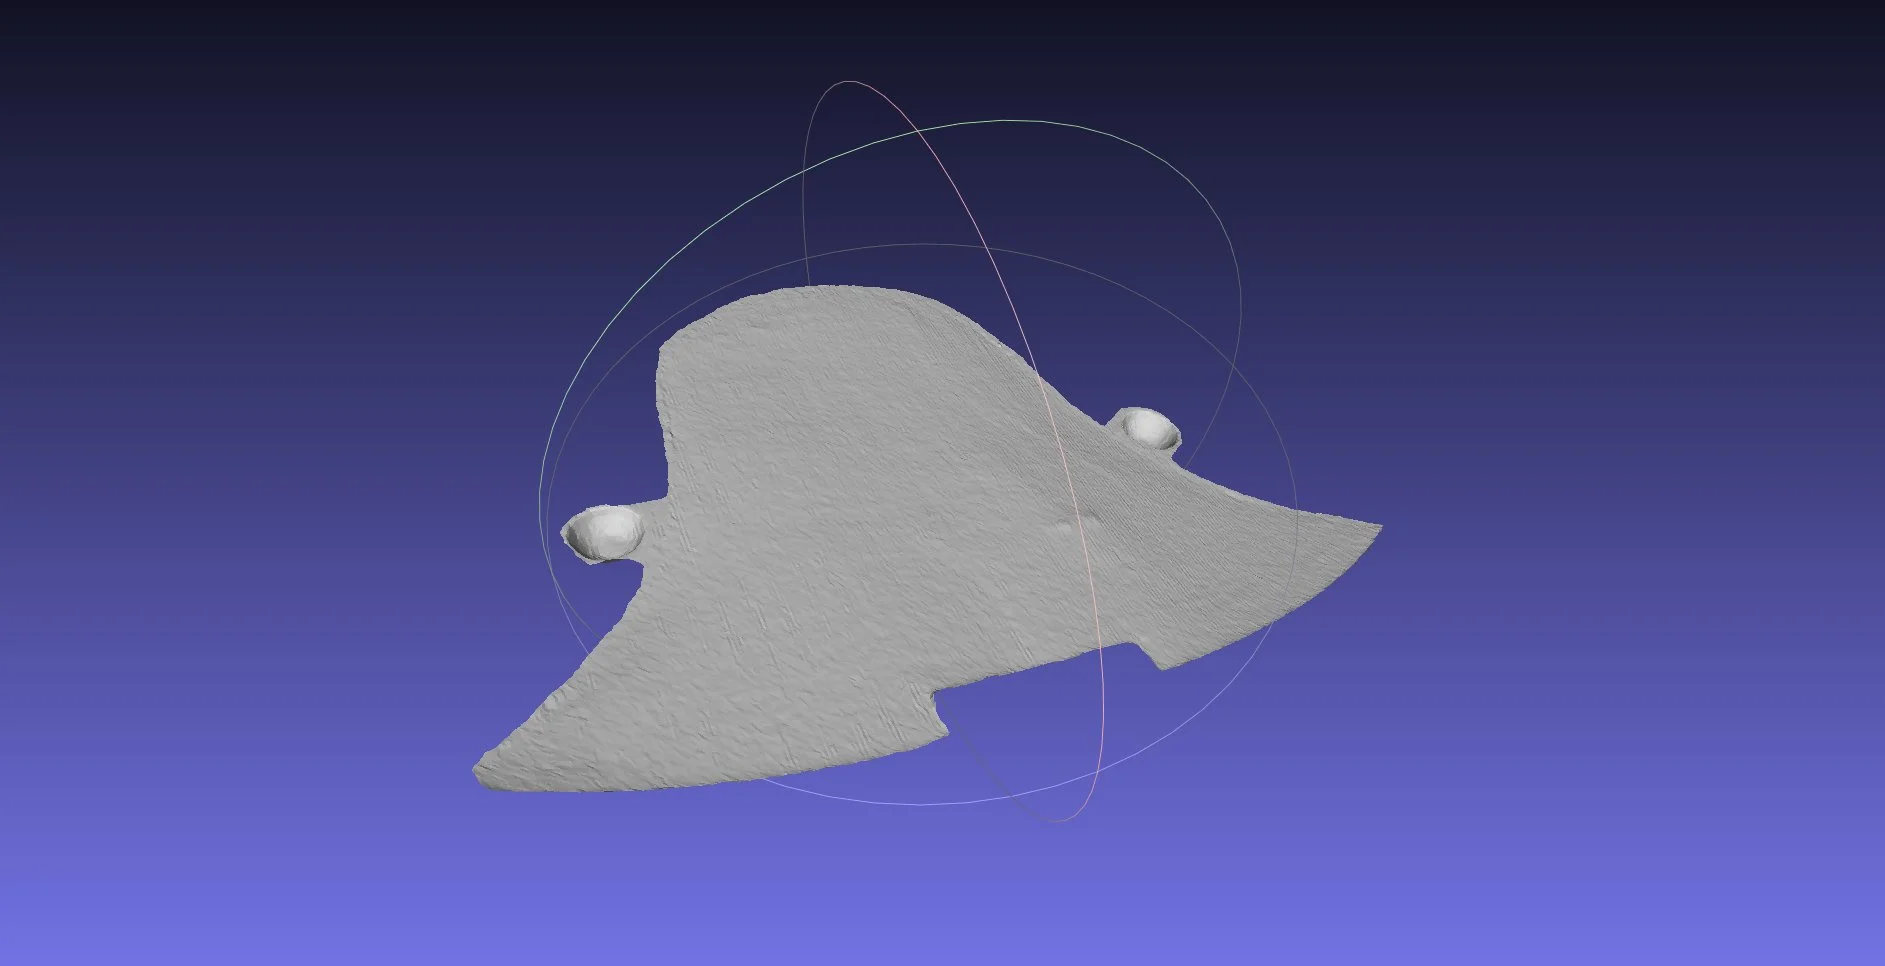
This mesh would then be imported to Fusion360 for further rendering.
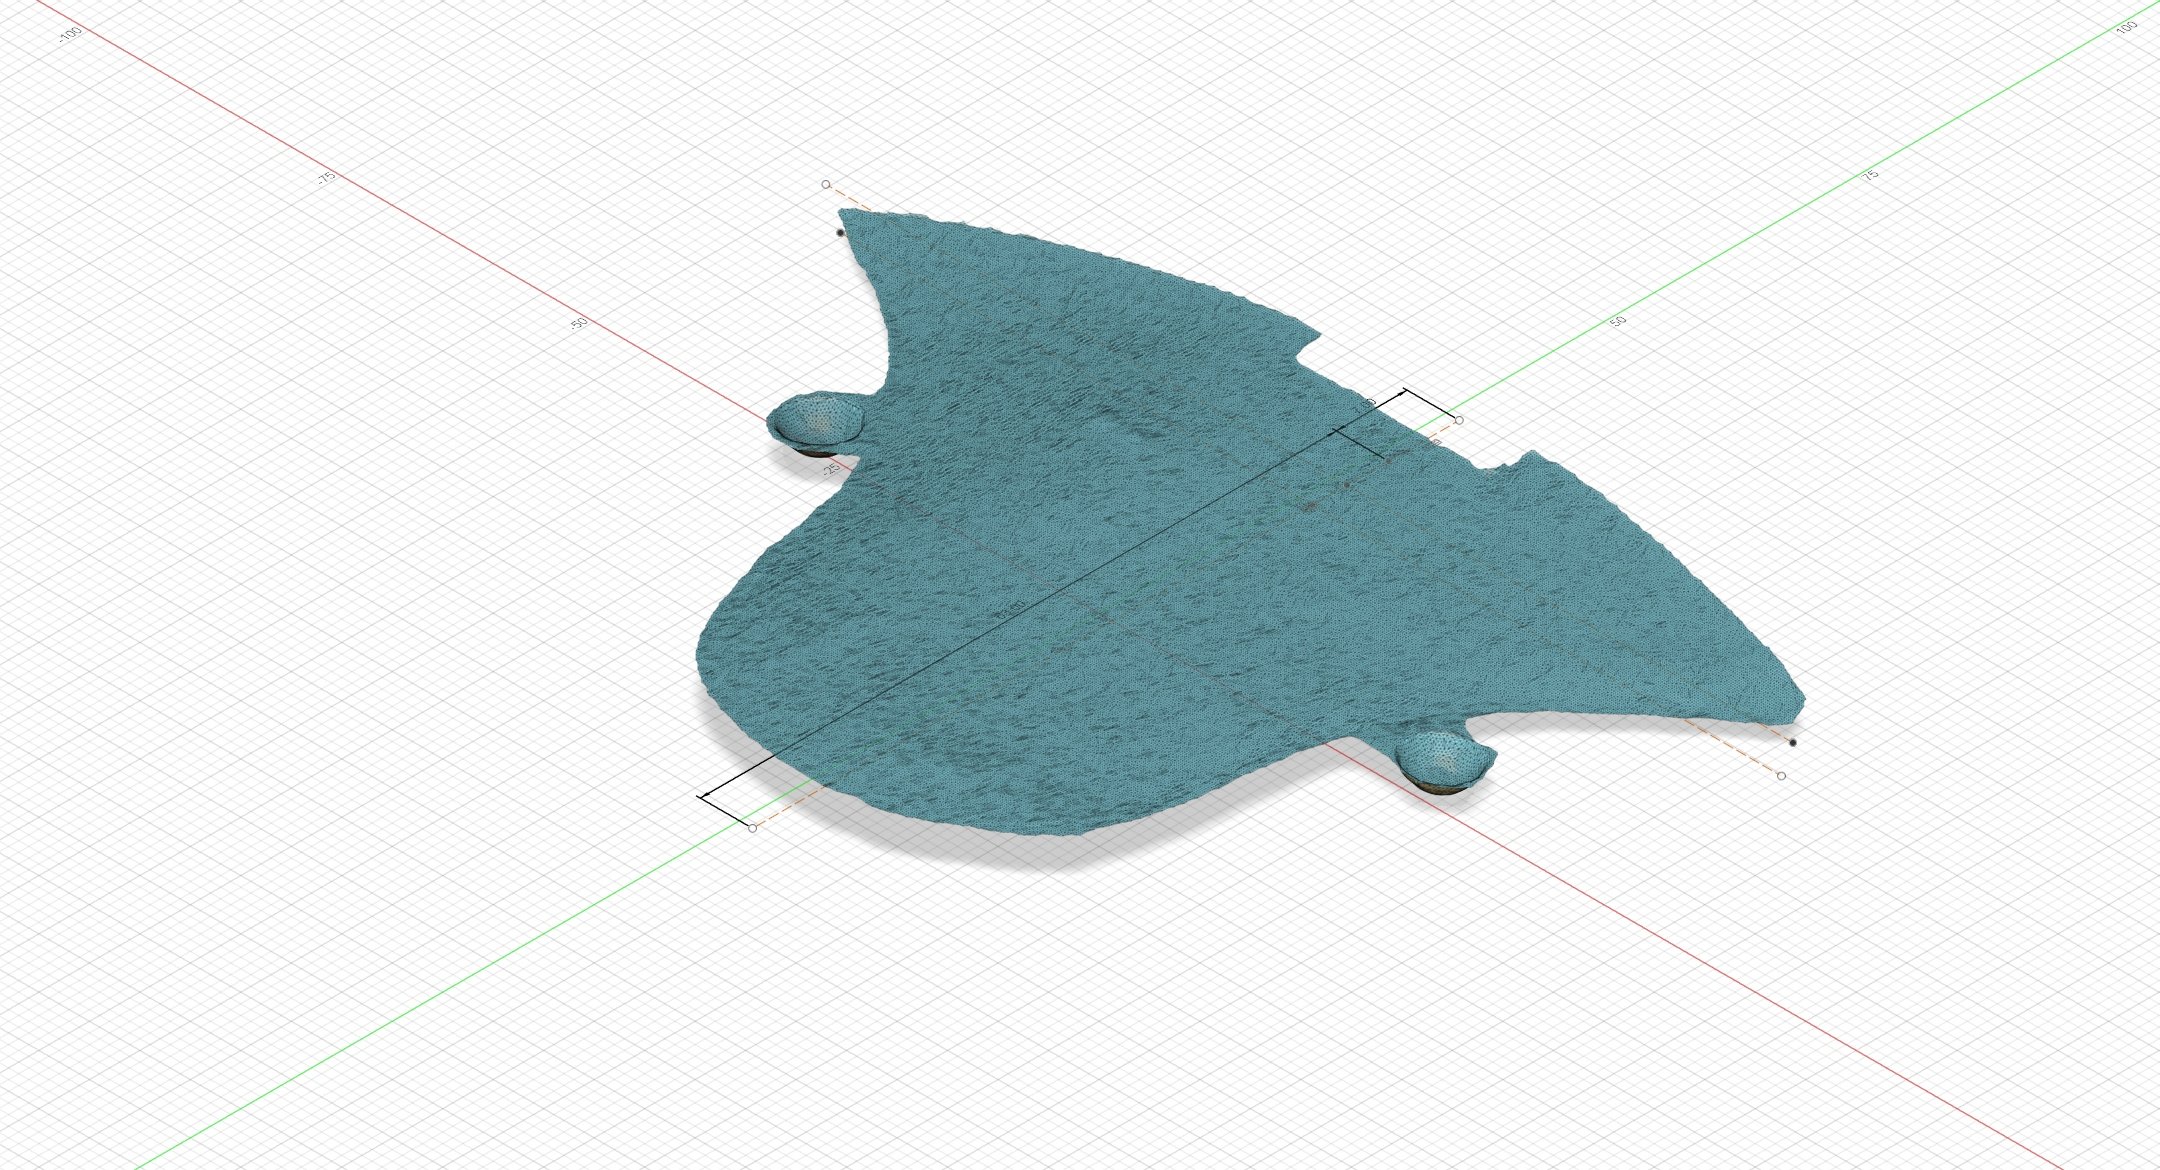
Particularly, it is here that we will draw the digitally grafted wood for the replacement button.
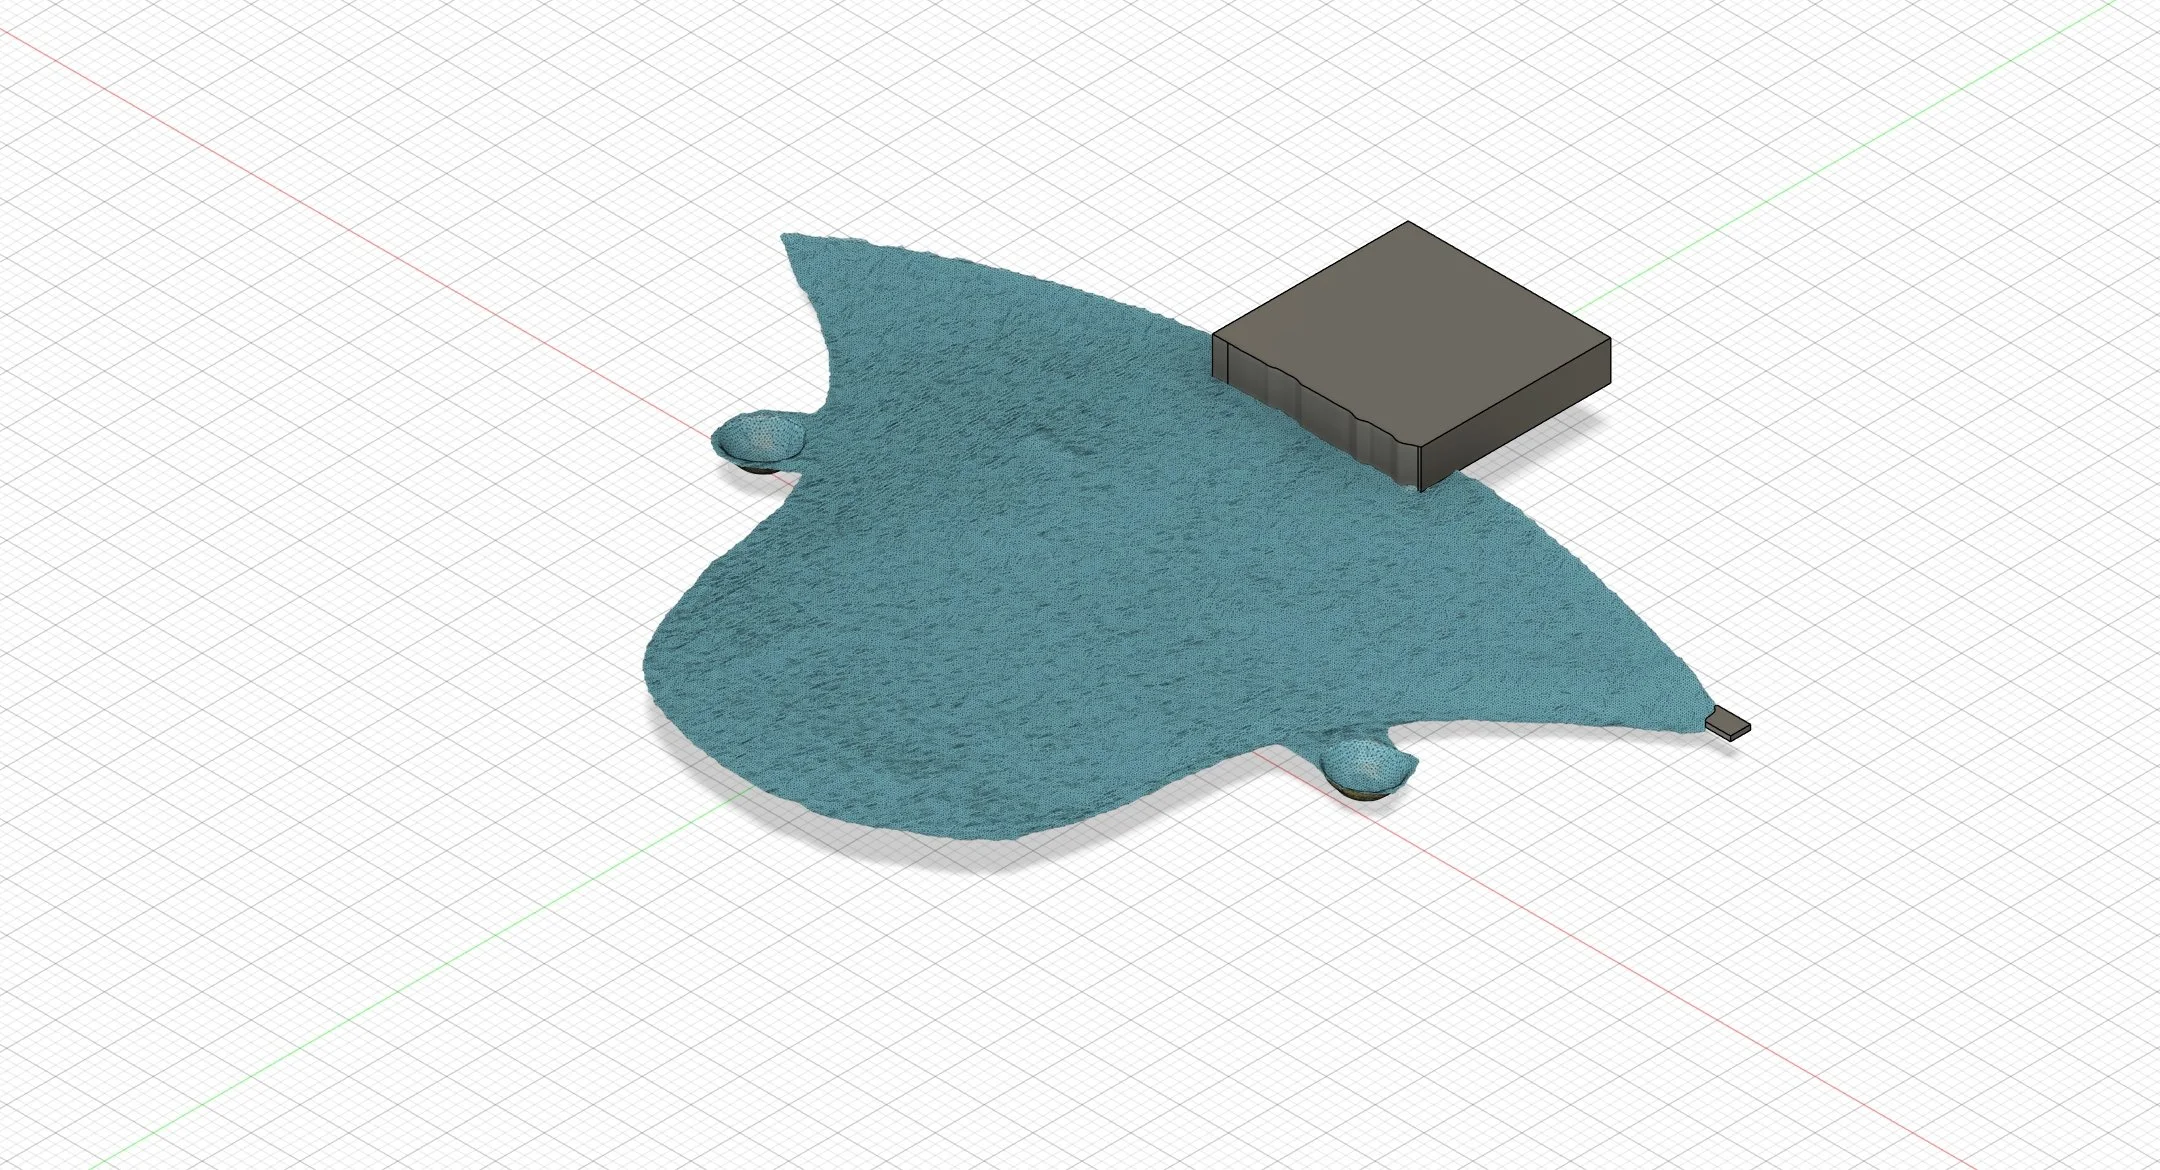
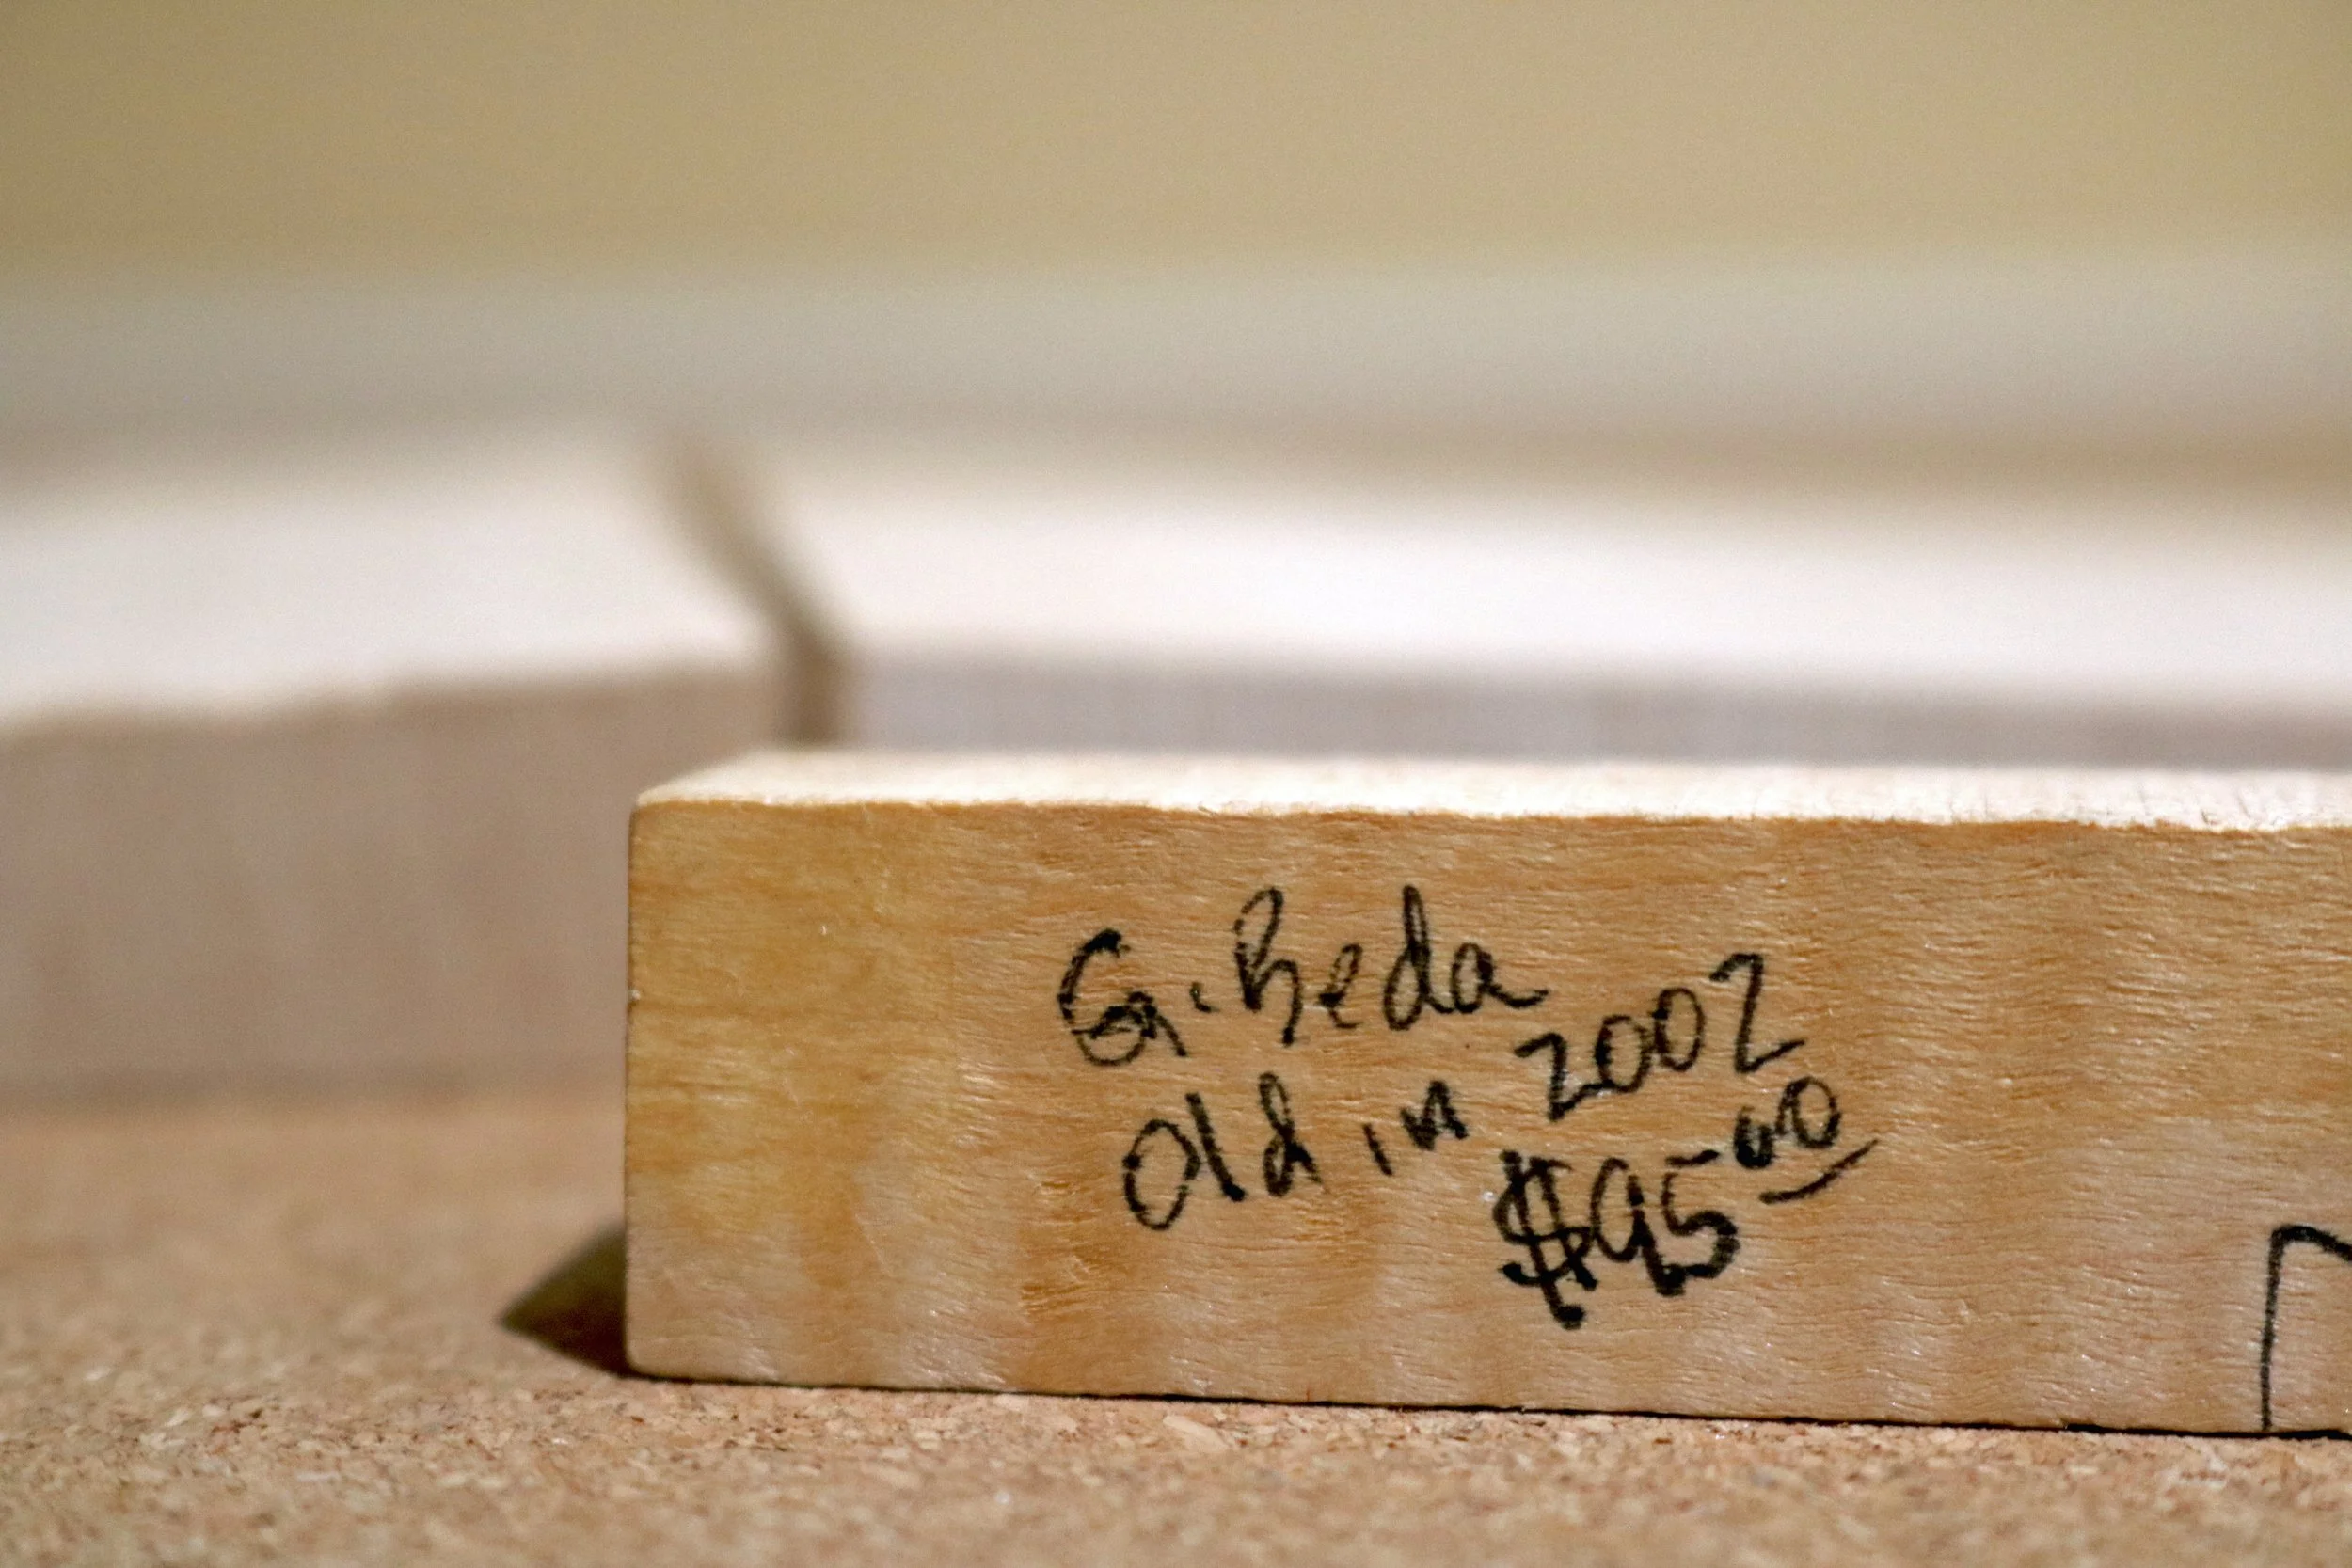
We managed to find in our collection a very close to perfect piece of maple to be used as the donor.
Old in 2002.
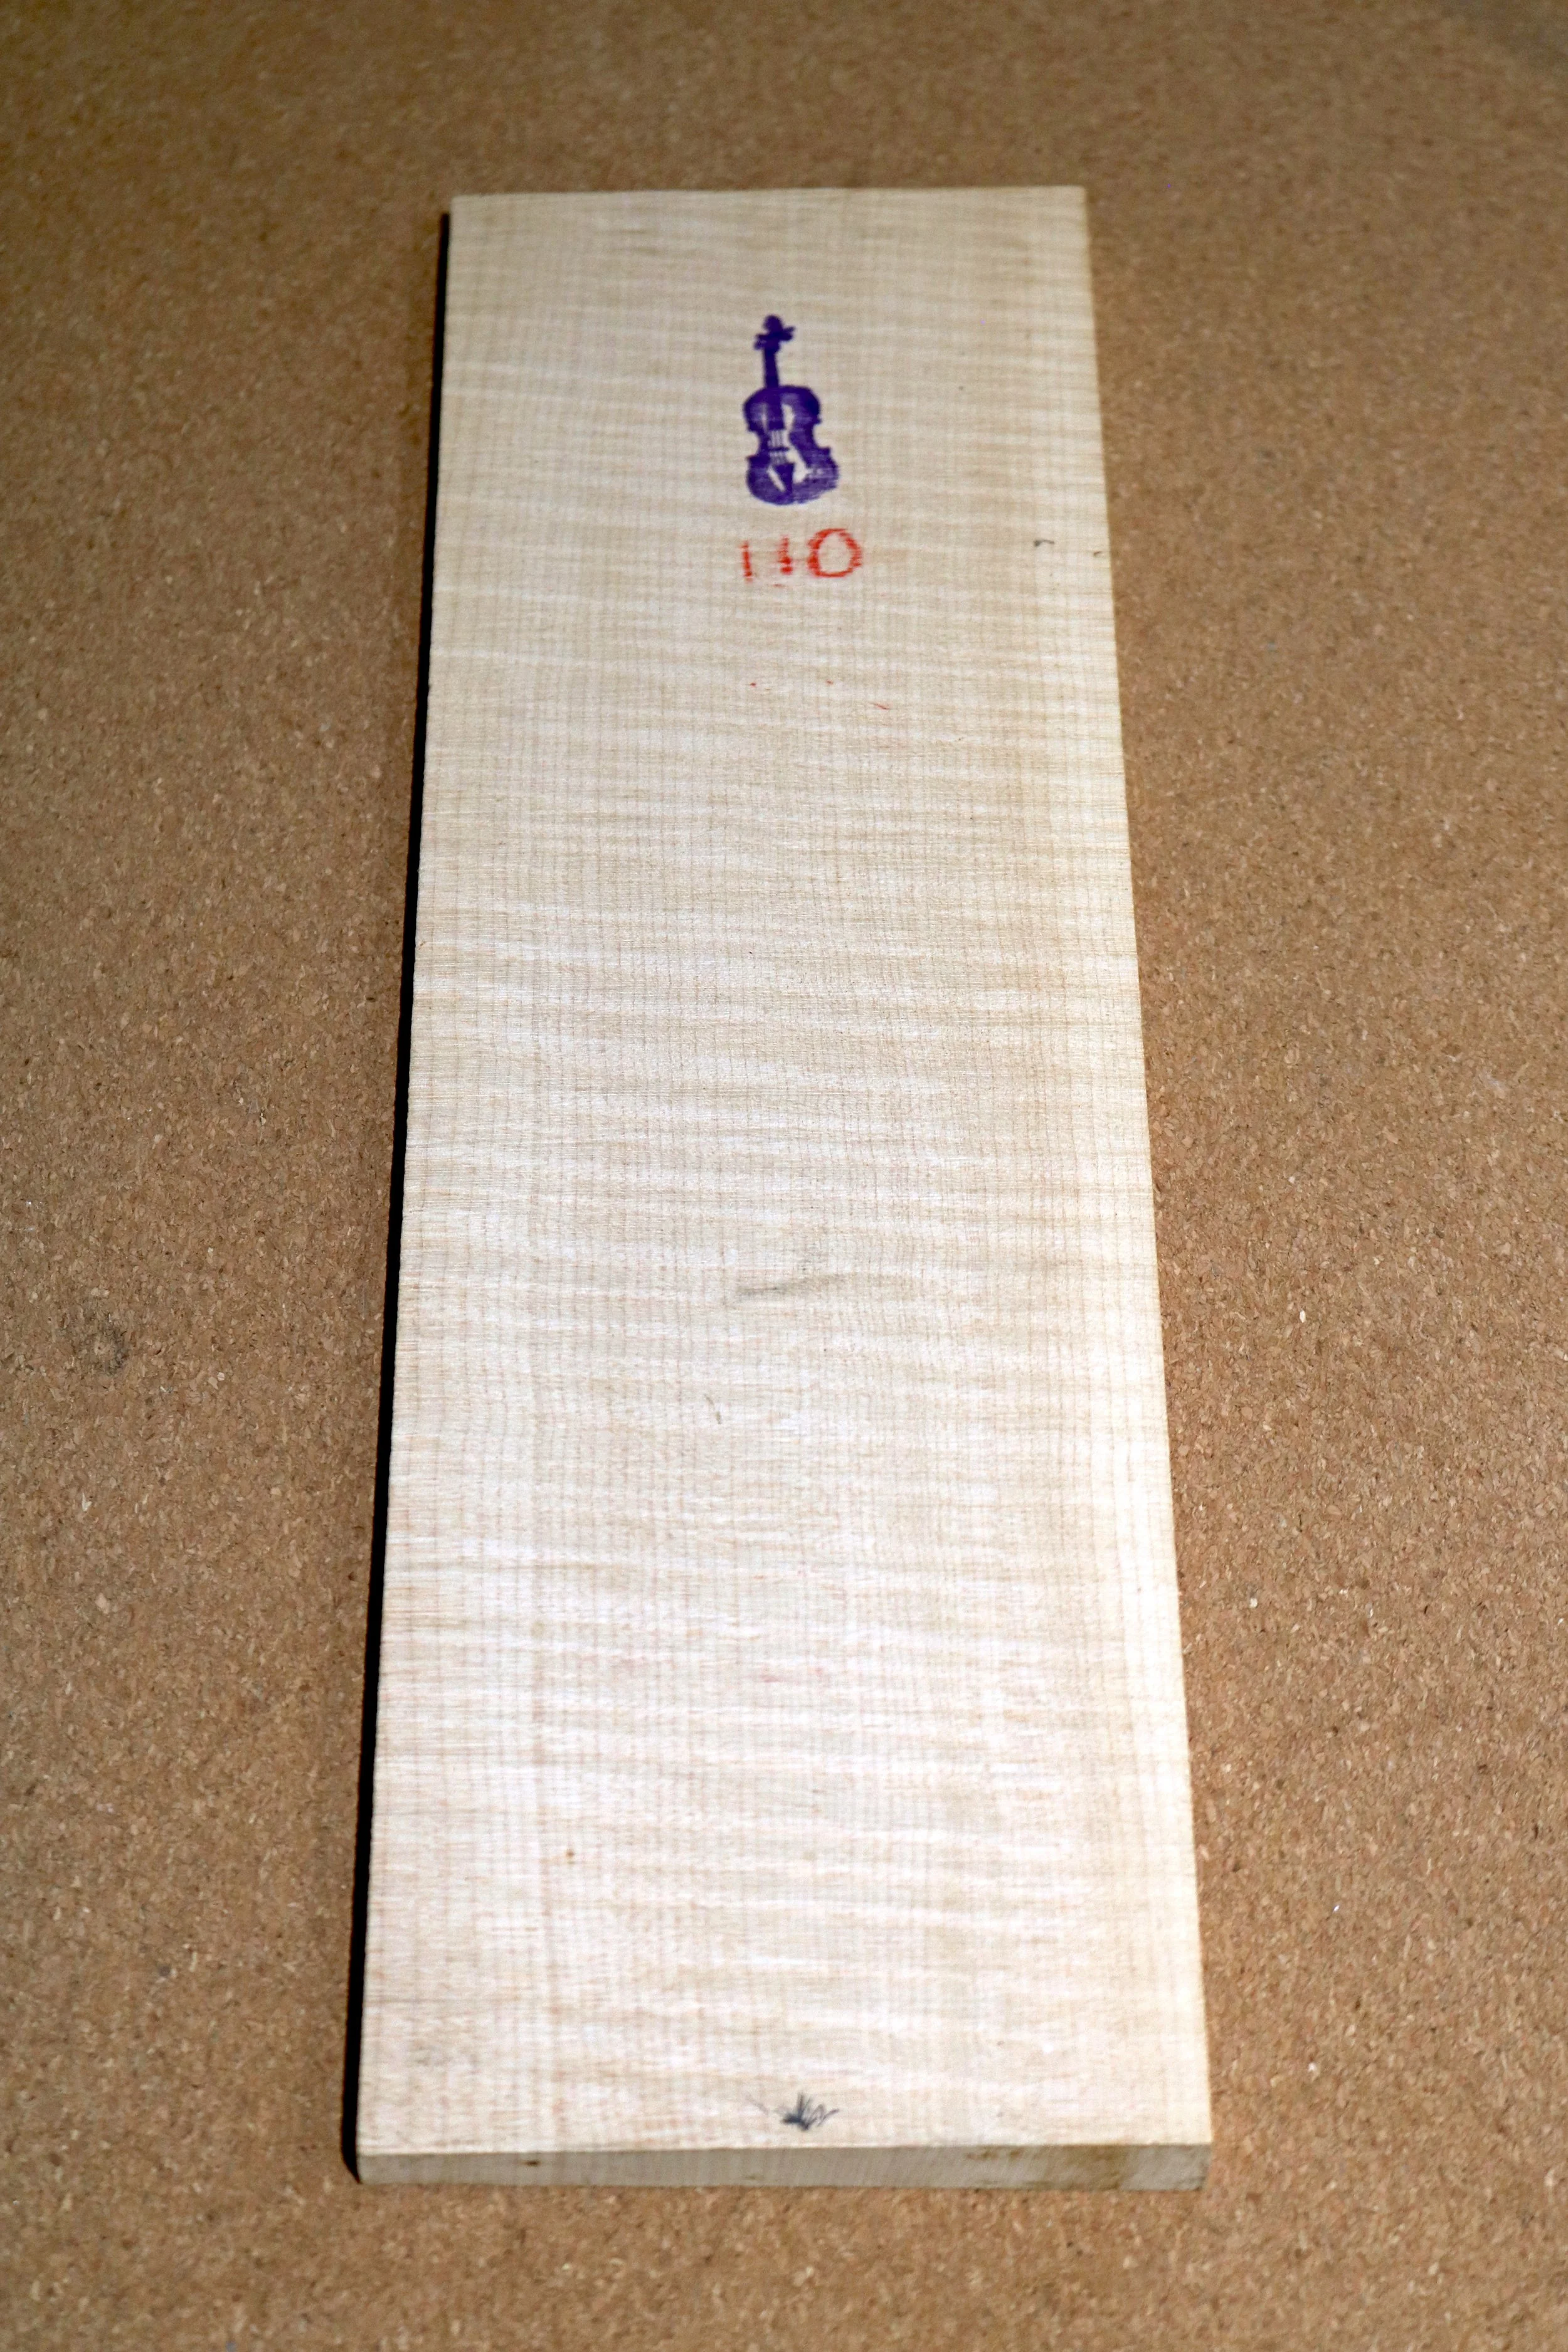
The center seam is created..
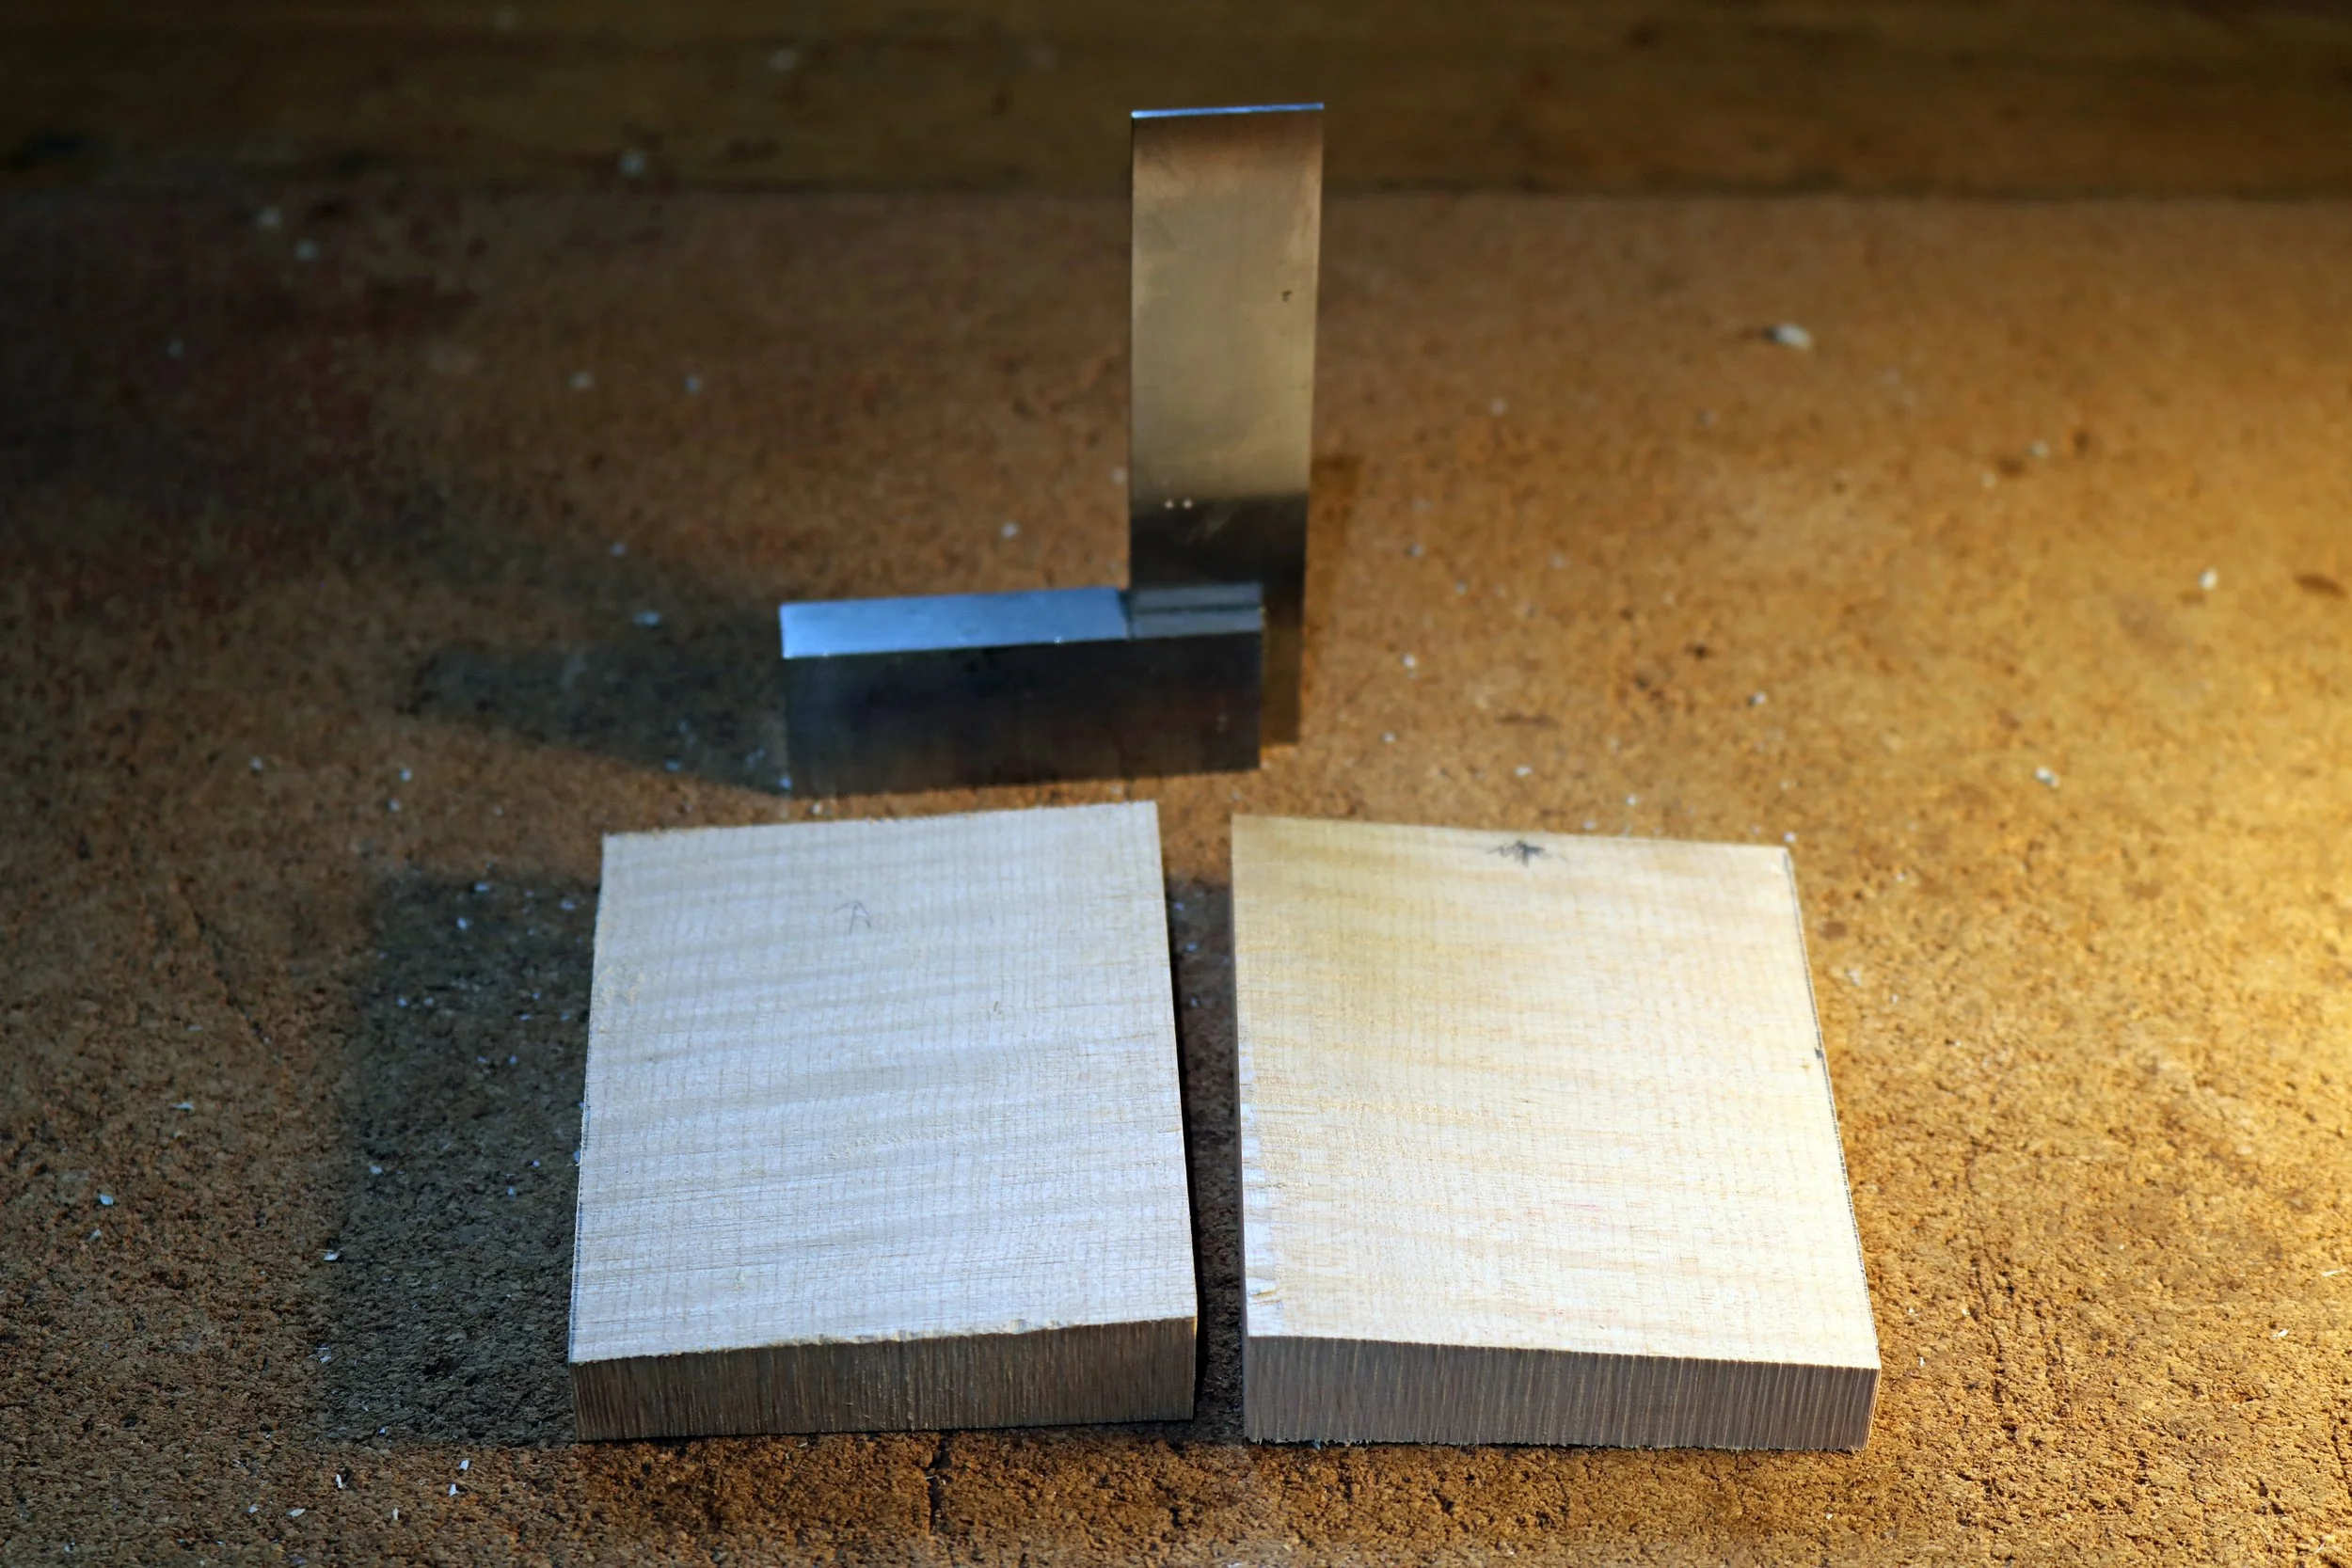
A very nice match.
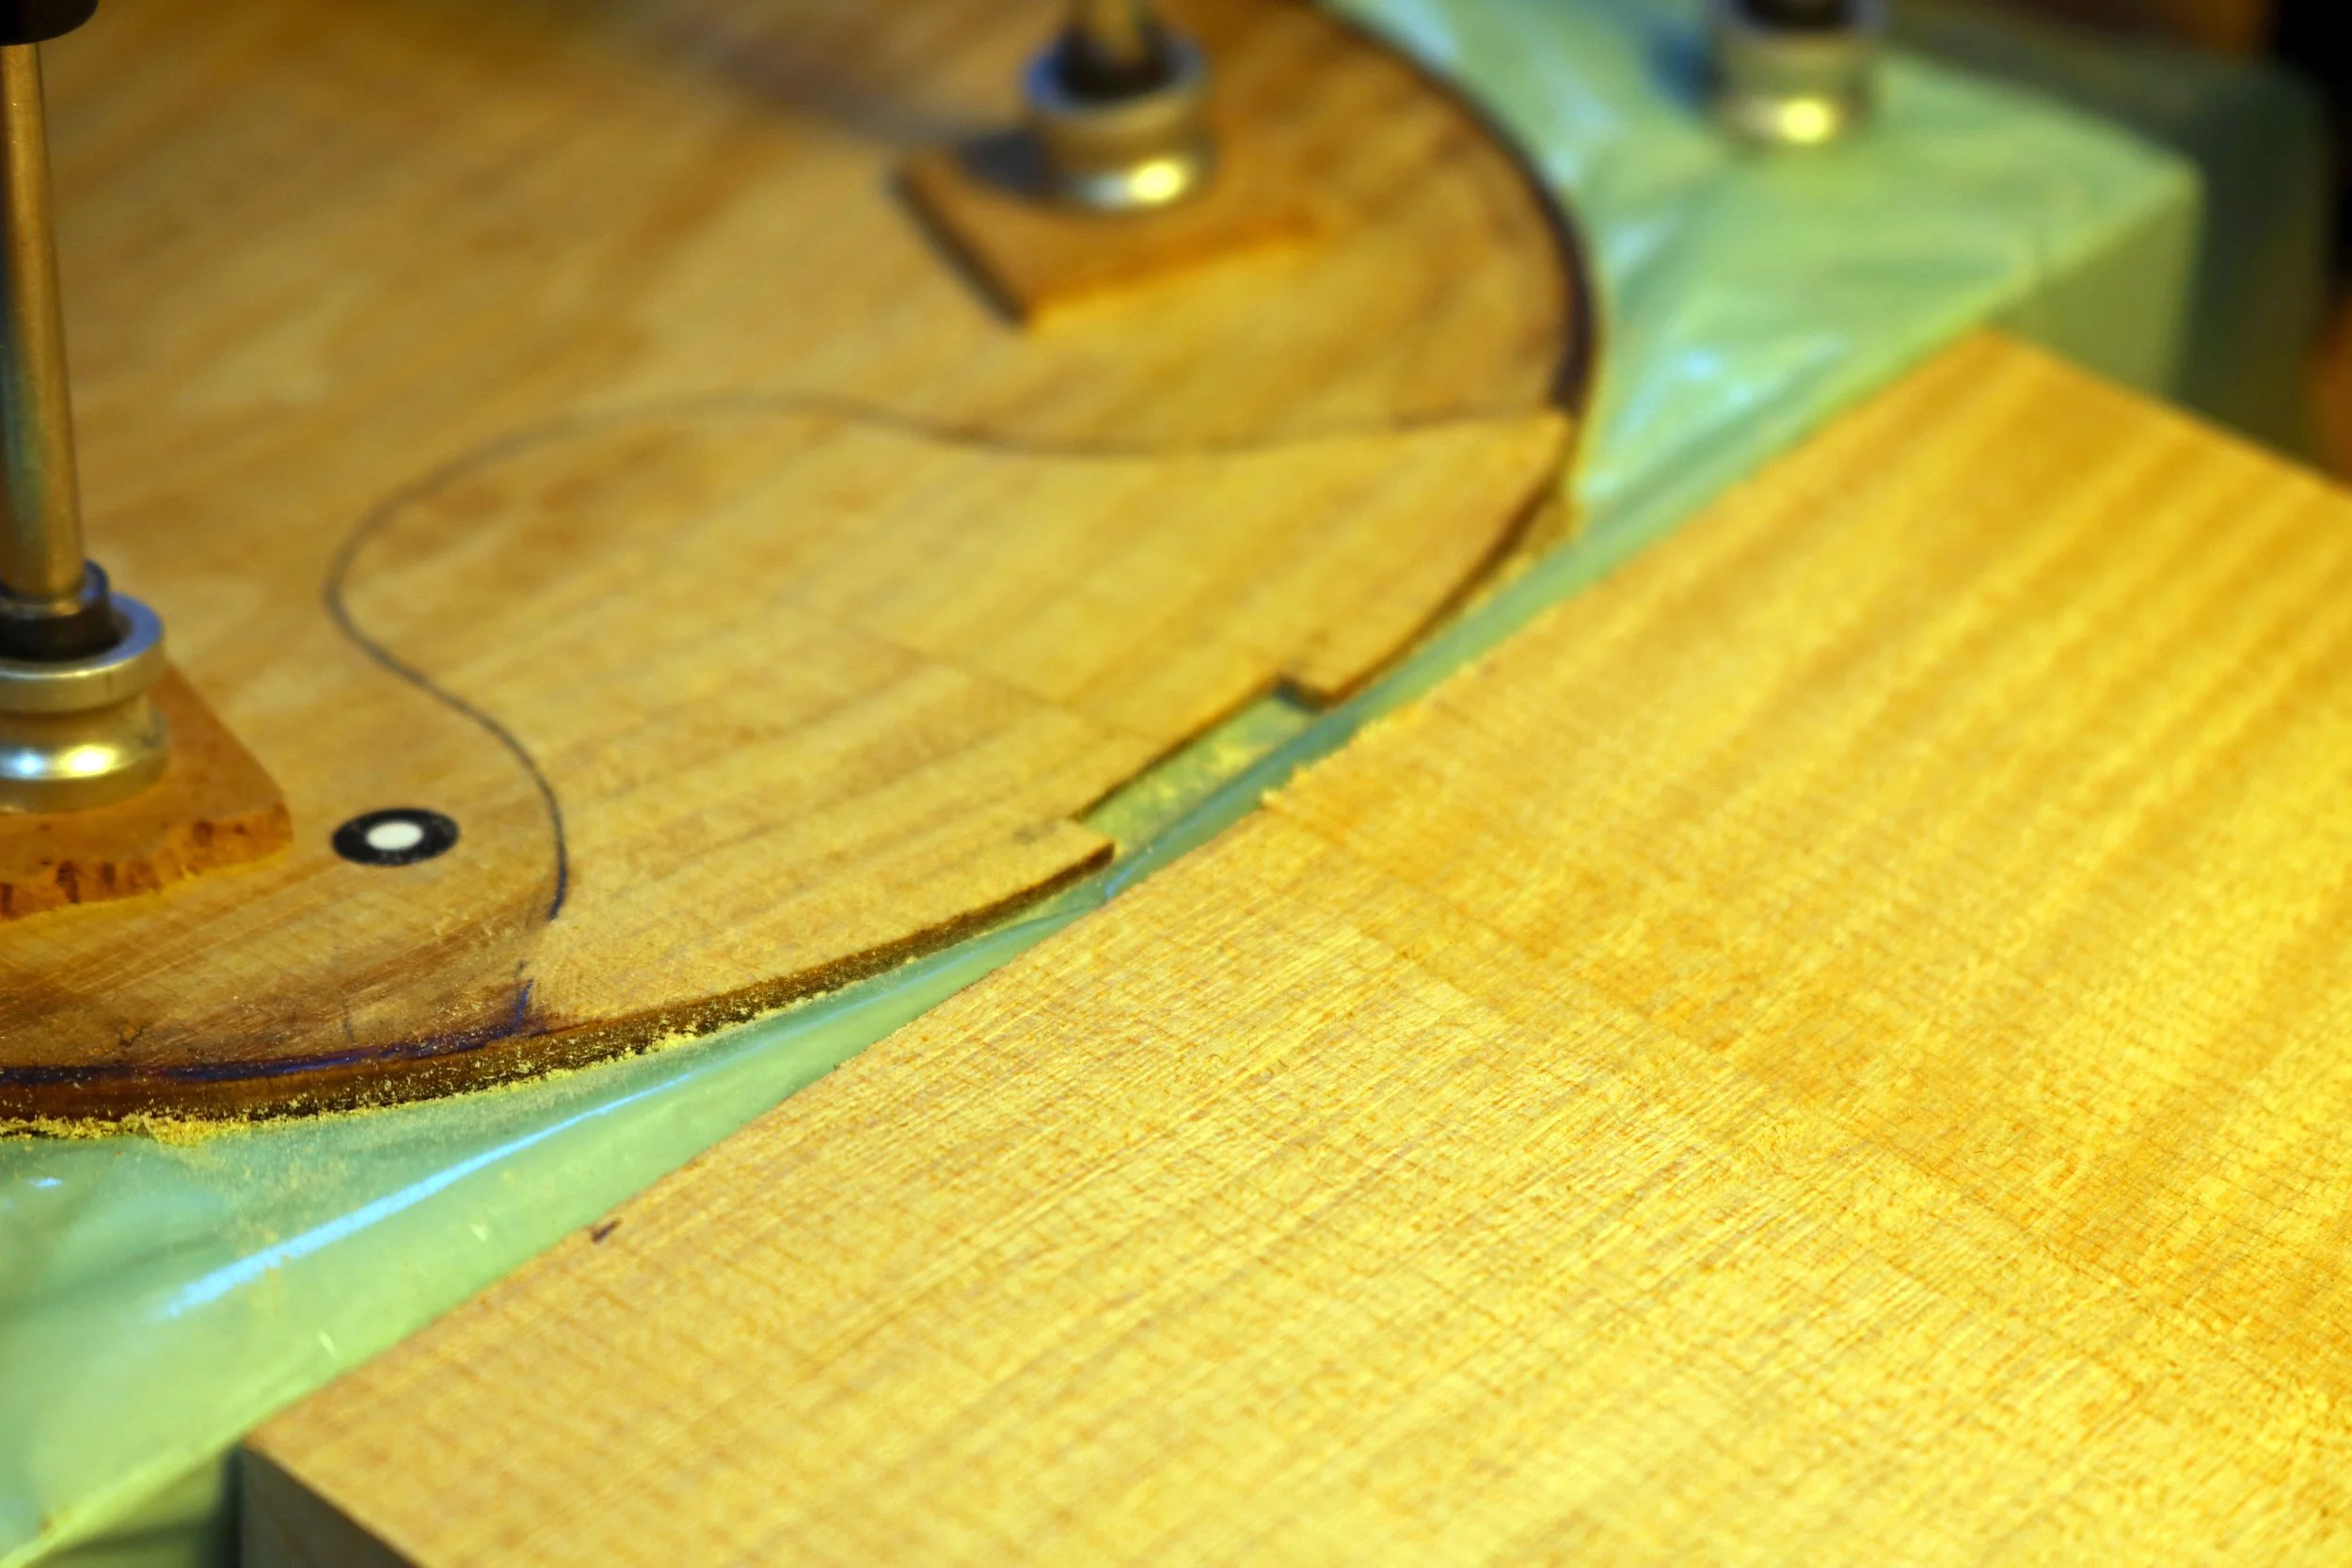
Our patching block is now mounted in the Roland MDX-50, and the milling begun.
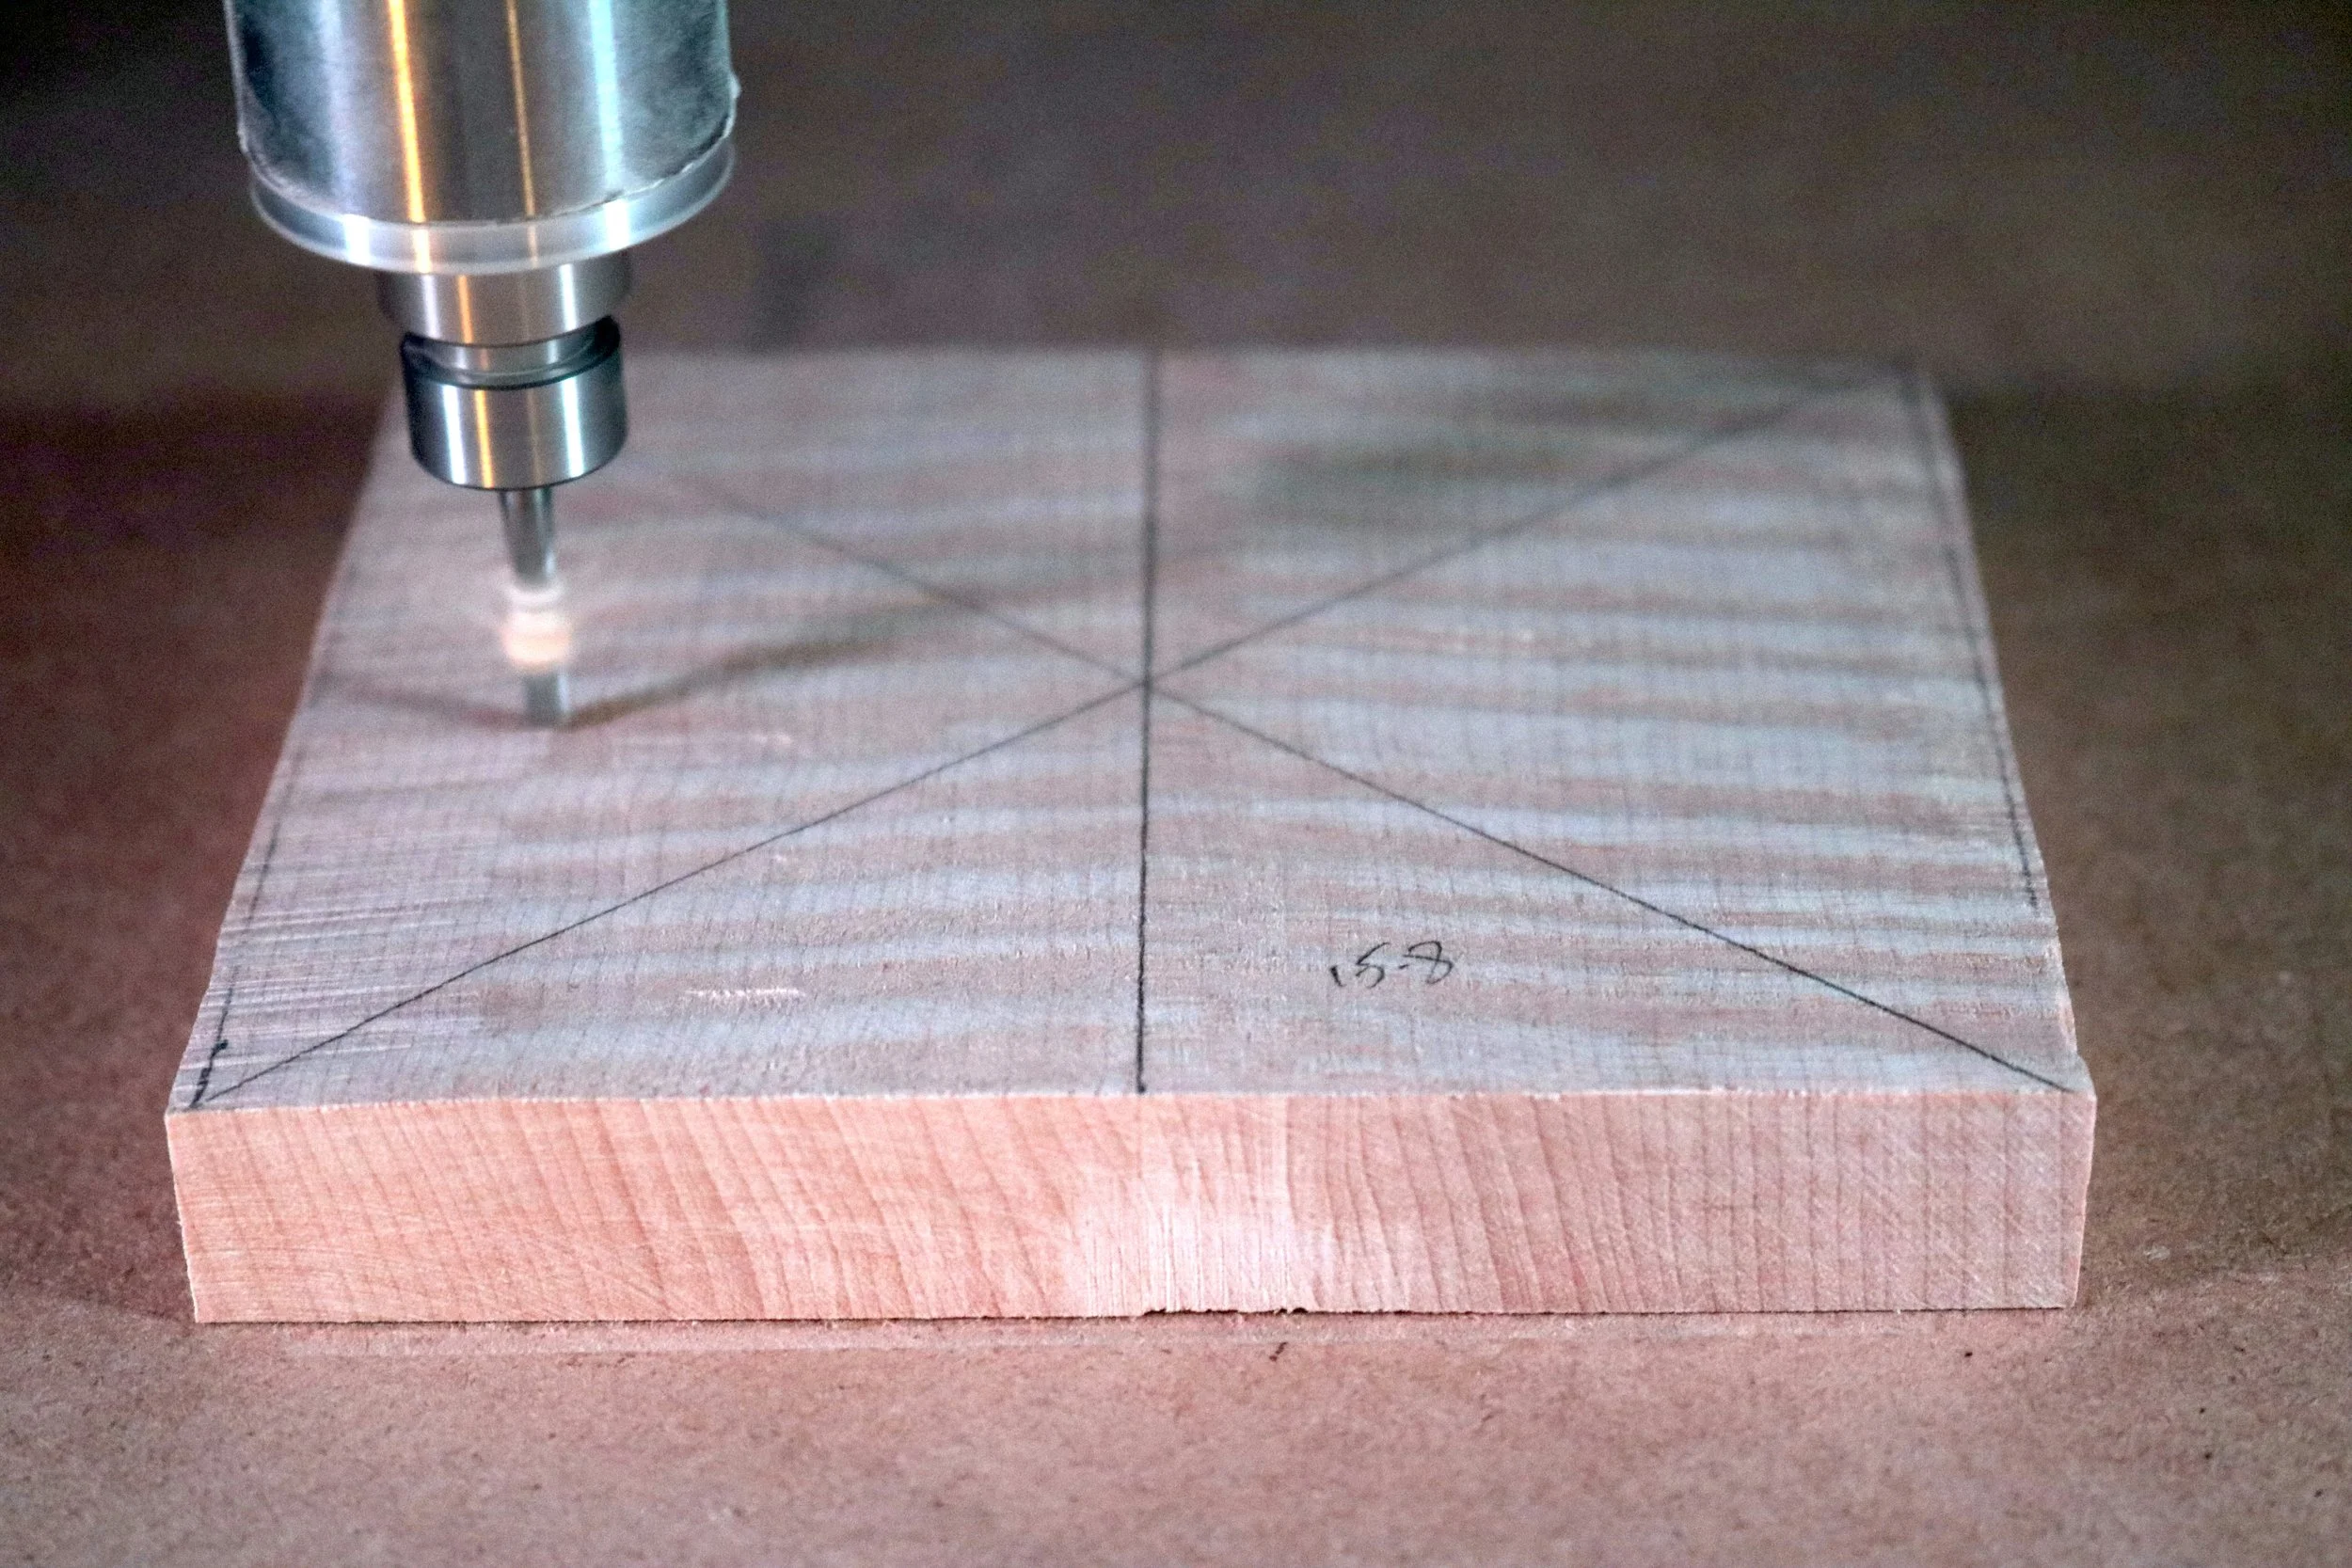
This is what the machine has created- looks like the picture!
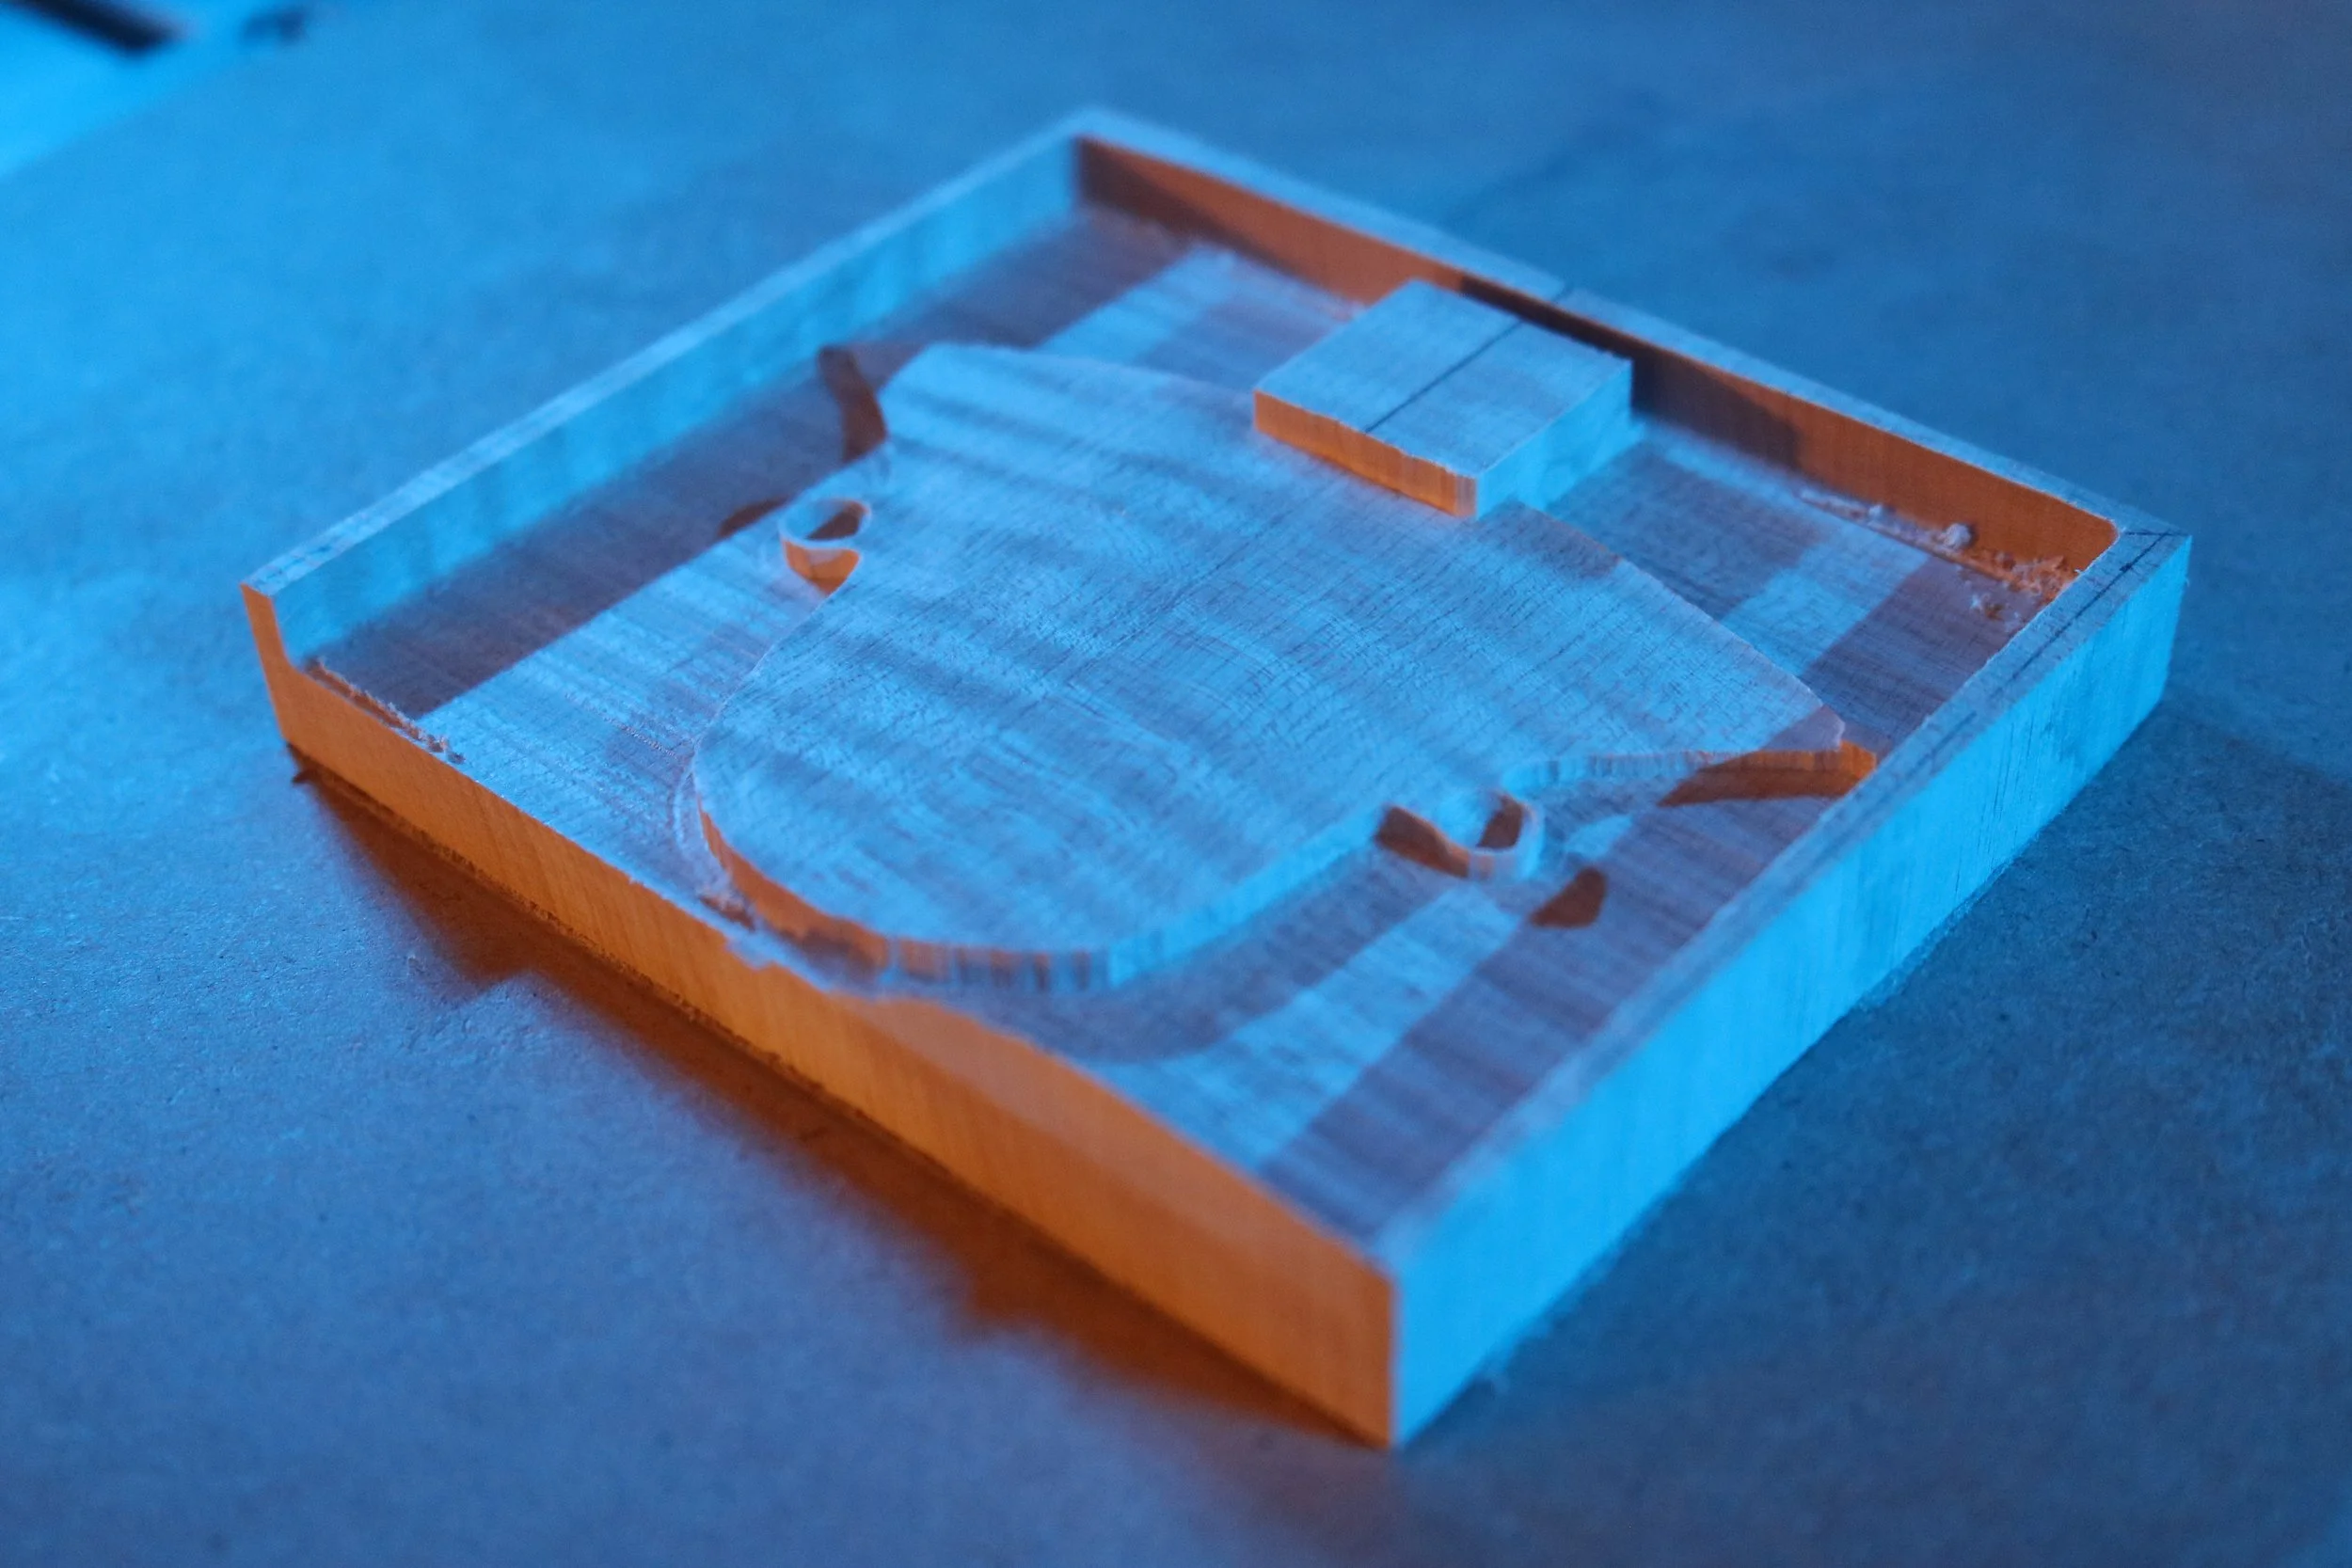
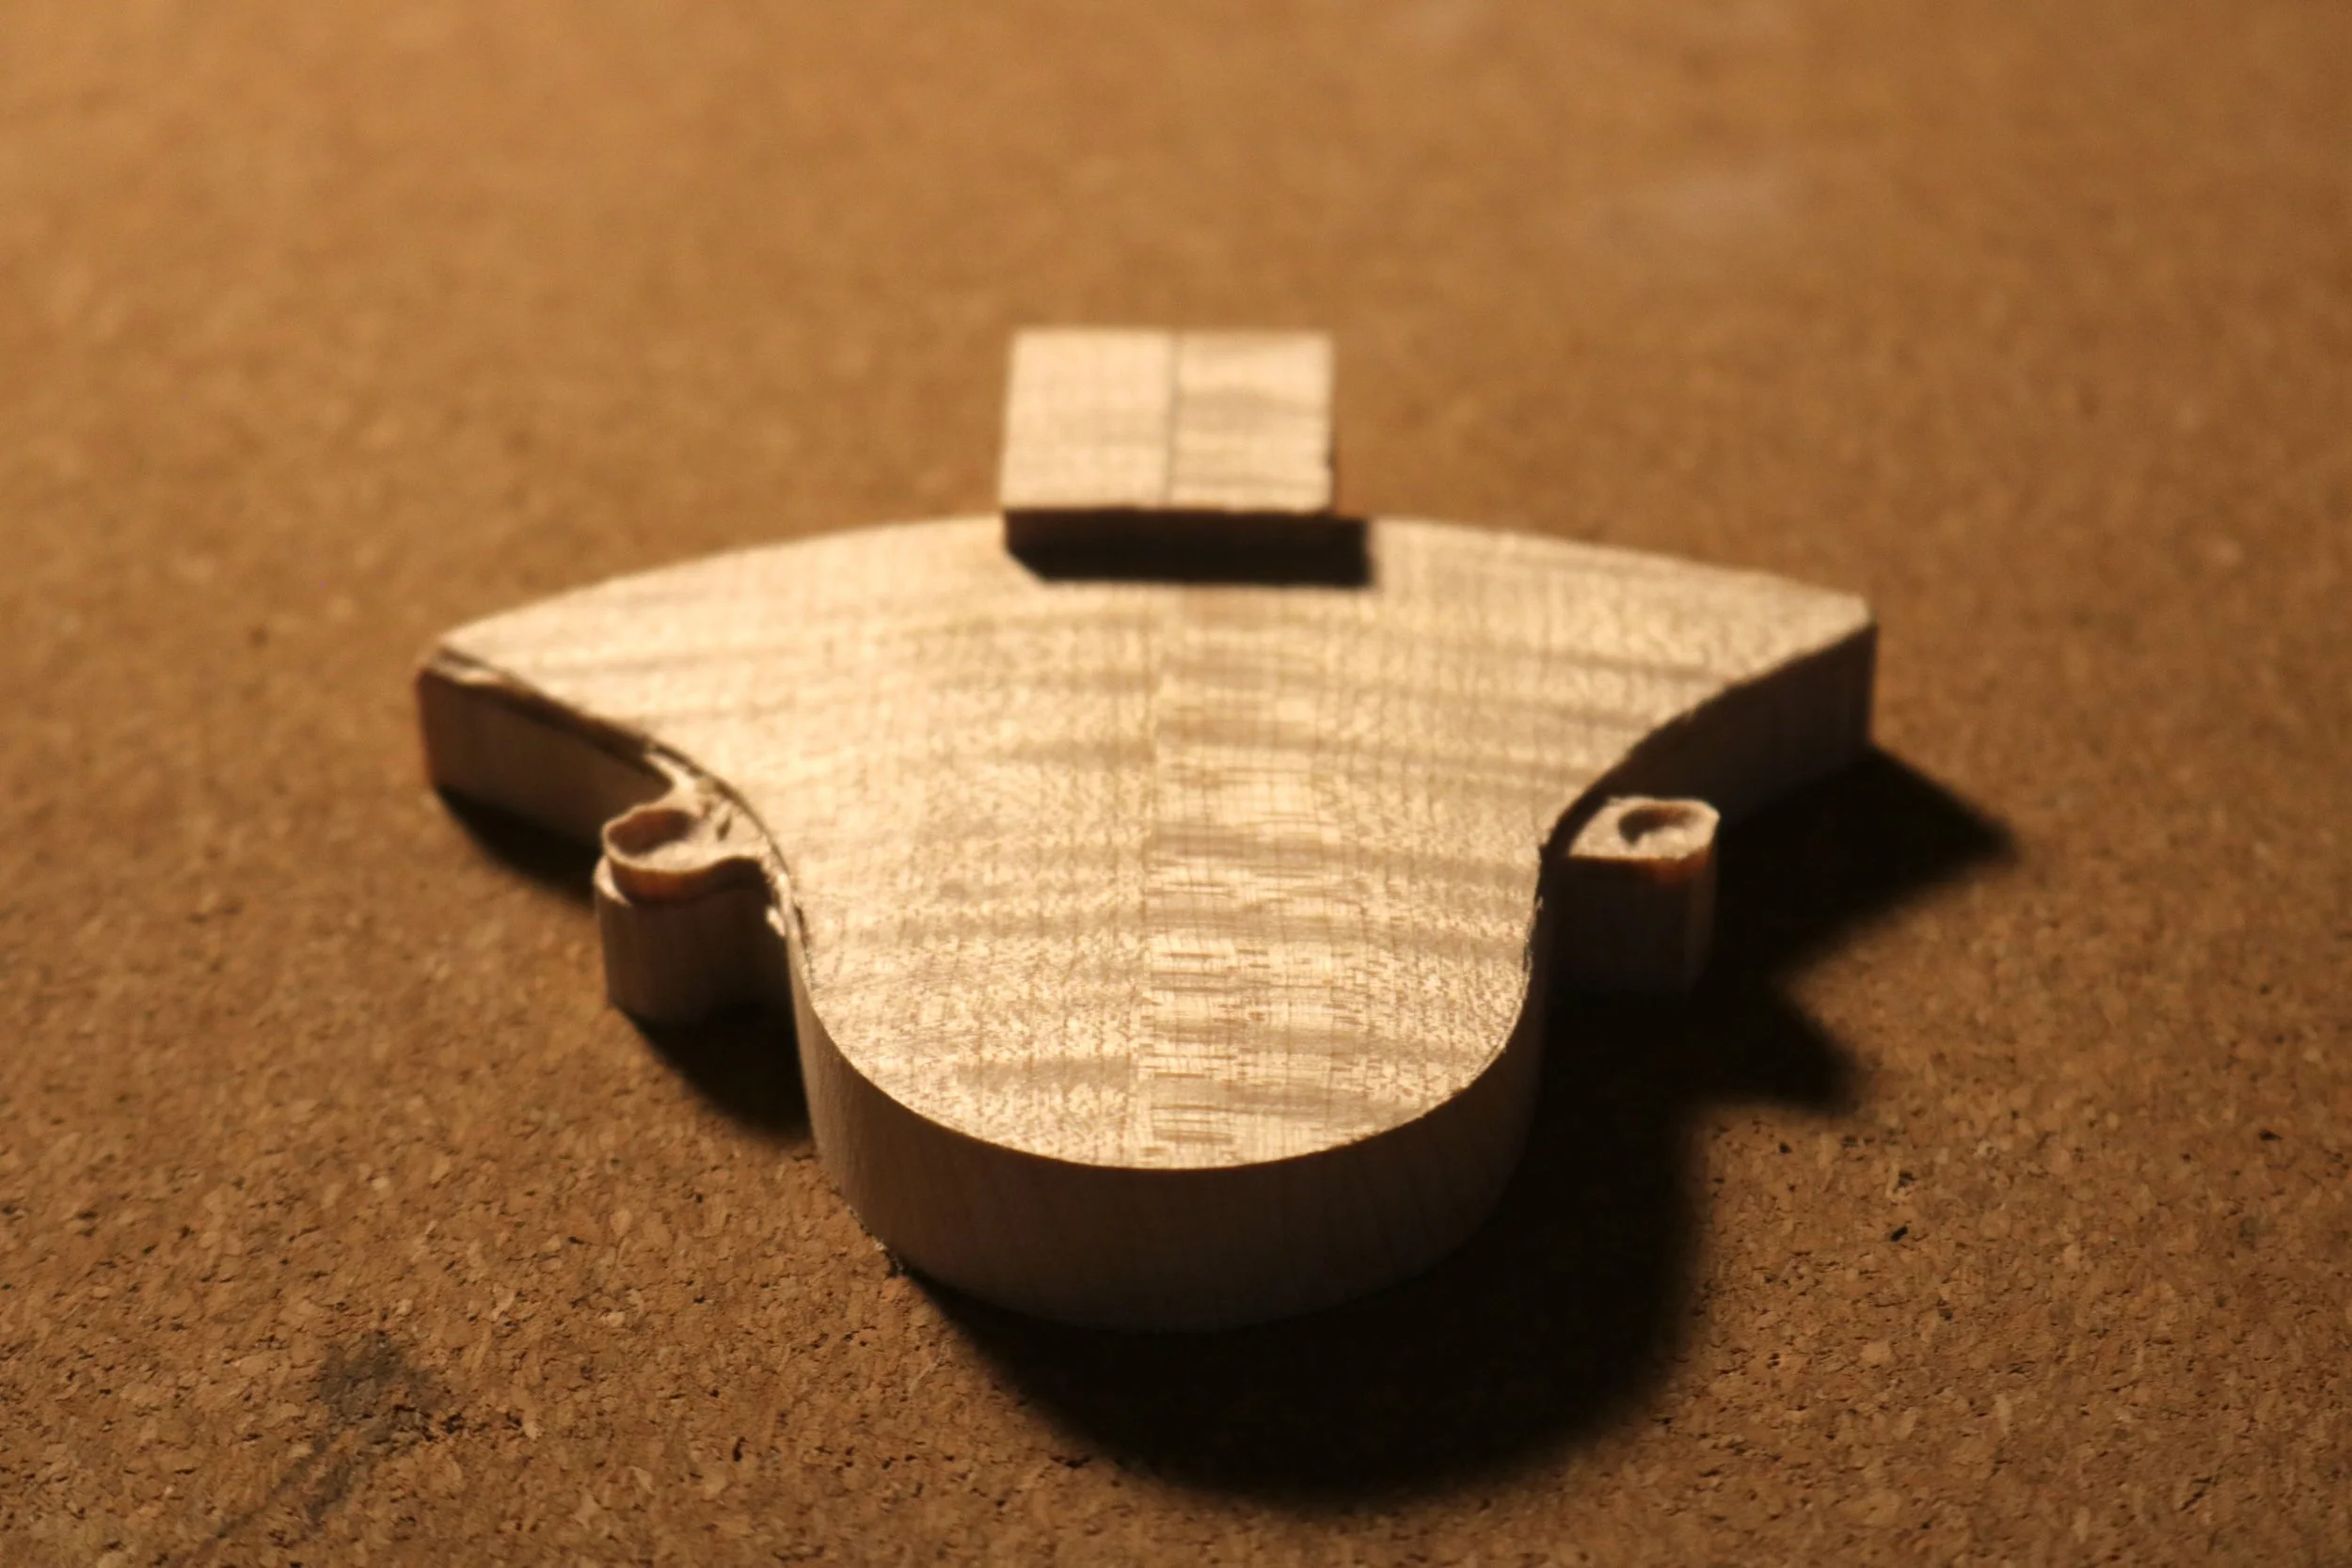
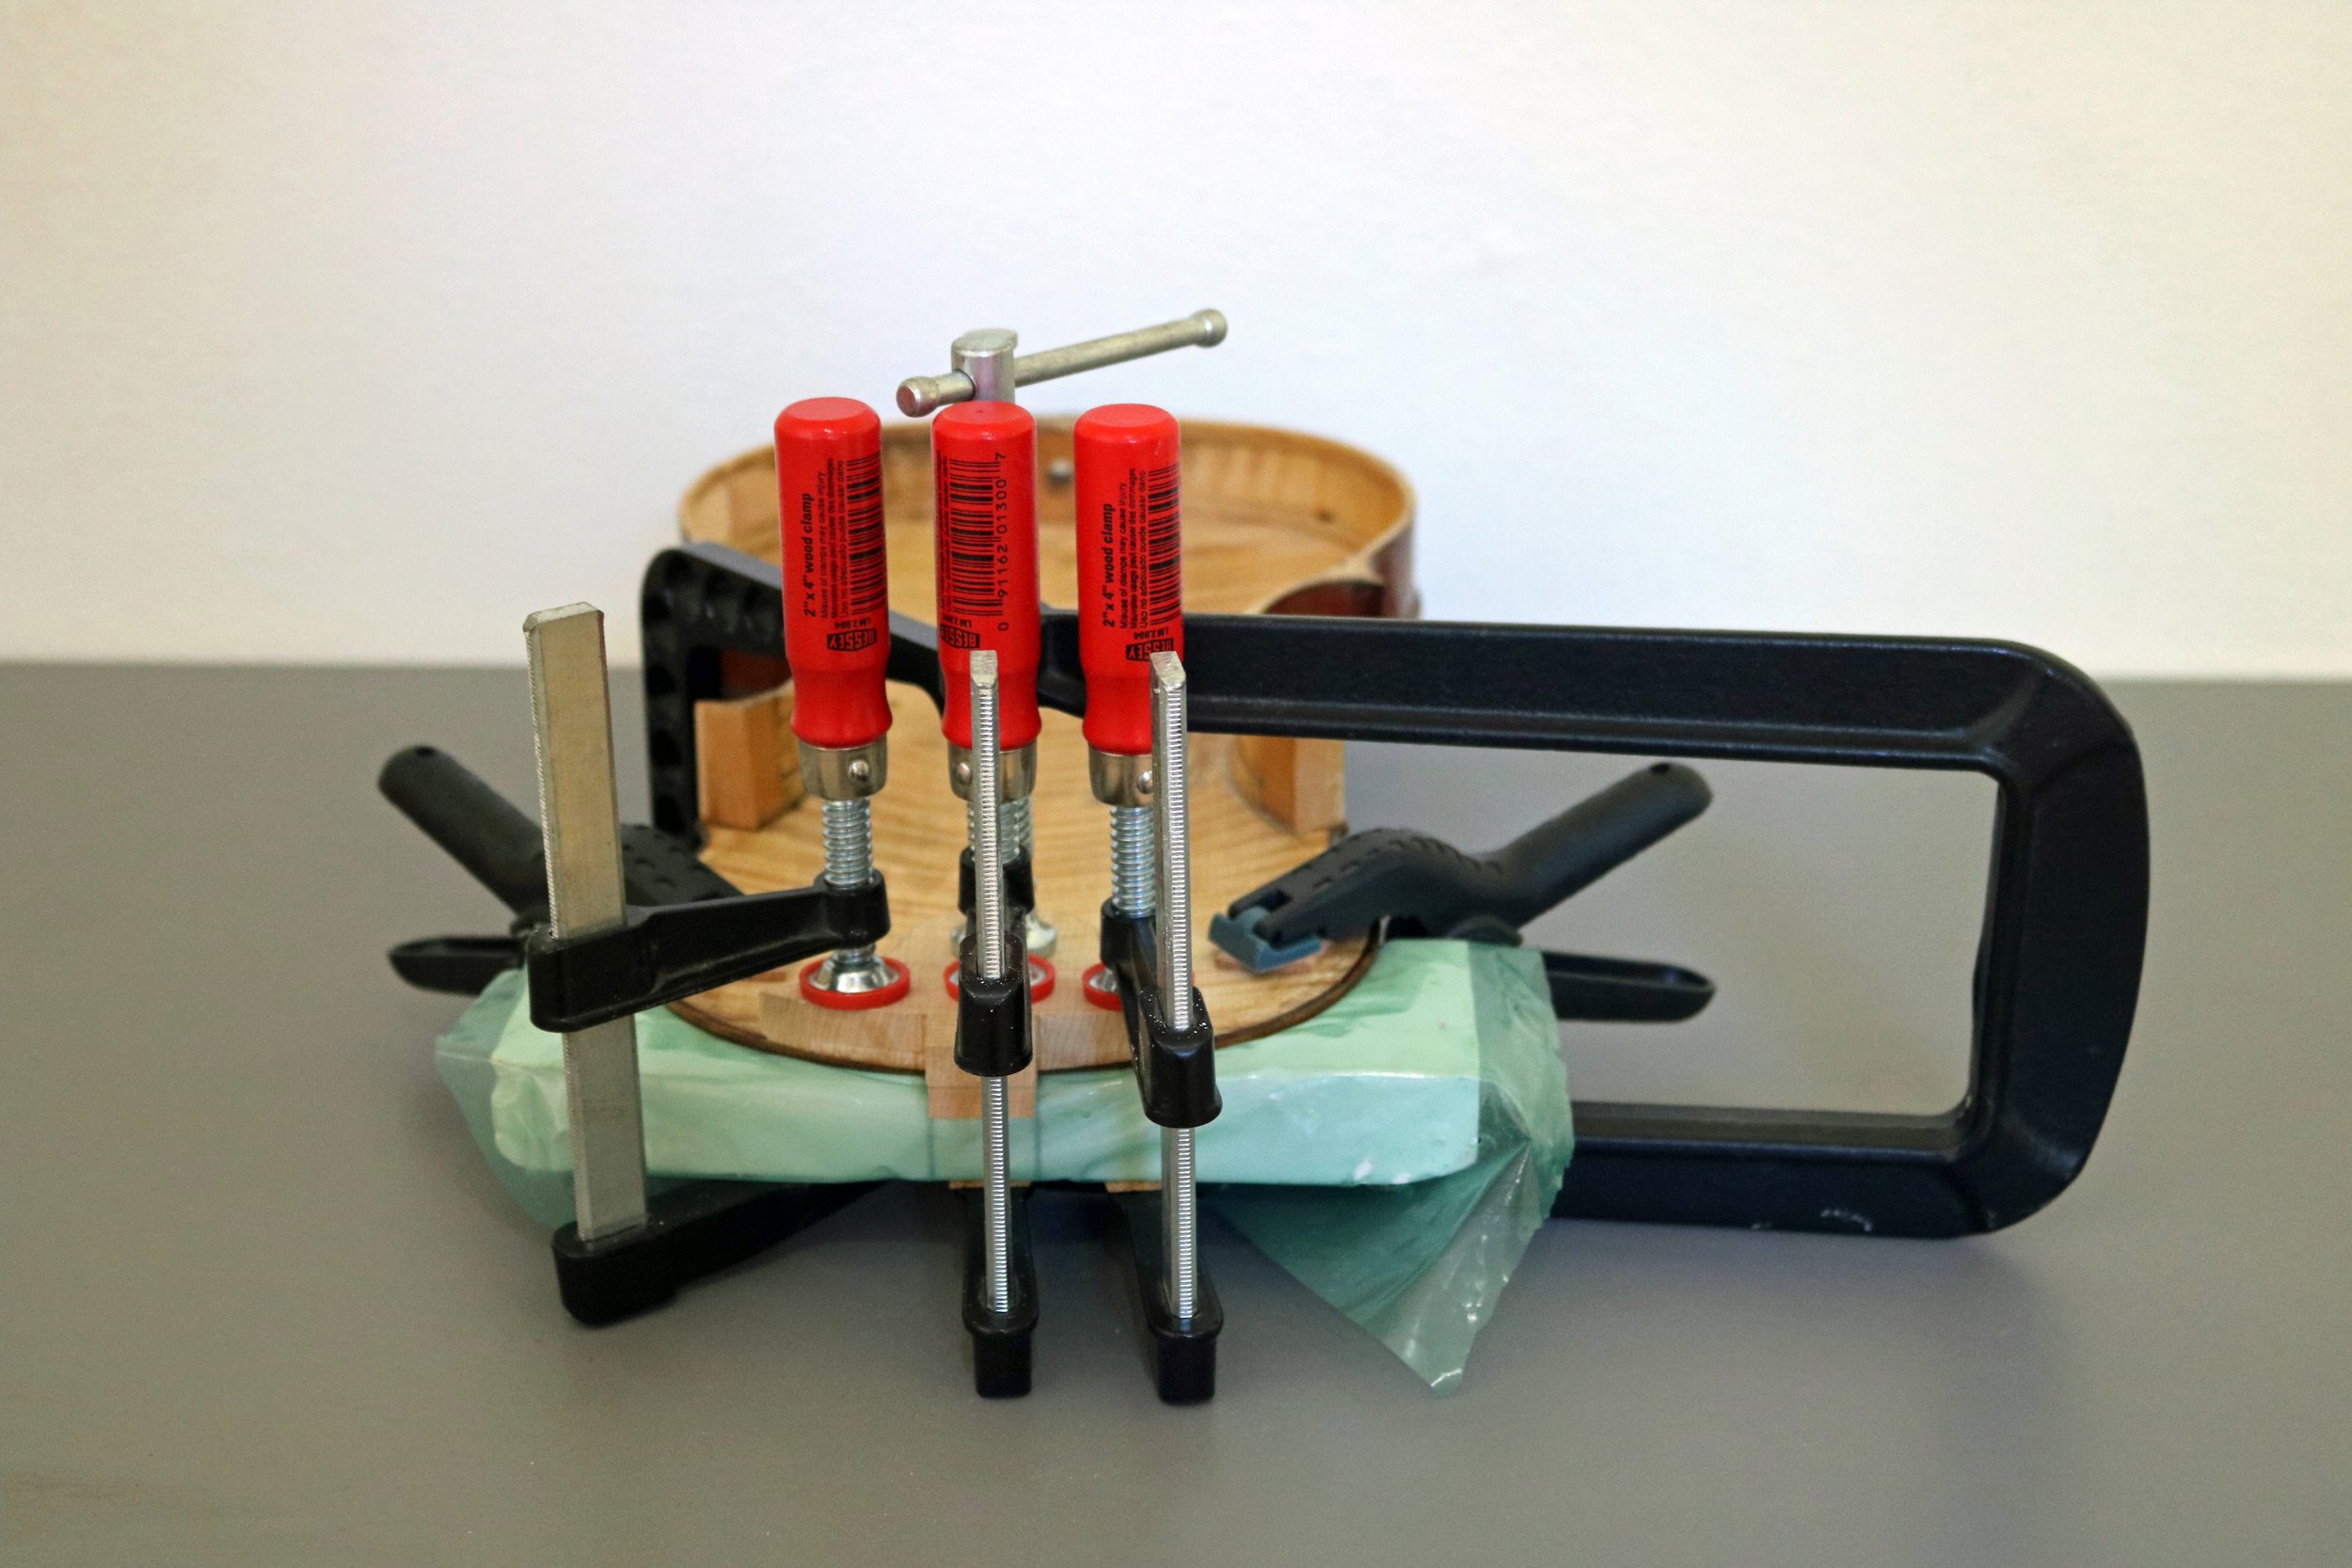
The patch is glued and left clamped for two weeks.
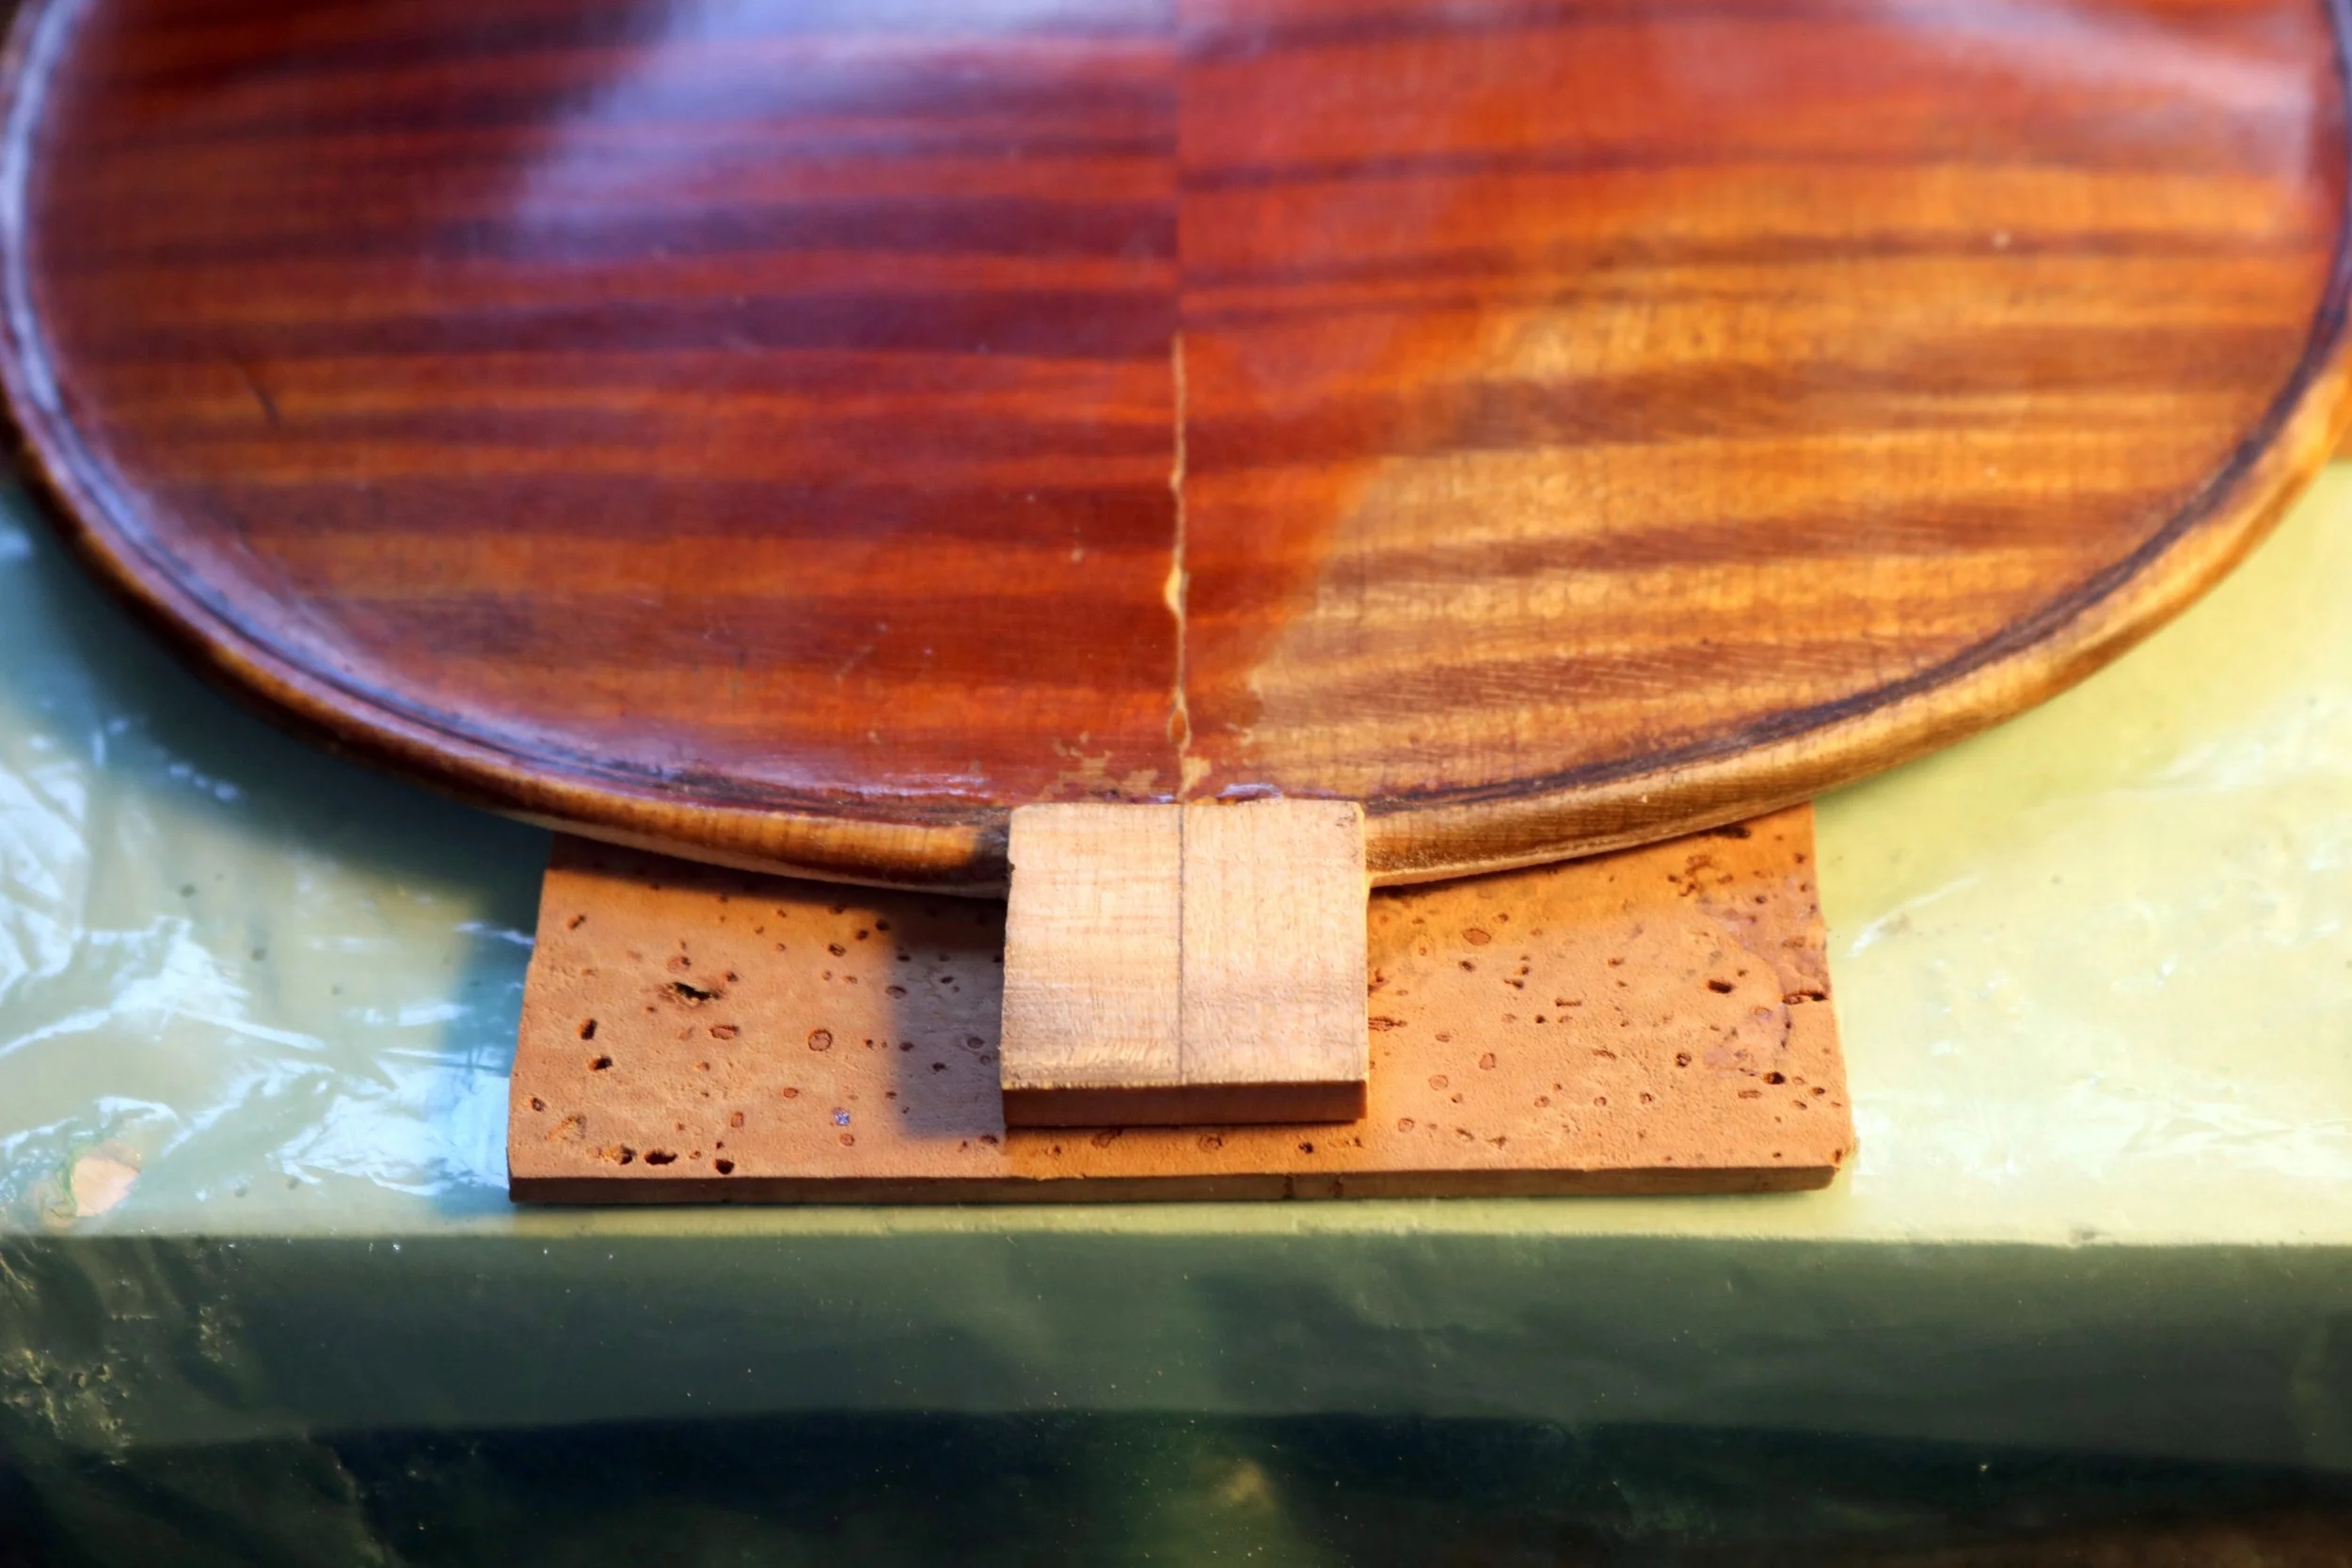
After that time has passed, the trimming of the patch begins.
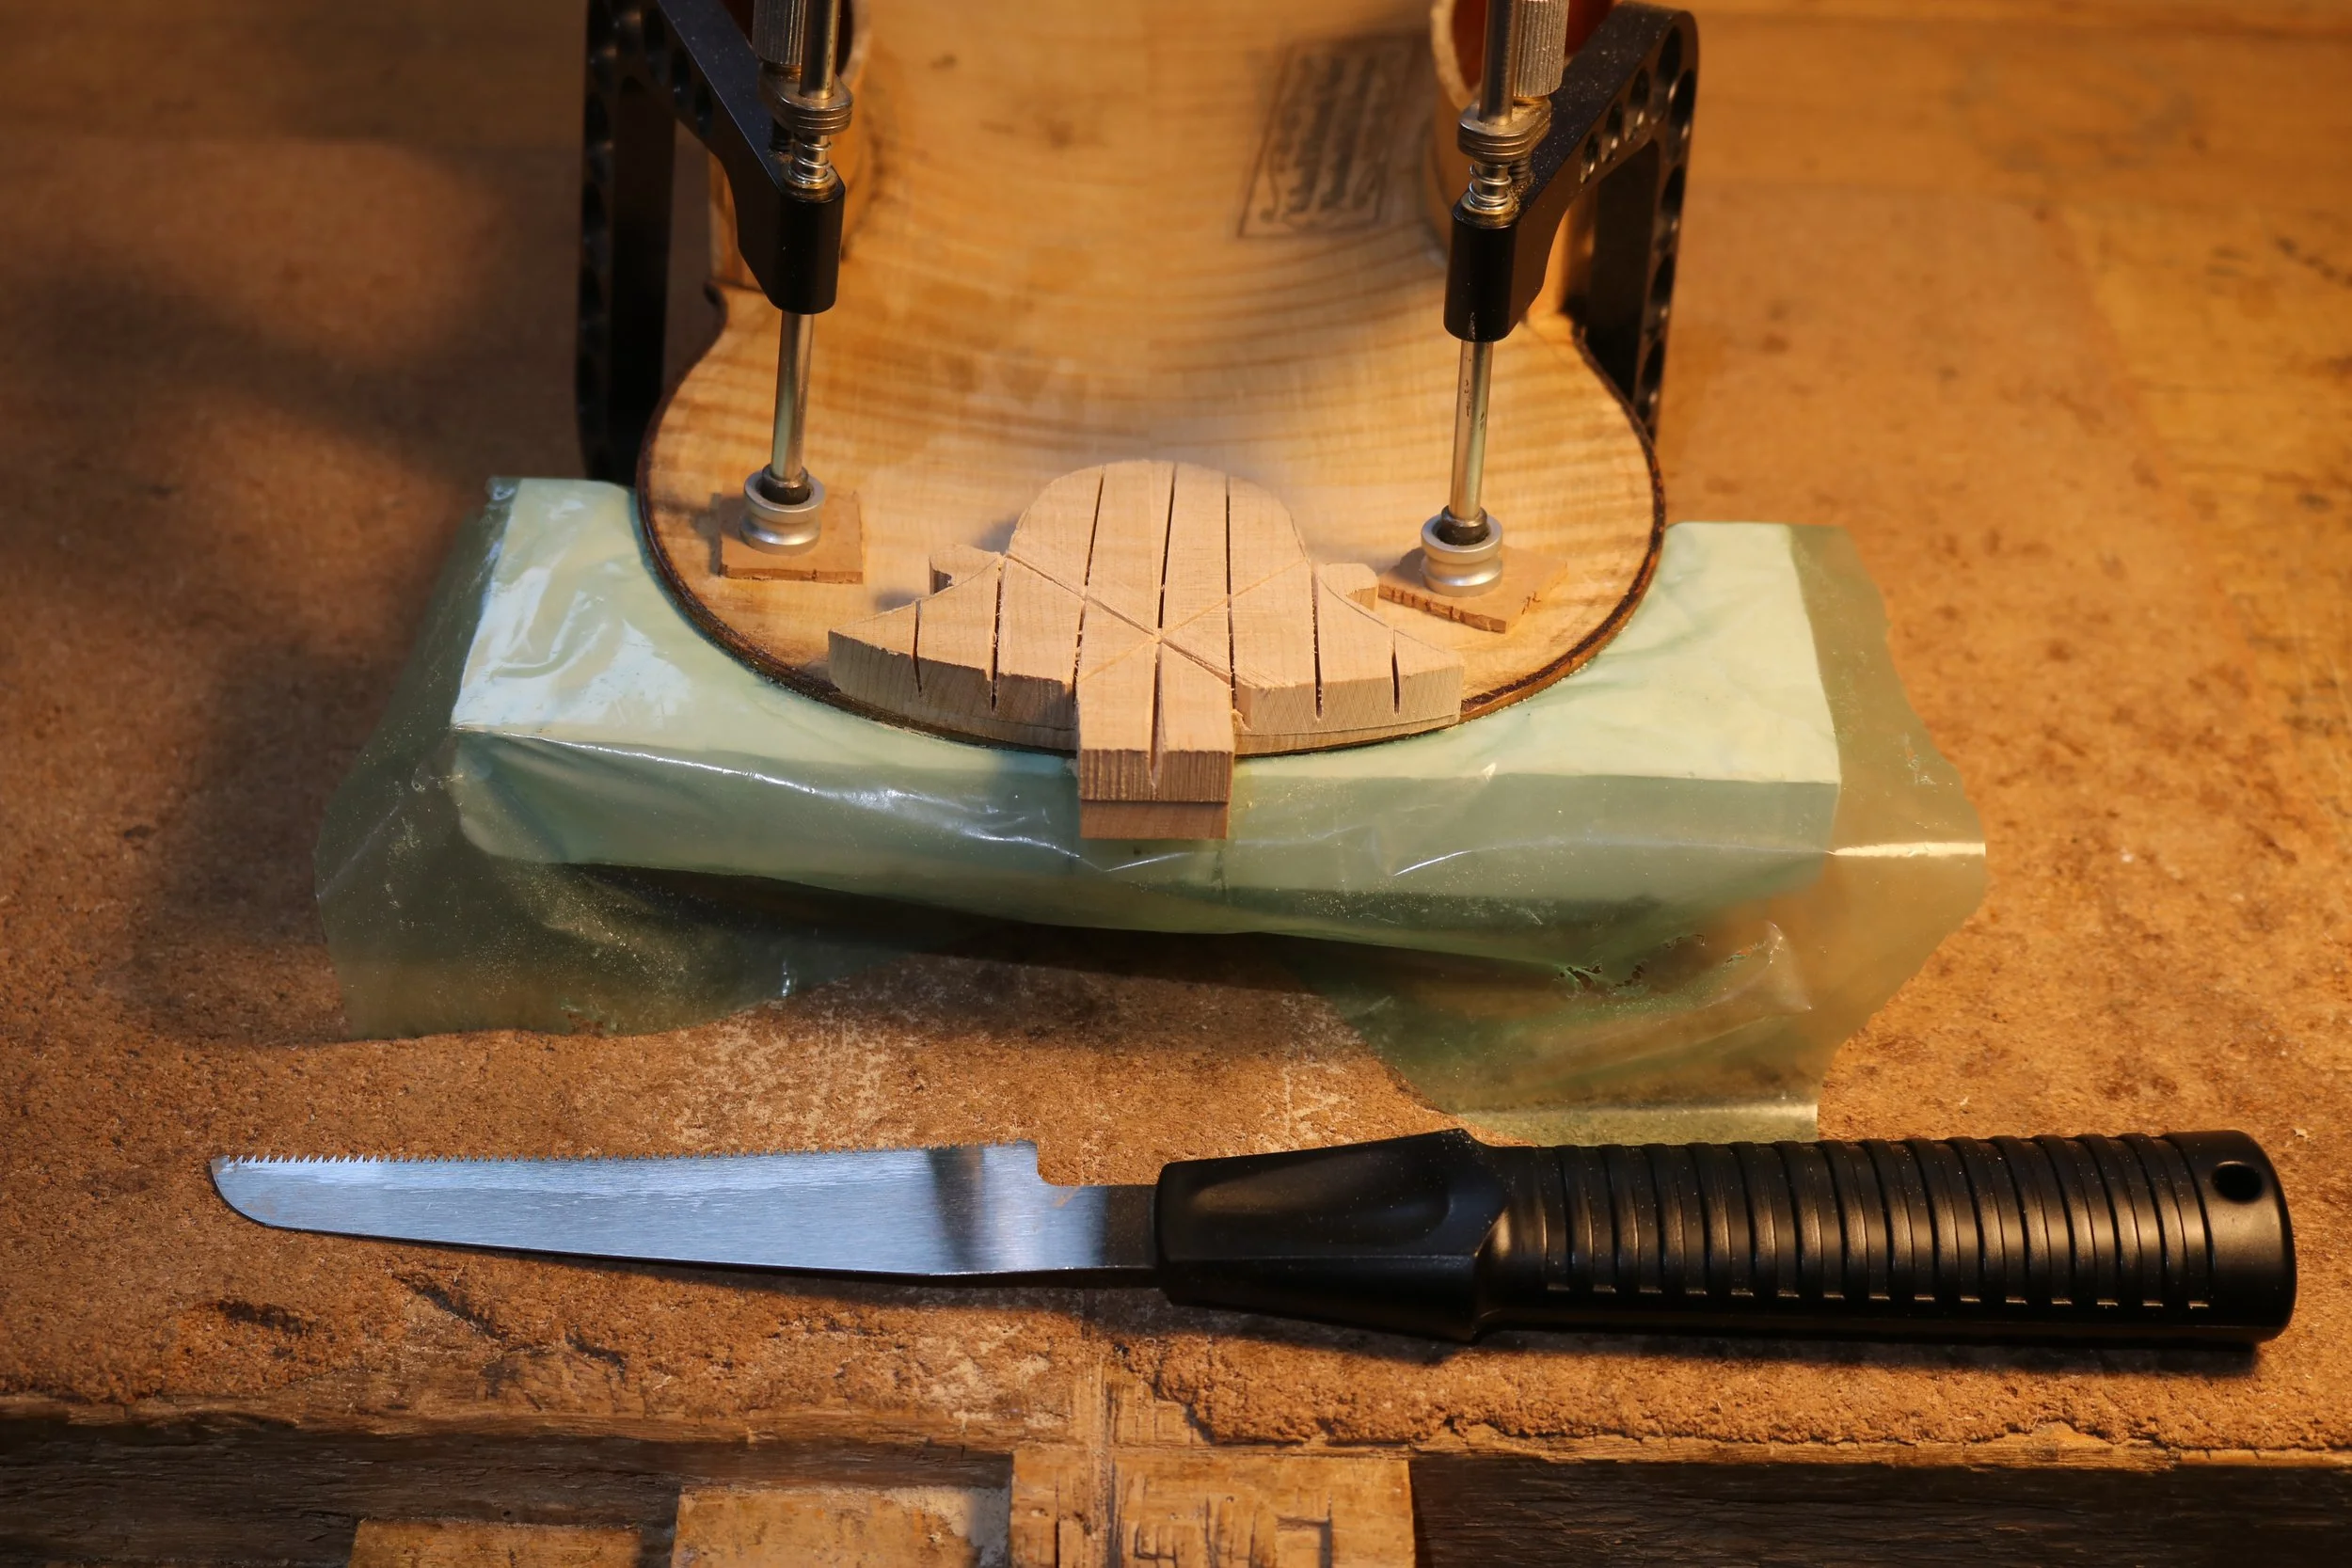
The center seam lined up nicely.
One of the challenges with CNC milling is getting the piece aligned,.
There is little margin for error when attempting to align center seams.
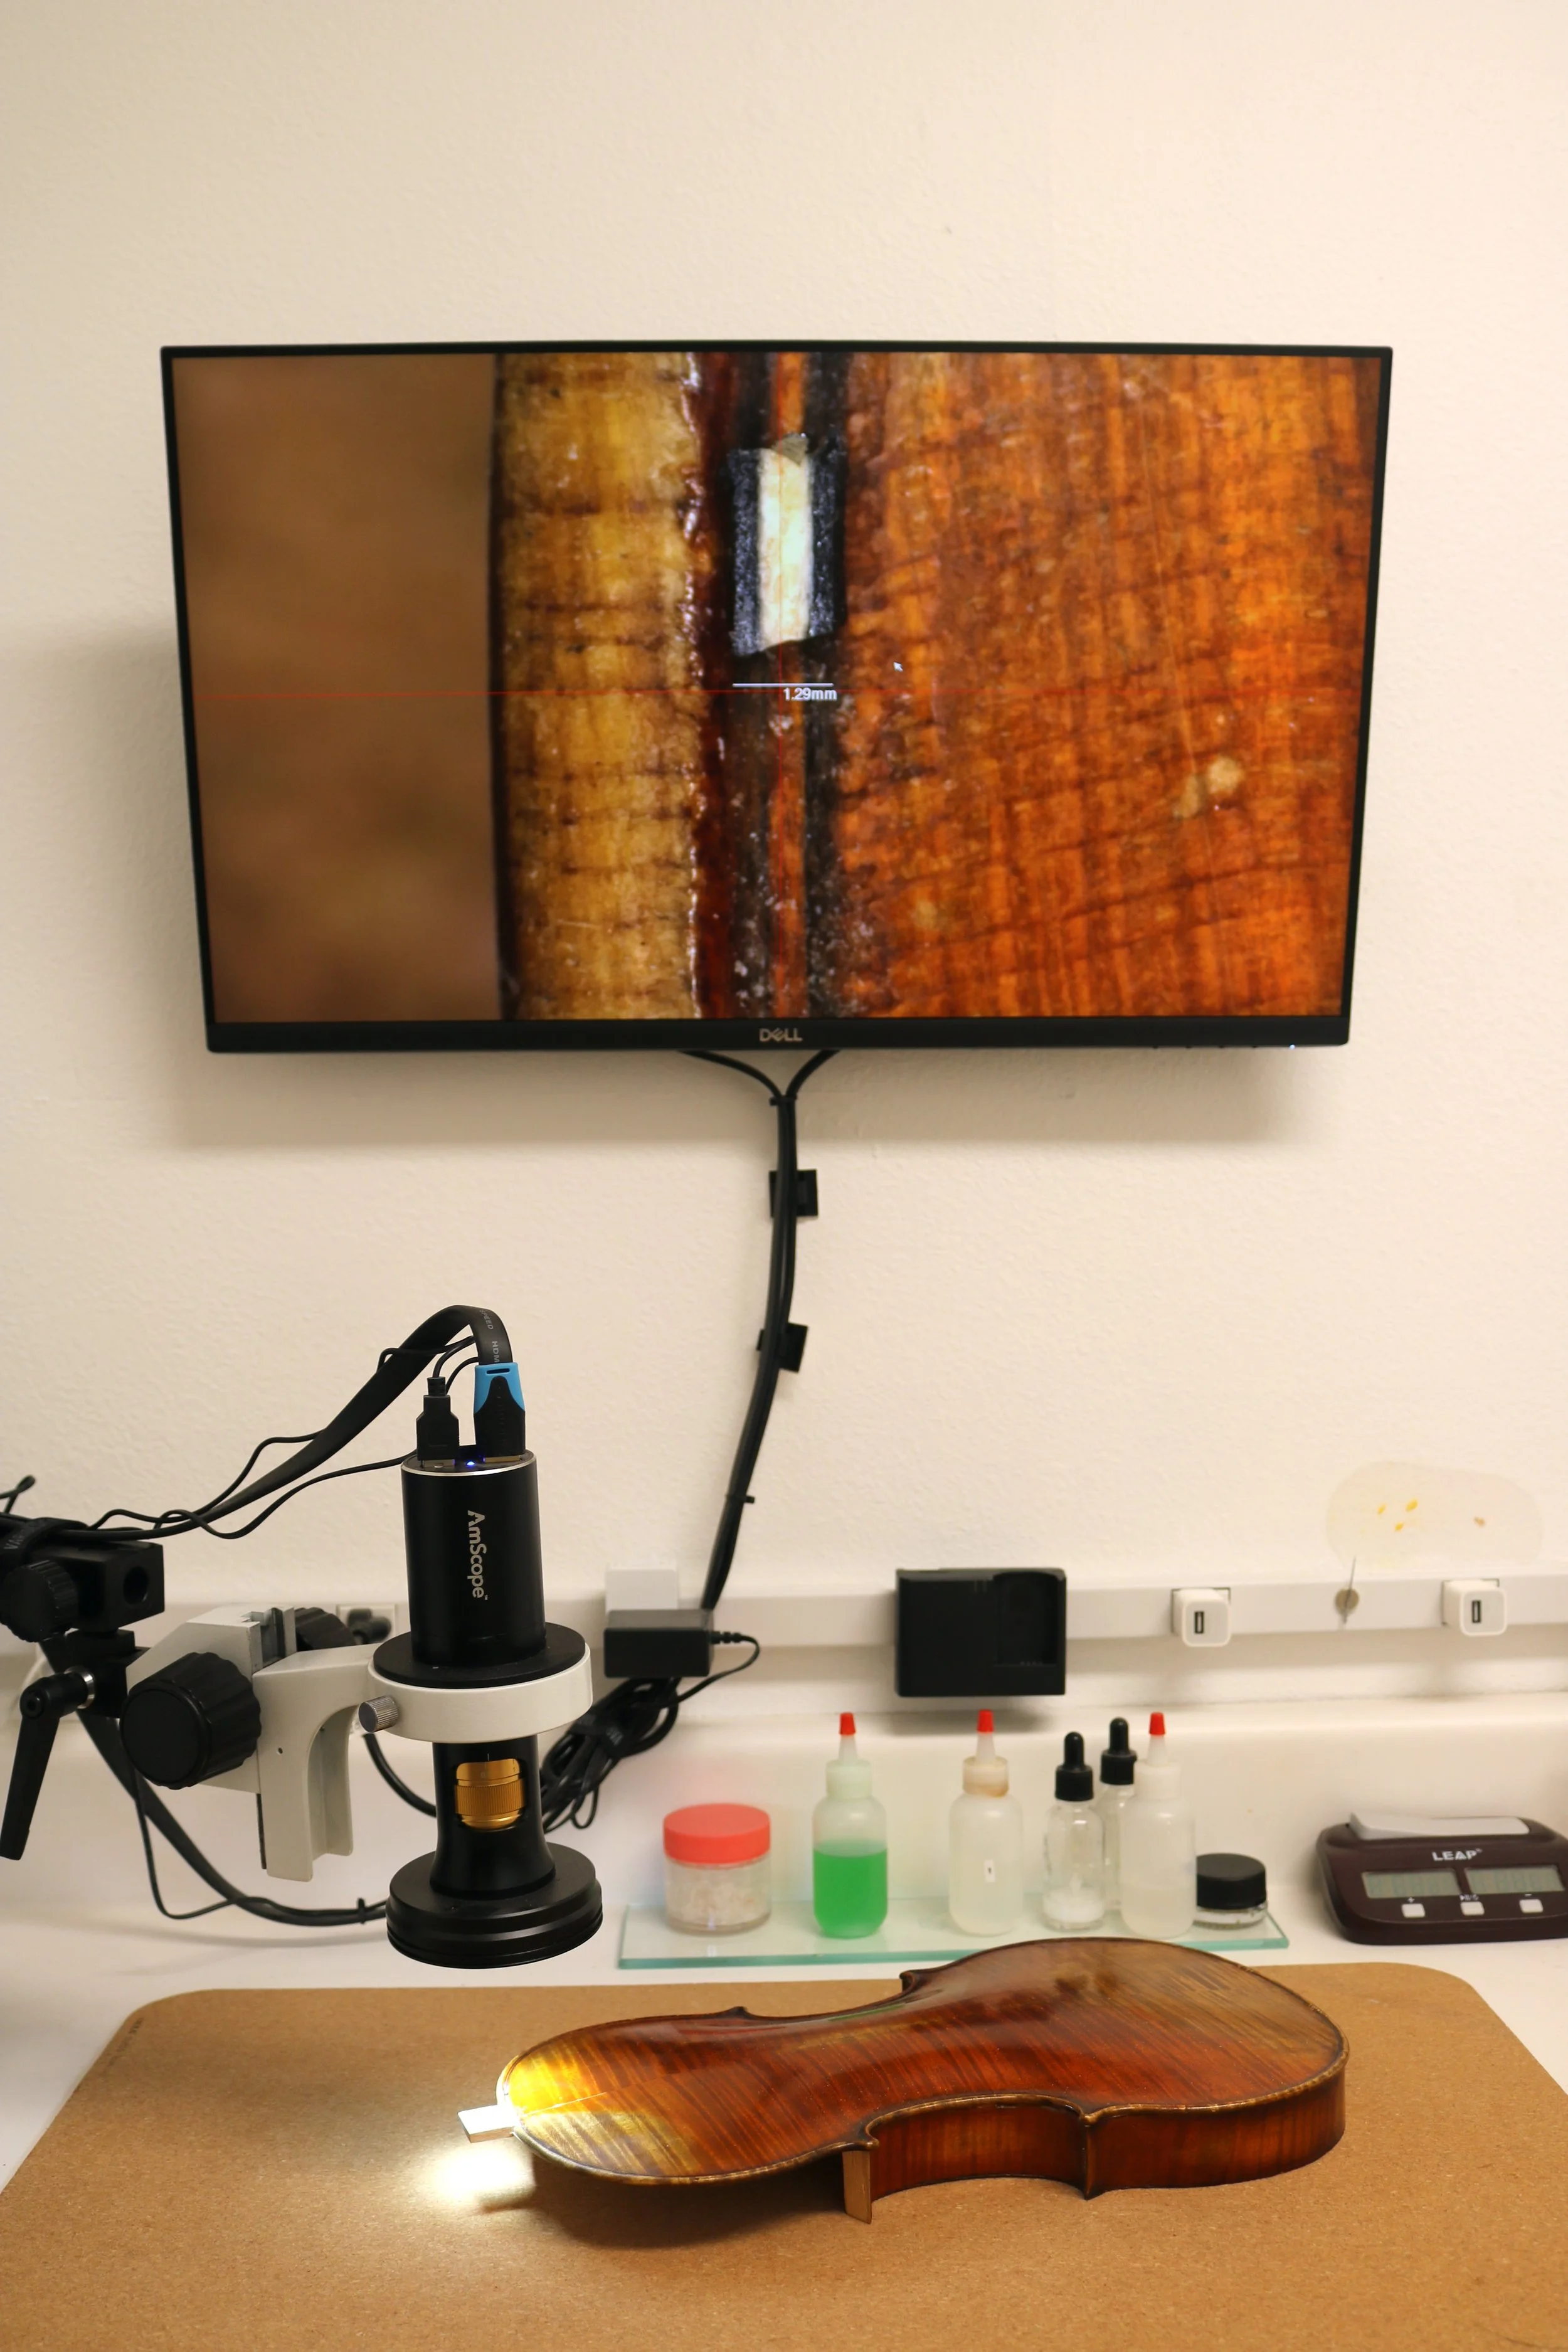
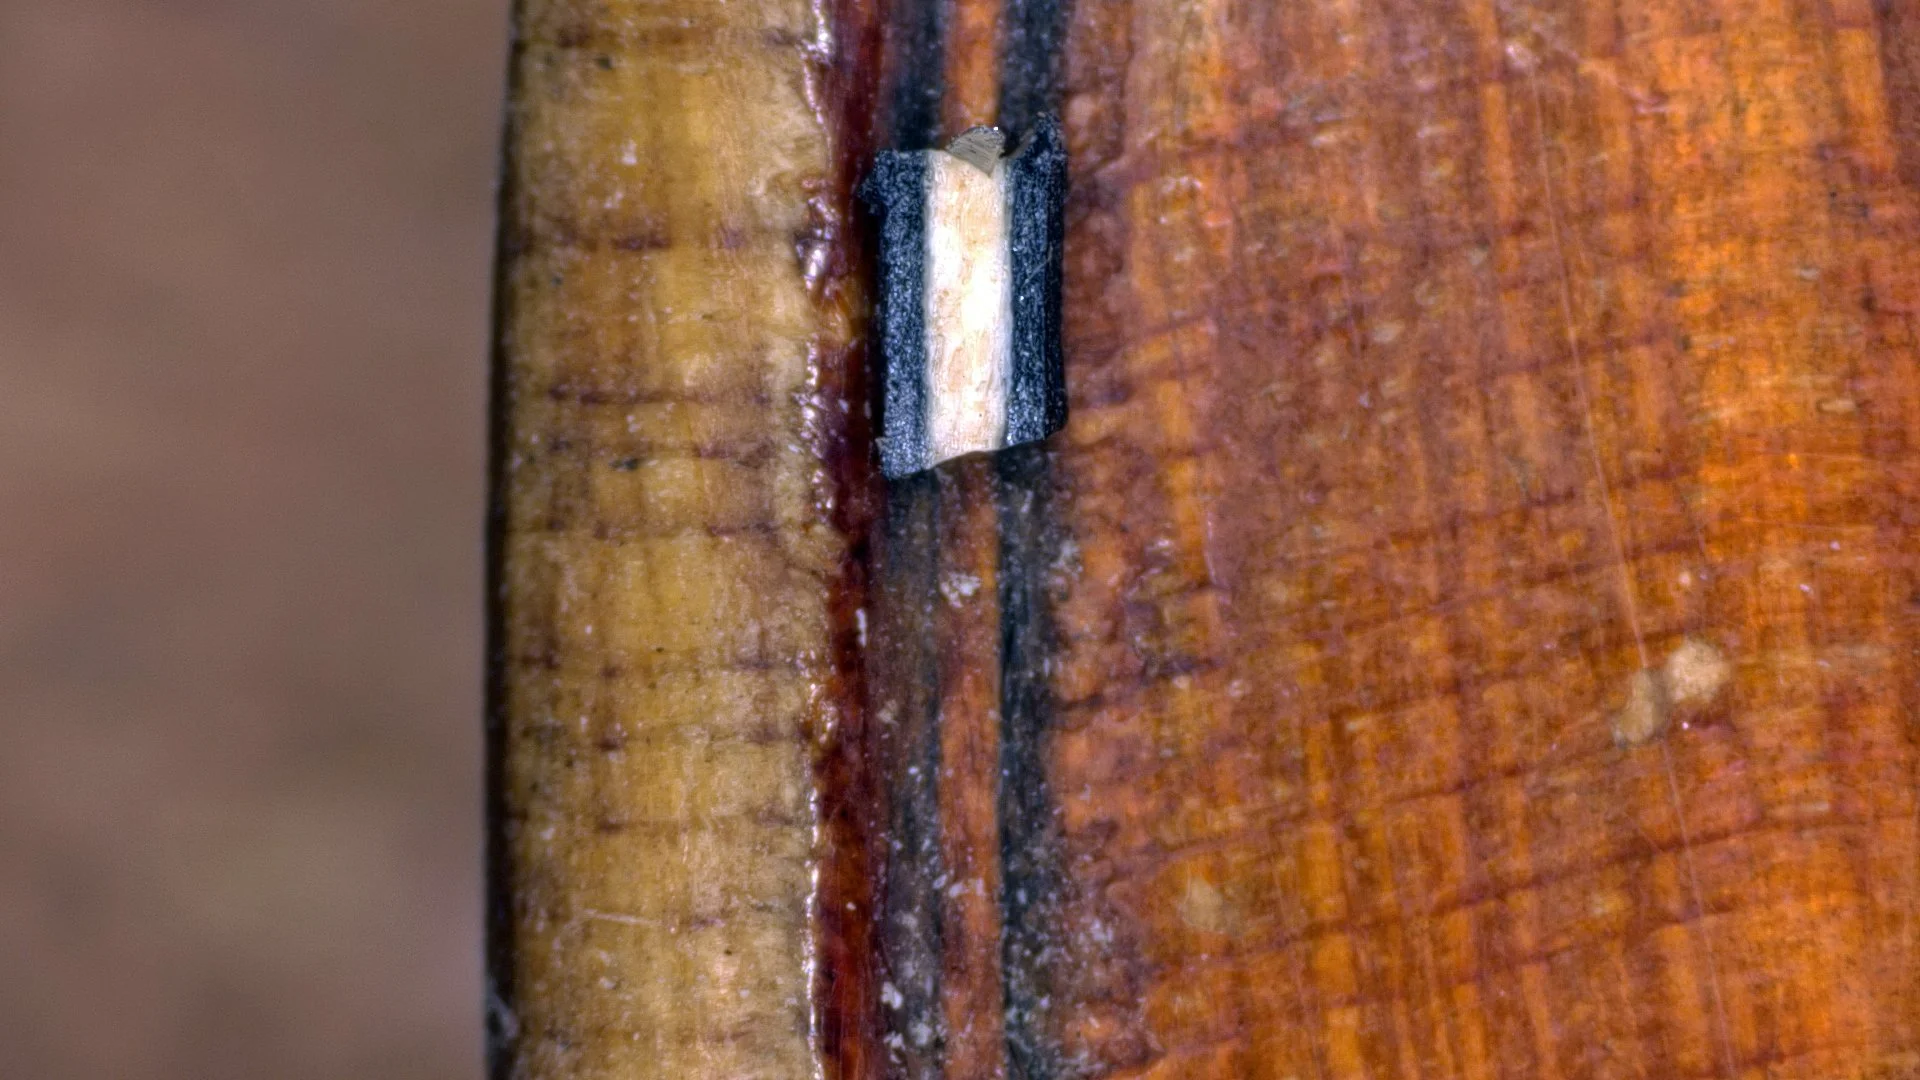
Our AmScope helps us measure the purfling channel and quickly find a match.
That will do.
Rushing ahead a little, we were eager to get some varnish on and watch things disappear.
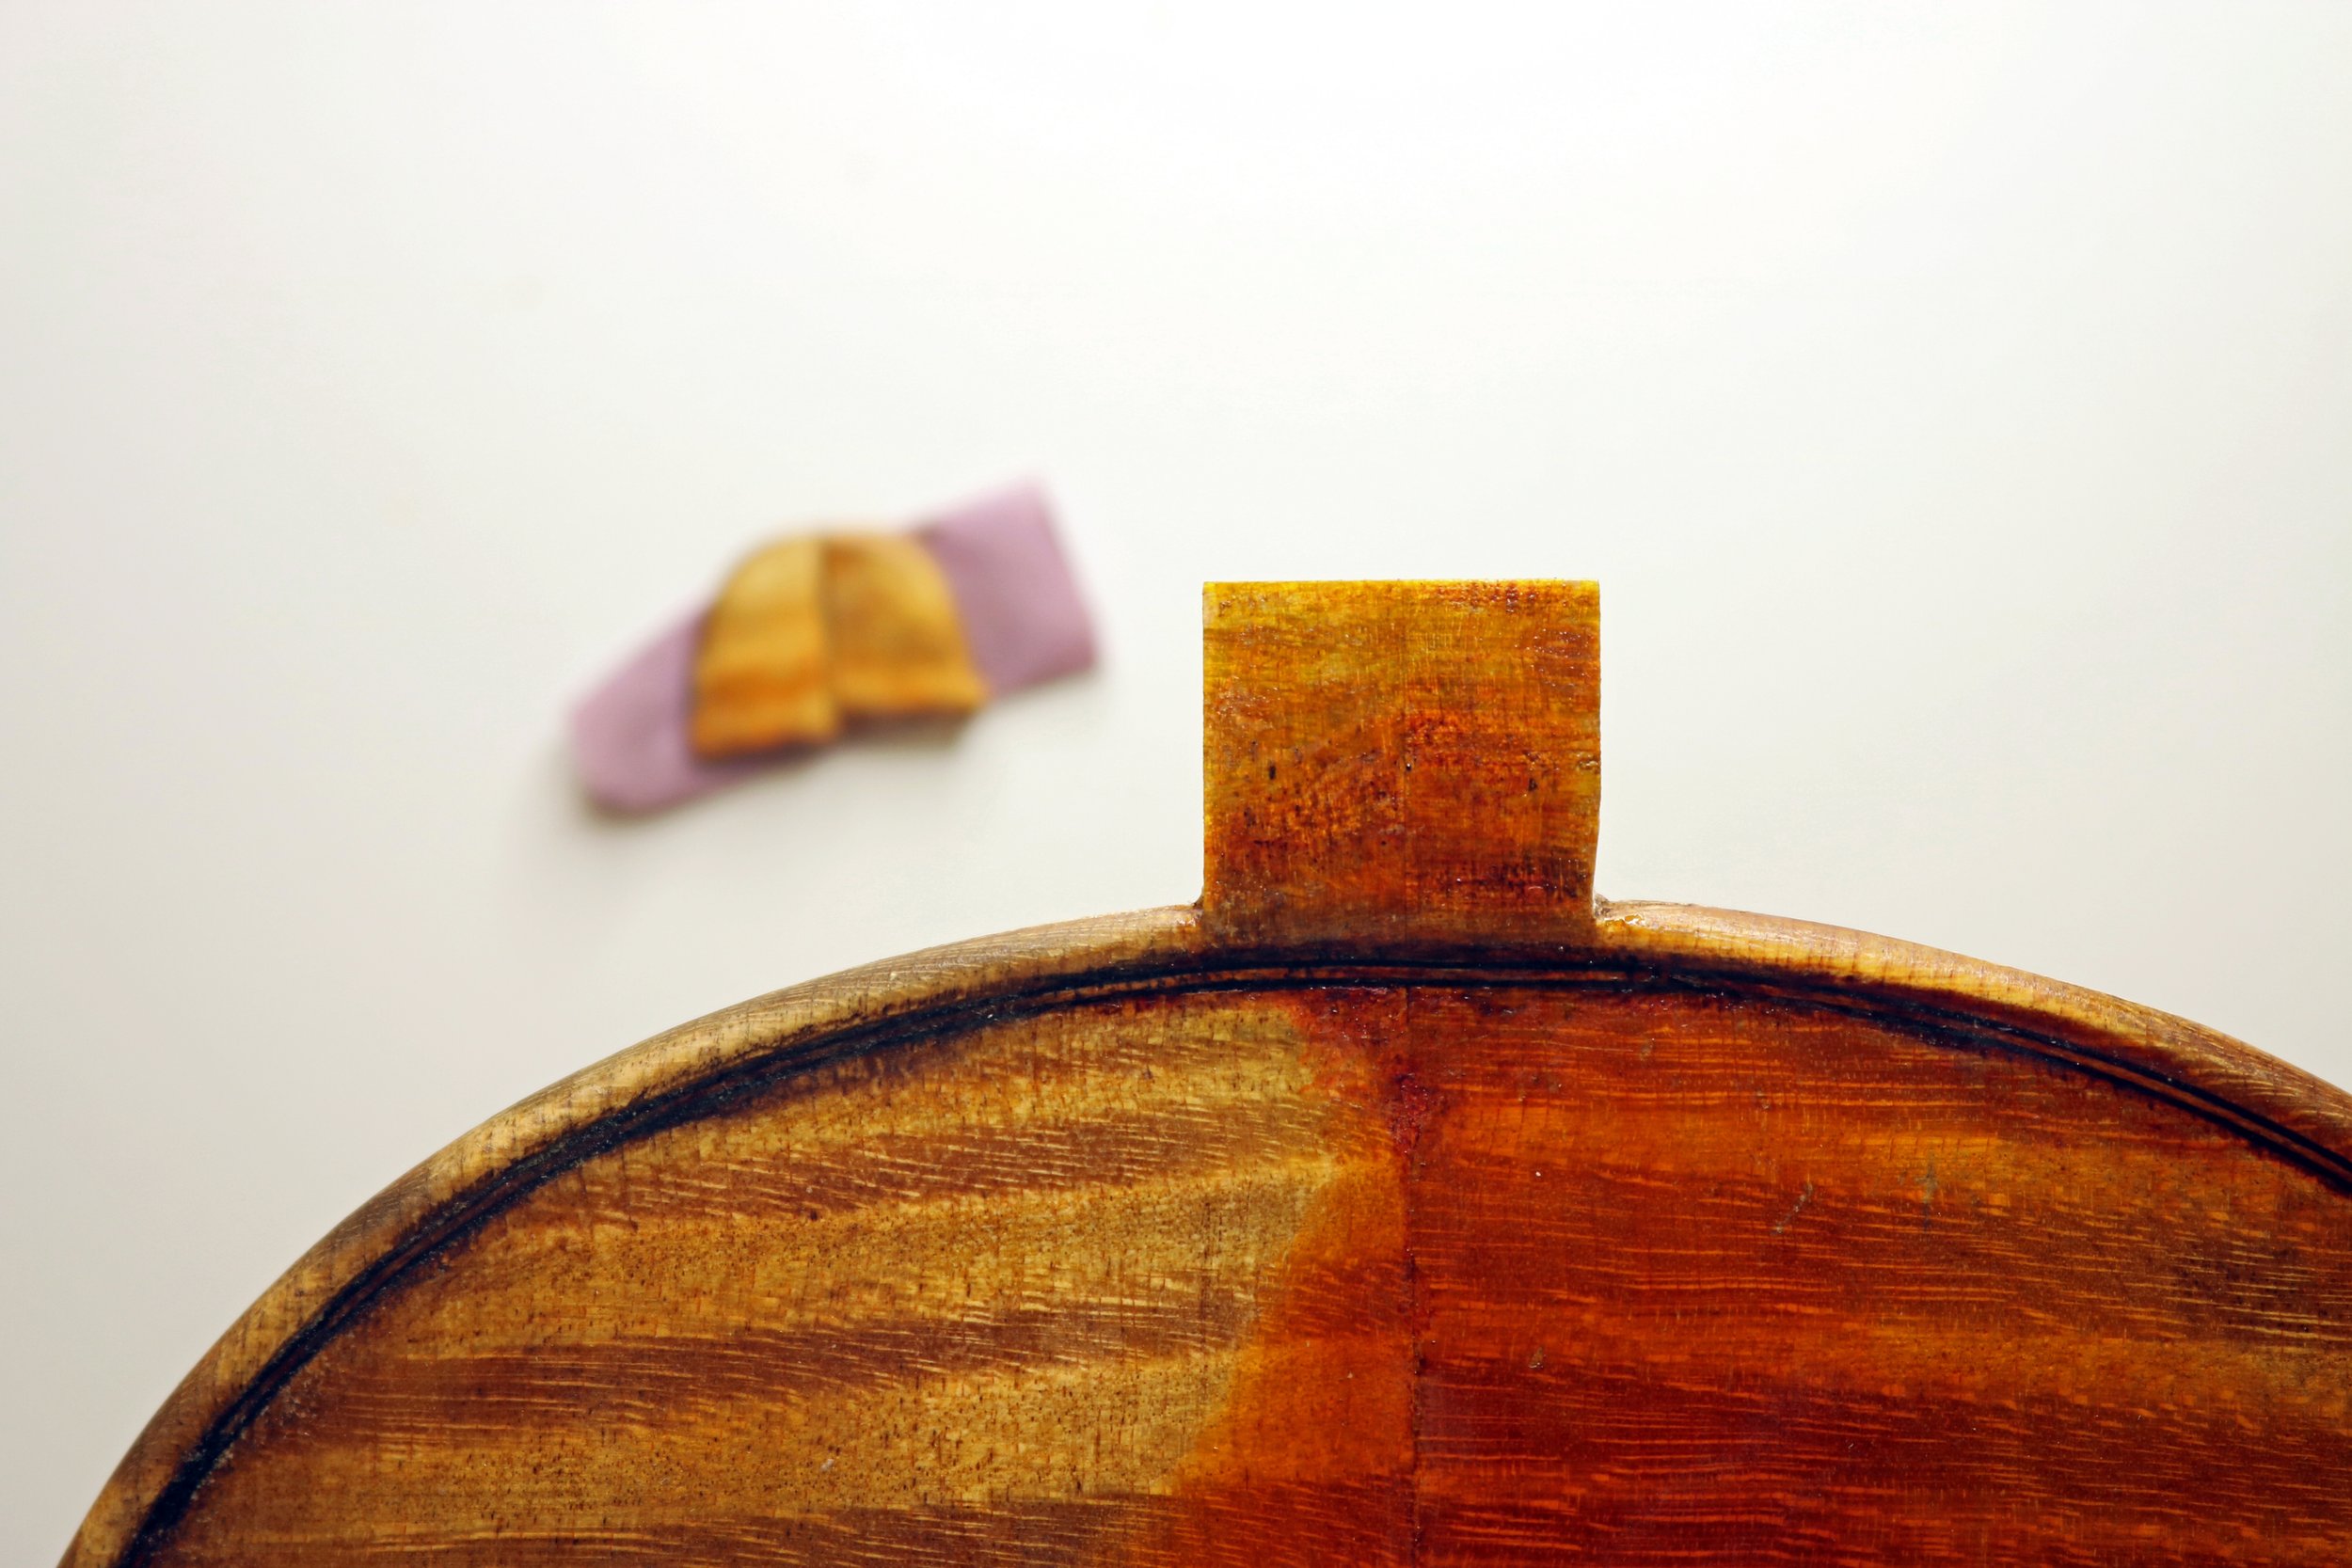
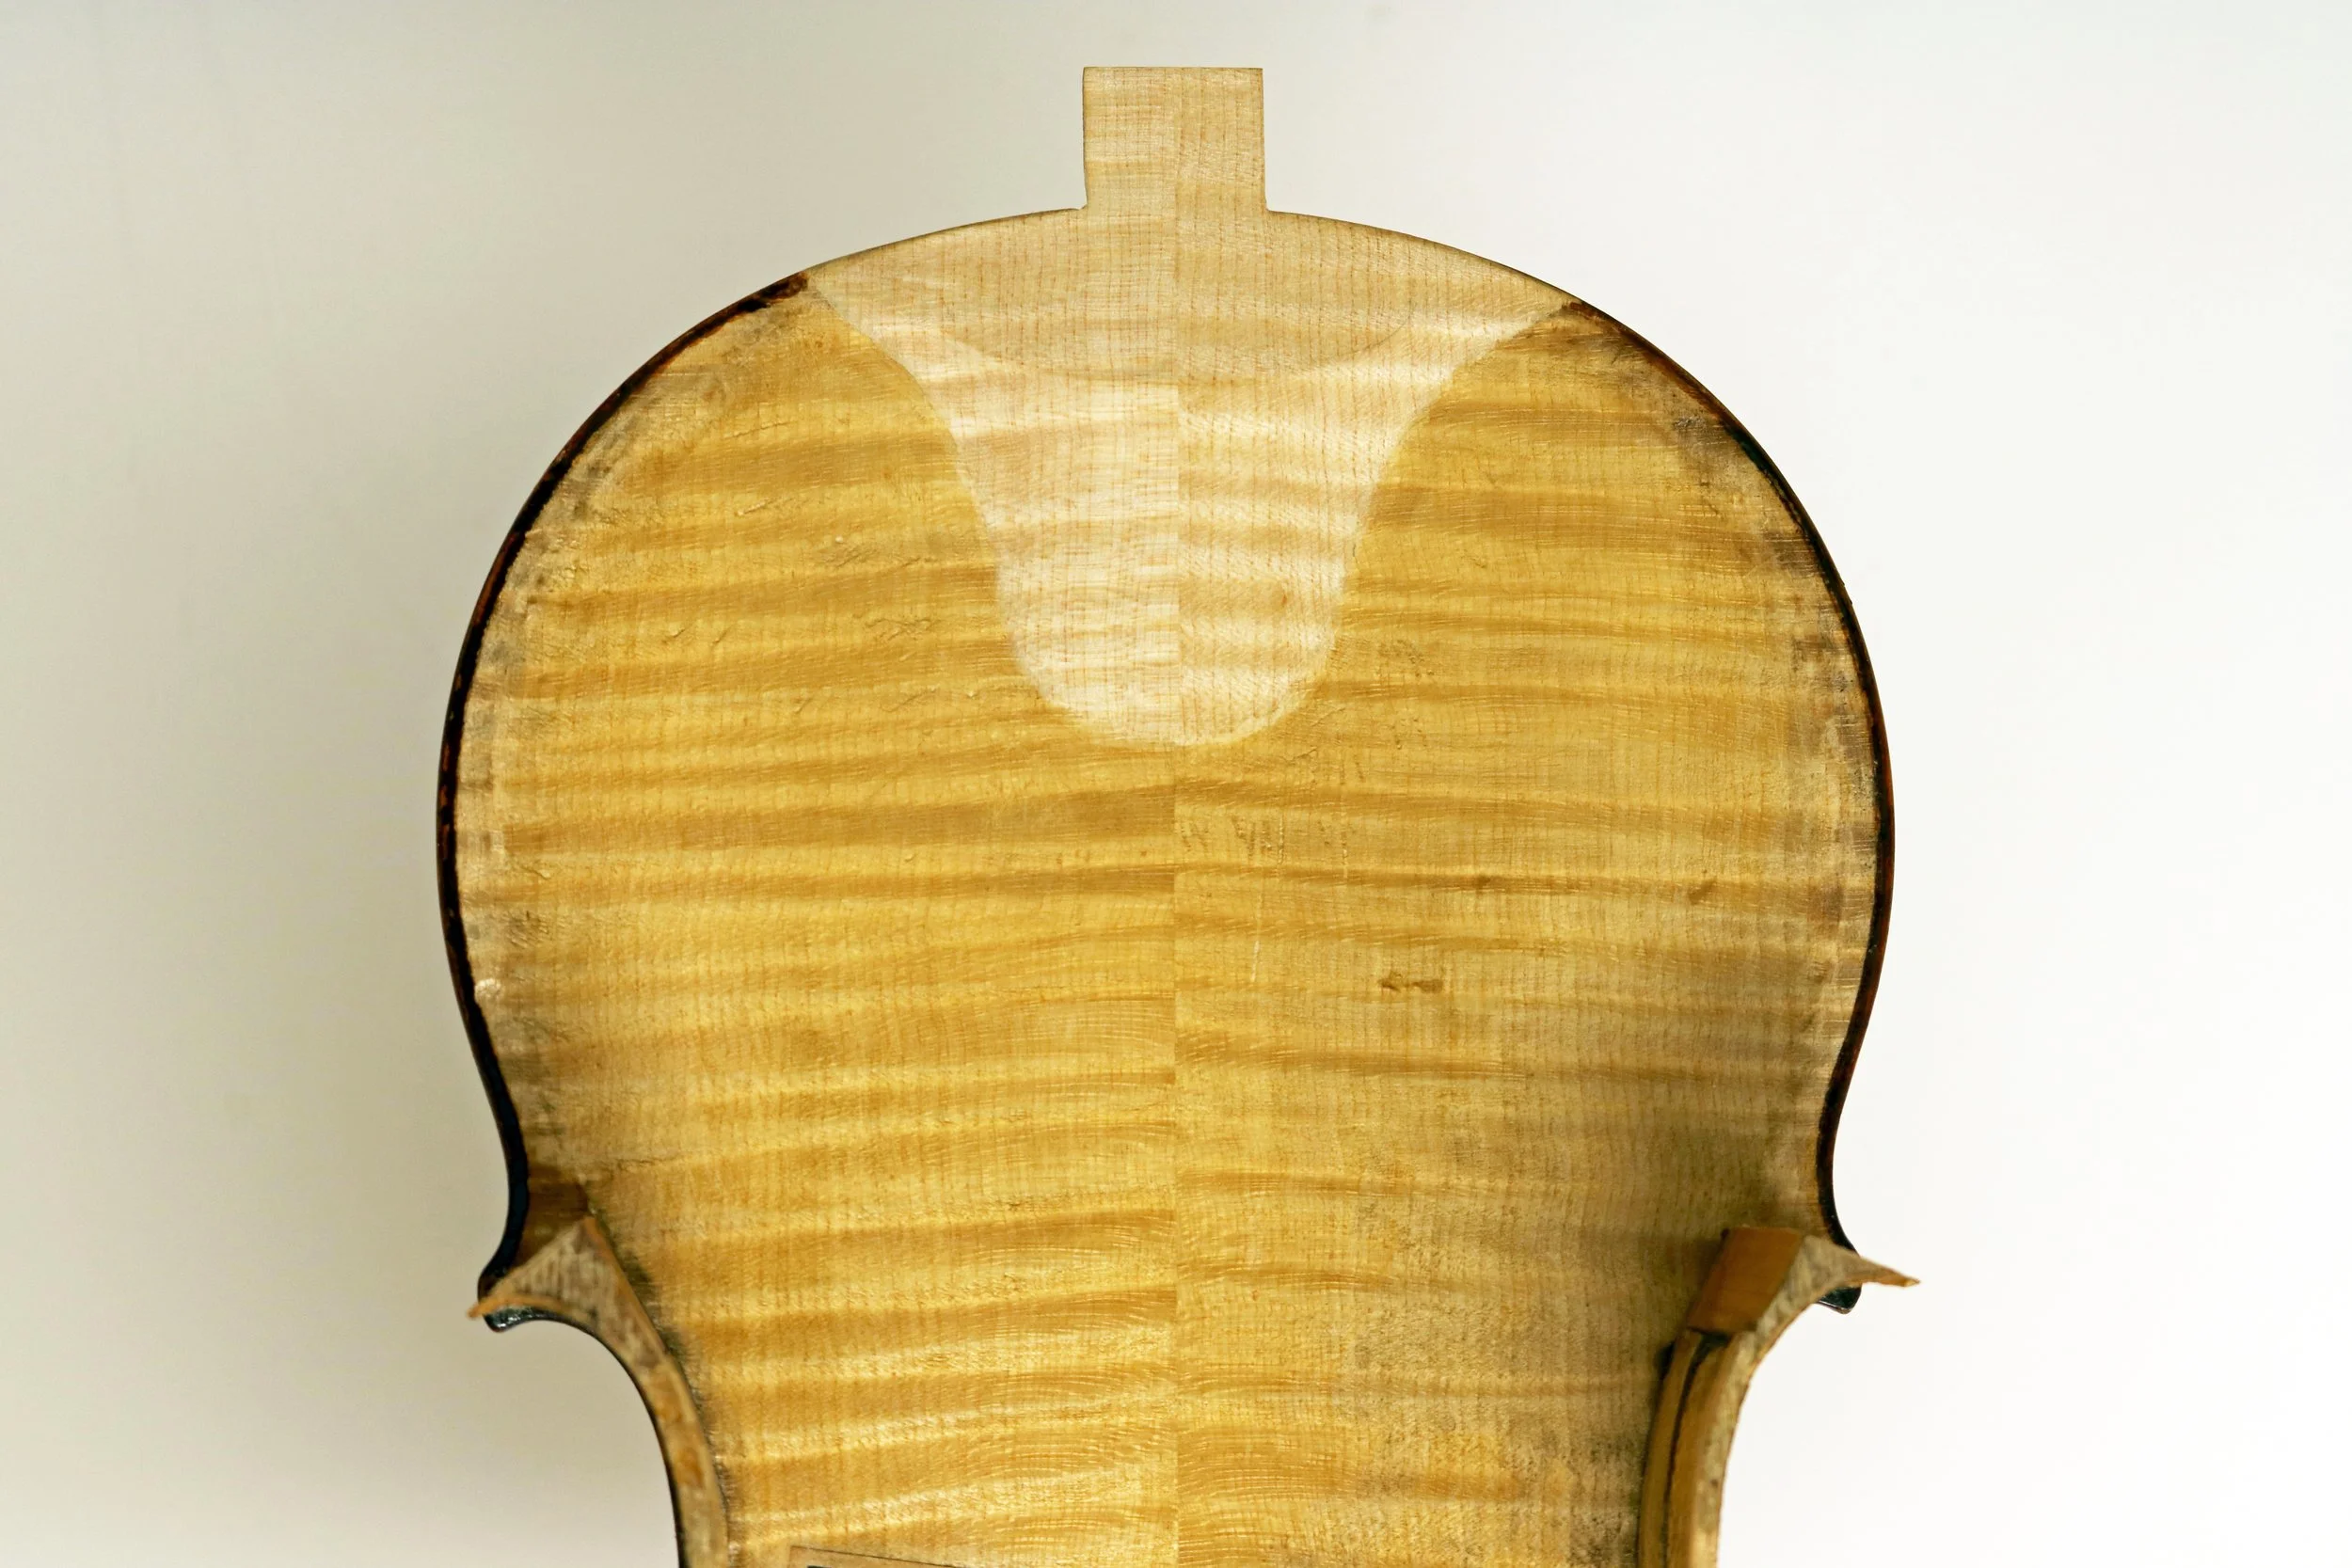
The finished shape of the patch-
We also use 3d scanning and CNC milling for the fabrication of replacement blocks.
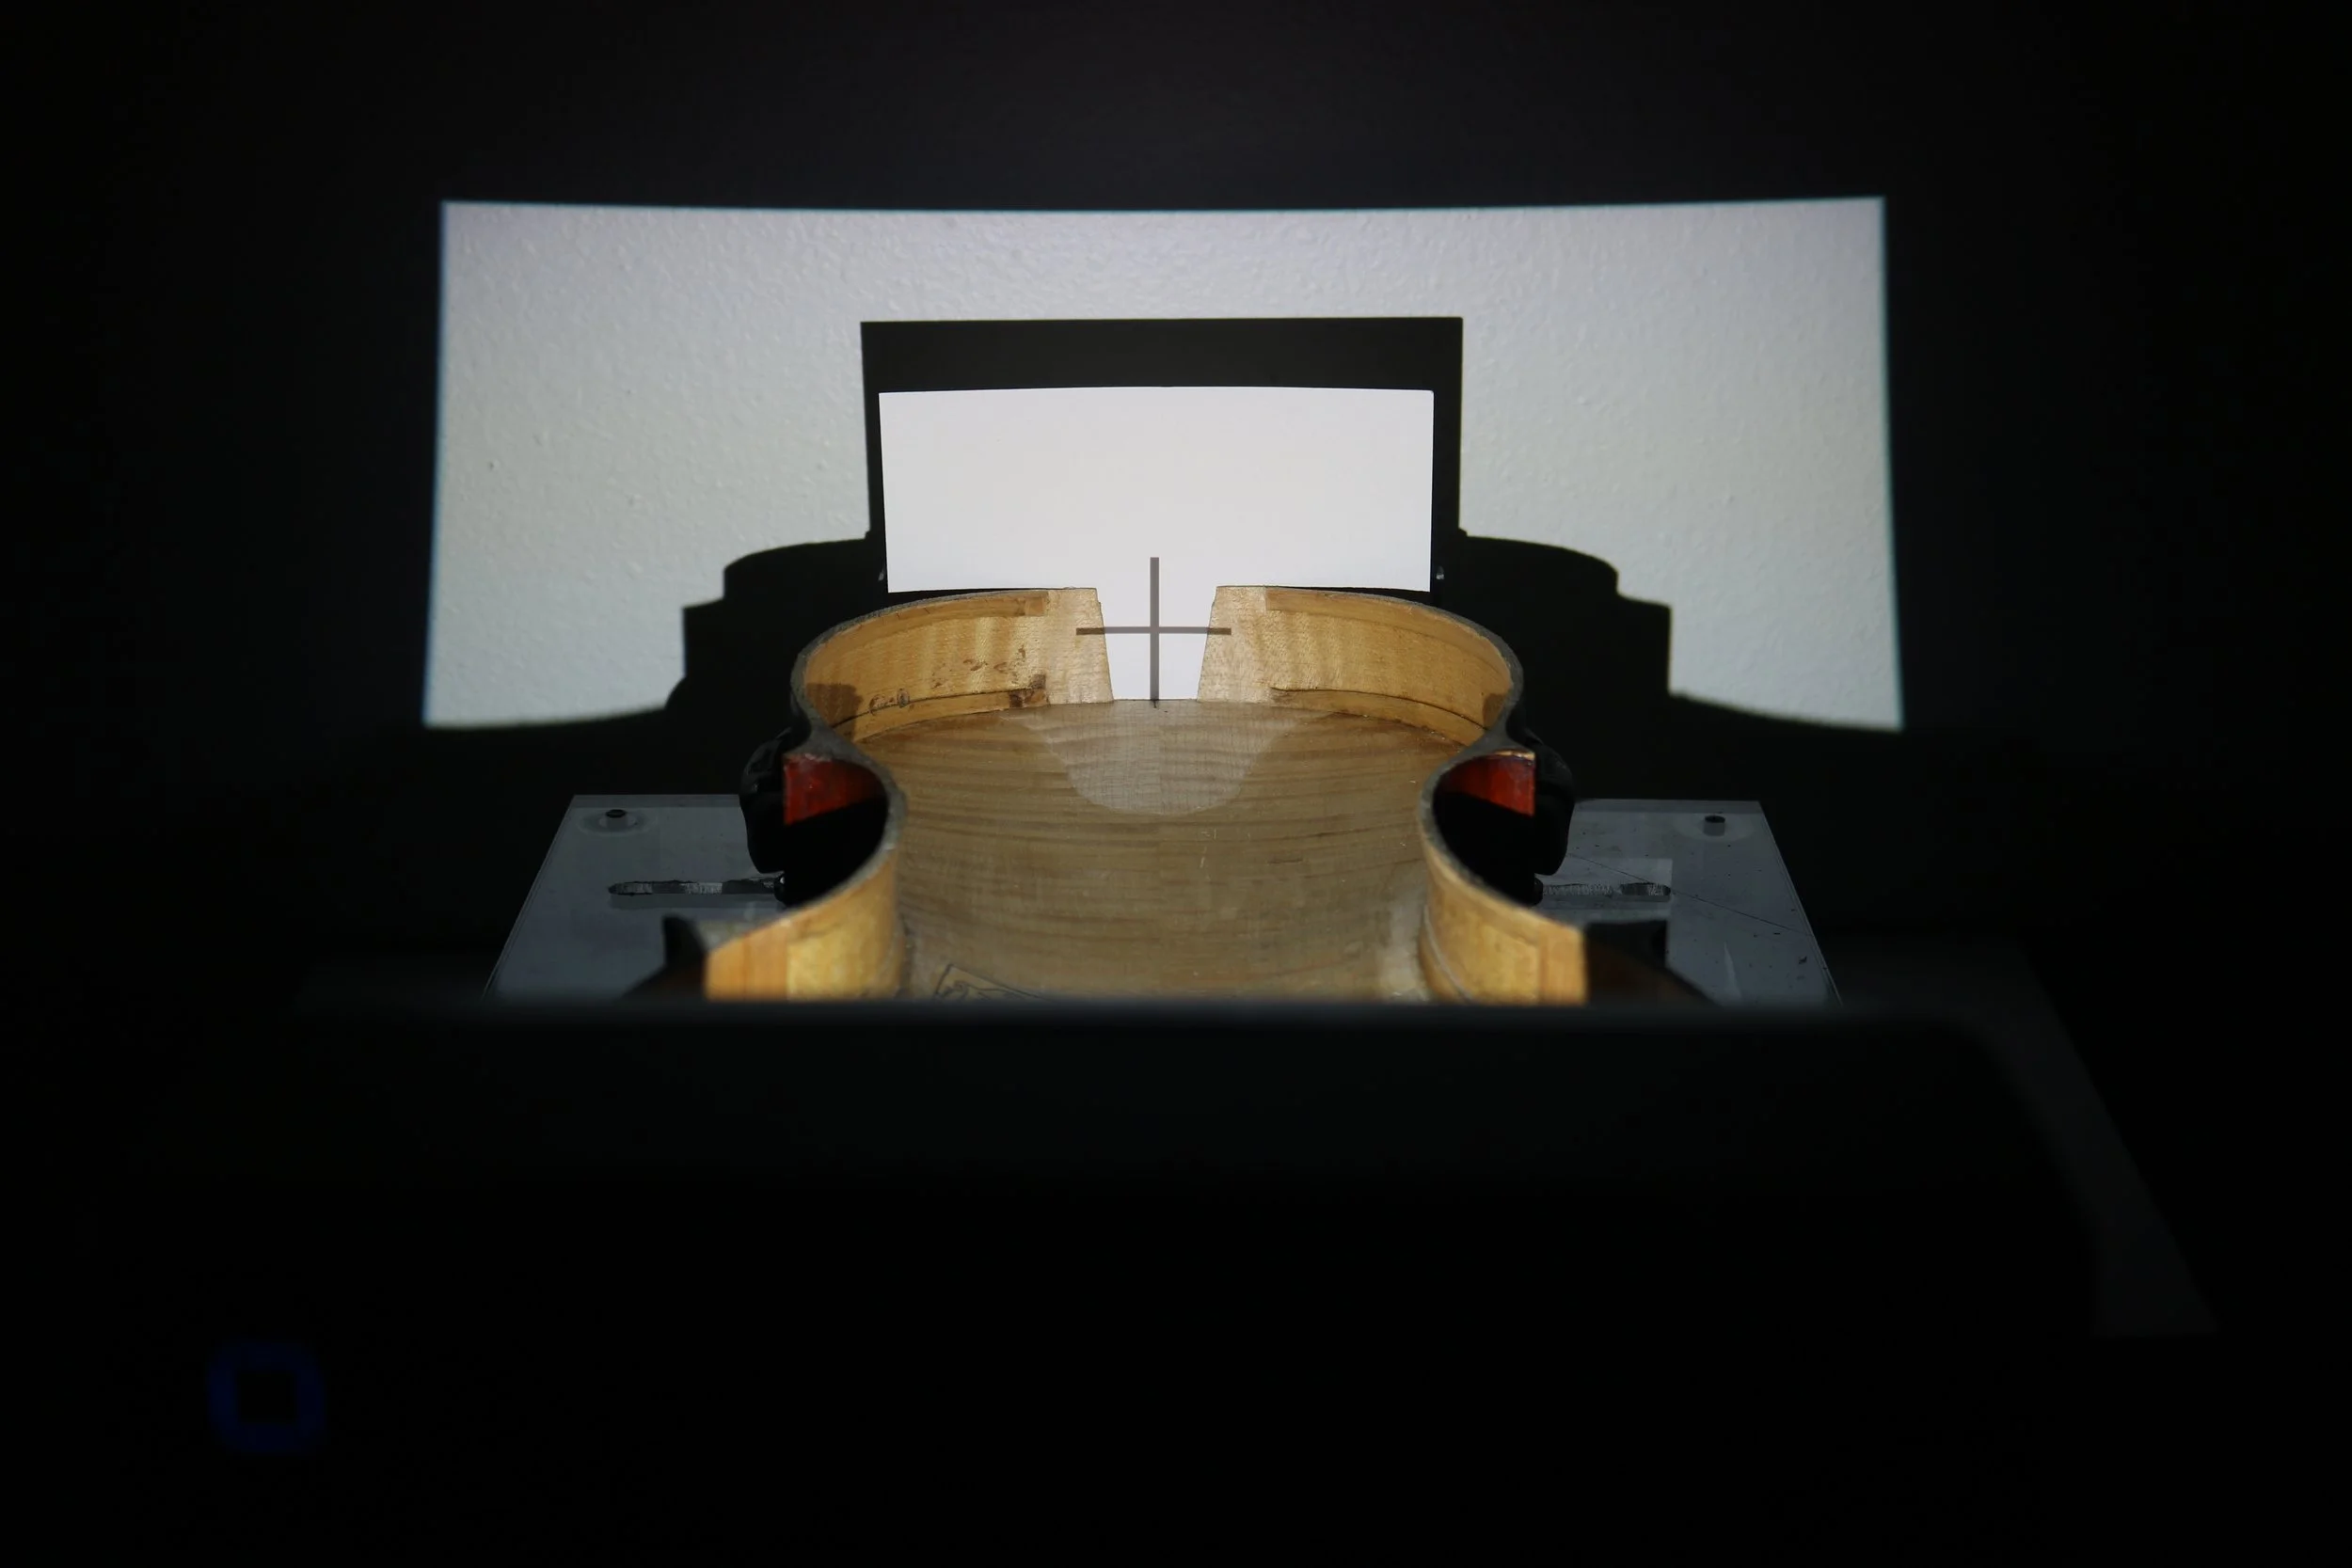
Getting very close to closing time.
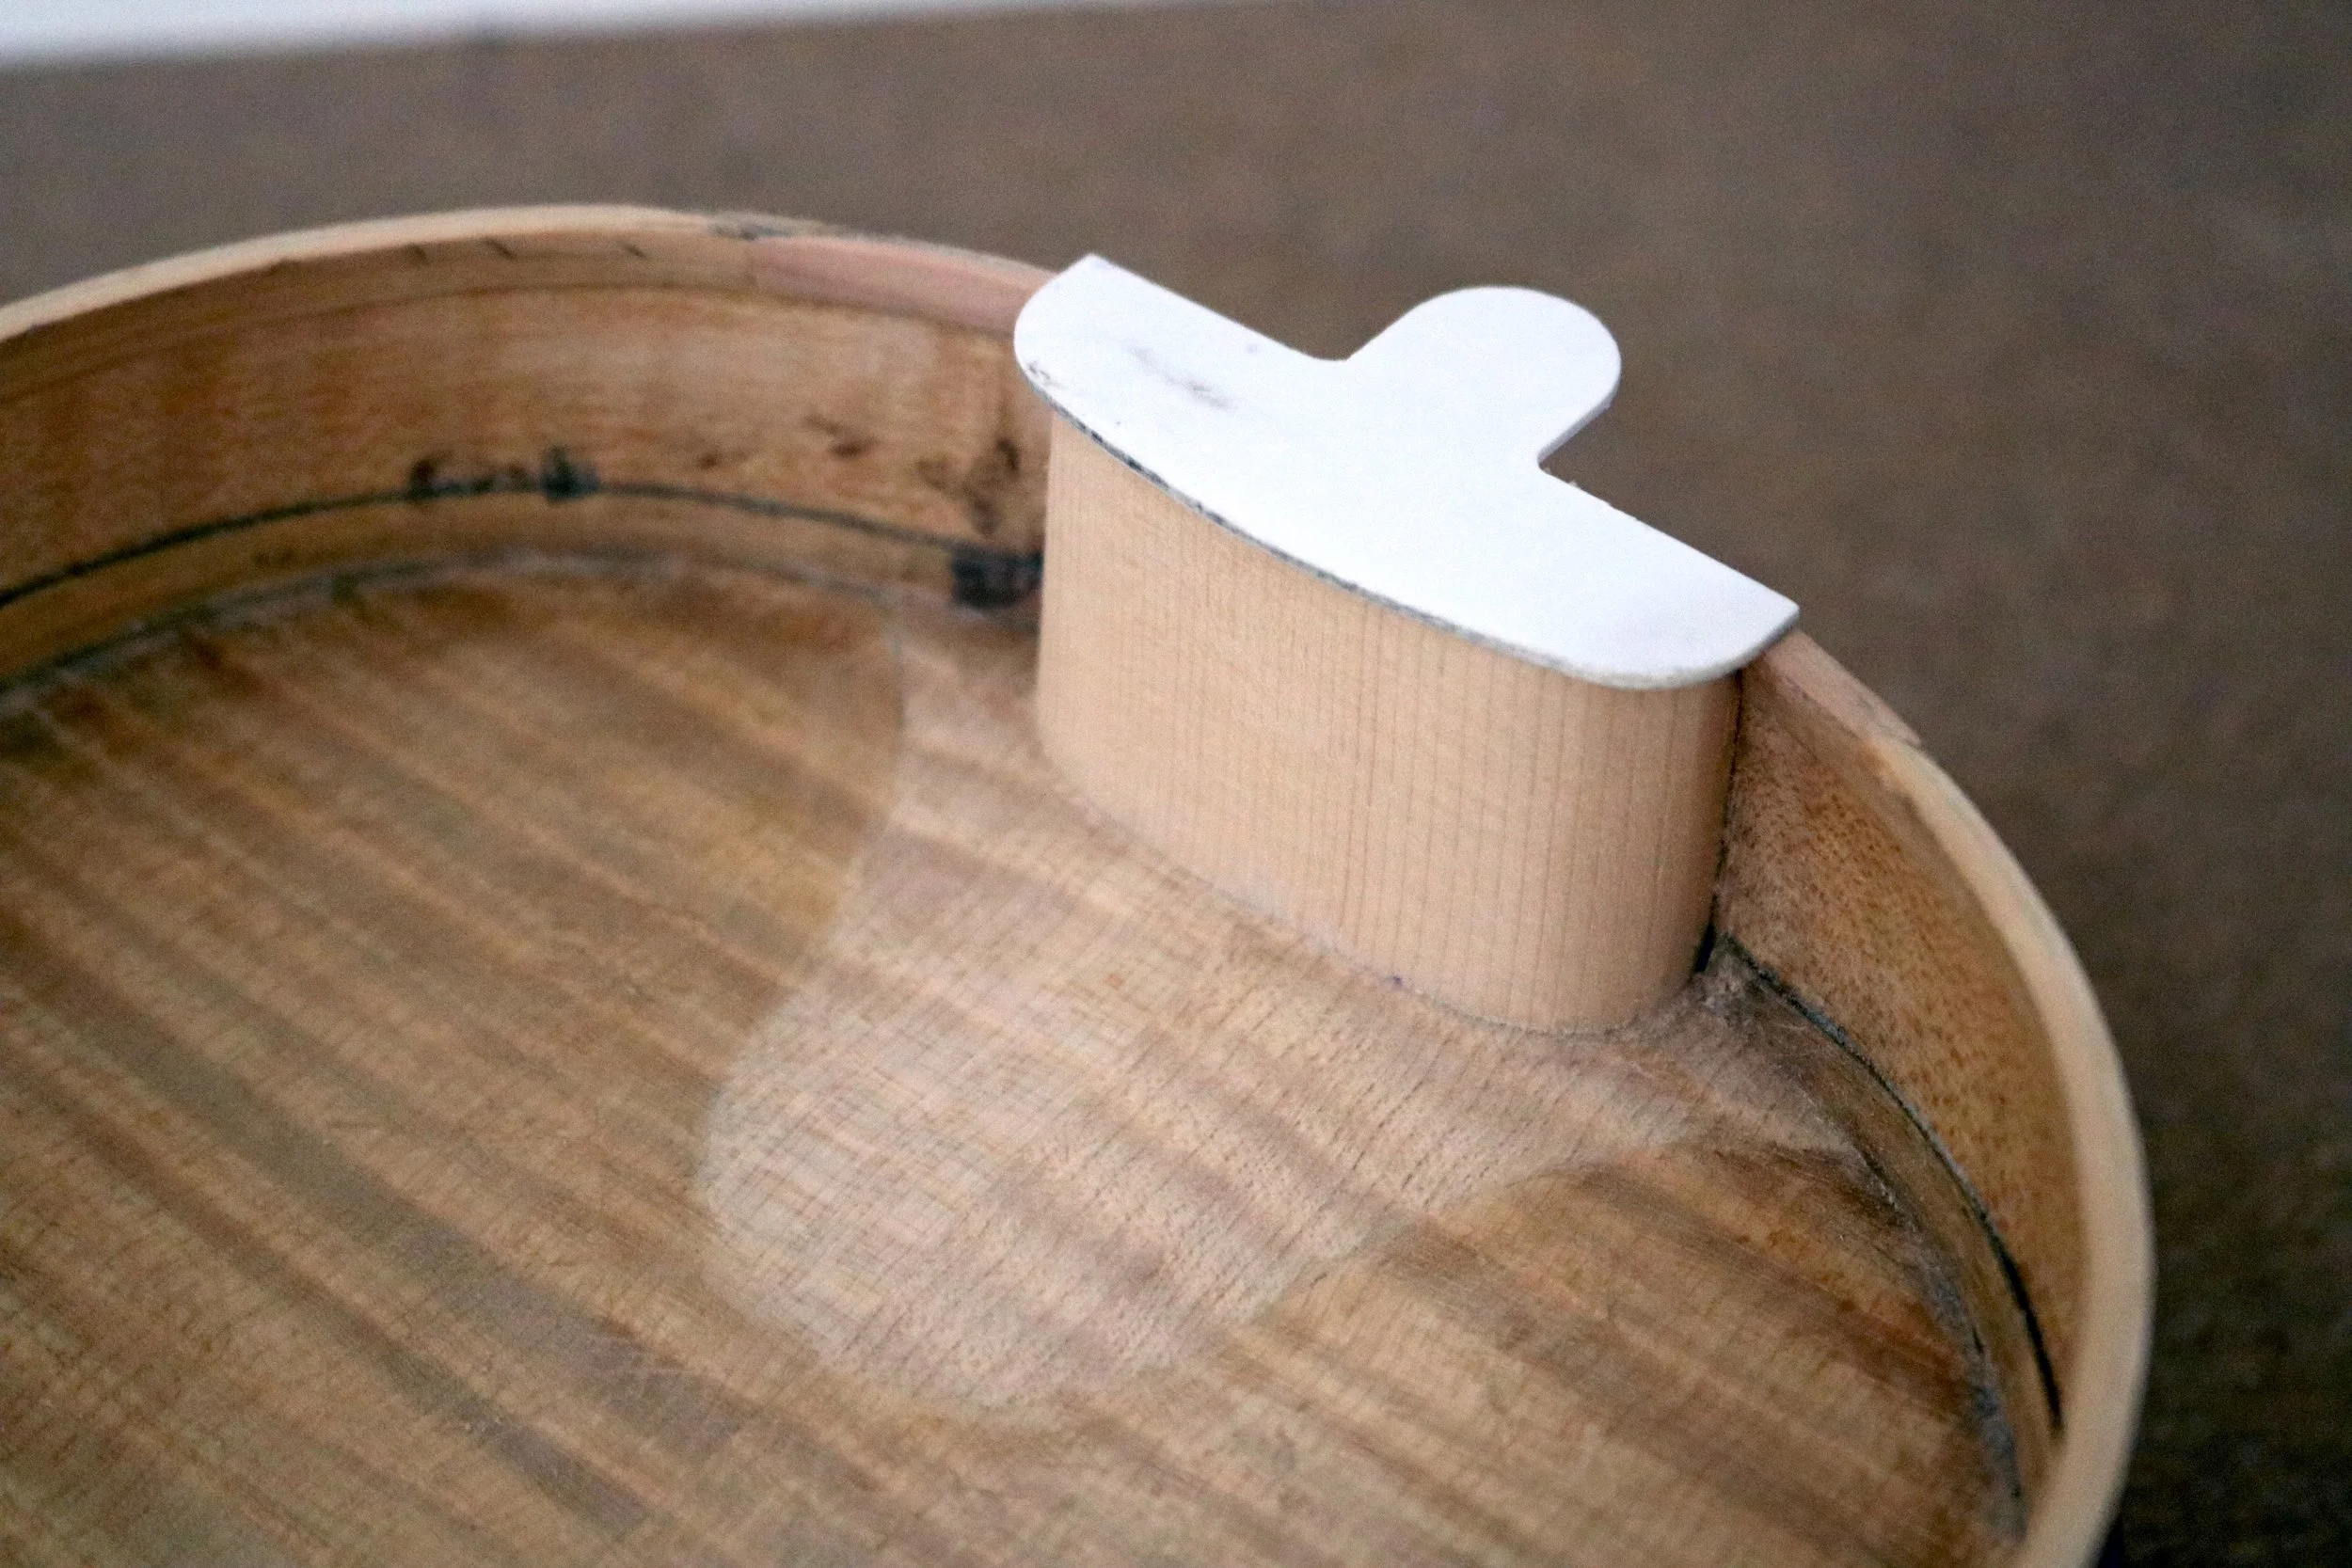
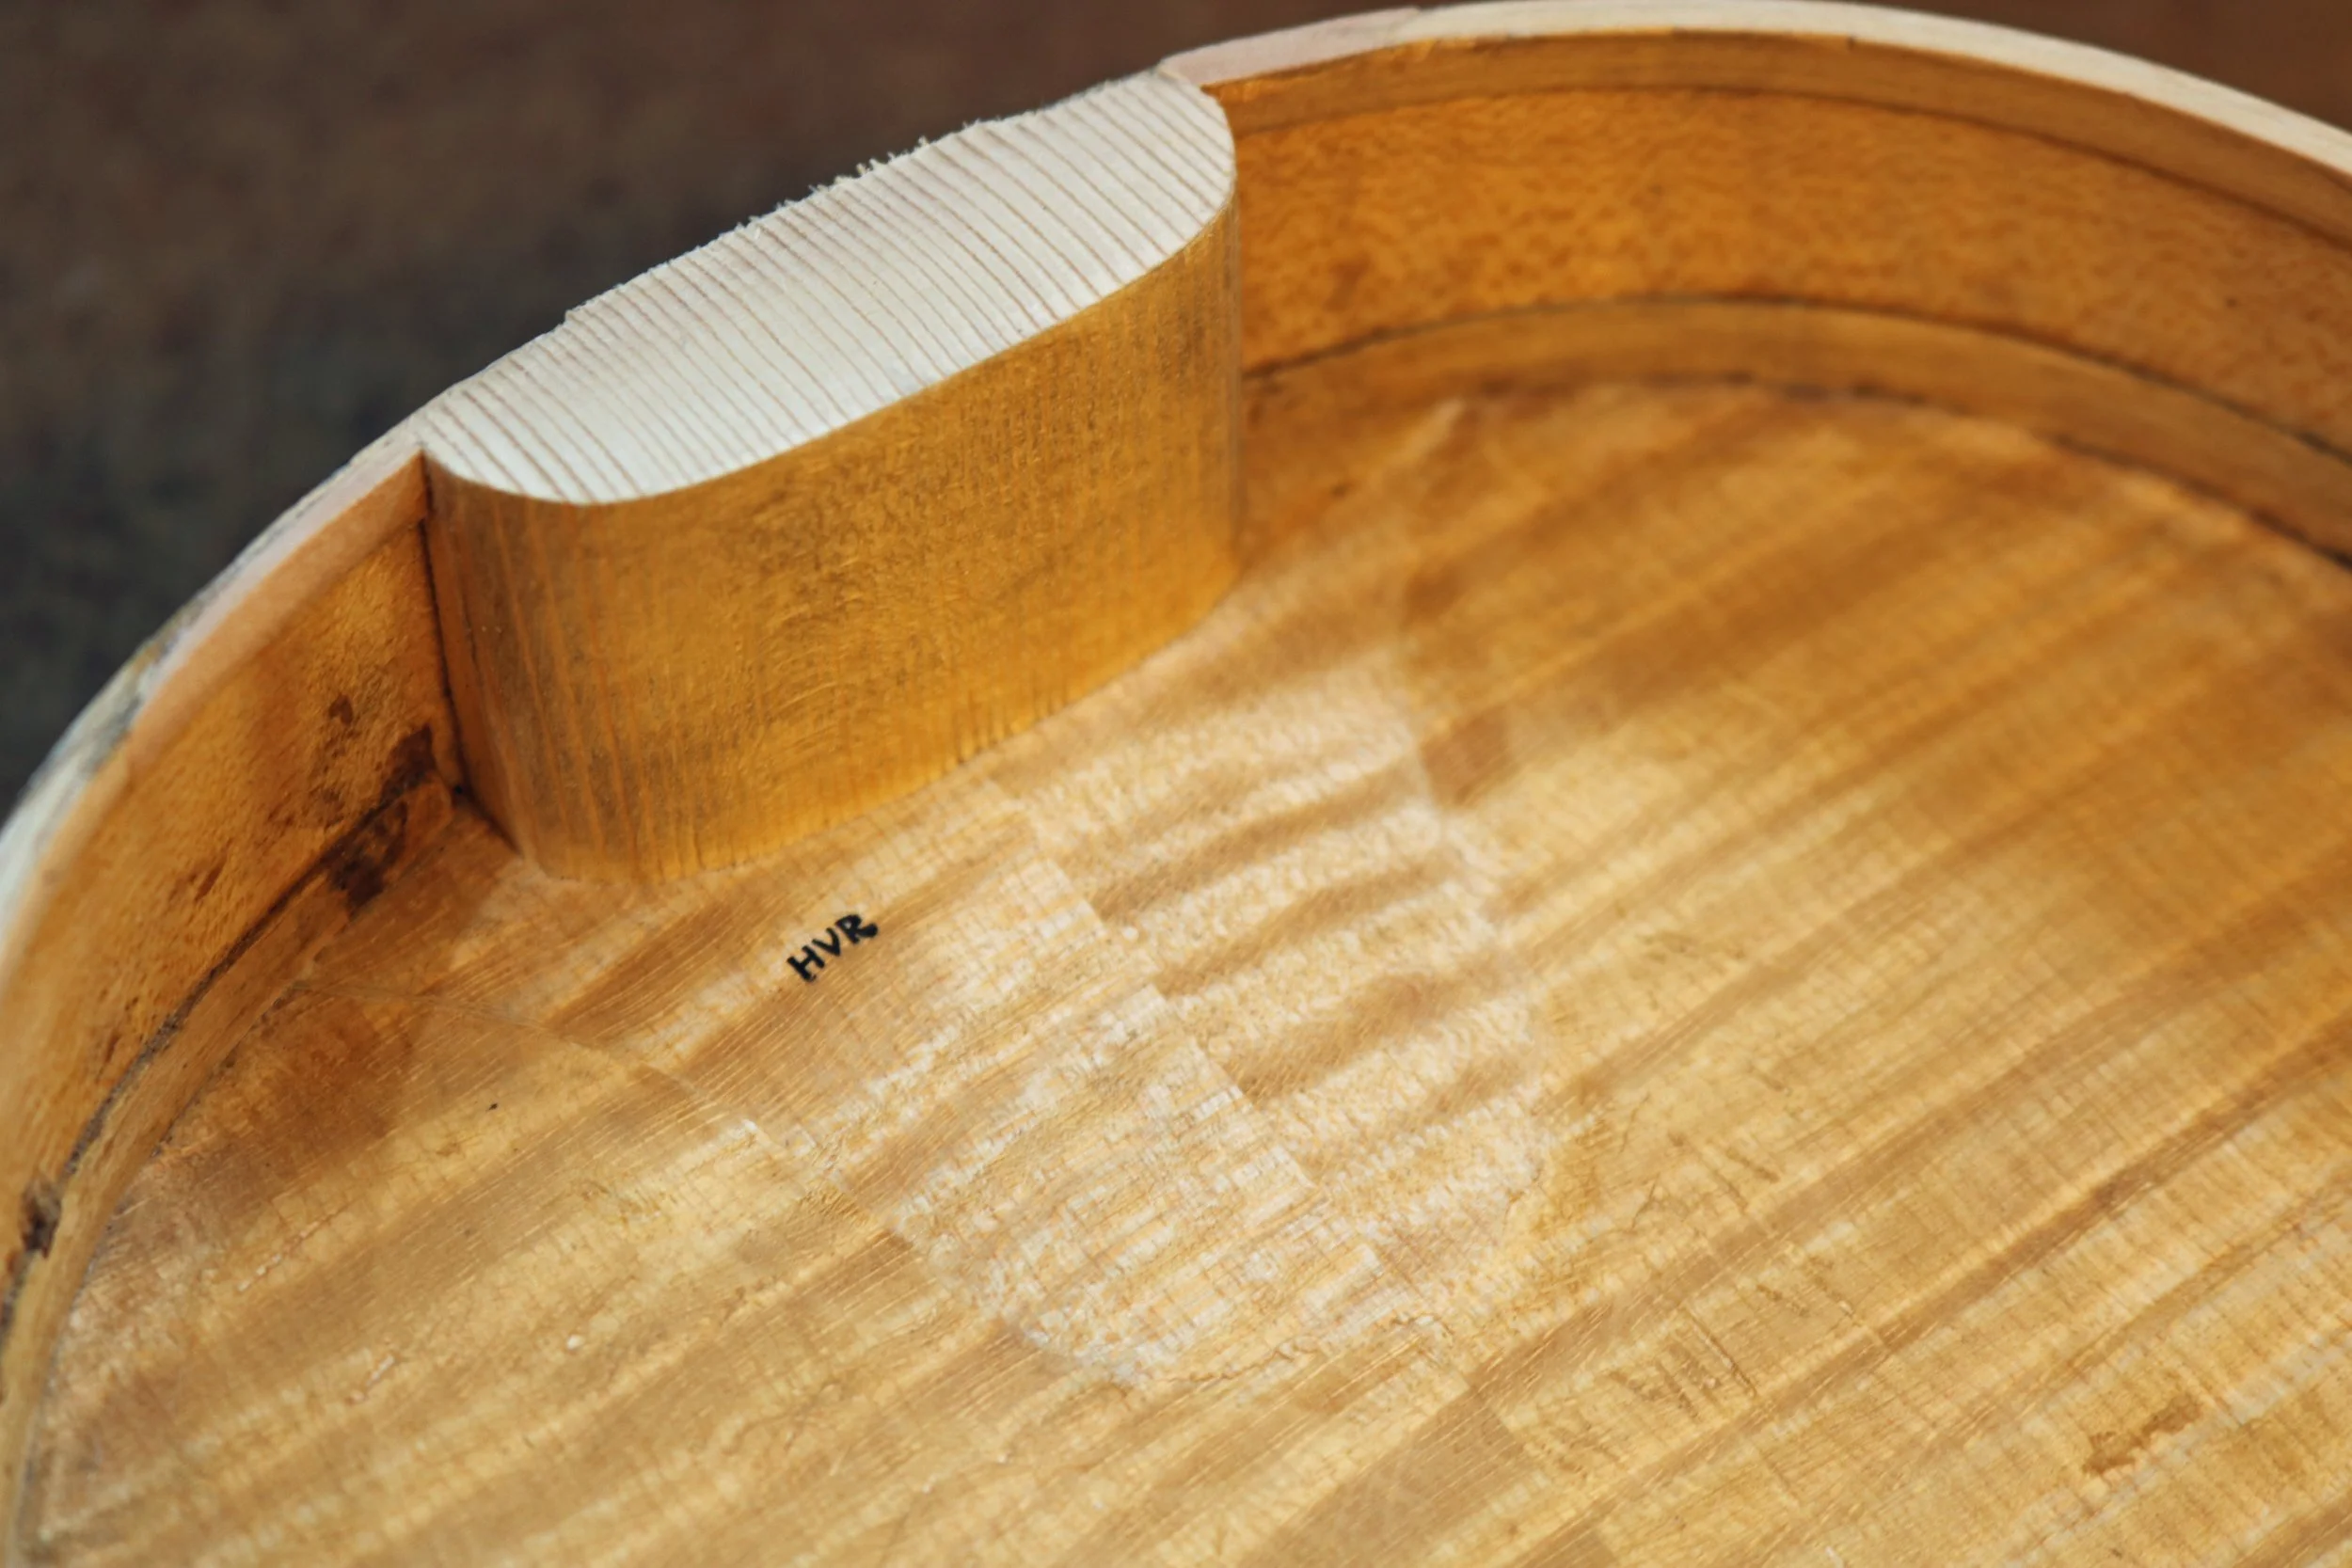
The new upper block and patch.
Stained, treated, and strong.
The neck is now set with our favorite neck-setting tool.
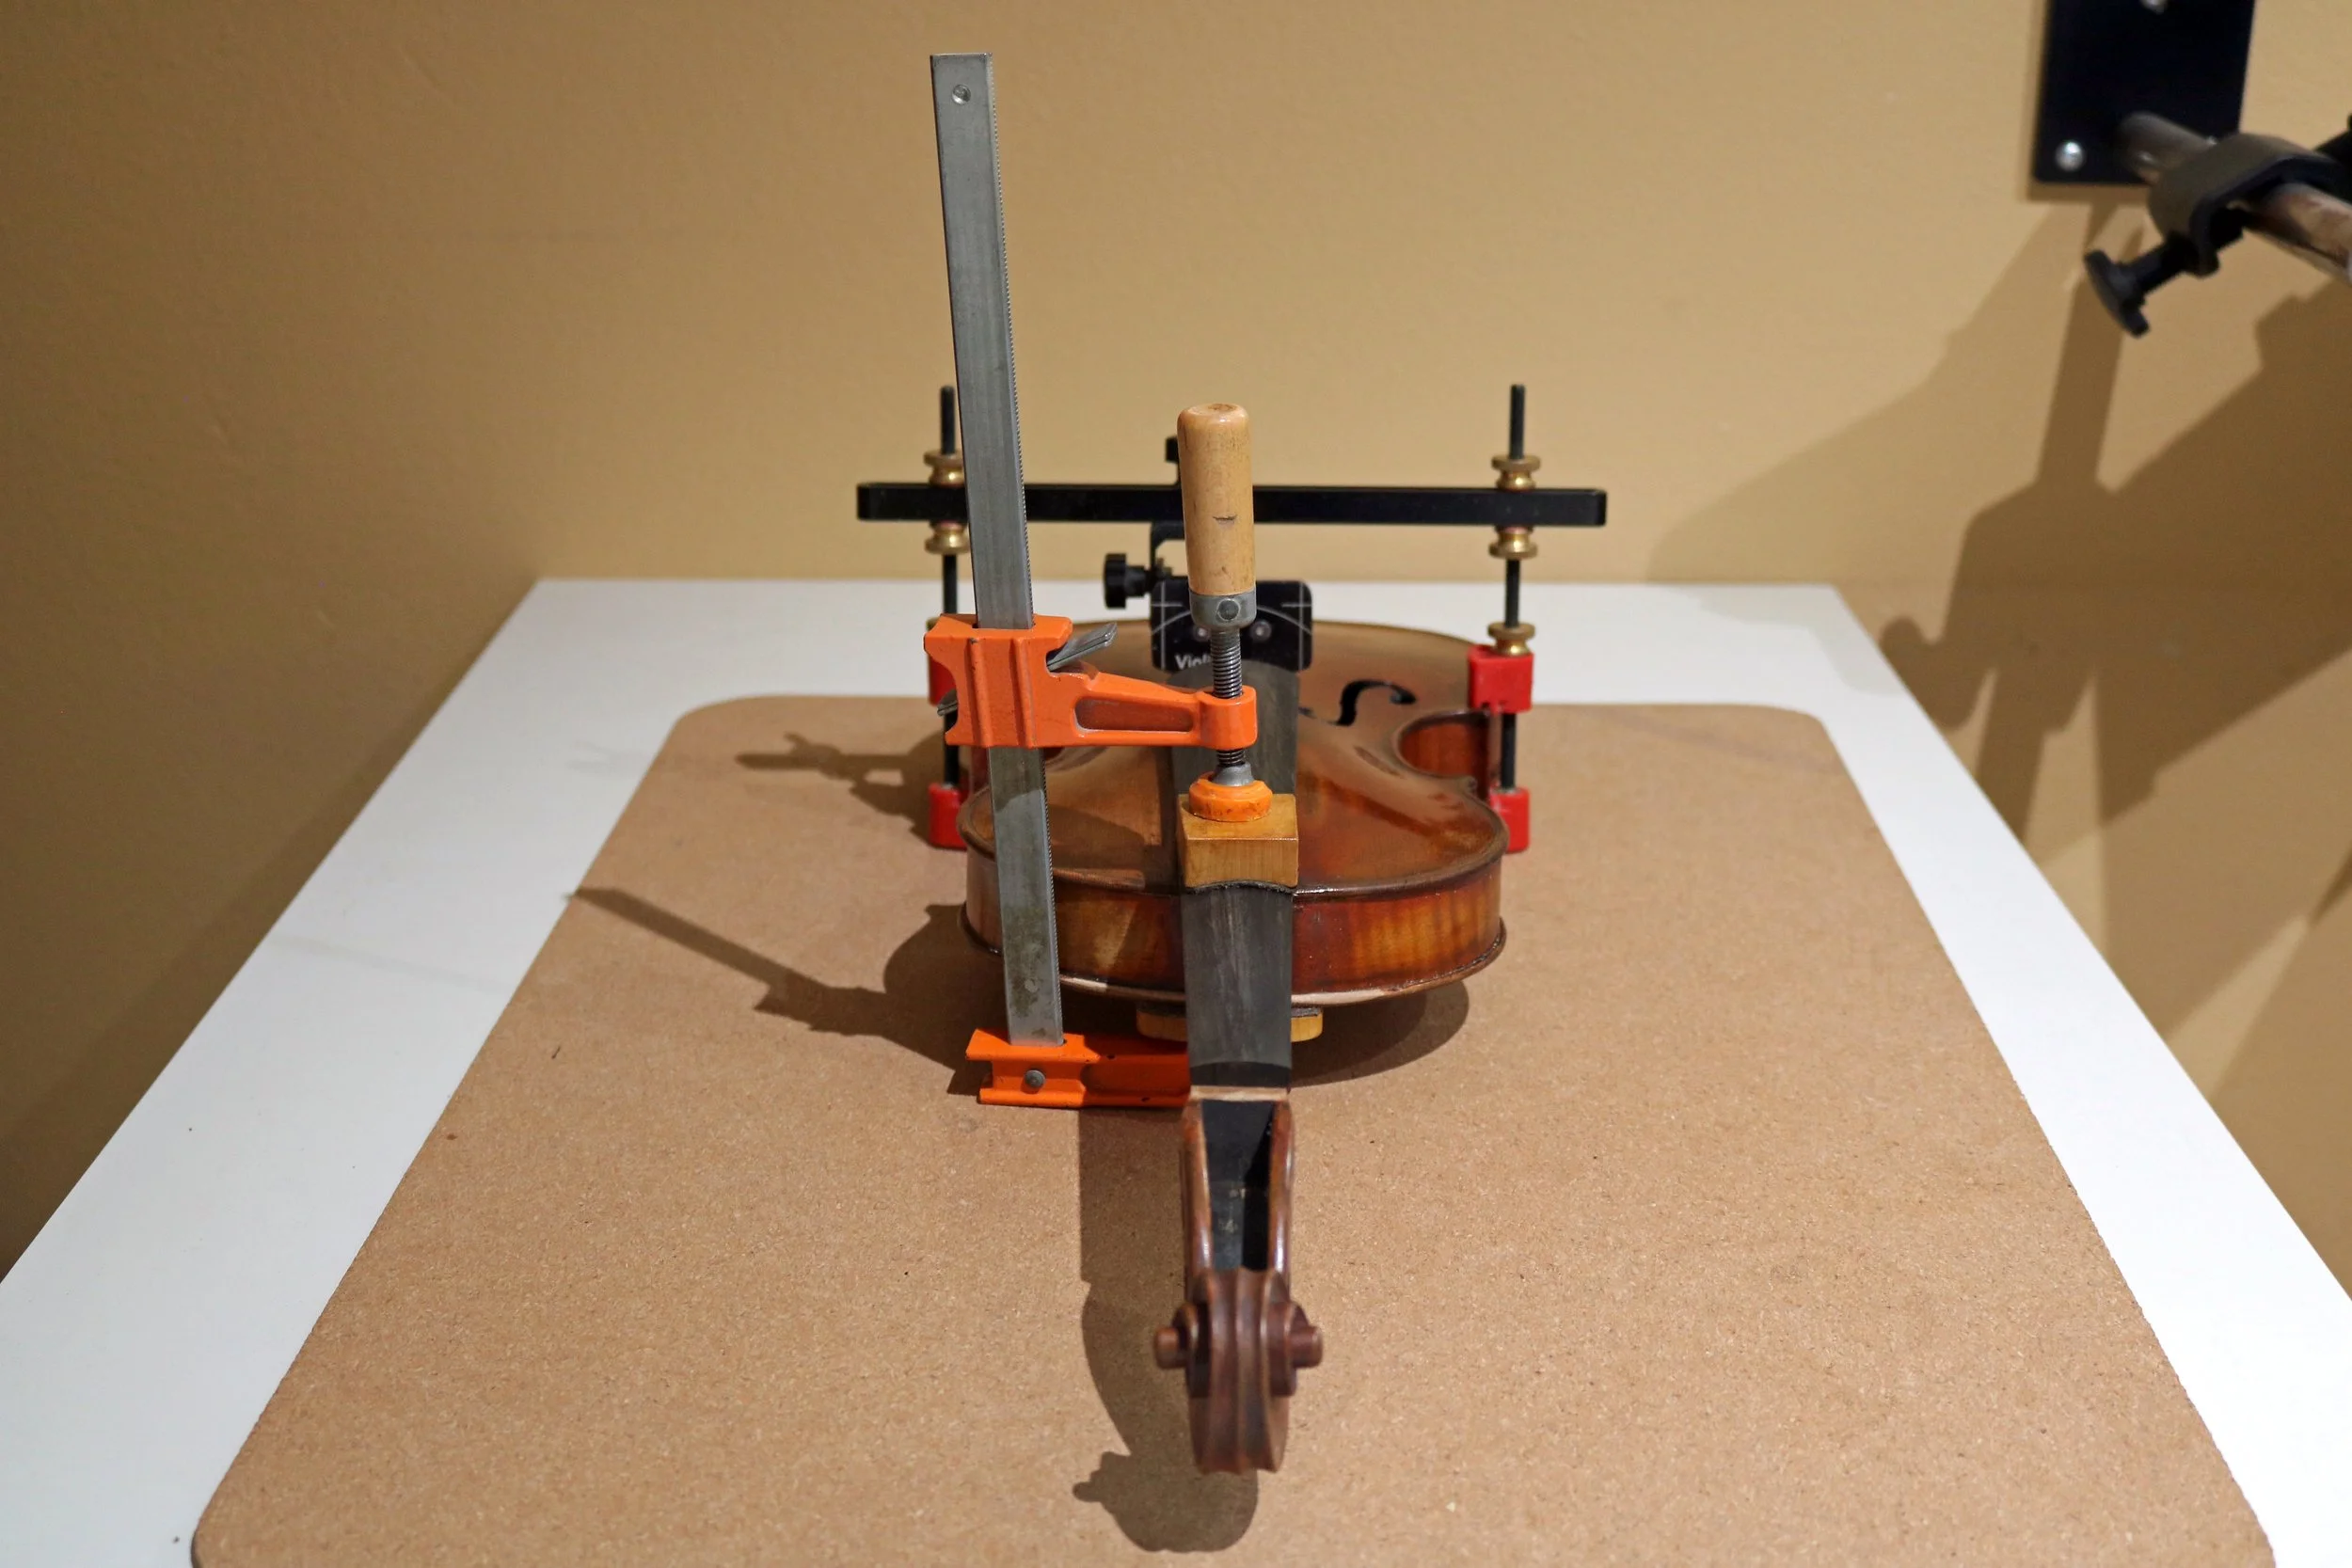
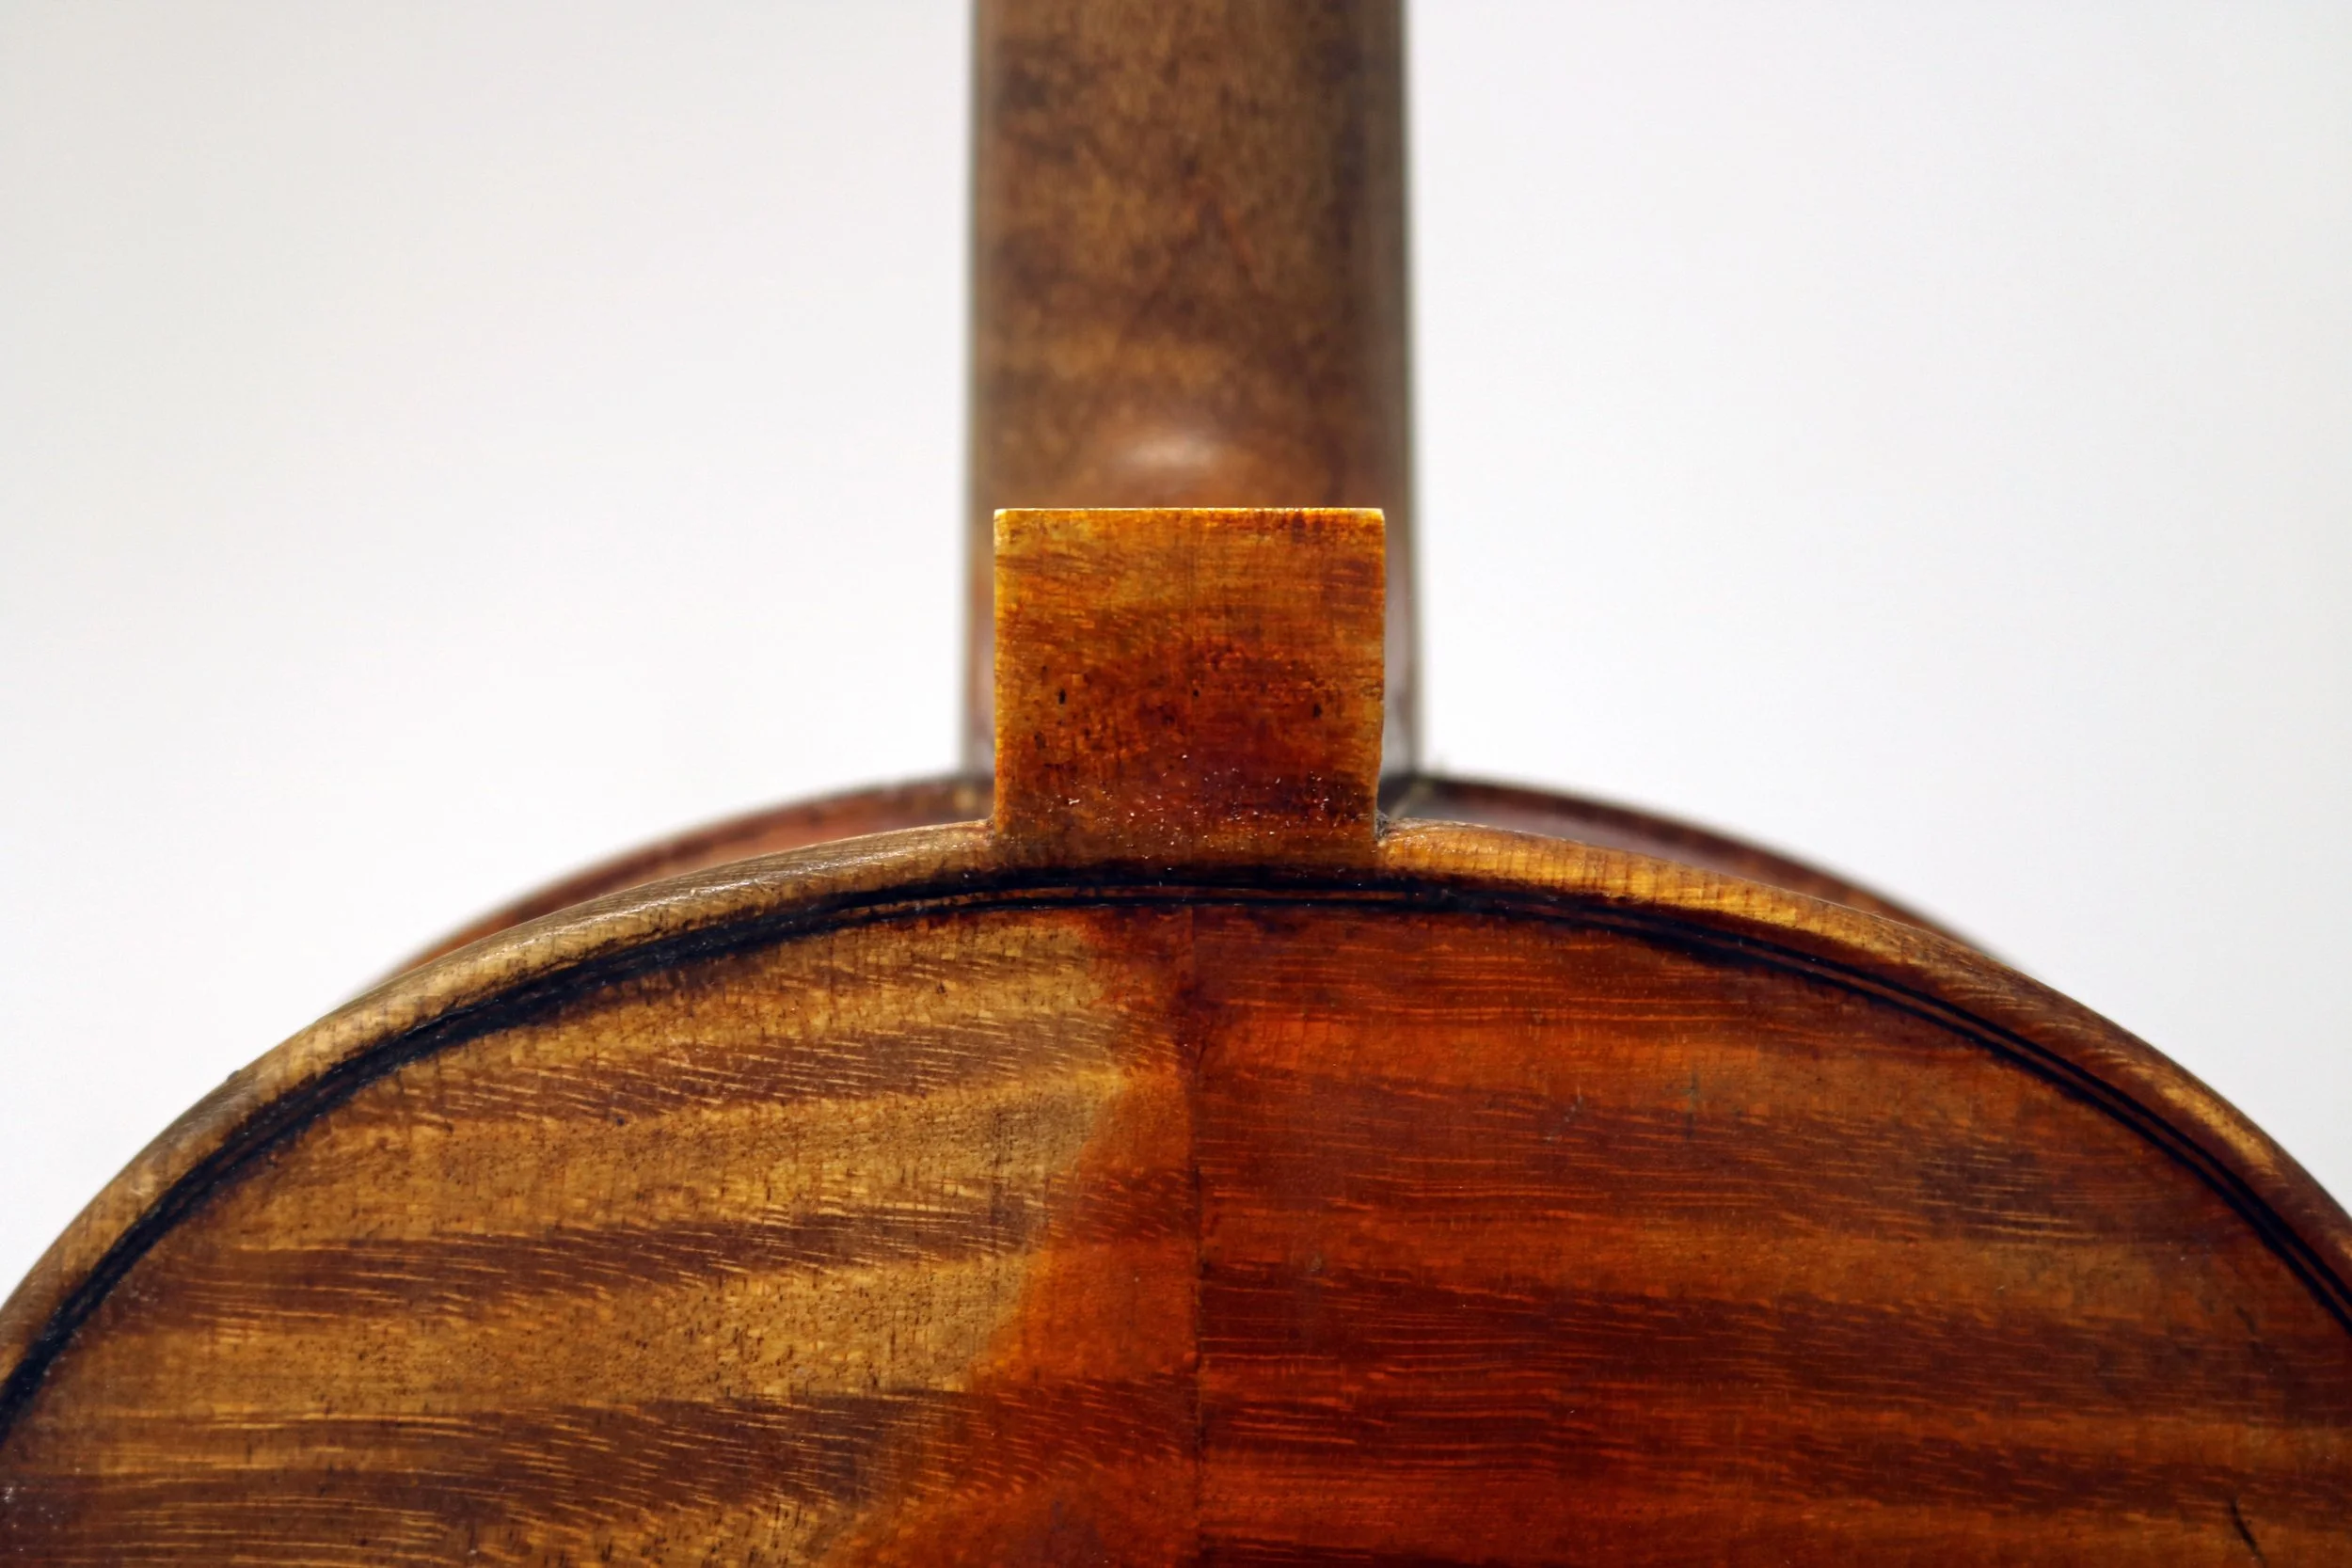
Somehow, it is oddly pleasing to have the button varnished and proud before shaping.
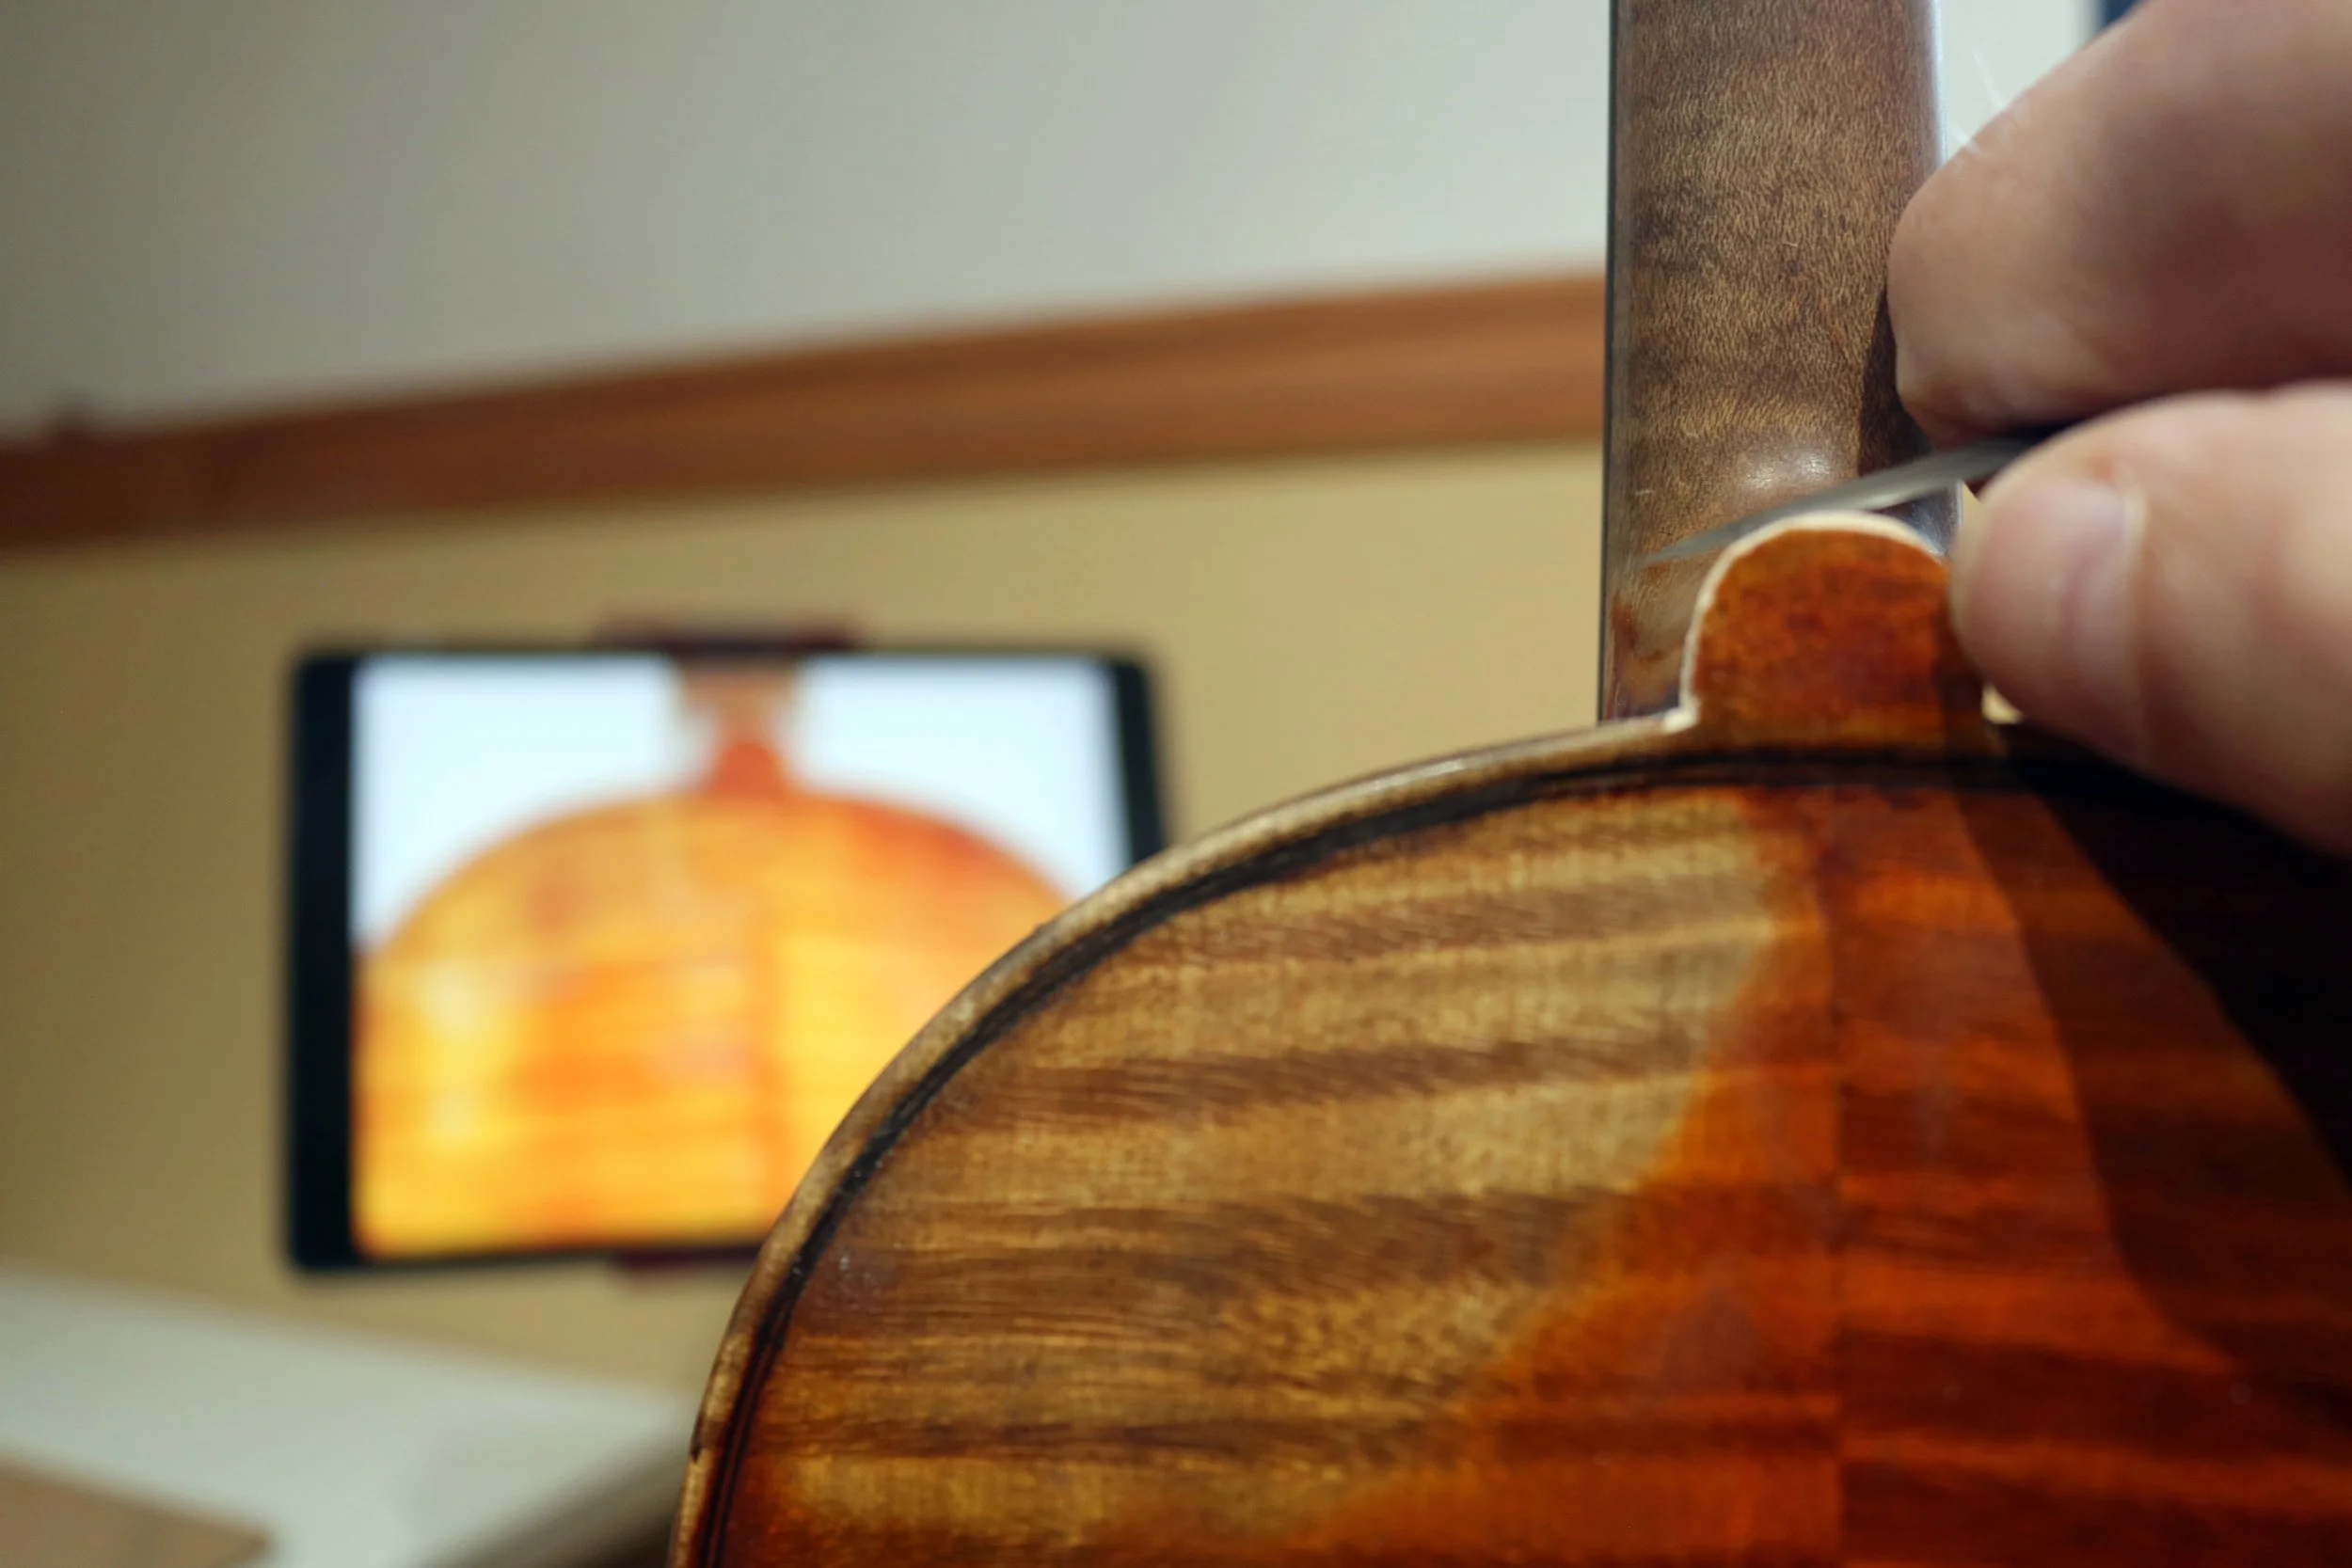
There was a photos of one other instrument by this maker in the Cozio archive.
We used this as a reference while shaping our graft.
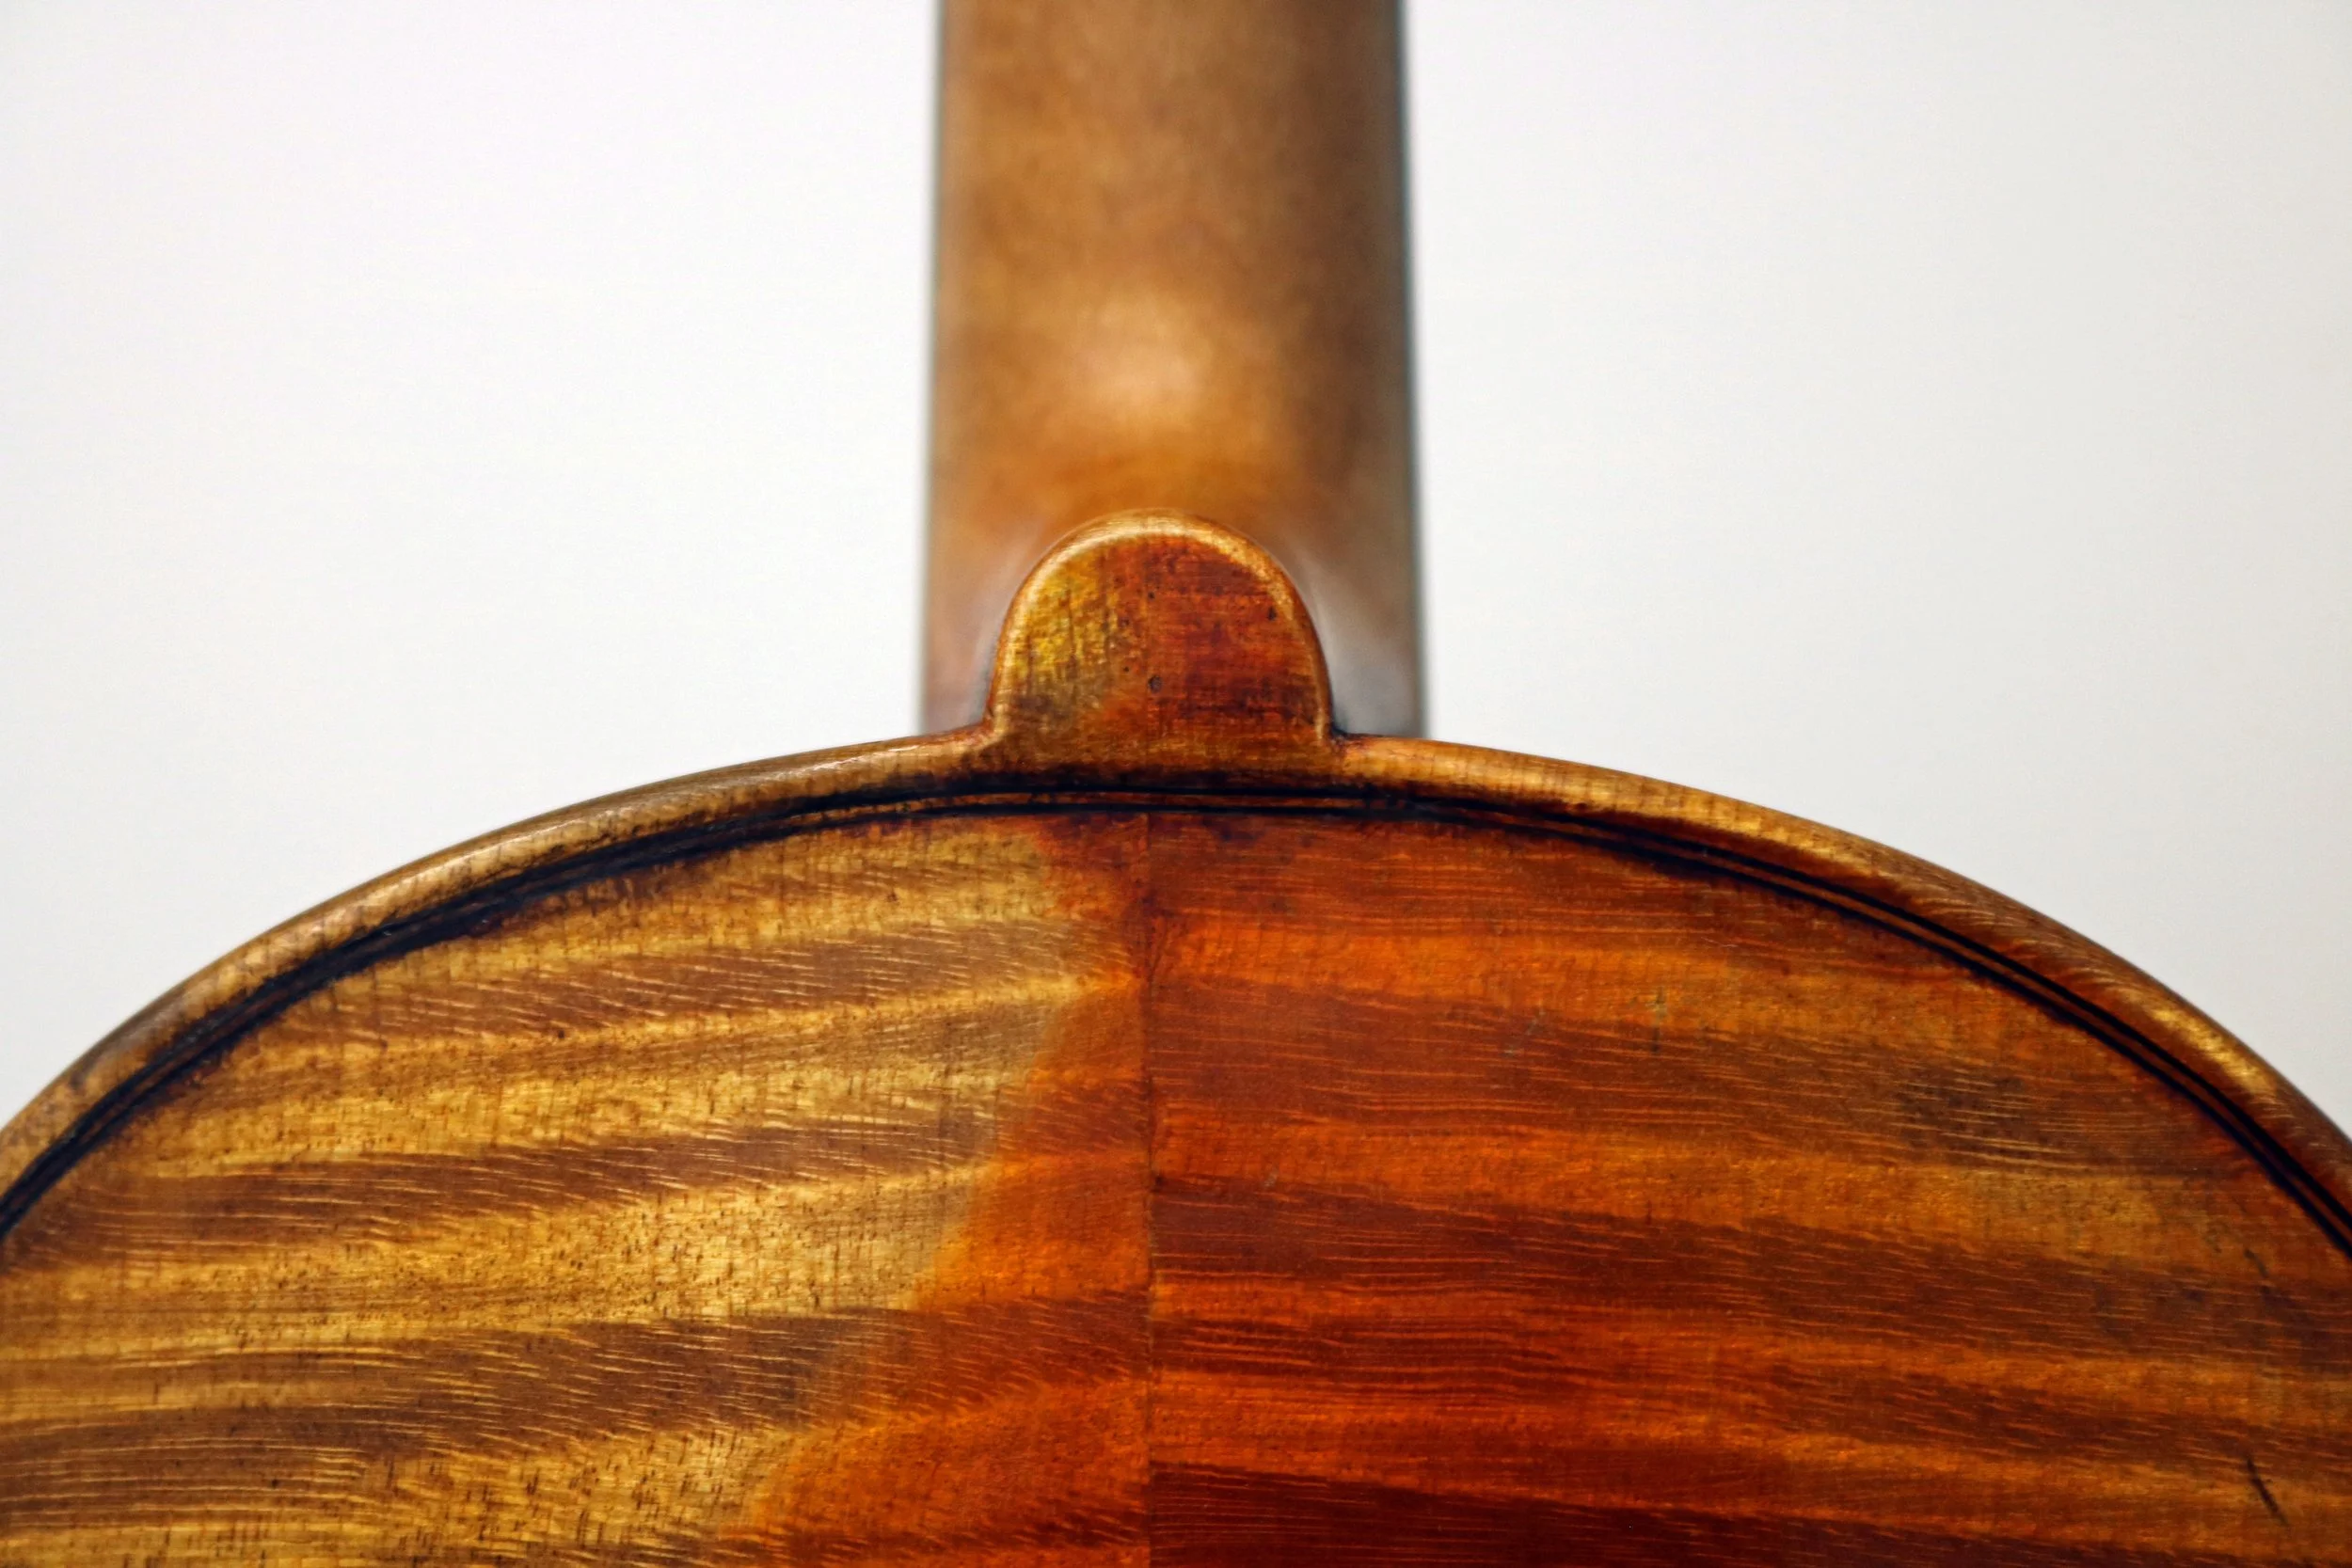
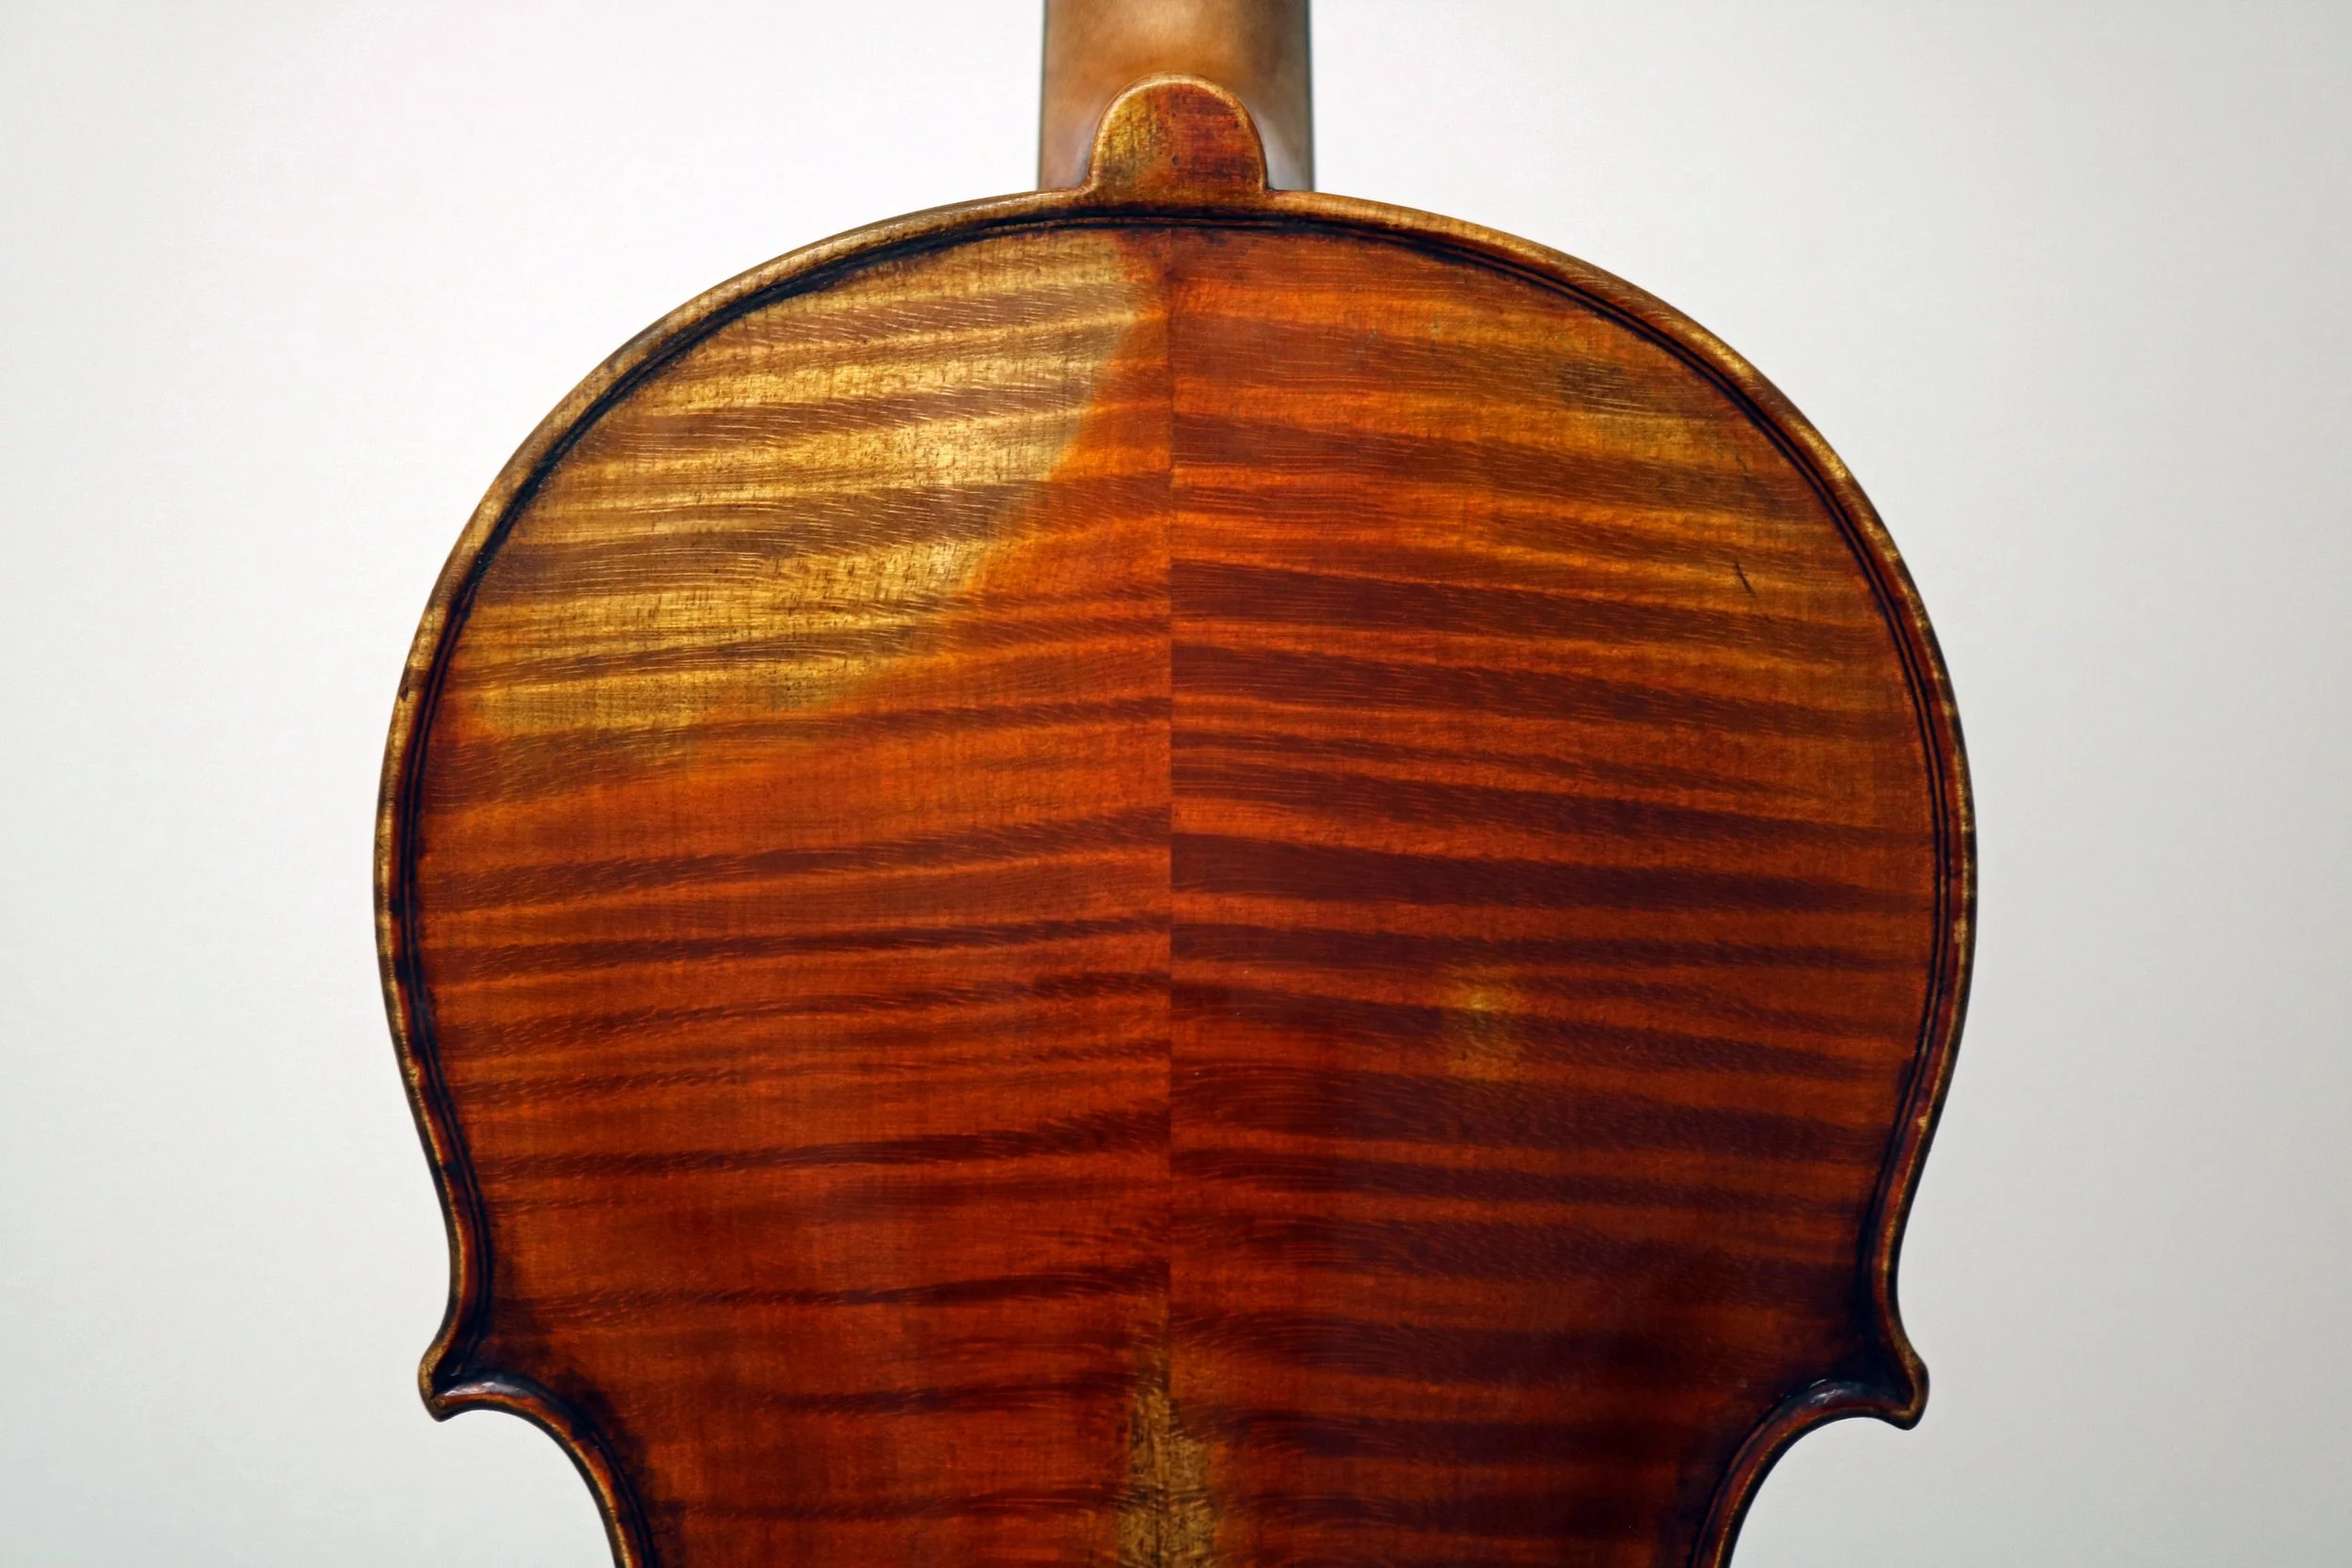
The finished back button area.
Thank you for viewing our work.